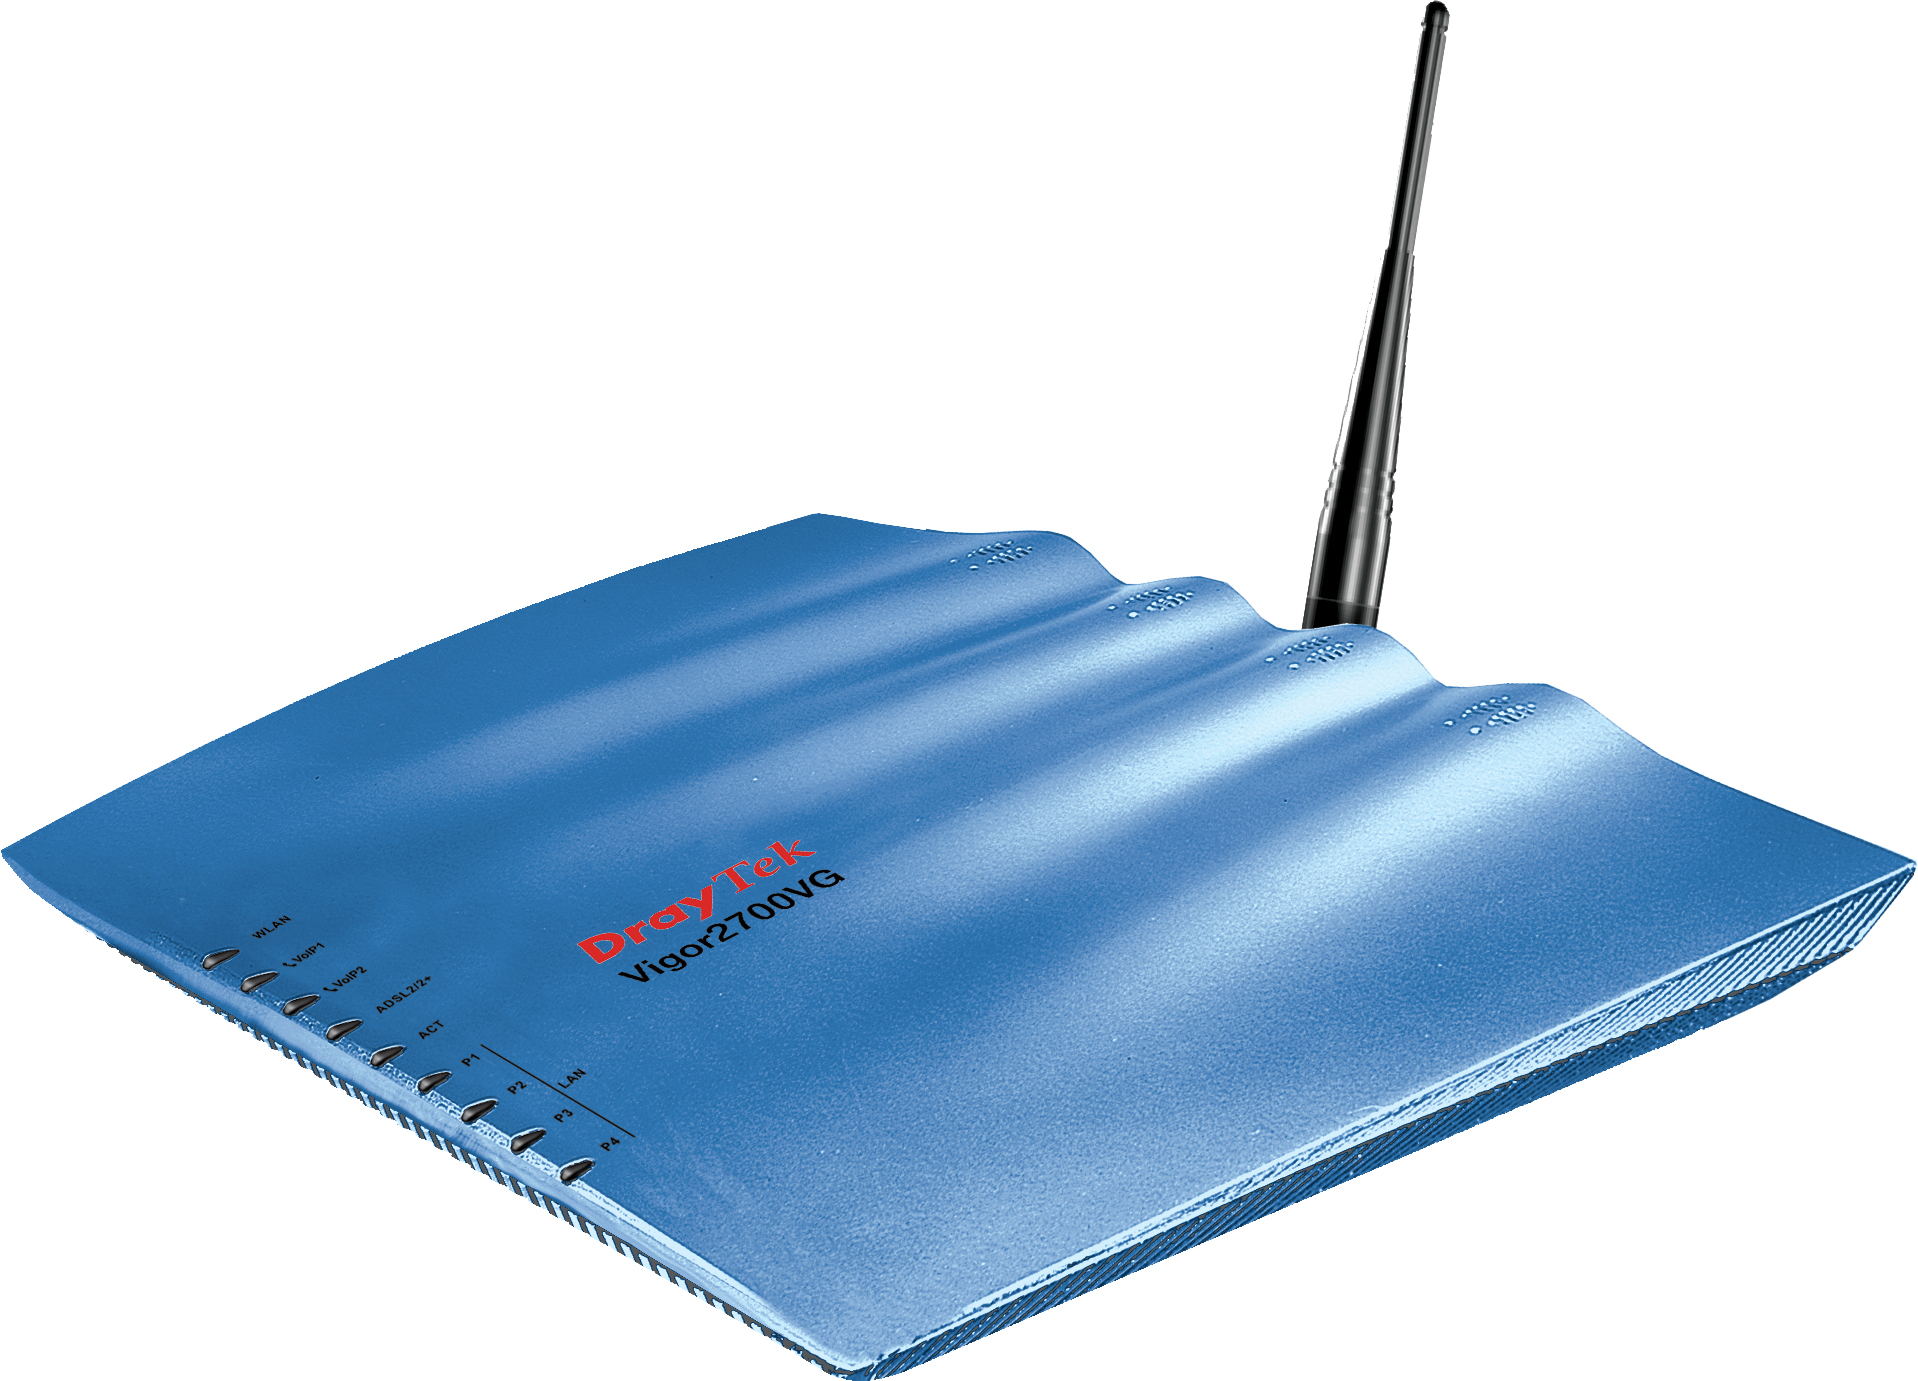
Most wireless-network equipment manufacturers have released repeater devices that catch the existing wireless-network signal and expose it in to the new area. Some of these setups work on a vendor-specific manner or may work according to standard WDS bridging techniques. But they all require the use of equipment compatible with each other, usually equipment supplied by the same vendor.
The “extended service set”
The method that I am going to talk about here is the establishment of an “extended service set” comprising of multiple access points serving the same network and using the same SSID and security parameters. All the access points have to be connected to a common wired-network backbone which is part of the same logical network; and the access points must be working on the same technology – the same 802.11 variation and operating mode (G-only, N-only, mixed mode, etc)
This method can be performed with access points or wireless routers supplied by different vendors, thus permitting the use of equipment which is suited for the job at hand. It can allow for use of surplus routers simply as access points as long as they are configured correctly.
The diagram below shows what a small network should be like when running an extended service set.
The network backbone
The wired-network backbone can work on any wired-network media such as a Cat5 Ethernet, HomePlug power-line, fibre-optic LAN, MoCA TV-aerial coax, HomePNA phone-line or a mix of these technologies bridged to each other. It can even work with a dedicated inter-building wireless backbone that may be used for larger properties or to join shops separated by a street.
The network backbone can handle other network traffic from wired-network devices like servers, desktop computers and games consoles; and become the network’s local data path to the Internet. This is while it works as the backbone for the wireless “extended service set”.
You may have be lucky to have an Ethernet cable in your house if you had it “wired for data”. But most houses typically wouldn’t have this facility everywhere. The other technology that I have found to do this job equally well is HomePlug powerline networking which works over the cable infrastructure used to provide AC power to your lights and appliances. It can reach further than the existing building, which is a boon if you need to extend coverage to garages, sheds, cabins or other outbuildings or have Internet access in a caravan or campervan used as a “sleepout” or mobile office.
Access Points
These devices are the transmitters that bring the data from the wired network backbone to the wireless client devices and make up the extended service set.
You typically will have one such device in the form of your wireless router which is at your network’s Internet-network “edge”. The wired-network backbone used as part of this “extended service set” would be connected to one of the LAN ports on this device. If you use a wireless router with one Ethernet port for the LAN and that port is used for a desktop computer or similar wired-network device, you will need to expand the number of sockets by using an Ethernet switch. These will typically be a “dime a dozen” for a five-port or eight-port unit. There are also some HomePlug-Ethernet bridges that have a built-in four-port switch that are worth considering if you are setting up a HomePlug backbone.
Repurposing the old wireless router
If you upgraded your wireless router to a newer model, you will still have your existing router gathering dust. This can work as an access point but will need to be configured appropriately. You will need to disable the following functions:
* DHCP server
* UPnP Internet Gateway Device functionality (typically referred to as UPnP)
* Dynamic DNS functionality (if used)
As well, you will need to set the LAN IP address to something that is within your network’s IP address range but preferably out of the address pool used by the current router. The reason you have to take care of this setup is because there needs to be only one device performing “network-Internet edge” functions such as DHCP in a network and this device should be the one at the logical network-Internet border.
When you connect this router to the wired backbone, you use any of the LAN ports to connect the backbone. Never use the WAN port on this router for the wired backbone.
“3-in-1” HomePlug wireless access points
There is an increasing number of wireless access points that work with a HomePlug or Ethernet backbone. These devices, such as the Netcomm NP290W / Solwise PL-85PEW and the Devolo dLAN Wireless Extender, are as big as a compact “wall-wart” power adaptor used to power most electronic devices from the mains and plug directly in to the power outlet. They bridge between an 802.11g wireless segment (as an access point or wireless client bridge), a HomePlug powerline segment and a Cat5 Ethernet segment.
These units come in handy if you need to extend a wireless network on a temporary basis or simply if a compact device can do the job better than a large access point. They would come in to their own when you are using the extension access point to mitigate microwave-oven interference in the kitchen or if you want to extend the home network to a static caravan.
Configuring the access points
You will need to know the SSID and the WEP or WPA wireless security parameters that are operational for your network. These are the only factors that need to be common amongst all of the access points of the network. The reason that the SSID and security parameters are set to the same details is so that wireless client devices can roam between the different access points without any user intervention.
The radio channels for each of the access points have to be set differently to each other. It is a good idea to set the access point closest to the kitchen to Channel 1 if you have a microwave oven in that kitchen. This is because, from my research, most of the domestic-market microwave ovens work at 2450 MHz which is between Channels 8 and 9 on the 802.11g channel list. I had tried an experiment to see whether a microwave can upset a wireless-network “cell” that is tuned away from its operating frequency.
The wireless client devices
There is no need to reconfigure any of the wireless client devices such as laptop computers once you have set up the network according to the above instructions.
You will see an improvement in network performance when you operate your wireless client devices in areas where you barely could operate them. The signal-strength bar-graph that is part of your wireless client device’s network management software will register a stronger signal as the client device comes in to vicinity of the access points.
Conclusion
Once you have followed the steps in this article, you will be able to extend the effective coverage of your wireless home network or make your wireless network cover everywhere in your house even if it uses metal-based energy-efficiency measures or has thick brick or stone walls.


You may have come across HomePNA WiFi routers, most likely equipment meant to be provided by your telco or ADSL Internet provider. As I mentioned before in this article, you can repurpose this equipment as an access point as long as you disable DHCP, Dynamic DNS and UPnP IGD functionality as well as setting the IP address to one that is in your network’s subnet. Also, you connect your network to a LAN socket like the HomePNA connection or Ethernet LAN sockets.
Simon Mackay (author of the blog)
Thanx for this helpful article!
Just one additional question: Is it possible to setup an “extended service set” having the router and the additional accespoint(s) in different (but routeable) networksegments, e.g.: router in network 10.15.4/24, the accesspoint in a 192.168.1/24 network?
Hi,
The extended service set wouldn’t work well across multiple subnets (logical networks with their own IP addressing scheme). It is intended to work on “Layer 2” which is the Ethernet layer rather than “Layer 3” which is the IP layer that the routers work on. This may cause problems with roaming or session synchronisation as a user moves between the router and the access point and you would also have to set up static port maps to achieve this.
With regards,
Simon Mackay