Category: Computing Tips

How do I use an XBox One game controller with my Windows computer?

Article

XBox One games console press photo courtesy Microsoft

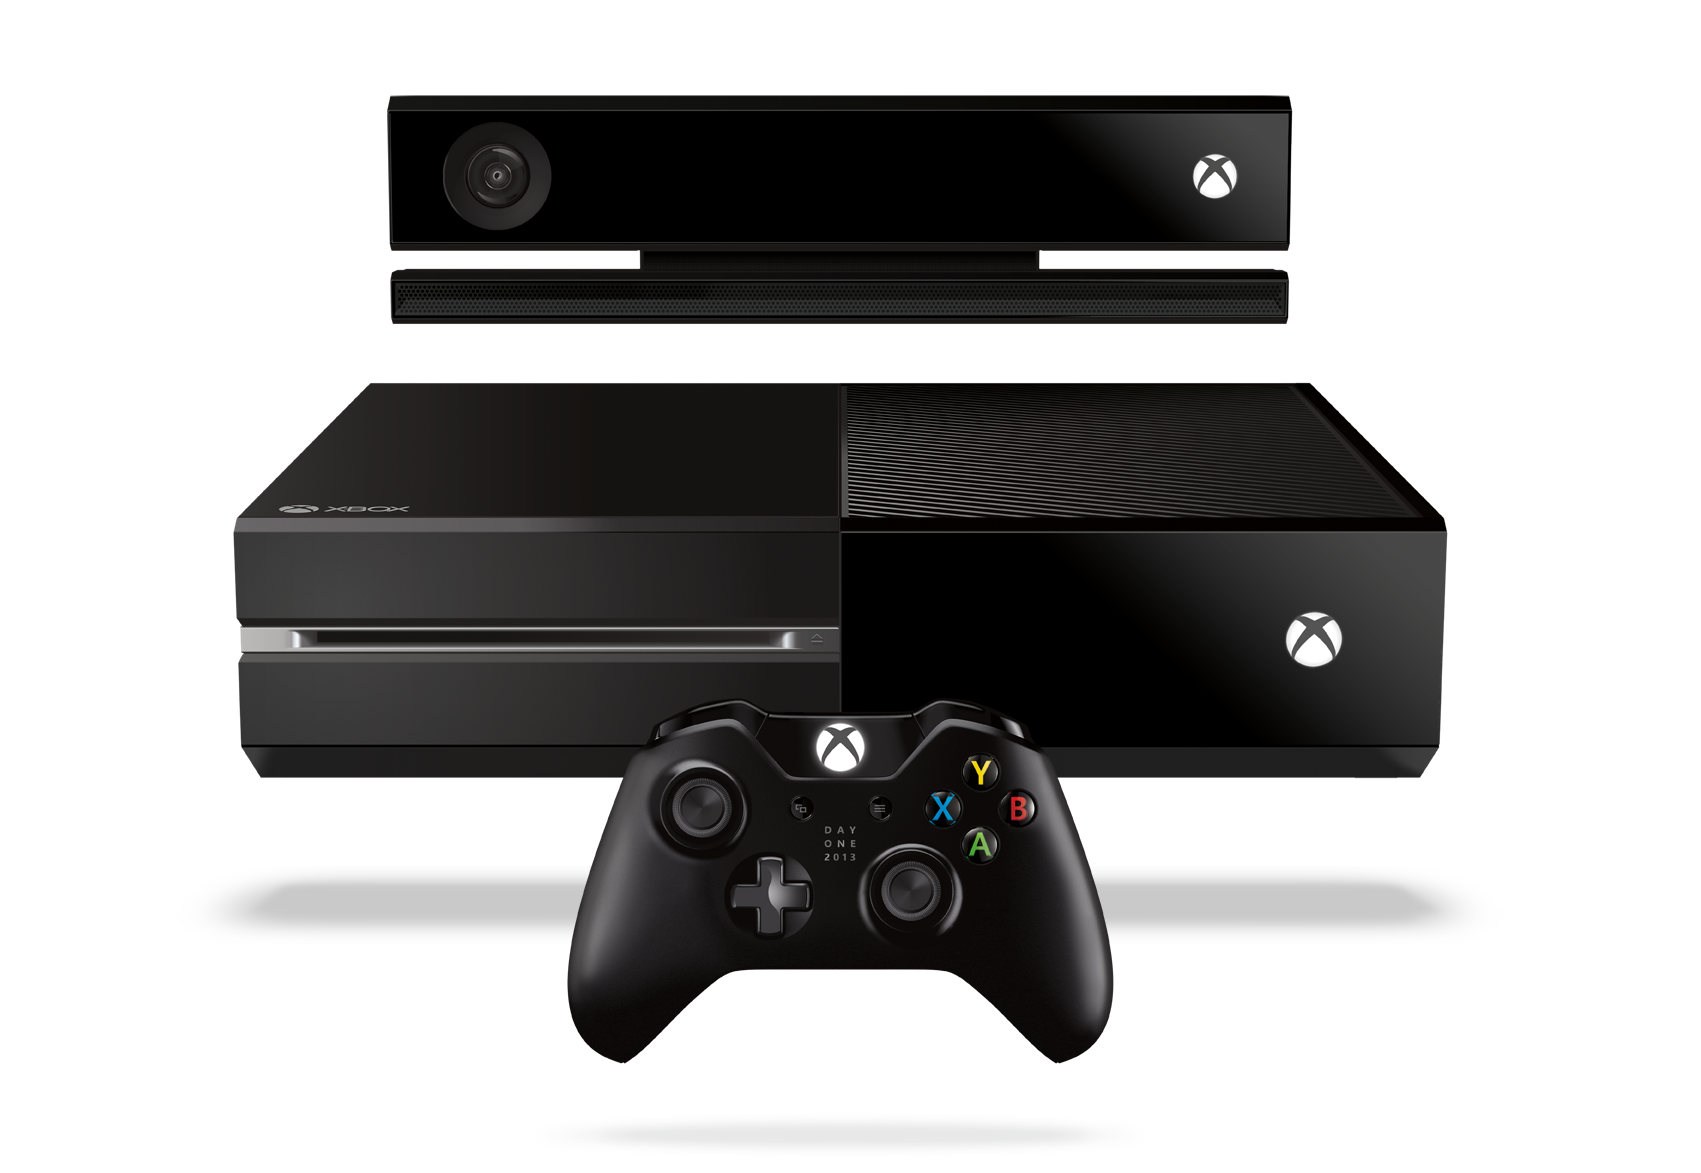
You can use the same XBox One controller with your Windows computer as well as that console

How to use an Xbox One controller with your PC | Windows Central

My Comments

If you do play games using your Windows computer, you may want to use a game controller as a better alternative to the keyboard and mouse or trackpad. This may be of importance with most fast-paced games where games-console-style controllers may suit you better.

The same game controllers that work with Microsoft’s XBox One games console can work with your Windows computer out of the box. This is without needing to add any extra drivers to your Windows setup.

It doesn’t matter what form factor the controllers come in so that flight-yoke or steering-wheel controllers designed for the XBox One can work with Windows computers. As well, the XBox Adaptive Controller which brought video gaming to those with limited abilities can also work with Windows computers.

Logitech G Adaptive Gaming Kit press picture courtesy of Logitech International

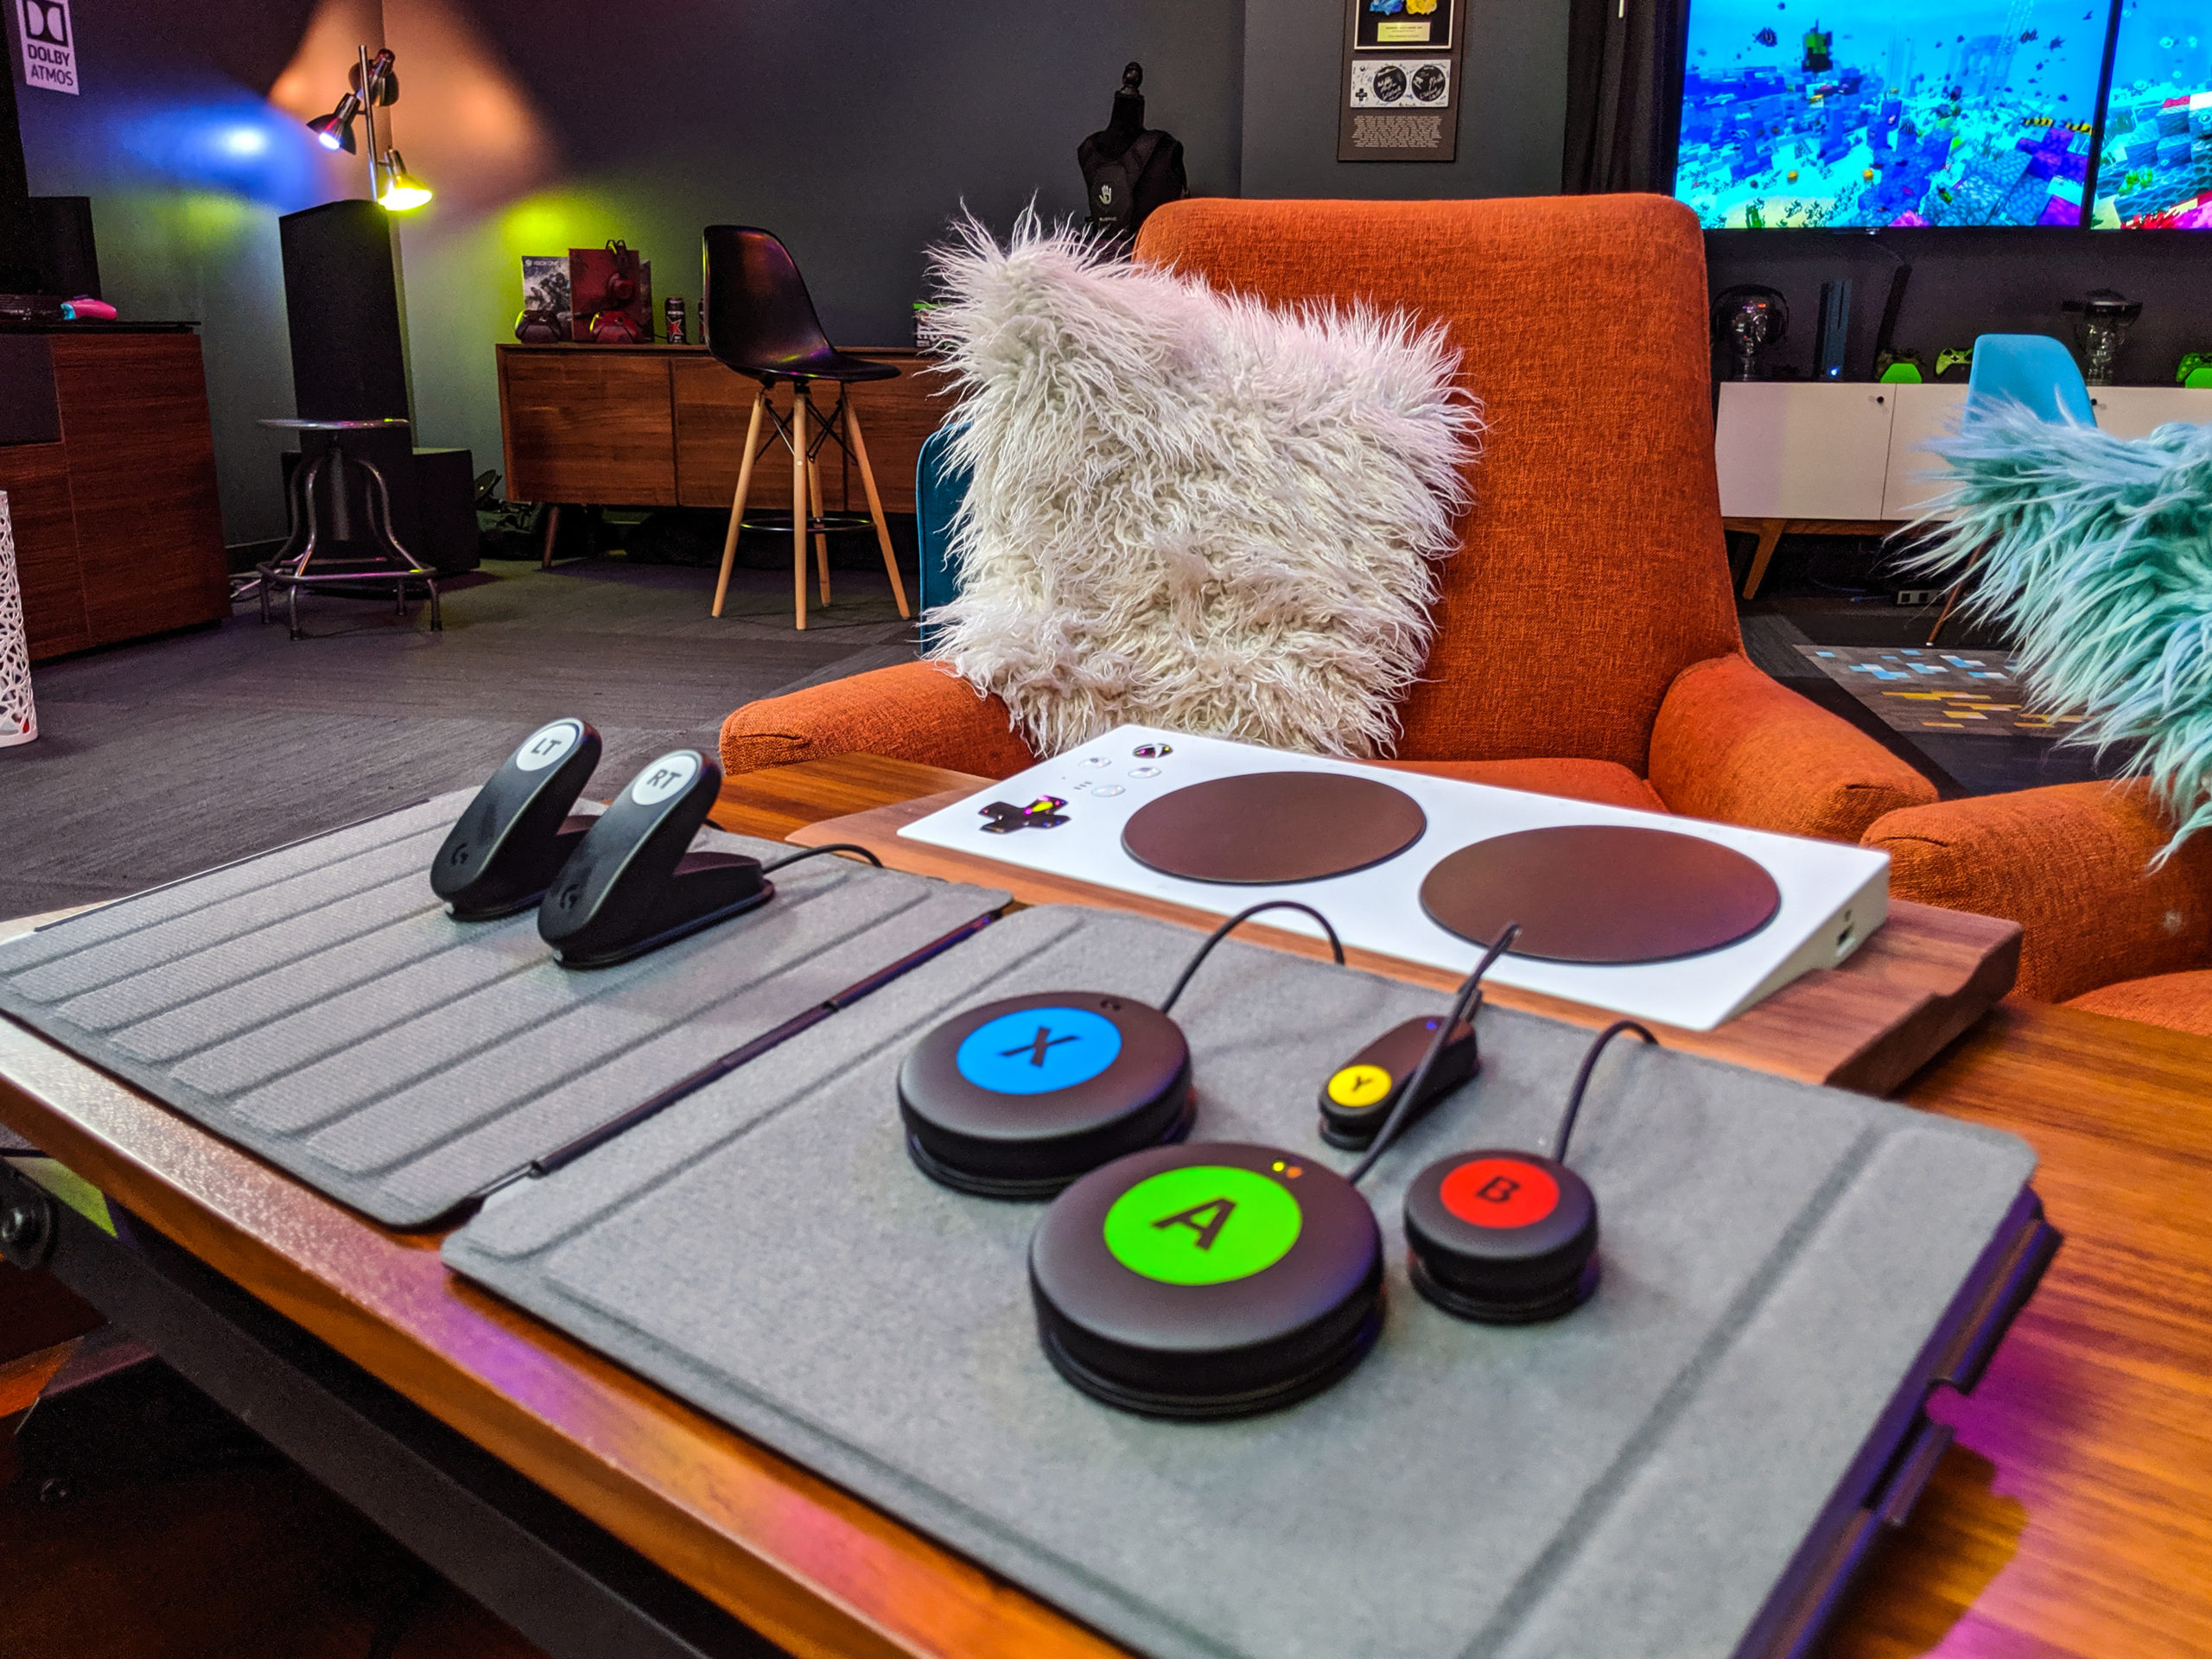
This also applies to the XBox Adaptive Controller and its custom switches that opens up gaming for those of us with limited mobility

For that matter, the XBox Adaptive Controller could open up the same kind of real-world-interface programming that was pitched during the 1980s for computers of the BBC Micro or Commodore 64 ilk. This would be feasible if you know how to write XBox controller functionality in to the software you are developing.

Physical connections

Wired setup

This is very simple if you have a full-function “charge and sync” Micro-USB cable on hand of the type that was used to charge or transfer data to “open-frame” mobile devices. These will typically have a standard USB Type-A connection which will work with most computers.

Dell WD19TB Thunderbolt dock product image courtesy of Dell

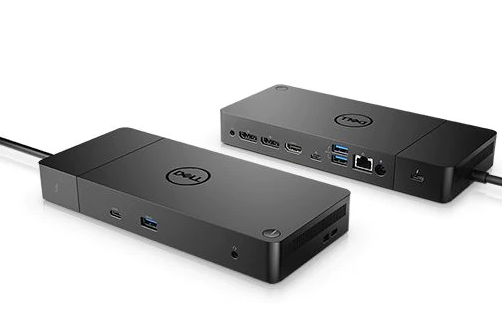
USB-C and Thunderbolt 3 docks and adaptors like the Dell WD19TB Thunderbolt 3 dock can allow you to use the XBox One game controllers with your newer laptop’s USB-C port

If your computer uses USB-C or Thunderbolt 3 as its only peripheral connection option, you can buy a USB-C to Micro-USB cable  (Amazon, Harvey Norman) and use that instead of the aforementioned USB-A to MicroUSB cable for connecting your controller. Or you simply use a USB-C adaptor with a USB-A female socket with your existing cable for your USB-C-based computer. As well, if you use the computer with a USB-C hub or dock that has at least one USB-A port, you can use the ordinary Micro-USB cable with that setup.

You may also find that connecting two controllers directly to the host or via a USB hub may work for local multiplayer games.

Wireless setup

Older XBox One game controllers will need to be used with a Microsoft XBox Wireless Adaptor which is a USB transceiver dongle for XBox One game controllers. This plugs in to any USB Type-A port on your computer but look at the notes in the above secton about wired setups if your computer just has USB-C ports.

Dell Inspiron 15 Gaming laptop

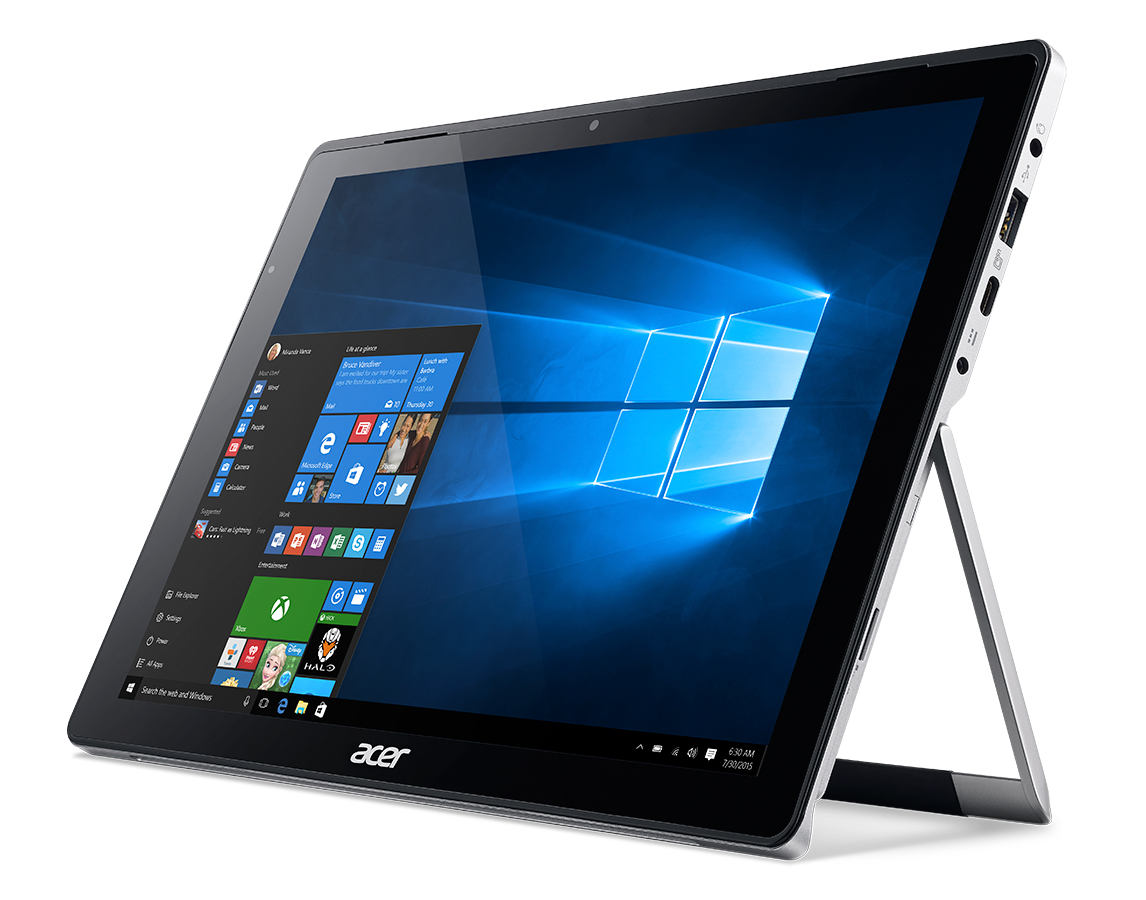
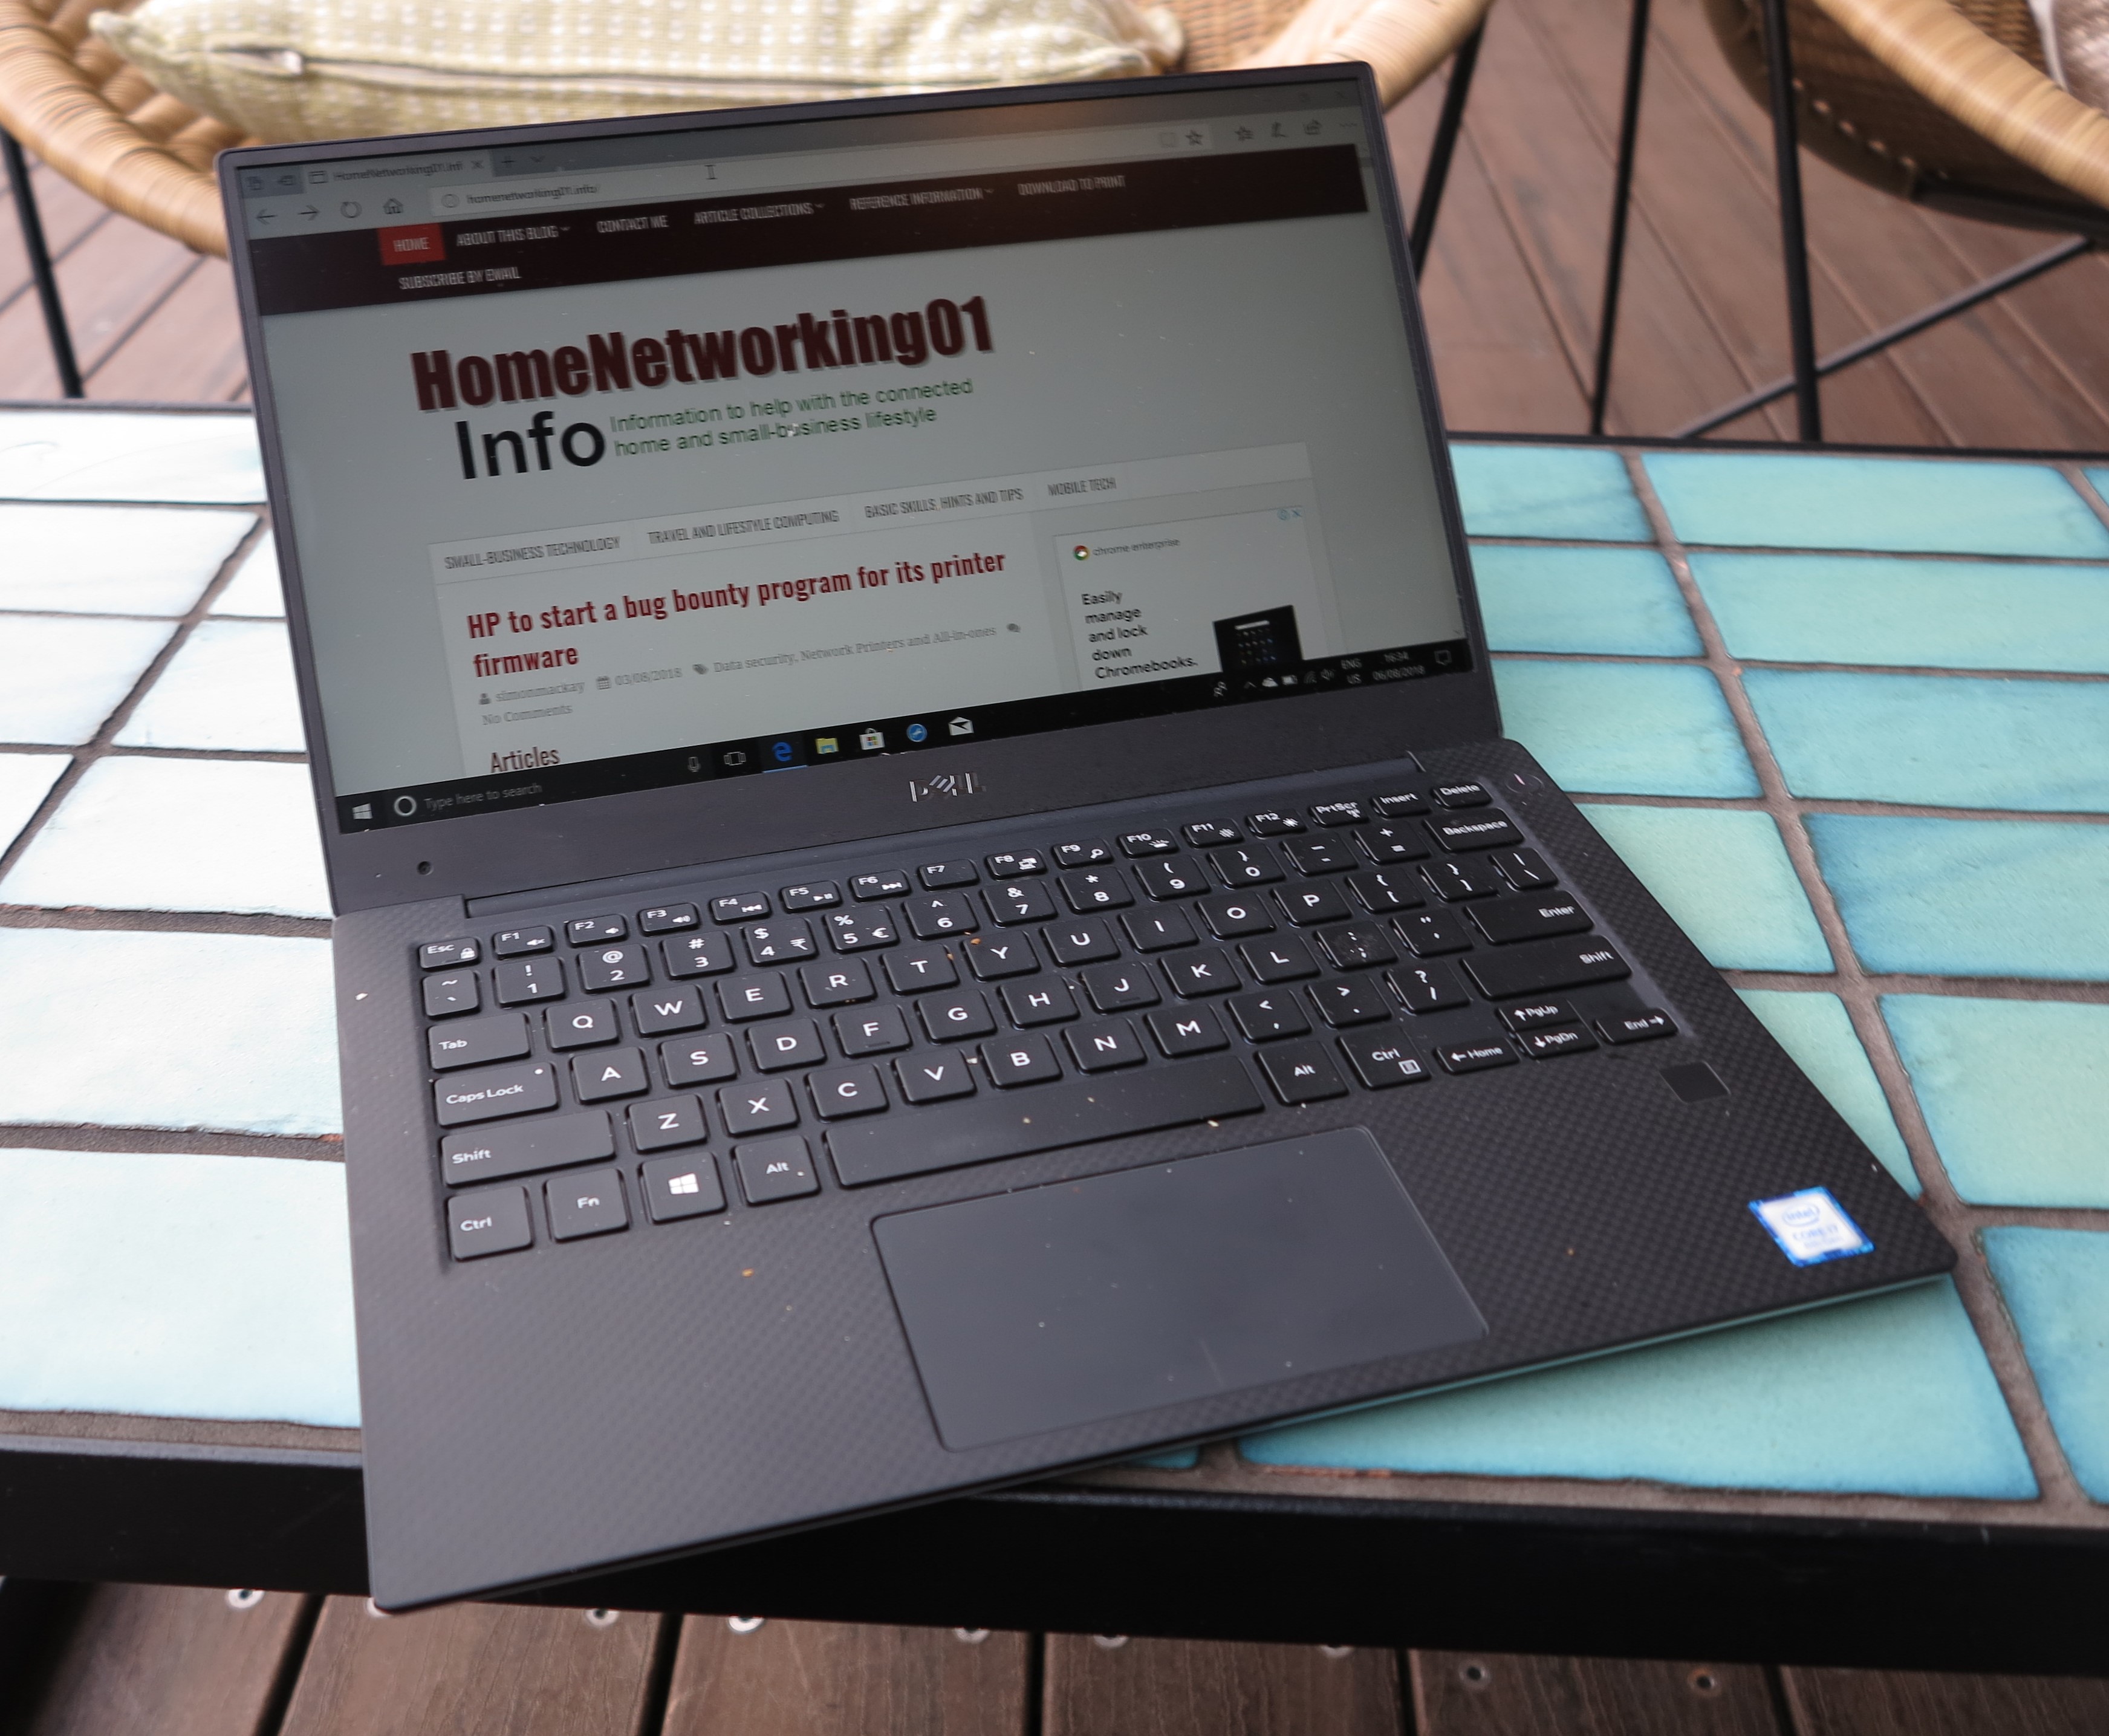
If your computer like this Dell Inspiron 15 Gaming high-performance laptop supports Bluetooth, you don’t need to use a receiver dongle if you use very recent XBox controllers

If your computer supports Bluetooth which most laptops, all-in-ones and low-profile computers do; current-generation game controllers will support Bluetooth connectivity. It also holds true if you are using a Bluetooth adaptor dongle or expansion card with your desktop computer that doesn’t have Bluetooth connectivity. In all these cases, you have to be sure that your computer’s Bluetooth functionality is turned on and active.

Pairing your games controller with your Windows computer is very simple, but you have to have the games controller turned off beforehand. This typically asks you to open “Settings” in Windows by clicking on the “gear” icon in the Start menu. Then you click the Devices option which has your computer able to listen for devices about to “come online”.

Press the large X button on your XBox games controller to turn it on. Subsequently, your Windows regular computer will list it as a newly-discovered device. Click this device to finish off the pairing process.

IF you are setting up multiple controllers for a local multiplayer game, you may have to repeat this process for each controller.

Further notes

You will need to install the XBox Accessories app from the Windows Store to get the most out of your controller. This is important for setting up different control layouts which may be necessary for different games and different players.

It will also enable a “co-pilot mode” to allow two controllers to manipulate the same character in a game. This can be of use in helping novice players get the hang of a game or can allow you to use two different controller types as complementary controllers.

What this will mean for people who play games using the XBox One console or a Windows computer is that they only need to have one set of controllers that can be used with both devices. That is rather than having to retain a controller for your PC and one for the XBox One.

Newer Windows updates will have relevant information about what’s new

Article

Acer Switch Alpha 12 tablet press image courtesy of Acer

Windows 10 major updates will see an improvement to how new functionality is discovered

Windows 10 Insider build 20190 hits Dev channel with new post-update experience | Windows Central

My Comments

When Microsoft officially releases a major Windows 10 feature update, it may be daunting to know what changes have existed to your computing environment as a result of that update.

Here, you may want to know what changes took effect including any new functionality that came about. It may also be about any significant changes to Windows 10’s user experience that you may have to get used to. For some people, finding that a significant change to the user experience may be daunting and that a feature may be delivered but they don’t know how to take advantage of it. This may cause some Windows 10 computer users to delay or avoid major-update cycles all together.

As well, it is more important for people who aren’t sure of any significant changes to how their technology operates, something that can be of concern for the older generations who haven’t had much computer experience. For them, it may be about relearning a skill they already have in order to adapt it to a newly-revised user interface.

Microsoft will be answering this problem with its “Tips” app in Windows 10 from the next feature update onwards. Here it will have a “What’s New” focus that appears after the update is rolled out to highlight any new features or changes to the user experience. This will be updated with every feature update so users are aware of the newly-added functionality.

But I would like to see added to this information relating to improved peripheral and network device support especially where it is relevant to the kind of connections your computer has and devices it is connected to.

For example, it may be about whether a peripheral or network device is gaining class-driver support within Windows or whether the current class drivers that are part of Windows and relevant to the device are gaining any significant improvement. This includes any newer settings that are available to the end-user so they have it working their way.

This can allow a user to rationalise the software that is running on their computer without worrying that they will lose the functions they are dependent on because they remove vendor-supplied software for that device. Similarly, they may want to know whether the installation of a device on a newer computer is going to be a true plug-and-play experience without the need to download and install any extra software. As well, users are then sure they won’t lose device functionality if the device vendor declares end-of-support on that device.

Microsoft is at least taking some steps towards improving the update experience for major updates within Windows in order to make them discoverable and user-friendly.

Why use headphones during that Zoom or Skype video conference?

Zoom (MacOS) multi-party video conference screenshot

Headphones and earphones can improve the sound quality during that Zoom video call

Increasingly most of you are taking part in a multi-party videoconference using Zoom, Skype or similar platforms as part of working or learning from home or keeping in the loop with distant relatives and friends. This has been driven by necessity due to the COVID-19 coronavirus plague and the requirement to stay home to limit the spread of this bug.

But you may find that your correspondents’ audio has that unnecessary echo or reverberation that can make the videocall sound fatiguing and awful. The excessive noise from the reverberation or echo may cause you also to speak louder as a means of dealing with a poor signal-to-noise ratio. As well it can also make a participant harder to understand especially if they have a strong accent that doesn’t cope well with poor signal quality.

JBL E45BT Bluetooth wireless headset

… no matter the kind of headset you use like this JBL Bluetooth headset

This is caused due to latency imposed by the different home-network and Internet connections each party uses and the fact that the sound and vision are being sent around as data packets. As well, most of the parties in the videoconference will typically be using a microphone and set of speakers integrated in or connected to the device for the sound.

Here, the reverberation or echo is heard due to your voice coming out of the participants’ devices’ speakers at a later time thanks to the videoconference setup with its limitations. It can also be magnified if someone is using a speaker setup that is very loud like most desktop speakers or a hi-fi system used as audio output for your computer.

By using headphones during that video conference if you are the only person calling in to the videoconference from your endpoint, you are effectively minimising the echo and reverberation. This is because when a person uses headphones for the videocall, the sound from the other parties is being “funneled” through the headphones exclusively to the device’s user, not likely to be picked up by their device’s microphone.

You will also find that you can hear your participants more easily when you use headphones. This is due to the headphone’s speakers located very close to your ear therefore leading to very minimal audio leakage that can cause further reverberation or echo. Those of you who use active-noise-cancelling headphones may also be at an advantage due to reducing fan or air-conditioning hum interfering with what your callers are saying, allowing you to concentrate better.

Here, any headphones or headset would do, whether they be in-ear, on-ear or over-ear types; or whether they are a wired or wireless setup. For example, if you are using a smartphone or tablet and you have its supplied in-ear wired headset, you can get by with it. Or a pair of good Bluetooth headphones may even do the job better.

This won’t be of use for a group situation where many people like a family or household are joining the videocall from the one device at the one location. It is because they want to talk to the rest of the videoconference as if they are one person. This situation would require the use of the device’s loudspeakers and microphone to be of value.

When you alone are participating in that multi-party videocall and you want to get the best out of it, your headphones may serve you better through that call.

Reverse image searching–a very useful tool for verifying the authenticity of content

Tineye reverse image search

Tineye – one of the most popular and useful reverse image search tools

Article

How To Do A Reverse Image Search From Your Phone | PCMag

My Comments and further information

Increasingly, most of us who regularly interact with the Internet will be encouraged to perform reverse-image searches.

This is where you use an image you supply or reference as a search term for the same or similar images on other Internet resources. It can also be about identifying a person or other object that is in the image.

Increasingly this is being used by people who engage in online dating to verify the authenticity of the person whom they “hit” on in an online-dating or social-media platform. It is due to romance scams where “catfishing” (pretending to be someone else in order to attract people of a particular kind) is part of the game. Here, part of the modus operandi is for the perpetrator to steal pictures of other people that match a particular look from photo-sharing or social-media sites and use these images in their profile.

It also is being used as a way to verify the authenticity of a product being offered for sale through an online second-hand-goods marketplace like eBay, Craigslist or Gumtree. It also extends to short-term house rentals including AirBnB where the potential tenant wants to verify the authenticity of the premises that is available to let.

As well, reverse image searching is being considered more relevant when it comes to checking the veracity of a news item that is posted online. This is very important in the era of fake news and disinformation where online images including doctored images are being used to corroborate questionable news articles.

How do you do a reverse image search?

At the moment, there are a few reverse-image-search engines that are available to use by the ordinary computer user. These include Tineye, Google Image Search, Bing Visual Search, Yandex’s image search function and Social Catfish’s reverse-image-search function.

Dell Inspiron 14 5000 2-in-1 at Rydges Melbourne (Locanda)

A regular computer like this Dell Inspiron 14 5000 2-in-1 makes it easier to do a reverse image search thanks to established operating system and browser code and its user interface.

The process of using these services involves you uploading the image to the service including using “copy-and-paste” techniques or passing the image’s URL to an address box in the search engine’s user interface. The latter method implies a “search-by-reference” method with the reverse-image-search site loading the image associated with that link into itself as its search term.

Using a regular desktop or laptop computer that runs the common desktop operating systems makes this job easier. This is because the browsers offered on these platforms implement tabs or allow multiple sessions so you can run the site in question in one tab or window and one or two reverse-image-search engines in other tabs or windows.

These operating systems also maintain well-developed file systems and copy-paste transfer algorithms that facilitate the transfer of URLs or image data to these reverse-image-search engines. That will also apply if you are dealing with a native app for that online service such as the client app offered by Facebook or LinkedIn for Windows. As well, Chrome and Firefox provide drag-and-drop support so you can drag the image from that Tinder or Facebook profile in one browser session to Tineye running in the other browser session.

But mobile users may find this process very daunting. Typically it requires the site to be opened and logged in to in Chrome or Safari then opened as a desktop version which is the equivalent of viewing it on a regular computer. For Chrome, you have to tap on the three-dot menu and select “Request Desktop Site”. For Safari, you have to tap the upward-facing arrow to show the “desktop view” option and select that option.

Then you open the image in a new tab and copy the image’s URL from the address bar. That is before you visit Google Image Search or Tineye to paste the URL in that app’s interface.

Google has built in to recent mobile versions of Chrome a shortcut to their reverse-image-search function. Here, you “dwell” on the image with your finger to expose a pop-up menu which has the “Search Google For This Image” option. The Bing app has the ability for you to upload images or screenshots for searching.

Share option in Google Chrome on Android

Share option in Google Chrome on Android

If you use an app like the Facebook, Instagram or Tinder mobile clients, you may have to take a screenshot of the image you want to search on. Recent iOS and Android versions also provide the ability to edit a screenshot before you save it thus cutting out the unnecessary user-interface stuff from what you want to submit. Then you open up Tineye or Google Image Search in your browser and upload the image to the reverse-image-search engine.

How can reverse image searching on the mobile platforms be improved

What can be done to facilitate reverse image searching on the mobile platforms is for reverse-image-search engines to create lightweight apps for each mobile platform. This app would make use of the mobile platform’s “Share” function for you to upload the image or its URL to the reverse-image-search engine as a search term. Then the app would show you the results of your search through a native interface or a view of the appropriate Web interface.

Share dialog on Android

A reverse-image-search tool like Tineye could be a share-to destination for mobile platforms like iOS or Android

Why have this app work as a “share to” destination? This is because most mobile-platform apps and Web browsers make use of the “share to” function as a way to take a local or online resource further. It doesn’t matter whether it is to send to someone else via a messaging platform including email; obtain a printout or, in some cases, stream it on the big screen via AirPlay or Chromecast.

The lightweight mobile app that works with a reverse-image-search engine answers the reality that most of us use smartphones or mobile-platform tablets for personal online activity. This is more so with social media, online dating and online news sources, thanks to the “personal” size of these devices.

Conclusion

What is becoming real is reverse image searching, whether of particular images or Webpages, is being seen as important for our security and privacy and for our society’s stability.

How to bring back the Up Next function on your Apple TV box

tvOS Apple TV with Up Next list

Personalised Up Next view shows what TV shows you are working through

Before Apple upgraded the tvOS operating system in your Apple TV set-top box to version 13, you used to see at the top row a photo-gallery view of shows you were working through from some of the content providers you set up with your Apple TV. This function, known as “Up Next” mainly happens with most broadcaster-operated video-on-demand services who have Apple TV client apps but doesn’t work with all other video-on-demand services like Netflix.

Here, you would see which episodes of these shows you were up to, including whether you were working through a particular episode of a show. That would be highlighted with a bar that indicates how much of the episode you have seen. This arrangement would actually represent your tastes properly.

The tvOS 13 upgrade replaced this with the ability for Apple to promote its own content or those it has strong business relationships with and promote it in a Hollywood fashion. Here, it didn’t really sit with some viewers who saw it as a form of TV advertising, especially if it is about content that really doesn’t reflect their tastes. It then led towards most of us who know what we are after heading to the video-on-demand services’ apps to find the content we are after or continue watching our favourite series.

tvOS 13.3 confirmed in Software Updates Screen

Your Apple TV must be running tvOS 13.3 for this to work

Thanks to user feedback, Apple has answered this problem properly by restoring the “Up Next” functionality as a user-selectable option for tvOS-based Apple TV devices when upgraded to tvOS 13.3. By default, this will happen when you are not using your Apple TV box with it downloading the upgrade from Apple’s servers, installing it and restarting.

How to set this up

Software update

tvOS Settings - System - Software Updates optionConfirm that the Apple TV is on tvOS 13.3 by selecting “Settings”, then “System” then “Software Updates”. Under the Apple TV logo, you will see the operating system version for your device. If it’s not up-to-date, select the “Update Software” item on that screen to commence updating to the latest version of tvOS.

Selecting the right option

tvOS Settings - Apps - TV screen

In the TV App settings menu (found in the Settings app under TV) is the Top Shelf option which you need to change to Up Next

Head back to the Settings menu on your Apple TV device, then select “Apps”. This will show a list of apps installed on your Apple TV device whose settings can be managed through the Settings menu. Highlight the TV app, which will show an Apple TV logo in a black rectangle, then select this app to adjust its settings.

tvOS 13.3 Top Shelf options description

On-screen description for the Top Shelf display options

Highlight the “Top Shelf” option, which will determine what appears at the top of your Apple TV’s main screen menu if you highlight the Apple TV icon. Select this option to toggle between the “What To Watch” option which shows the trailers and other Apple-driven recommendations, and the “Up Next” option which are the shows you are working through. In this case, make sure you are selecting “Up Next” to have what you had before the tvOS 13 update.

You may find that the “Up Next” view is out of sync with what you are viewing on the compatible video-on-demand services. But, as you use the regular apps for these services to continue watching your content, this view will update itself to what you watch now.

Thunderbolt dock may be behaving erratically under Windows 10. What can you do?

Article

Dell XPS 13 8th Generation Ultrabook at QT Melbourne rooftop bar

Simply restarting your Thunderbolt-3-equipped computer may correct problems you have with any Thunderbolt 3 docks attached to it.

Microsoft Warns of Uncommon Windows 10 Thunderbolt Issue | Bleeping Computer

From the horse’s mouth

Microsoft Support

Devices connected through a Thunderbolt Dock stop working after the computer resumes from the S5 power state (Support article)

My Comments

You may find that your Thunderbolt-3-equipped computer may show up a problem with its Thunderbolt 3 connection if it is running a recent build of Windows 10.

This will happen when you are using a Thunderbolt 3 dock or a Thunderbolt 3 peripheral like a display or external graphics module that has dock functionality where you can connect multiple peripherals. As well, it may encompass Thunderbolt 3 devices that have user-removable or user-replaceable storage media like memory-card readers, SATA hard-disk interfaces or optical drives.

It will be common with those of us who have a laptop computer and establish one or more workspaces equipped with a full-sized keyboard, mouse and one or two large screens then use a dock for one-cable connection and disconnection. You may also be connecting one or more storage devices like USB hard disks, memory keys or optical drives to the dock for extra storage functionality.

The problem will manifest if you have Fast Startup enabled on your Windows 10 laptop. This mode, which will most often be set up by default and to come in to play when you close up your laptop, will dump from RAM to the internal hard disk or SSD what is needed to bring your computer to the login screen when you close the computer’s lid or quickly press the Power button.

The symptom will show up if you do the following practices regularly:

  1. connect the computer to the Thunderbolt dock, finding that all peripherals connected to the dock are present and functioning as far as Windows is concerned.
  2. power-down the computer by pressing the Power button for a long time or instigate a shutdown procedure from within Windows with the goal to have it fully turned off.
  3. disconnect the Thunderbolt dock from the computer once you see the screen go black
  4. let the computer completely power down
  5. connect the Thunderbolt dock to that computer and wait for it to stabilise
  6. turn on the computer like normal

Here, the peripherals connected to that Thunderbolt dock will register with Windows and be present in the operating system’s Device Manager. But they won’t function as expected like you won’t have any input from the full-sized keyboard or mouse nor would the storage devices be available for use by Windows and its applications.

This behaviour happens very occasionally and you may normally disconnect and reconnect the dock to force Windows to “rediscover” the associated peripherals.

But what can you do to rectify this problem? Here, it is a simple process of fully shutting down then restarting your computer using the Shutdown or Restart procedure in Windows without disconnecting the Thunderbolt dock. Here, you have to wait until all the lights on the computer are off, not just the screen, when you instigate the Shutdown procedure this time.

With this process, you are making sure that during the boot cycle, the Windows operating system is properly taking stock of all the peripherals that are connected to the Thunderbolt dock and making sure they are properly available “to the computer”. This includes enforcing the dock to reset itself and create a fresh inventory of what is connected to or integrated in it to present to the host operating system.

You may also find that fully restarting your computer if peripherals connected to a hub, dock or similar device aren’t working properly no matter the connection method or operating system.

You can manage your Google Home’s lighting and volume for night-time use

Article

You can use the Google Home app to manage how your Google Home smart speaker works during the evening and night hours for a better night’s sleep

Google Home Has A Hidden Night Mode (And We Love It) | Lifehacker

From the horse’s mouth

Google

Manage volume and LED brightness with Night mode (Instruction sheet)

My Comments

Some of you may want to interact with a Google Home smart speaker during the wee hours of the day such as to ask for the time or weather. Or you may touch the device and work it as a night-light. But it can be too bright or loud at these times in a way that people can be woken up at odd hours. Here, some users have to adjust the volume to avoid this risk of disturbance.

But Google has a “Night Mode” feature that allows you to determine the maximum volume and device lighting brightness during times when you don’t want to be disturbed.

Here, you have to use the Google Home mobile-platform app on your smartphone or tablet. As well, your mobile device has be on the same logical network as the Google Home device, which would typically be the same Wi-Fi network when you are thinking of your home network.

When you open the Google Home app, tap on the gear-shape Settings icon and you will see the “Night Mode” setting in the list of settings. There is a toggle switch to enable or disable this mode, and when you enable this mode, the LEDs on the top of your Google Home device will dim while the maximum speaker volume will be softer.

There is an option to schedule the times and days of the week when the Night Mode feature will be active. This may be of importance if you want to make sure it comes in to play on weeknights for example.

There are settings to determine the maximum speaker volume and lighting brightness that will apply to your Google Home smart speaker while it is in the “Night Mode” condition.

The Do Not Disturb option on the Night Mode settings page mutes any notification or system sounds that your Google Home smart speaker makes. But timer or alarm signals will “break through” this setting so you don’t miss that extra alarm you set to wake you up so you can pick up that loved one from the airport as they come off that late flight.

But I am not sure whether these settings can be configured for individual devices or all of the devices bound to the same account. This may be of importance if you want to reduce the volume and lighting brightness on units installed in the bedrooms while one or more units installed in the common living areas are maintained at bright levels; or you want to maintain a common setting across your home.

A feature that can improve on this would be to have the LEDs on top of a Google Home device stay alight but at the maximum brightness to allow you to use the device as a night light. This is more so for those of us who would keep one of these devices in the corridor near the main bathroom or within that bathroom to serve as a “beacon” night-light to enable use of the bathroom at night.

At least Google has provided an option to allow the Google Home device family to work properly without disturbing other people’s sleep at night.

It will be easy to use your voice to delete what you previously said to Alexa

Amazon Echo on kitchen bench press photo courtesy of Amazon USA

You will be able to use your voice to delete instructions you said to your Amazon Echo

Articles

How to See and Delete Alexa’s Recordings of You | Tom’s Guide

You Can Now Tell Alexa To Delete Your Conversations | Lifehacker

My Comments

An issue that anyone with a voice-driven home assistant device will be wanting to have control of is what the device’s platform has recorded when they spoke to that device. It also includes the risk of your device being accidentally triggered by situations such as an utterance of the wake word in a recording or broadcast. A previous article that I have written describes how to achieve this kind of control with your Amazon Echo or similar Alexa-based device.

But Amazon have taken this further for the Alexa platform by allowing you to speak to your Alexa-based device to delete recordings left on the platform during particular time ranges.

How to enable this function

You have to use the Amazon Alexa app or Website to enable this feature but you don’t have to install another Alexa Skill in to your account for this purpose. Once you are logged in to your Amazon Alexa app or Website, enter the Settings section which would be brought up under a hamburger-shape “advanced-operations” menu.

Then you go to your “Alexa Account” option in that section and bring up the “Alexa Privacy” menu. Go to the “Review Voice History” screen and you will see the  “Enable Deletion By Voice” option that you can toggle on or off. Having this feature on will allow you to use the voice commands that will be listed below. When you enable it, you will see a warning that anyone with access to your Alexa-based devices will be able to delete what was said to the Alexa ecosystem.

Commands

“Alexa, delete everything I said today” will cause your Alexa-based device to delete anything you said to it from midnight (0:00) of the current day to the time you gave that instruction.

For greater control, Amazon will roll out this other command: “Amazon, delete what I just said”. This will delete what was last said to your Alexa device and can be of use when handling a nuisance-trigger situation for example.

Conclusion

I would see the other voice-driven assistant platforms provide the ability to delete what you said under your voice control as a user-enabled option. This will be more so as the light shines brightly on what the Silicon Valley establishment are up to with end-user data privacy amongst other issues like corporate governance.

Should we be managing multiple email accounts?

Windows Live Mail client-based email interface

Multiple email accounts may be beneficial to your privacy and work-life balance.

Some of us may find it convenient to handle all of our email through one account. The advantages that are often seen include dealing with one inbox and sending from one account.

But we are increasingly entering a world where we have to deal with multiple email accounts.

Why run multiple email accounts?

One reason this is becoming important is to keep business and private email separate. Here, it may be about preserving a separate business and social persona, or simply to delineate your time between home and work activity. Similarly, the separate email address for business / work email is an advantage in preserving a professional appearance.

As well, the correspondence associated with your personal email address that you maintain yourself isn’t subject to the same kind of legal scrutiny that the correspondence associated with your business email address would be subject to. This is important if your workplace or business is to change hands or is a party to legal action of any sort.

People who have a public-facing business life such as politicians or celebrities will maintain a public-facing email address to maintain an email correspondence consistent with that public-facing role. This is becoming more important where people in the public eye are becoming more vulnerable to “dirt-digging” – the practice of trawling for any information to discredit one’s reputation.

This practice is also becoming important with the emails we “tie” with various social-network presences. Here, we may want to operate a professional-looking persona on the public-facing social-media profiles while keeping a private persona that you have on your personal social-media profiles.

The situation extends to where we have our email address on material that the public have easy access to, whether it’s that notice on the church noticeboard or our entry on that petition.

Those of us who engage in online dating are having to find that maintaining a separate email address for use with dating apps and Websites gives us greater control over what potential suitors know about us. It may also offer a chance to control when they can contact us while keeping this life private from family or work.

Account types list in the Add Account option including option to add POP3 or IMAP4 accounts

It also applies to businesses and organisations who maintain a public-facing email address that is written on the public-facing material. This keeps a professional appearance and keeps your staff’s business and private email more private. Similarly, you can maintain multiple email address for particular job descriptions or workflow requirements.

Conversely, some of us maintain a separate email address that we give to marketers or online email newsletters as a crude method of spam control. Similarly, separate email addresses are being seen as important as a failover measure should one email server crash or as a security verification means for email services.

How is this achieved?

Who will provide the email inboxes

email settings in Samsung Android email app

Add Account option in email settings on Android (Samsung) email app

Your workplace will give you an email address that is tied to your tenure with that employer. The provision of a tied email address will also apply for most college students or staff who have access to college IT resources. If you run a small business or other organisation with a Web presence and own domain name, your Webhost or domain name provider will offer at least one email inbox under the main domain name you purchased.

Most ISPs or telcos will provide you with at least one email inbox as part of your Internet-service deal. It will be something that is very common with fixed-line Internet service especially from major providers.

Of course, there are the Webmail providers like Outlook.com and Gmail who will provide you at least one email address for free. It also includes the secure email hosts who provide a secure user experience at a premium price.

Now we are seeing the rise of dedicated service providers who provide email inboxes as their main business. Such providers will offer Web-based or standard client-based access to these mailboxes.

What to look for

Samsung Android email app account types

Account types offered by the Samsung Android email app

A feature I consider very important for email accounts is that they support multiple-device access and full “on-the-road” use. Typically it would mean use of a major Webmail host or a host that implements “hosted Exchange” or IMAP4 email protocols. This is important where we use a mobile device or secondary laptop computer to work our emails and want to work our email from anywhere.

You may find that a Webmail interface that allows the operation of multiple accounts from competing services may come in handy if you are using shared computers or public computing facilities.

How do you handle the multiple email inboxes

Different users may manage their email from multiple accounts using one of two paths. One is to use a single interface for all of the email accounts, with the other being to use different interfaces for different accounts.

It may include having all your personal email accounts operated with one interface like a Webmail interface while your work or business email accounts are operated with another interface like a business-optimised email client.

One email interface for all accounts

Most email interfaces, whether Web-based or client-based, will support the operation of multiple email accounts. In this case, using the one interface will underscore the idea of going to one email interface for all of your email activity.

Your email interface will have an option in its account-management settings to add or delete email accounts. Most of the current interfaces will have a “quick-setup” routine for the popular Webmail providers; and will have a setup option for accounts using Microsoft Exchange, POP3 or IMAP4 accounts.

Receiving email

The user experience for reading your email will have separate inboxes for each of the accounts you manage. You may also find that some of the email interfaces like the GMail Web interface may offer a combined-inbox view for all of your email accounts with better interfaces using visual clues to differentiate each account.

Sending email

Should you send an email, you will be asked to choose which account you use to send your email via.

On some email interfaces where you choose the account you are operating at the moment like Windows 10’s Mail app, the account you are operating would be the one you send your email via. Other interfaces may require you to determine which account you send the email from when you click the “Send” button. As well, most of these interfaces may offer a default-account setting for new email, with the option to override this when you compose your new message.

The default behaviour for replying and forwarding would be to use the email service you received the email via for sending the replies or forwarding the email.

Your contacts list

Of course the contact list kept in your email interface will, in most cases, be shared amongst all of the accounts you operate.

Different email interfaces for different accounts

On the other hand, some of us may choose to operate each inbox with its own interface setup. This may be due to an email client not handling multiple inboxes how we want it or simply to delineate the operation of each inbox as a separate task.

This is a simple task with operating each interface with its own account. You will have to copy across contact details you want to use across multiple accounts if you operate them with separate interfaces.

A combination of this situation and the former situation will apply if you choose to operate some accounts with one interface and others with another interface. This is a useful practice for those of us who want that “church and state” separation between business and personal or public and private email activity.

Conclusion

Operating multiple email accounts may come in to play as a measure to protect your privacy and manage our email inbox properly.

How to set Bedtime mode on iOS so you don’t miss important calls

Options area in iOS Bedtime Mode screen

Select Options to set up the Bedtime Mode behaviour

Apple’s iOS operating system since version 12 have support for “Bedtime” mode which allows you to have a good sleep. This is achieved through optimising the display to reduce blue light in a sleep-friendly manner along with default automatic enablement of “Do Not Disturb” mode where the iPhone won’t ring through during the hours the Bedtime mode is in operation. This will be heralded by your iPhone ringing a phrase of Brahms’ Lullaby with a music-box sound when that mode is effective.

But some of us may don’t want to miss important calls that come through at night due to work or personal reasons. An example of this could be a person who is a registered keyholder for a premises and needs to know of alarm incidents affecting that premises. Or someone you expect home may be arriving late and wants to let you know they are on their way or changed plans. In a simple case, you may not want to miss that important call from someone who is on the other side of the world.

The default implementation for Bedtime mode has your iPhone in “Do Not Disturb” mode where your iPhone won’t ring or sound a notification tone for text messages while that mode is in effect. But you may want most of the sleep-friendly benefits of this mode while being able to be woken by those important calls.

iOS Bedtime Mode options screen with Do Not Disturb option called out

Clear the Do Not Disturb option to allow calls and texts to come through during Bedtime Mode

To enable this, you need to go to the Clock app and select the Bedtime screen. Select “Options” and turn off the “Do Not Disturb” mode on that screen to allow calls to come through. The display will still be dimmed through this time but the iPhone will ring or sound a notification tone.

You may also have to check for scheduled “Do Not Disturb” times in case you used this feature to set up a “do-not-disturb” period surrounding your normal bedtime. This is a feature that an iOS user may have implemented before updating to iOS 12. You can check this feature in the “Do Not Disturb” option in the Settings app.

If you do use the “Do Not Disturb” option, you can allow certain caller groups to break through and cause your phone to ring irrespective of when this option is in effect. One of these is “Favourites” which allows you to mark contacts as a “favourite”. Or you can use the Groups option to allow calls from contact groups that you have pre-defined. This is important if you mark out your contacts in to contact groups like “work” or “family” and is a complex procedure that requires you to use your Apple iCloud.com account on a Web browser.

The use of a predefined caller list to override “Do Not Disturb” may not work well with callers who call you using VoIP or from behind a business phone system. This is because you may find that the caller ID for their call may be different from their phone number due to them, for example, calling from the nearest extension rather than their own extension.

iOS and Android could natively follow the Symbian (original Nokia feature-phone operating system) approach where you have different situation-specific alerting presets that affect your phone’s audio / vibration / indicator-light behaviour. This can also allow the use of one or more priority call lists so that callers you select for a particular situation can ring through. Such presets can be linked to operation modes like the “Bedtime” mode or alarm clock so they can be effective during these modes.

As well, Apple could simplify the process of creating and managing caller groups on the iOS contacts list while you are using your iPhone’s user interface. This is important for processes like adding new contacts to your list or revising your contacts, and can make the process more intuitive.