Keeping your portable equipment safe through the summer
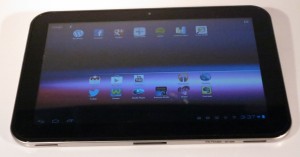
 Through the summer, we are likely to take our portable equipment with us more frequently as we spend more time outdoors. This is whether to play music off an MP3 player in the car, use our smartphones on the road more frequently, take heaps of pictures with our digital cameras at the beaches and beauty spots we visit, or entertain our kids during the long road trips using a tablet or laptop.
Device security
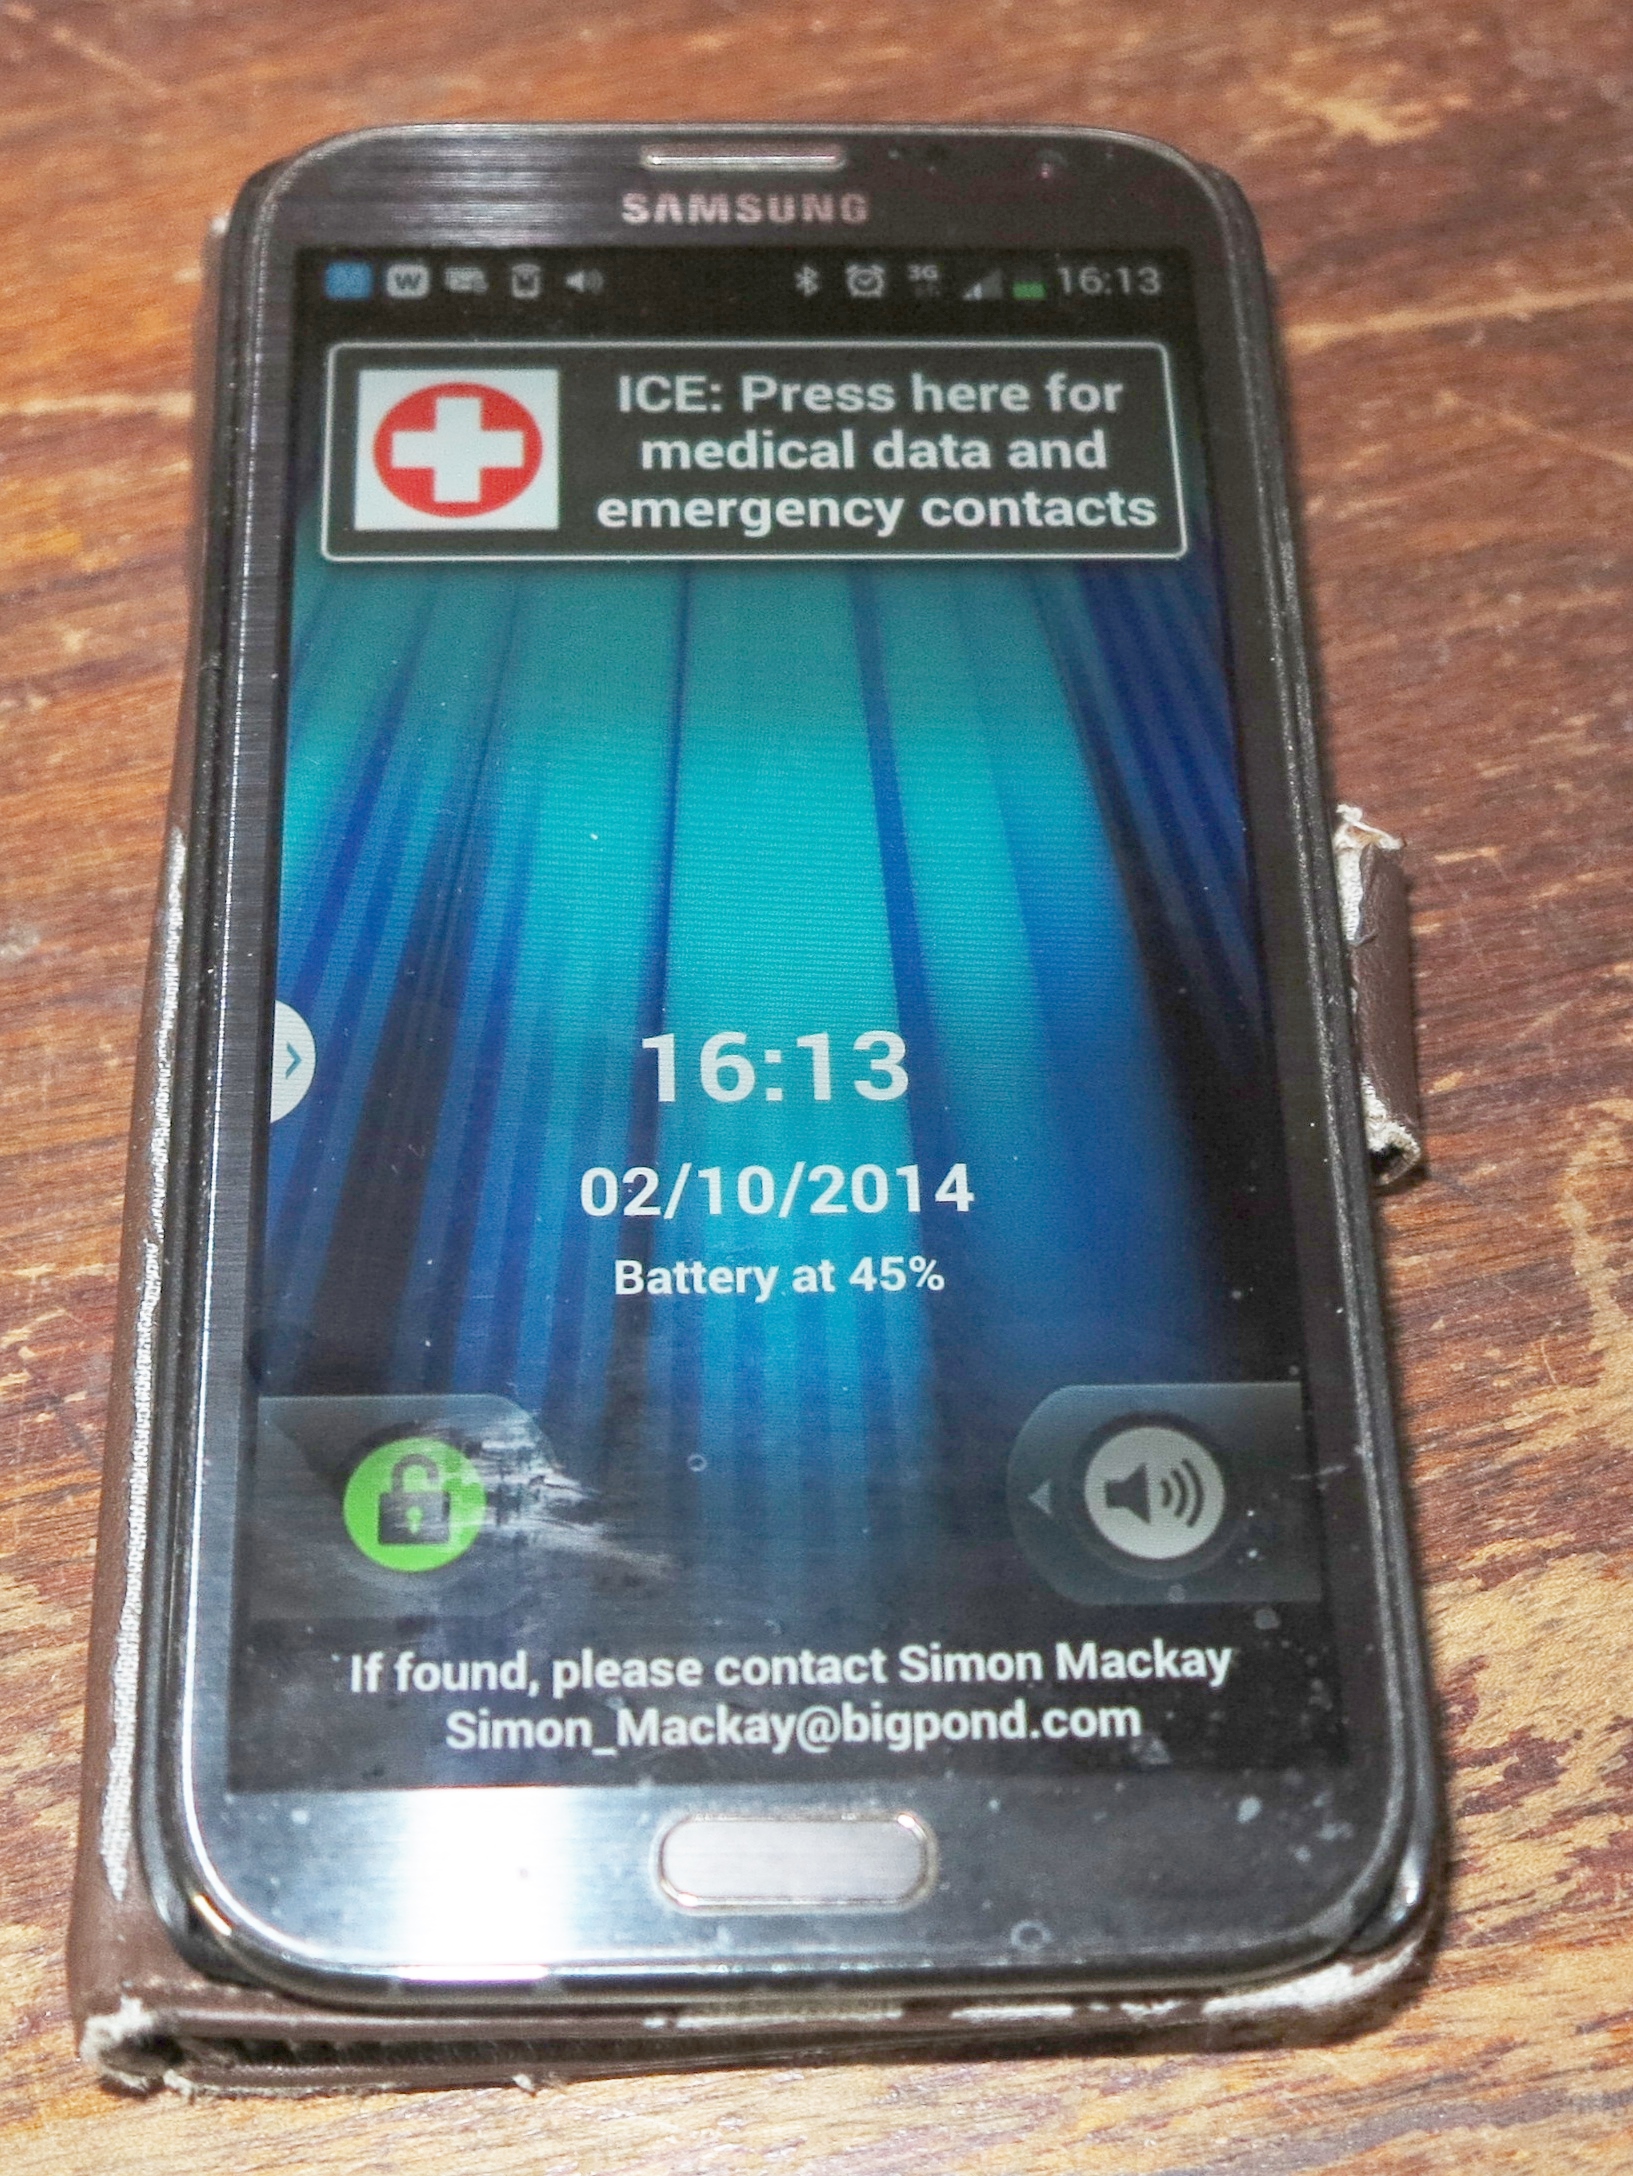
Smartphones are so well used during summer yet misfortune can happen to them
When we are on the road, we are likely to carry our gadgets with us more frequently. But this becomes a temptation for light-fingered thieves to get their claws on our stuff. This has ranged from gadgets like smartphones disappearing at the beach to cars being broken into and possessions being stolen.
You can store your devices securely in your car. As well, making sure you don’t leave handbags, backpacks, laptop bags or similar luggage lying around in the car. This is because thieves can deduce that these bags contain items of value and break in to the car to steal these bags.

A locked car trunk (boot) can be the safest place to store your mobile technology when you are out and about
If you are using a sedan (saloon) or similar vehicle that has a separately-lockable luggage compartment i.e. the boot or, in the US, the trunk, this is the safest place for these valuables if you are not using them at your destination. This can apply to tradesmen’s utes (pickup trucks) where there is a lockable box that is securely attached to the cargo bay on these vehicles.
Hey, do you know where the luggage blind is for your hatchback or 4×4?
Hatchbacks, station-wagons (estate cars) and SUVs (4-wheel-drives / 4x4s) aren’t all that secure in this context but using the luggage blind or removeable luggage shelf that may come with your vehicle can make it easier to keep the valuable items “out of sight, out of mind” but these aren’t necessarily secure. For that matter, where is that luggage blind or luggage shelf that came with your car if your car came with that?
The glove compartment in the dashboard or the box in the centre console that doubles as an armrest serves well as a secure storage location for small items like MP3 players, smartphones or small digital cameras. This is more so especially if you can lock it with a key.
If you are at the beach, pool or beauty spot as a group, you may be tempted to keep all the smartphones, cameras and similar equipment in a pile near the drinks or picnic food especially as some of you go off for a swim or to admire the beauty. In these situations, make sure there is a trusted adult near that pile of equipment at all times to keep watch on it. Also hiding the equipment amongst bedding, towels, picnic rugs, the picnic basket or in common-looking bags may work as a way to make it less attractive to thieves.
Avoiding damage
One major cause of damage to a lot of the portable gadgets during the summer is water and other fluids; or sand getting inside the devices.
If you find that there is a greater risk of this kind of damage happening to these devices, it is a good idea to have liquid-tight containers for the devices. For cameras, you can purchase weatherproof cases from your favourite camera store. These come either as a generic case that suits cameras of the type or a manufacturer-designed case that suits a particular camera model. You may also come across weatherproof containers for smartphones and tablets like the iPad.
The common zip-lock sandwich bags that you can get from the supermarket can work well with smartphones, portable media players and remote controls that are more likely to be baptised in swimming-pool water or have a drink tipped over them.
Avoid the temptation to carry a smartphone or MP3 player in your pocket or wedged in on your swimwear when you are near the water unless it is kept in a zip-lock bag or something similarly waterproof.
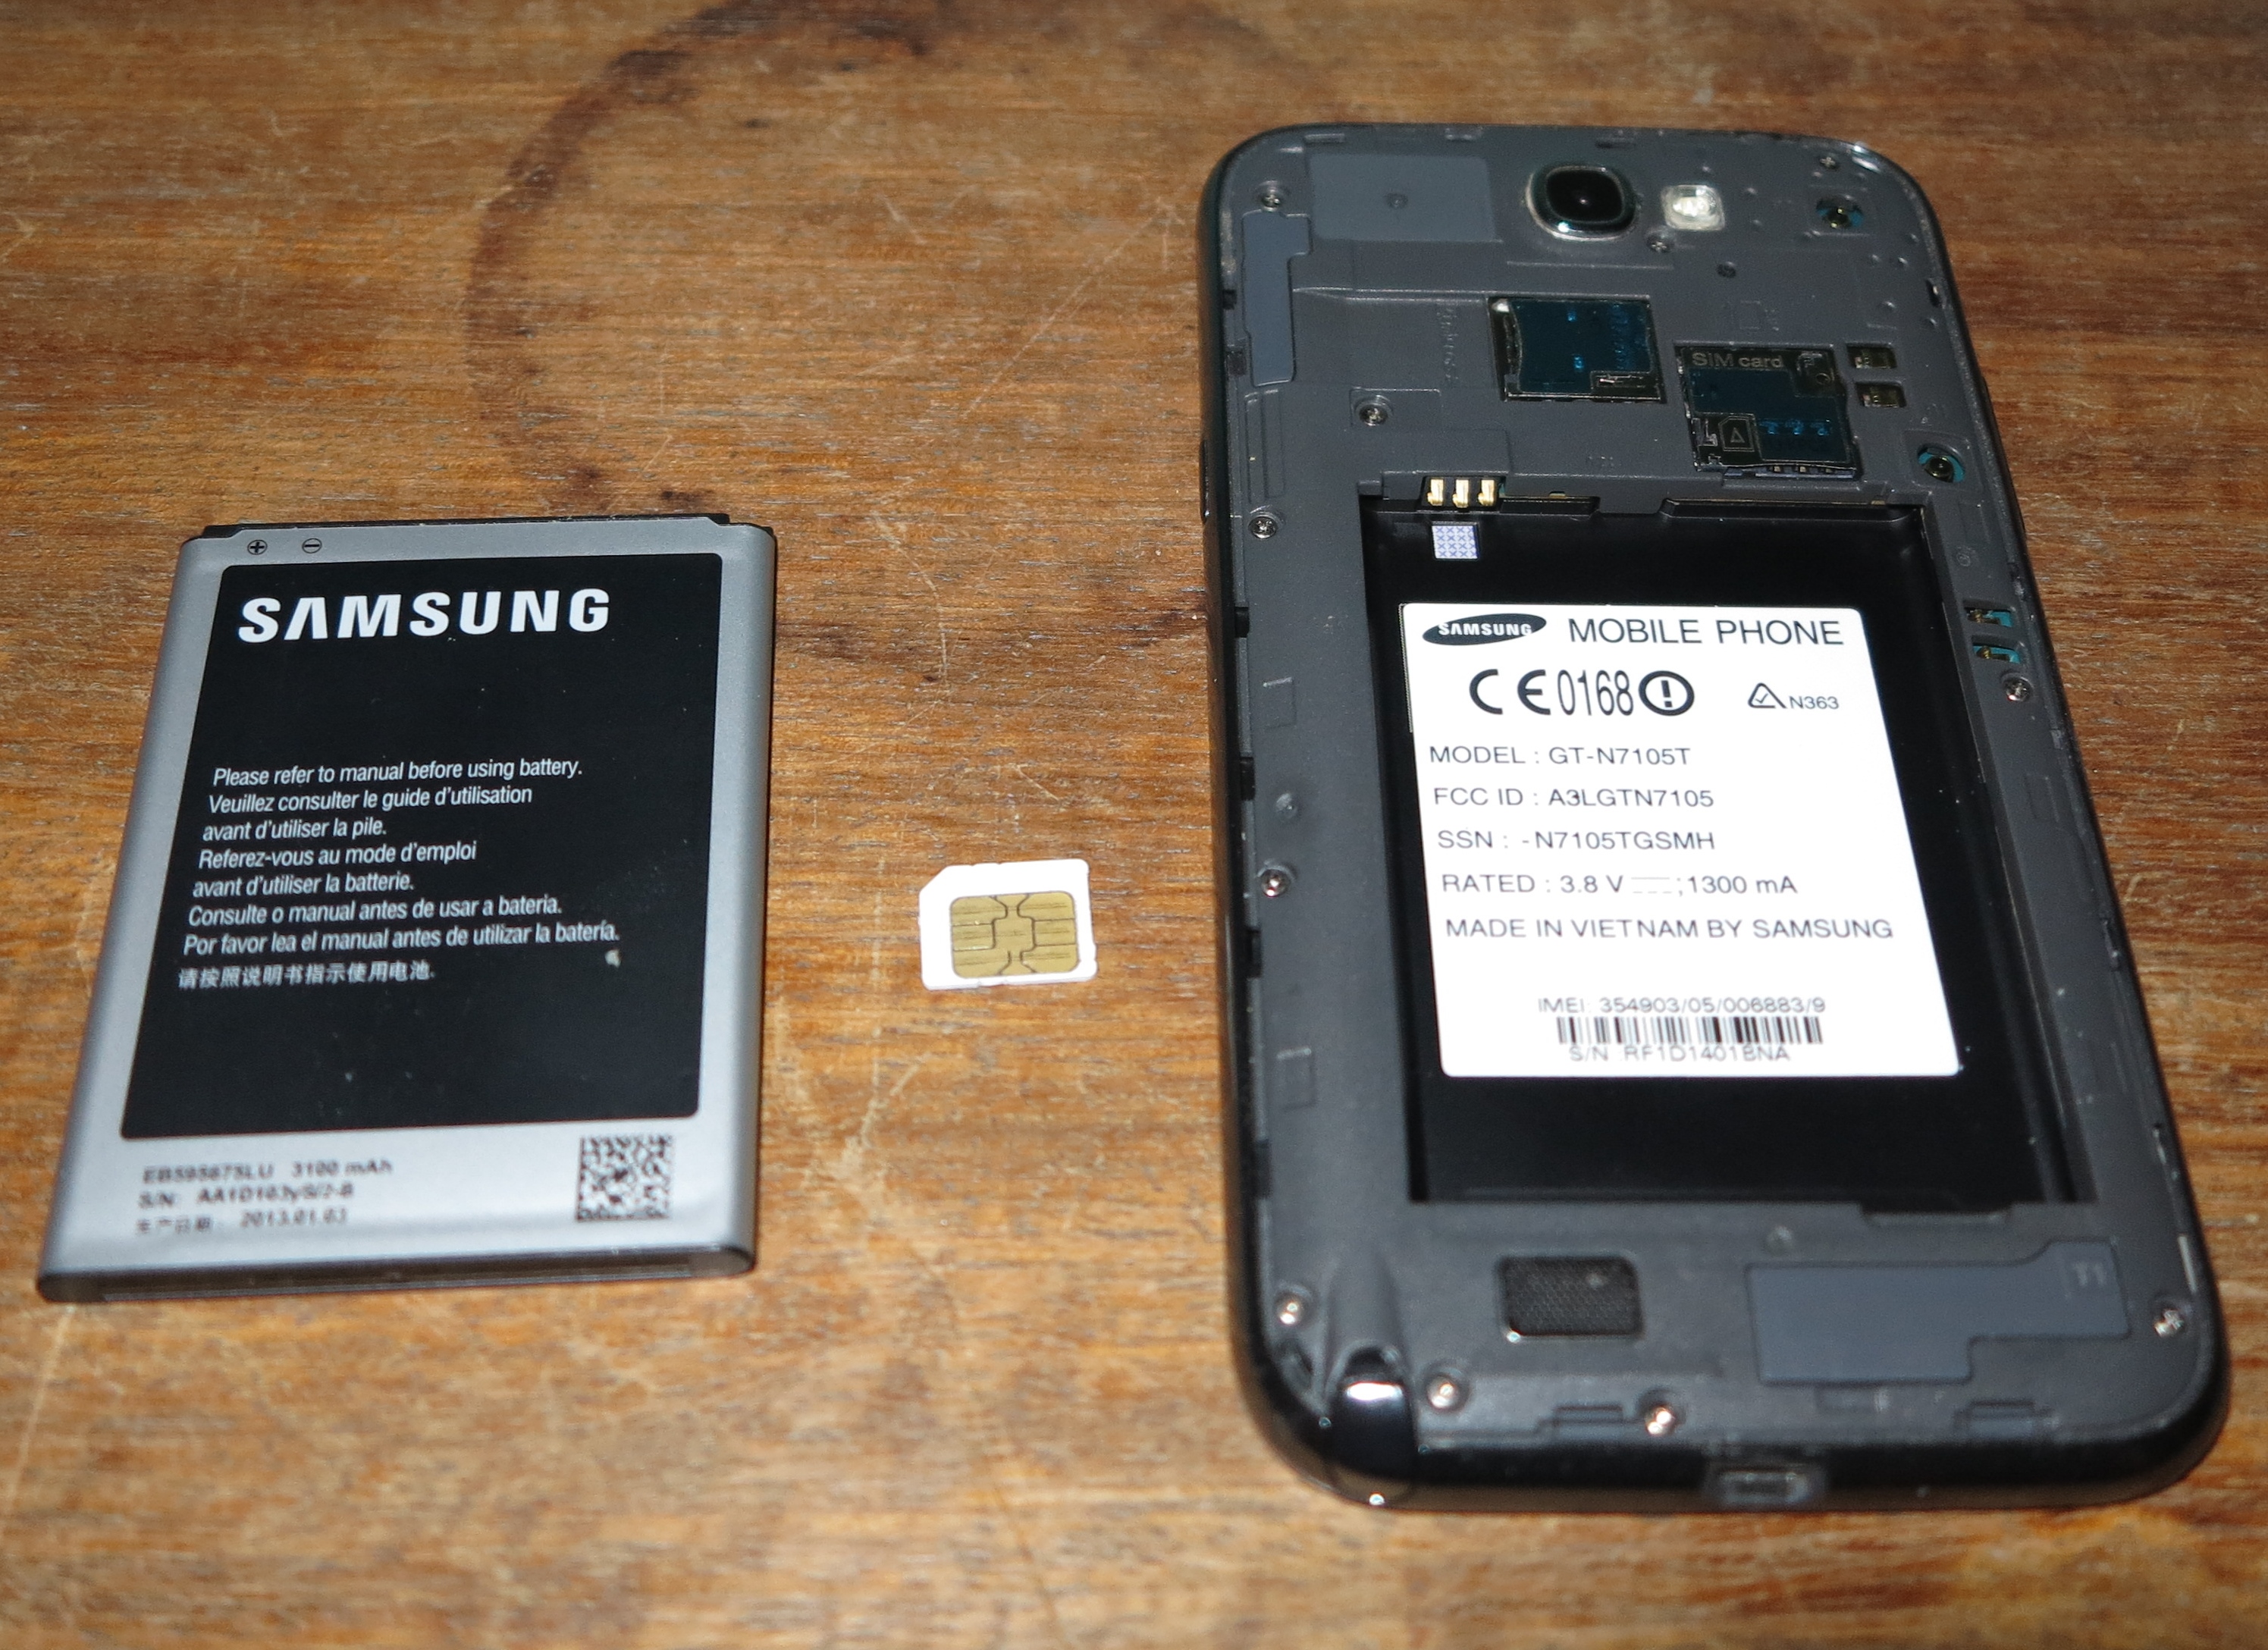
The battery, SIM and memory cards have to be removed from the device if it gets wet
Attention hotels and similar establishments: You could make sure that your Housekeeping department keeps a supply of the zip-lock bags of varying sizes on hand! This can come in handy with guests as a way to contain leaks from toiletry bottles or allow guests to protect their smartphones from water damage.
Water or other fluids inside device
The battery should be removed from a waterlogged camera while they are switched on so the lens doesn’t retract
If water does get inside a device, these steps may help in mitigating the damage that this may cause to the device. Situations like the device falling in to sea water, a swimming pool or accompanying a load of laundry through the washing machine can make things worse due to chemicals being part of that water.
Shut down the device fully. In the case of a camera with a lens that retracts when it is turned off, remove the battery while the camera is on and the lens is extended. With smartphones and tablets, this may involve following the operating system’s shutdown procedure like pressing the sleep button for a long time to bring up a shutdown menu, then selecting the Shut Down option.

Dry SIM and memory cards with a soft tissue or micro-fibre cloth
Remove all batteries, memory and SIM cards from the affected device if possible. Dry off the memory and SIM cards with a tissue or micro-fibre cloth before you consider installing them in another device like a spare mobile phone.
Shake as much of the water out of the device as you can. Avoid the temptation to run a hair-dryer over the device or run it under that hand-dryer in the public restroom. This introduces extra heat to the device which can damage some components very easily.
Smother the device in a bowl of raw rice or place it in a zip-lock bag with a dessicant pouch or plenty of raw rice. Make sure that all of the covers and doors for the various compartments on that device are open when you do this. Leave it in this bowl or zip-lock bag for three days in order for the device to dry out effectively. This procedure effectively mitigates the damage that the water does to the device’s circuitry, switches and mechanisms.
Sand or dirt in your equipment
You can get dry sand or dirt out of your electronic equipment either by shaking it out, using compressed air to blast it away from the equipment or using your household vacuum cleaner to suck it out. If you use the vacuum cleaner for this purpose, you may find that the crevice nozzle that isn’t perforated on each side may give you better results.
Before you do this with a camera, smartphone or other device that has small removable memory or SIM cards, make sure you remove these cards from your device before you clean it out.
Dealing with insurance
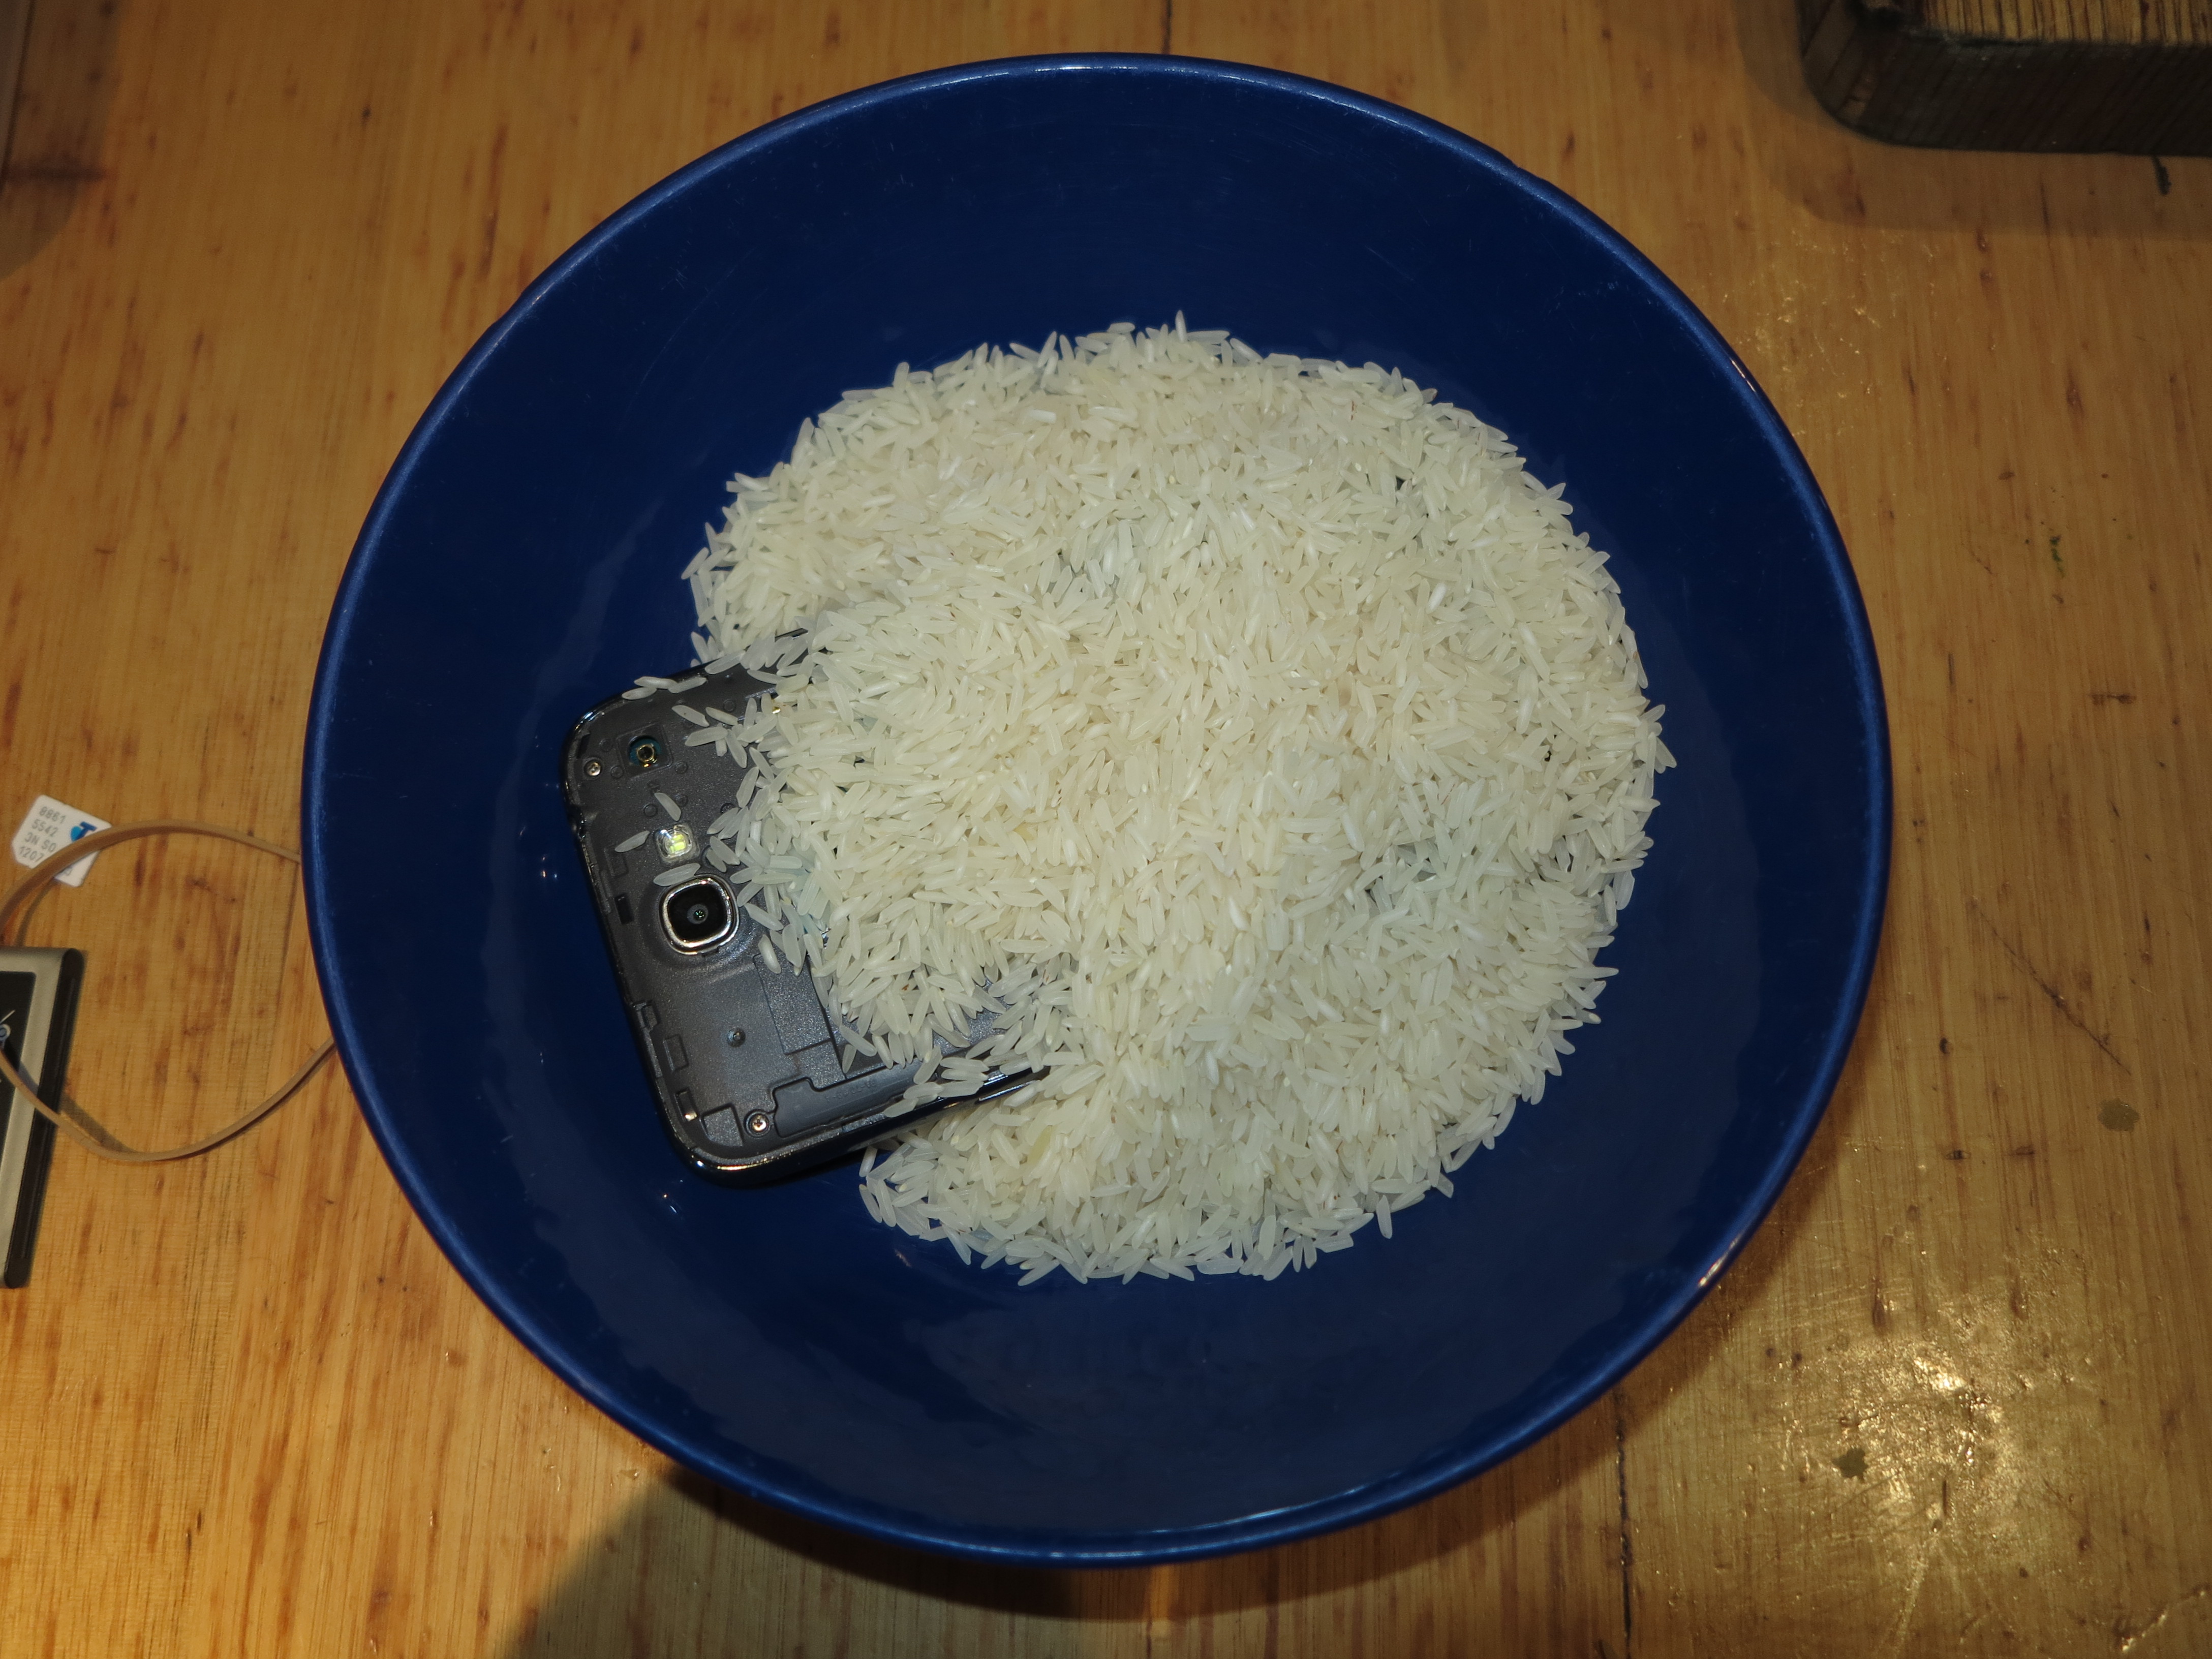
Smother the wet device with dry rice and leave for a few days
When you purchase any device, make sure you have the receipt or the instruction manual for that device. In the case of a smartphone, MiFi or similar communications device that you have bought as part of a subsidised-equipment contract, keep the details about the contract that you bought this device under. These documents are useful for your insurance claim as a way of proving you own that device.
As for home / contents insurance policies along with travel insurance policies, make sure that the policy does cover for accidental damage to portable electronics while they are used on the road. Beware of those policies that require you to pay a large excess on accidental damage claims because these large excesses may be more than equipment of a similar standard is worth in the case of small devices. In some cases, an insurance policy that offers excess-free coverage for theft and accidental damage to portable equipment on the road for a modest extra on the premium may be worth its salt.
Similarly, some mobile carriers may offer a specialised policy that covers smartphones and associated devices for theft and accidental damage, usually for equipment that is part of an ongoing subsidised-equipment contract. These may be worth investigating especially if they offer coverage for associated accessories, “on-the-road” damage or “other-device” coverage; along with excesses that you pay during a claim. The main limitation with these policies is that they provide cover for specified devices, namely the smartphone or tablet that is part of a particular contract.
Conclusion
Once summer comes, it is worth making sure you don’t run in to trouble regarding your valuable electronic equipment.
This article will be published around May to coincide with summertime in the Northern-Hemisphere countries like the USA, Canada, UK and Europe, but will be re-published during November for summertime in the Southern-Hemisphere countries.