Creating your own electronic signage for your organisation
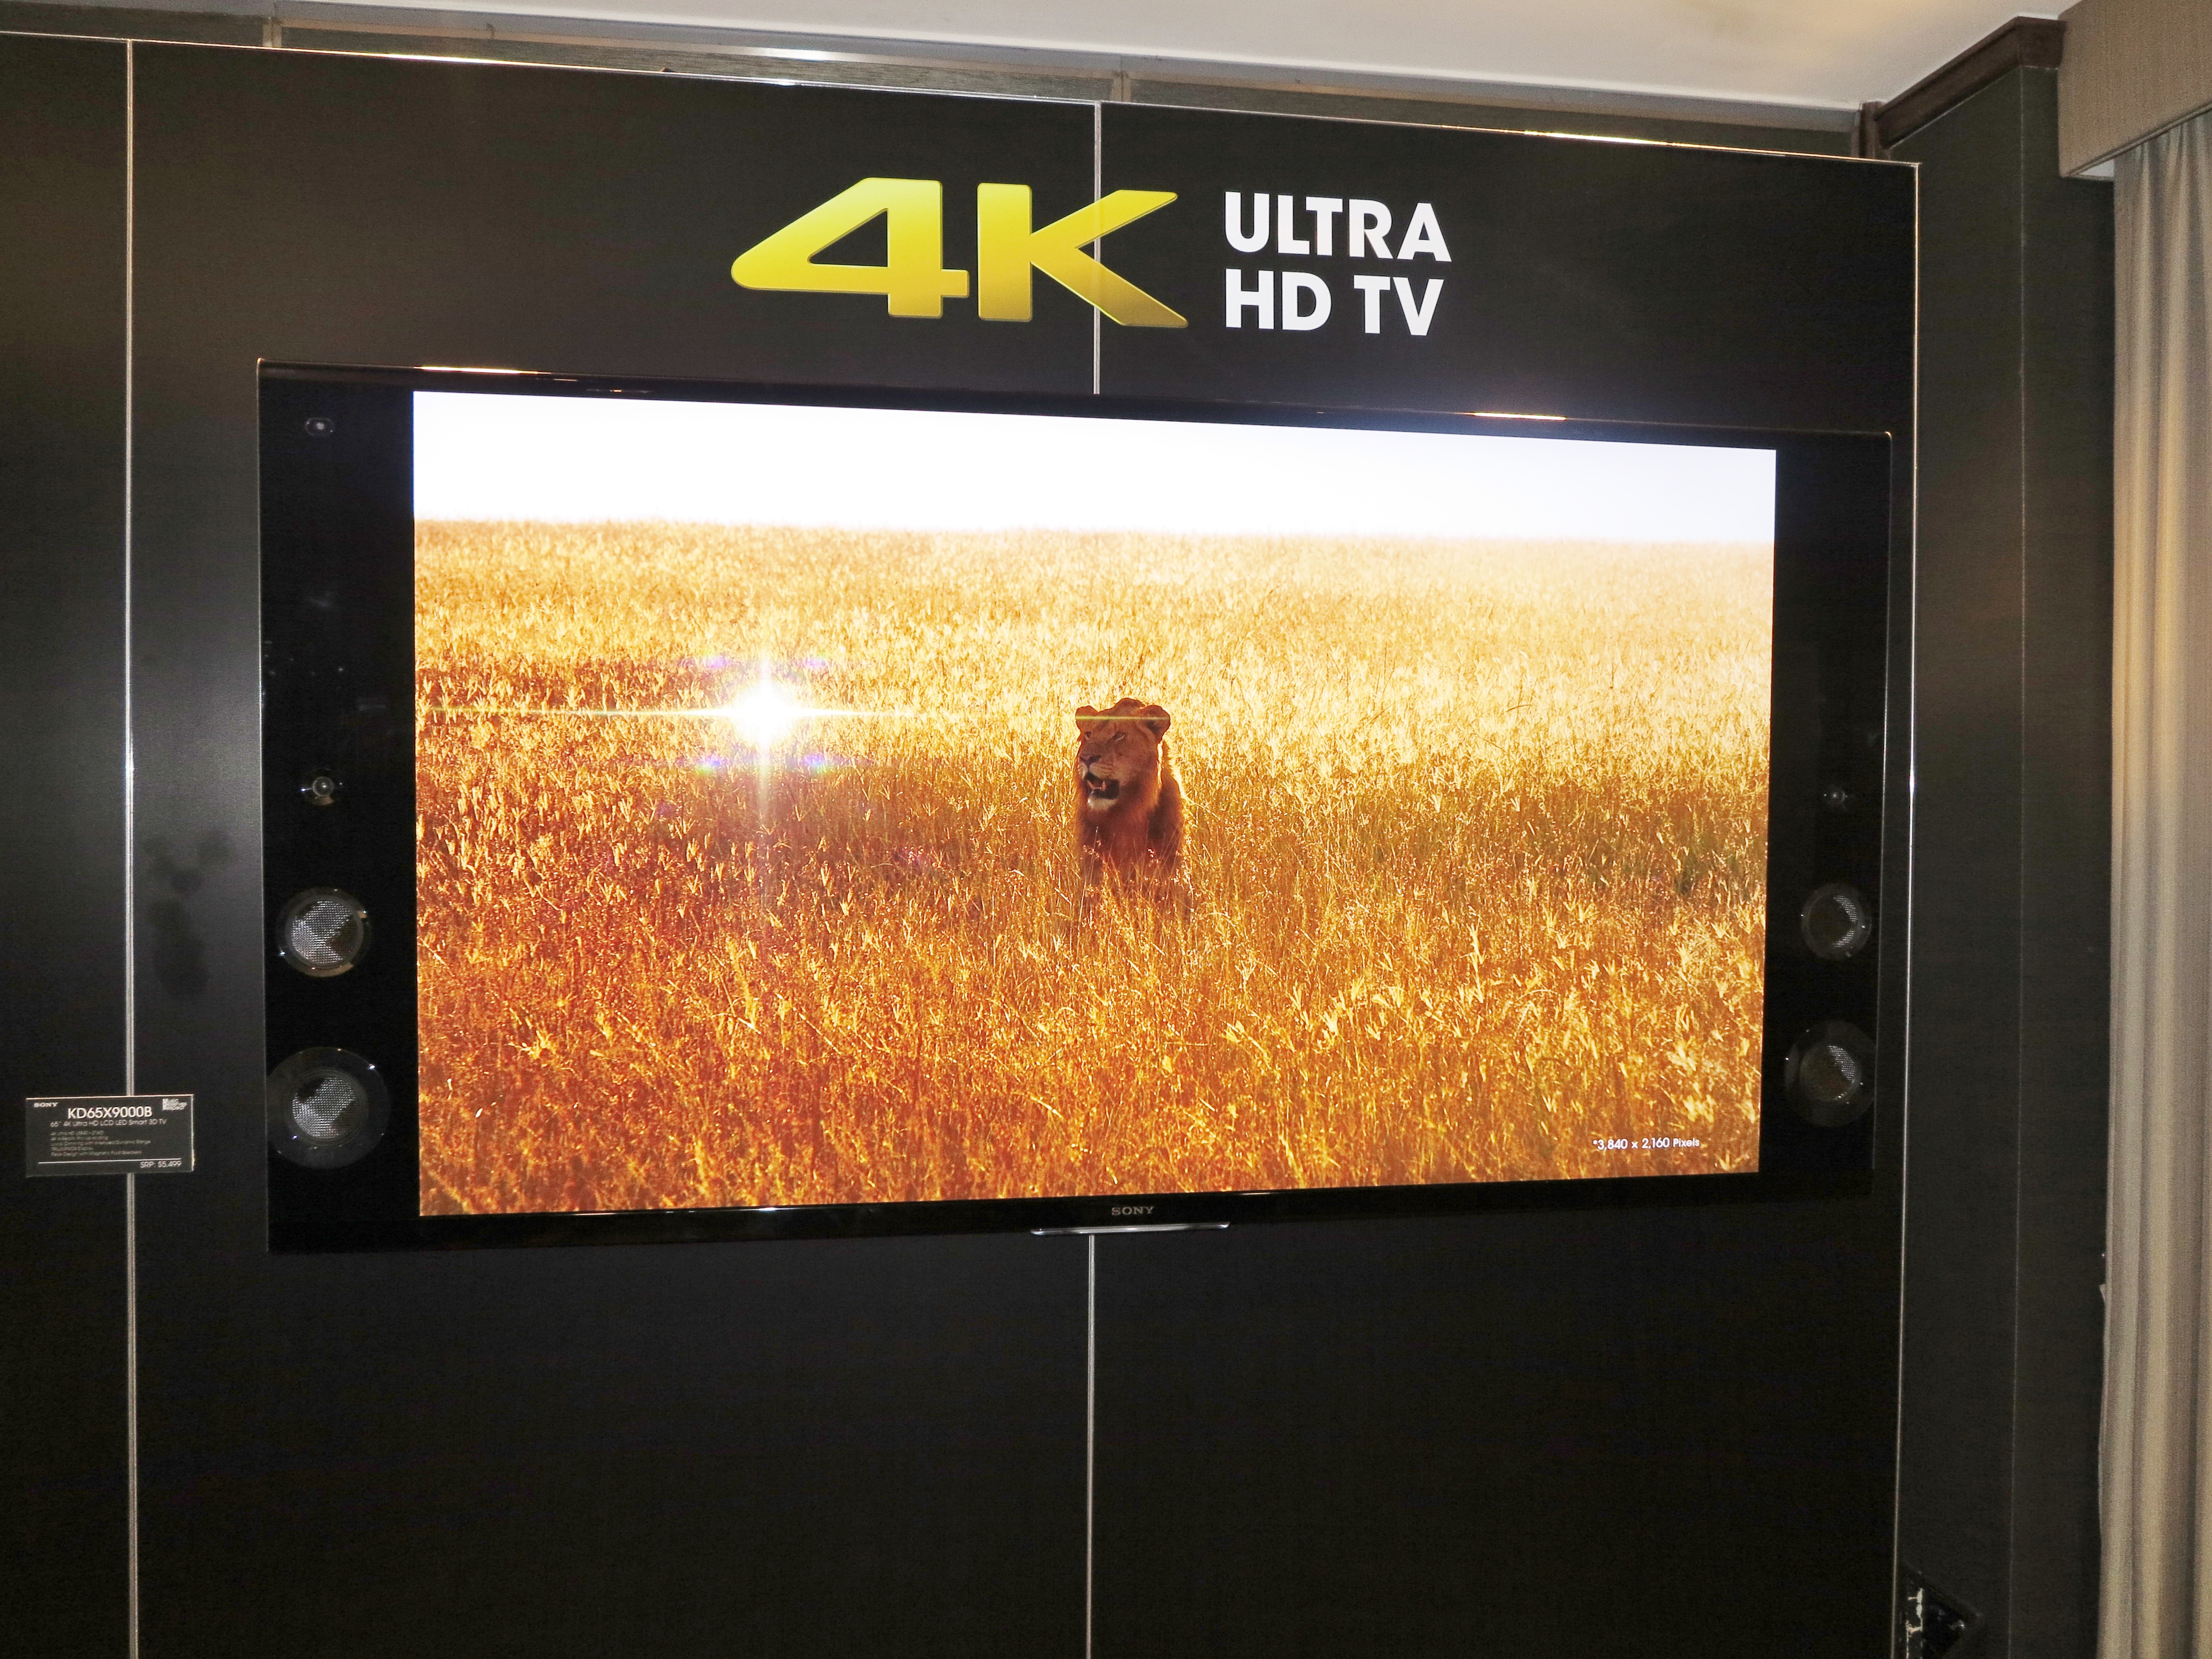
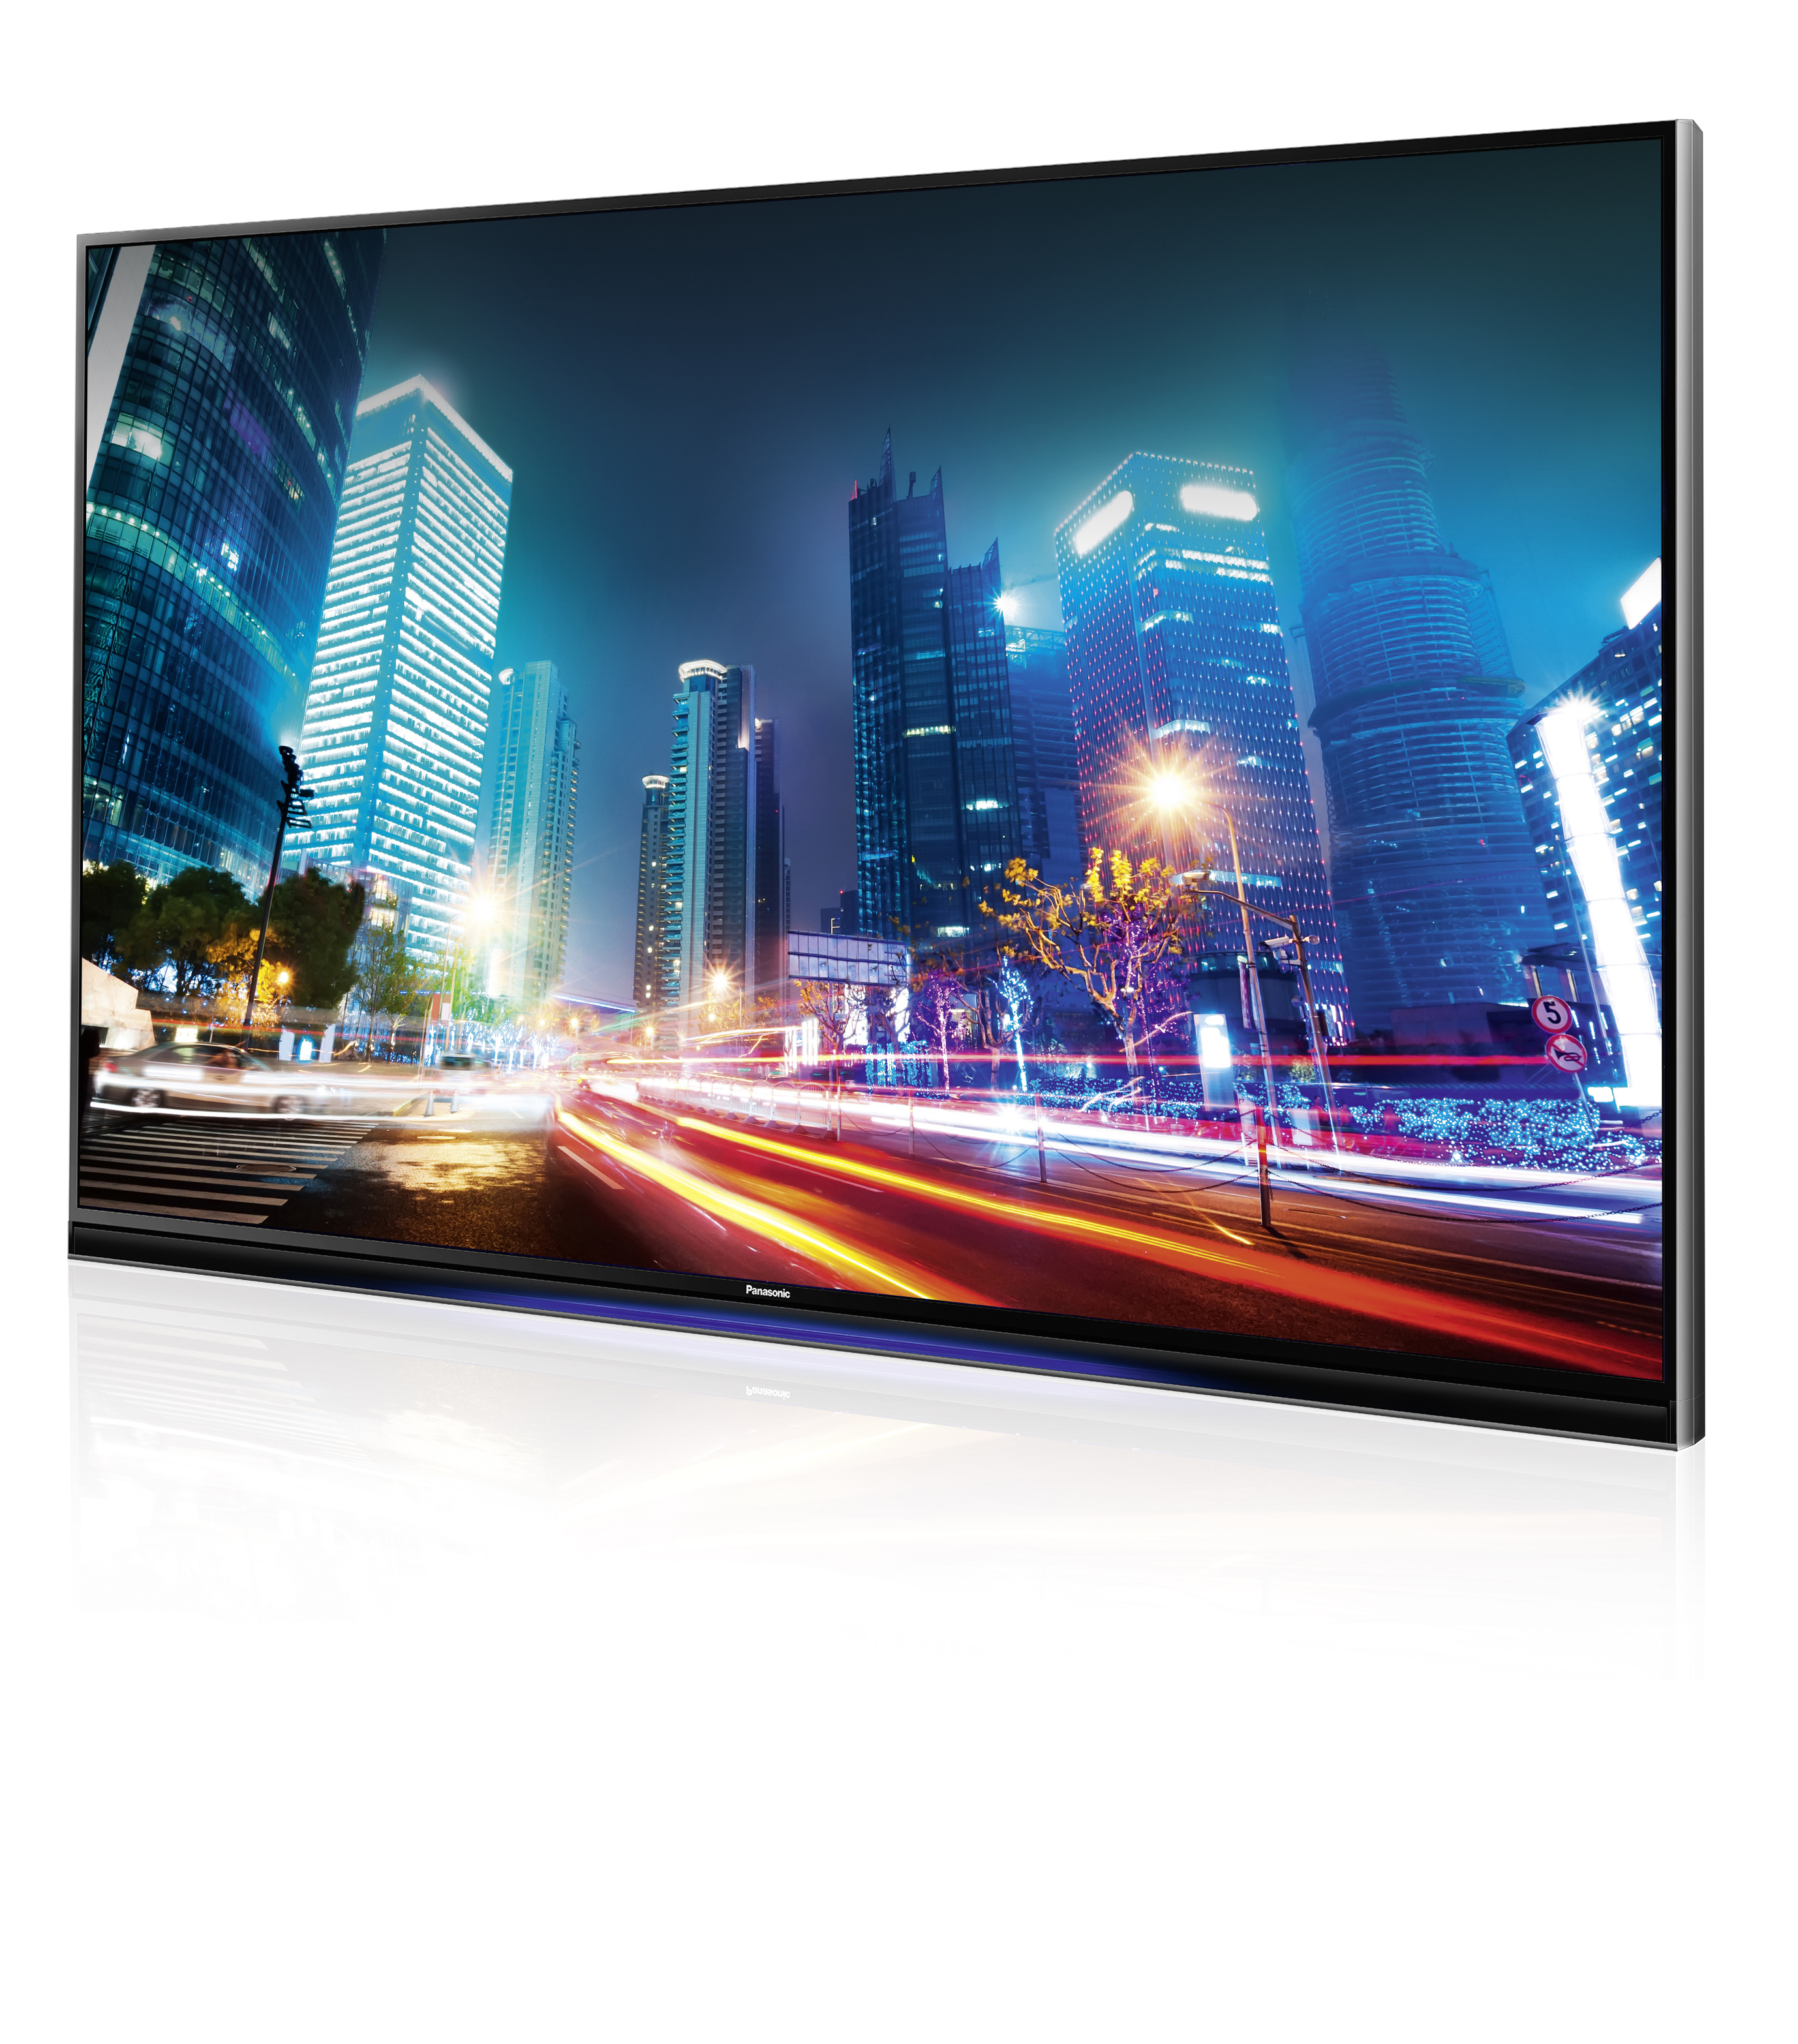
Any of the flat-screen TVs on the market including the 4K models can serve as electronic signage
One use you can put flat-panel displays (including TVs) and projectors to is as an electronic signboard for your business or organisation. This can be alongside a computer that you set aside for that task or a having the display itself or a video peripheral like a Blu-Ray player do the task of showing the signage.
Here, you can use common computer software to create the signage that you can keep revised and updated as your needs change and either show them using this software or create JPEG files of the signage to show using your display or video peripheral.
Create the signage material

Microsoft PowerPoint – useful for creating electronic signage
Use a presentation program like Microsoft PowerPoint, OpenOffice Impress or Apple Keynote to create your slides. Here, make sure you have the page layout set up for a 4:3, 16:9 or 16:10 screen when you set up your presentation with the aspect ration dependent on what most of your equipment can work with natively.
Sometimes, you may find that the DL paper size may be able to provide that “wide expansive look” for your signage on a 4:3 or 16:9 display. Other layout sizes that can also work include the “business-card” size or the classic 3:2 layout associated with still images taken on 35mm film.
Some of you may base your signage on other printable collateral that you have created like handbills, flyers or business cards. The best formats for the collateral that you want to use would be most of the common paper sizes with the document set in landscape format. In this case, you simply make a high-resolution JPEG or PNG bitmap from the PDF master file for the printed collateral.
You may decide to implement animation in your signage using the presentation program if it supports that feature but the program must be able to export these signs as a video file that most devices can understand. Here, you may want a particular sign to have an animated effect for the duration of that message, including an effect that happens when it appears and another when it disappears.
If you are using an electronic picture frame or a tablet purposed as one and you have this set up in a vertical (portrait) manner, you may find that you could use a vertical page layout here.
How should it look
You may find that your electronic signage may work really well if you use bright features like text or graphics set against a darker background. This will effectively make the text and graphics “pop” against the background and is also more flexible for use with video projectors.
As well the text is best set up using sans-serif fonts like the Helvetica or Comic Sans font families rather than serif fonts like the Times Roman or Courier font families. This is more so where you are using a projector or a large display that is likely to be viewed at a distance. Here, such text becomes easier to read from a distance. But you can make use of mixed-case lettering to make best use of the space as well as allowing for improved legibility.
Learn from example
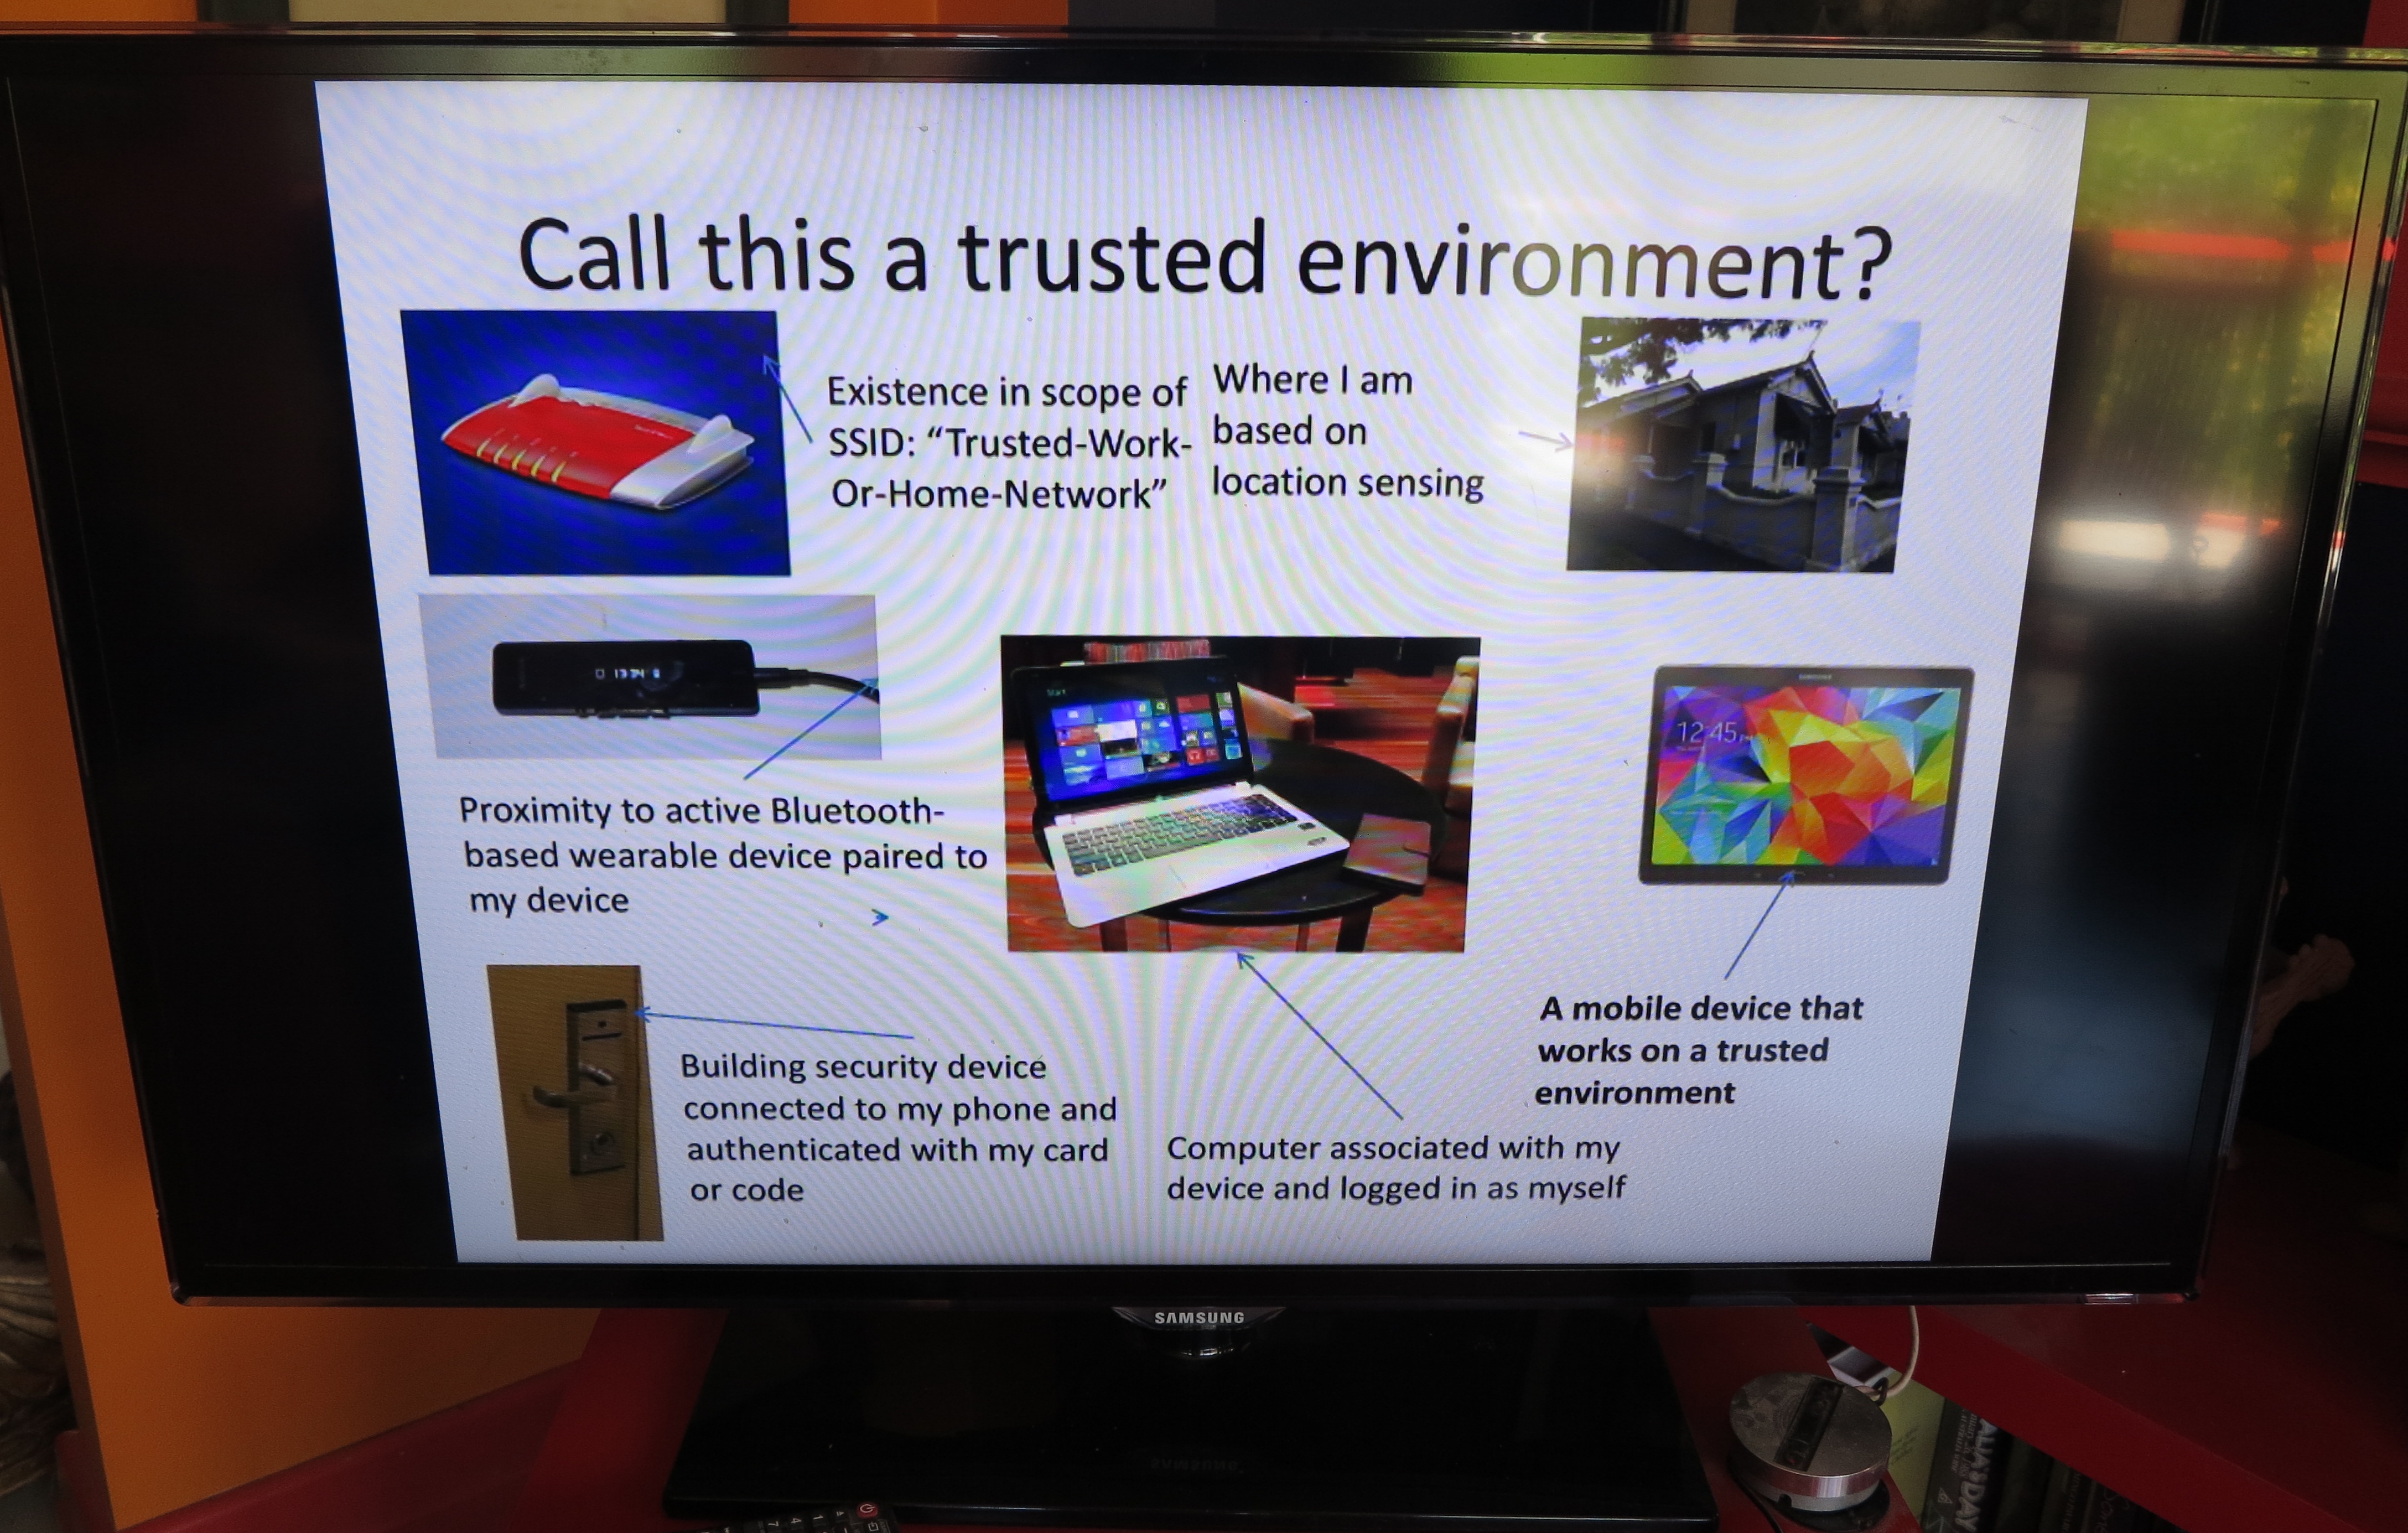
These presentations can be a good example of what you can do for electronic signage
If you are looking for good examples to work from, pay attention to some of the work others have done in this field, especially if this is your first effort at visual merchandising.
For example, look at the slides that are shown before the main film when you are watching a movie at the cinema, or the slides shown at business presentations during any conference or expo you attend. Similarly, when you are loafing on that couch watching TV, look at the announcement or advisory slides that are shown before or after the TV shows or any of the menus and warning notices shown before DVD or Blu-Ray video content.
Here, you observe things like text pitch and layout along with how the text and other highlights look against the background. Similarly, it may be worth noticing different colour combinations that are used in this material.
Export your slides to high-resolution picture or video files
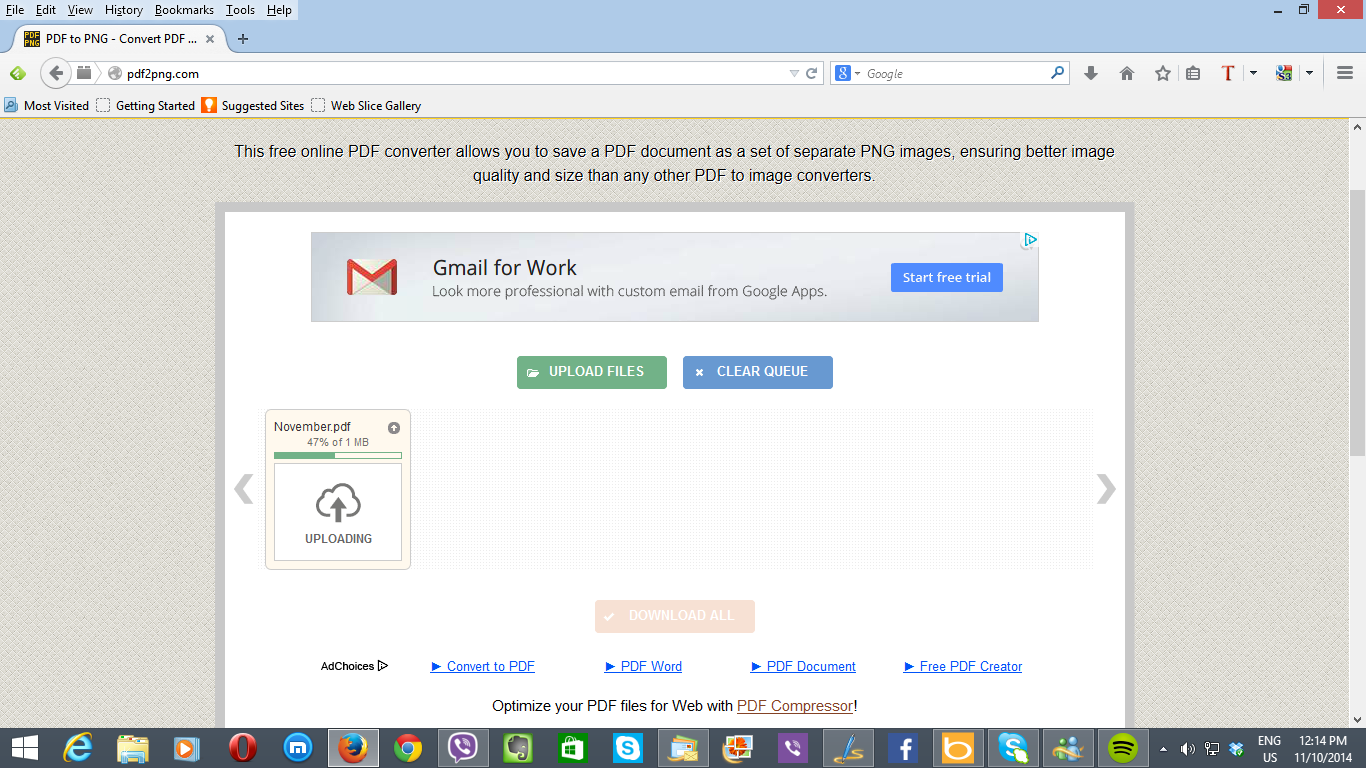
PDF2PNG or PDF2JPG can come in handy for creating bitmap images of your electronic-signage PDFs
Once you have finished with creating your masterpiece slides and you are satisfied with them, export a PDF copy of the presentation. Then you use a PDF-to-JPEG export site to export your PDF-based presentation to high-resolution JPEG files that work with most TV screens. I have highlighted this process in my article and SlideShare presentation about how you can create better high-resolution JPEG output form PowerPoint.
This process is important if you aren’t using the same or compatible presentation tool to show the electronic signage or are using consumer-electronics devices as the display tools.
If you create a highly-animated screenshow using your presentation tool, export it as an MP4 (H.264) or other common video file which your displays will support. Here, you don’t have to add any sound to the file because this will come alive with just the vision. If you have to convert the animation file, you may find that most video-editing or video-conversion utilities can do this job very adequately. Here, you may find that you could make video files for each slide rather than for the whole presentation so as to allow for devices to randomly show the slides or to allow a mix of animated and still signage.
Showing them on the screen
Using your network and UPnP AV / DLNA technologies
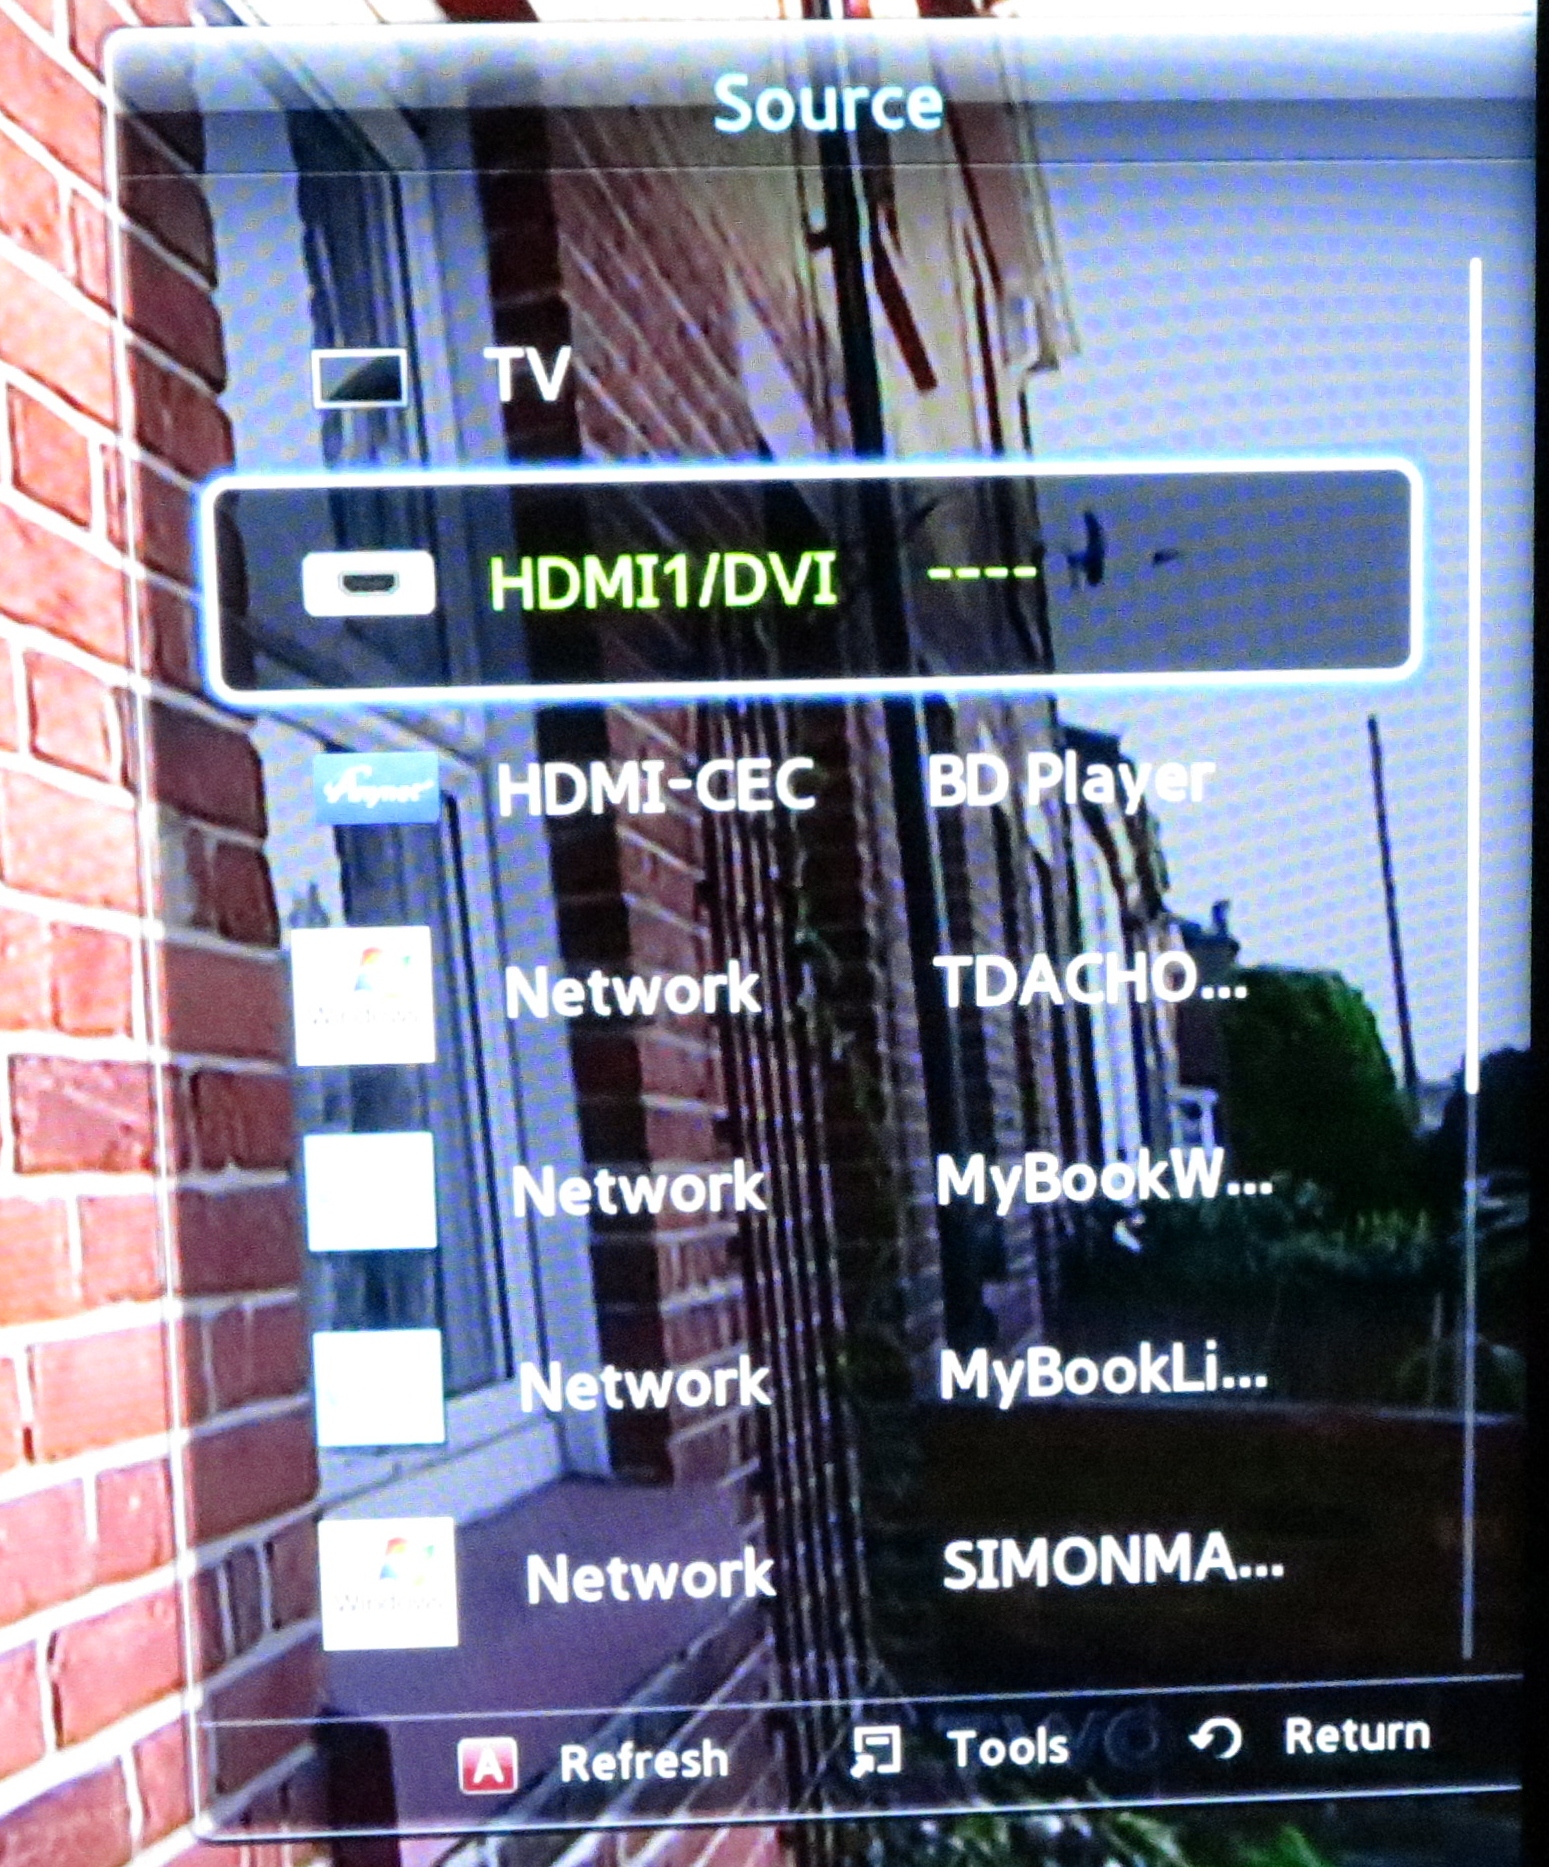
DLNA content collections listed as sources on a Samsung Smart TV
If you have a NAS or file server that is running DLNA media server software, (most of these would be), you can use UPnP AV / DLNA as a way to show the electronic signage. Here, you use a TV that has DLNA functionality integrated in it like most, if not all, of the smart TVs; or have a TV, monitor or projector connected to a DLNA-capable video peripheral like a Blu-Ray player, network media player or games console.
Here, you use the remote control on the TV or video peripheral to “pull up” the images that are in a folder shared by the server device’s media-server software. Or an increasing number of devices can respond to DLNA-standard media-controller software like the “Play To”/ “Cast To Device” function offered in Microsoft Windows operating systems since Windows 7, allowing you to “throw” the pictures up on the screen using your regular computer or mobile device.
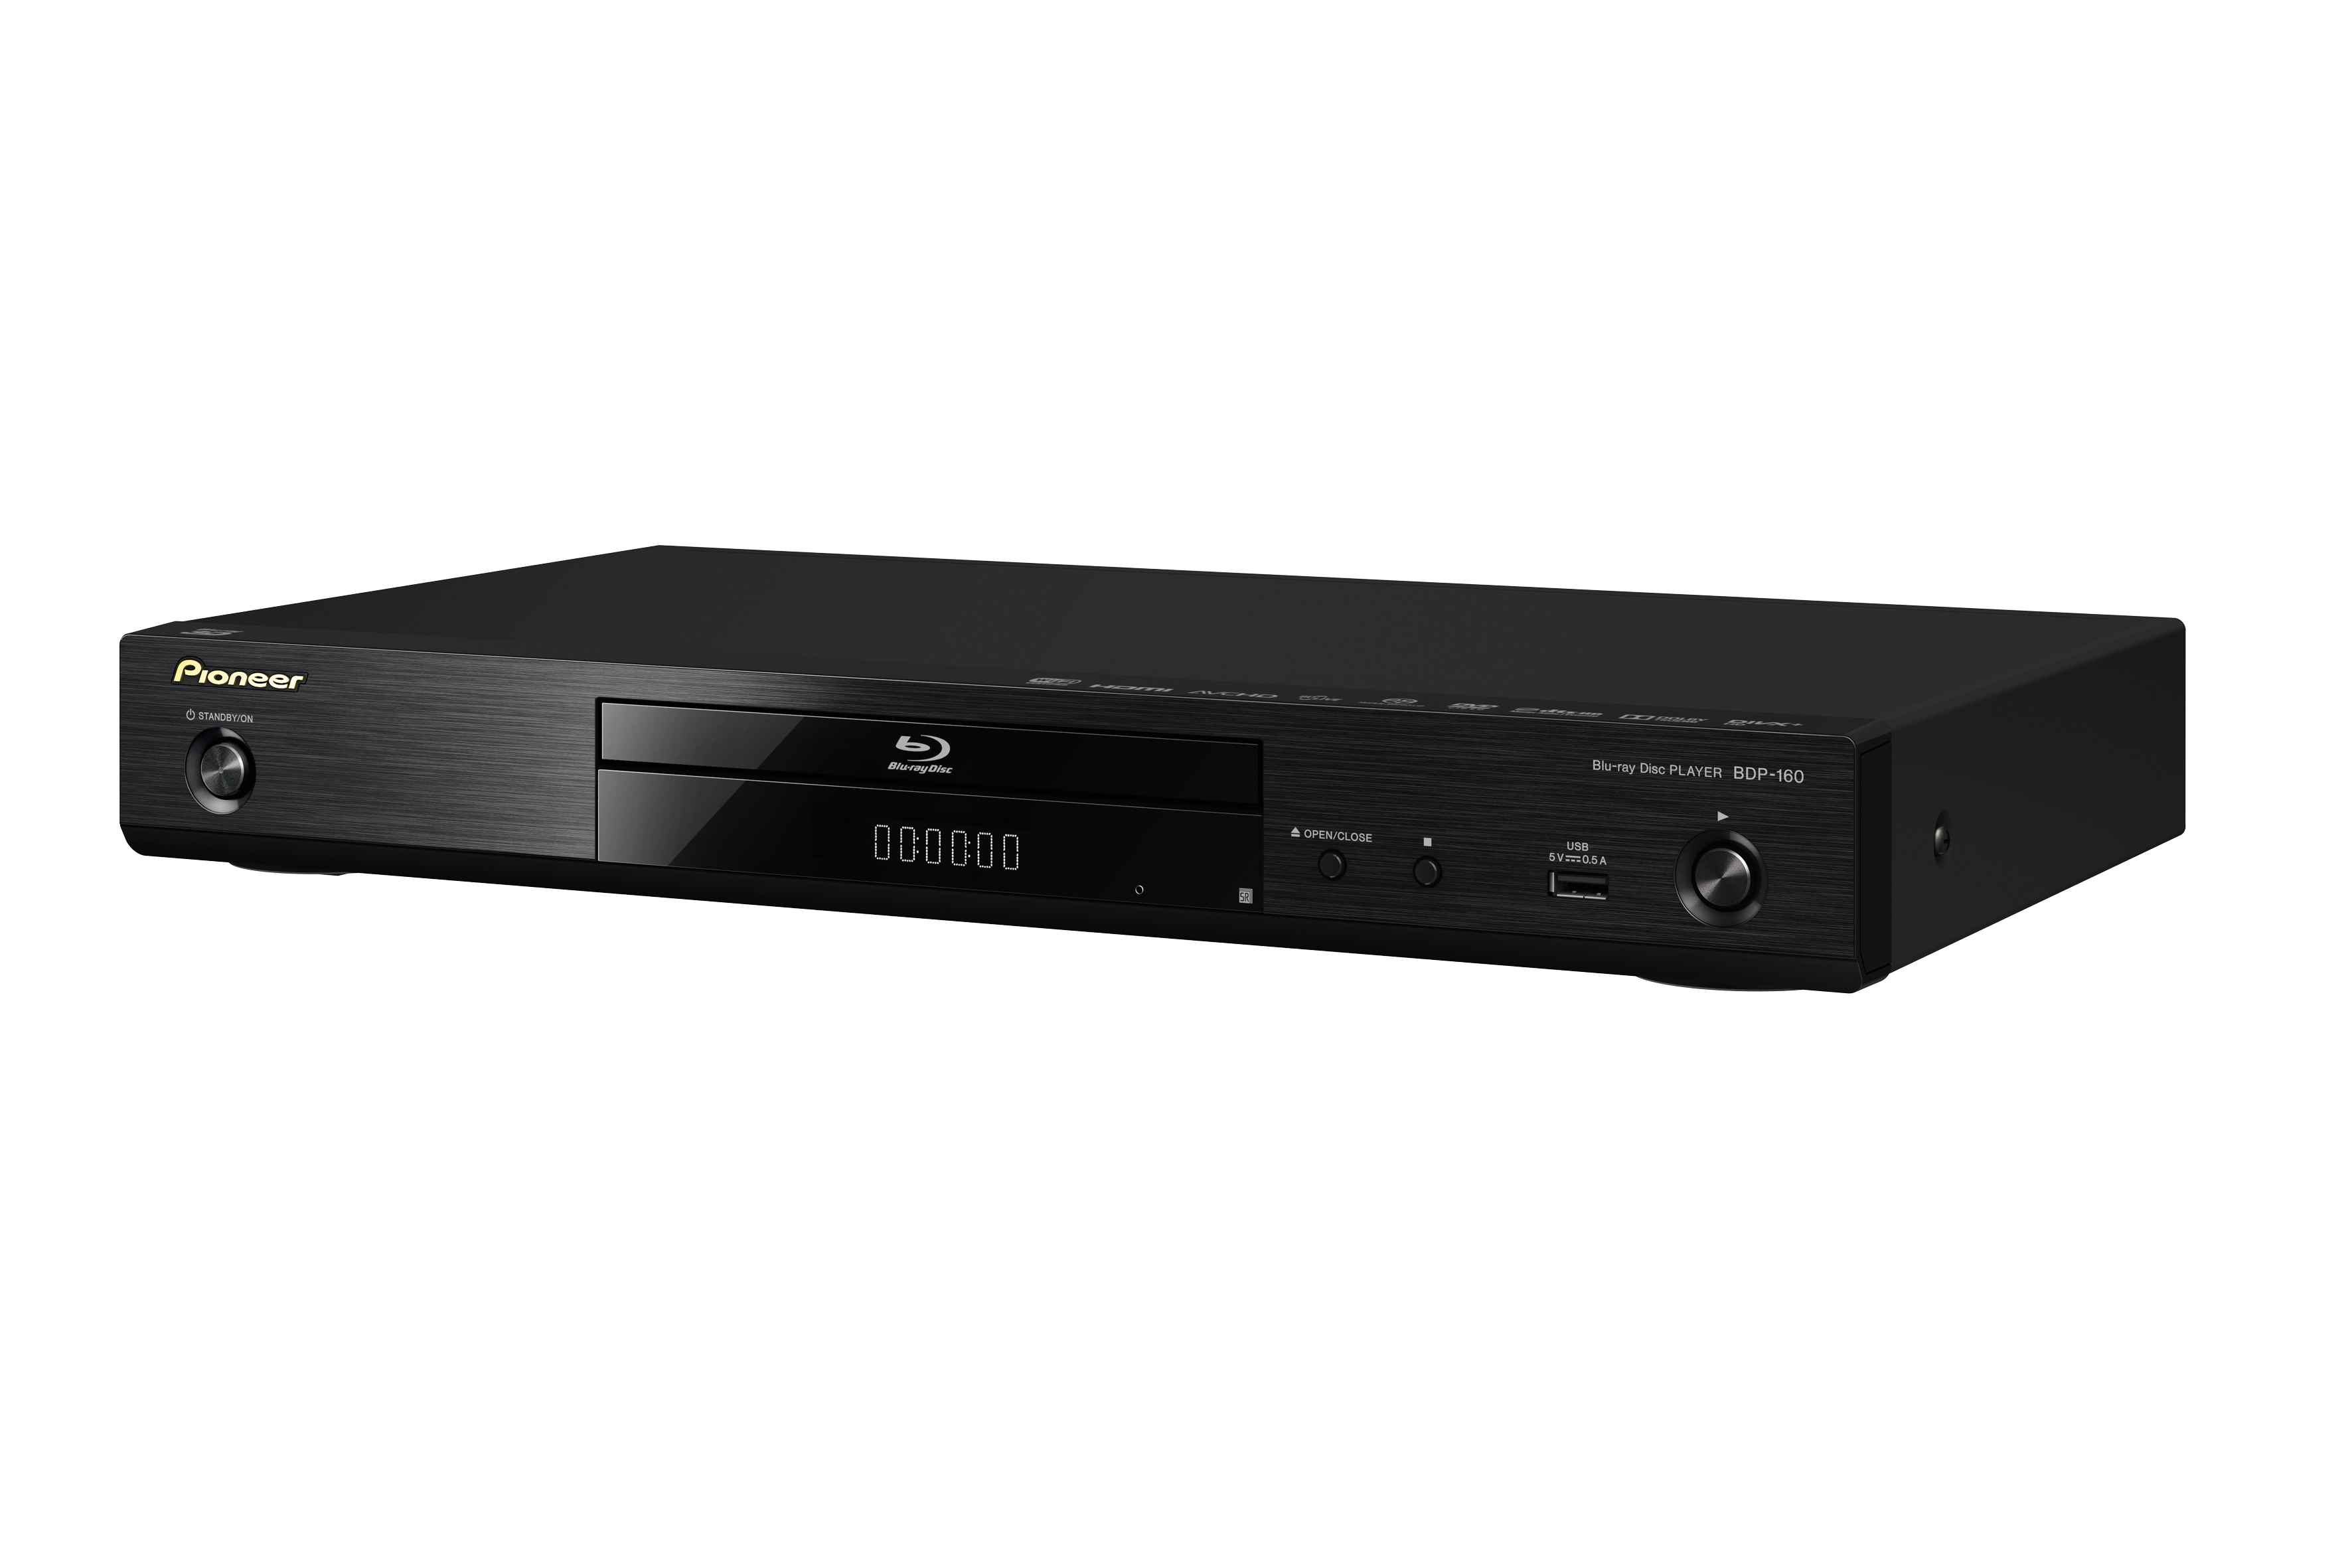
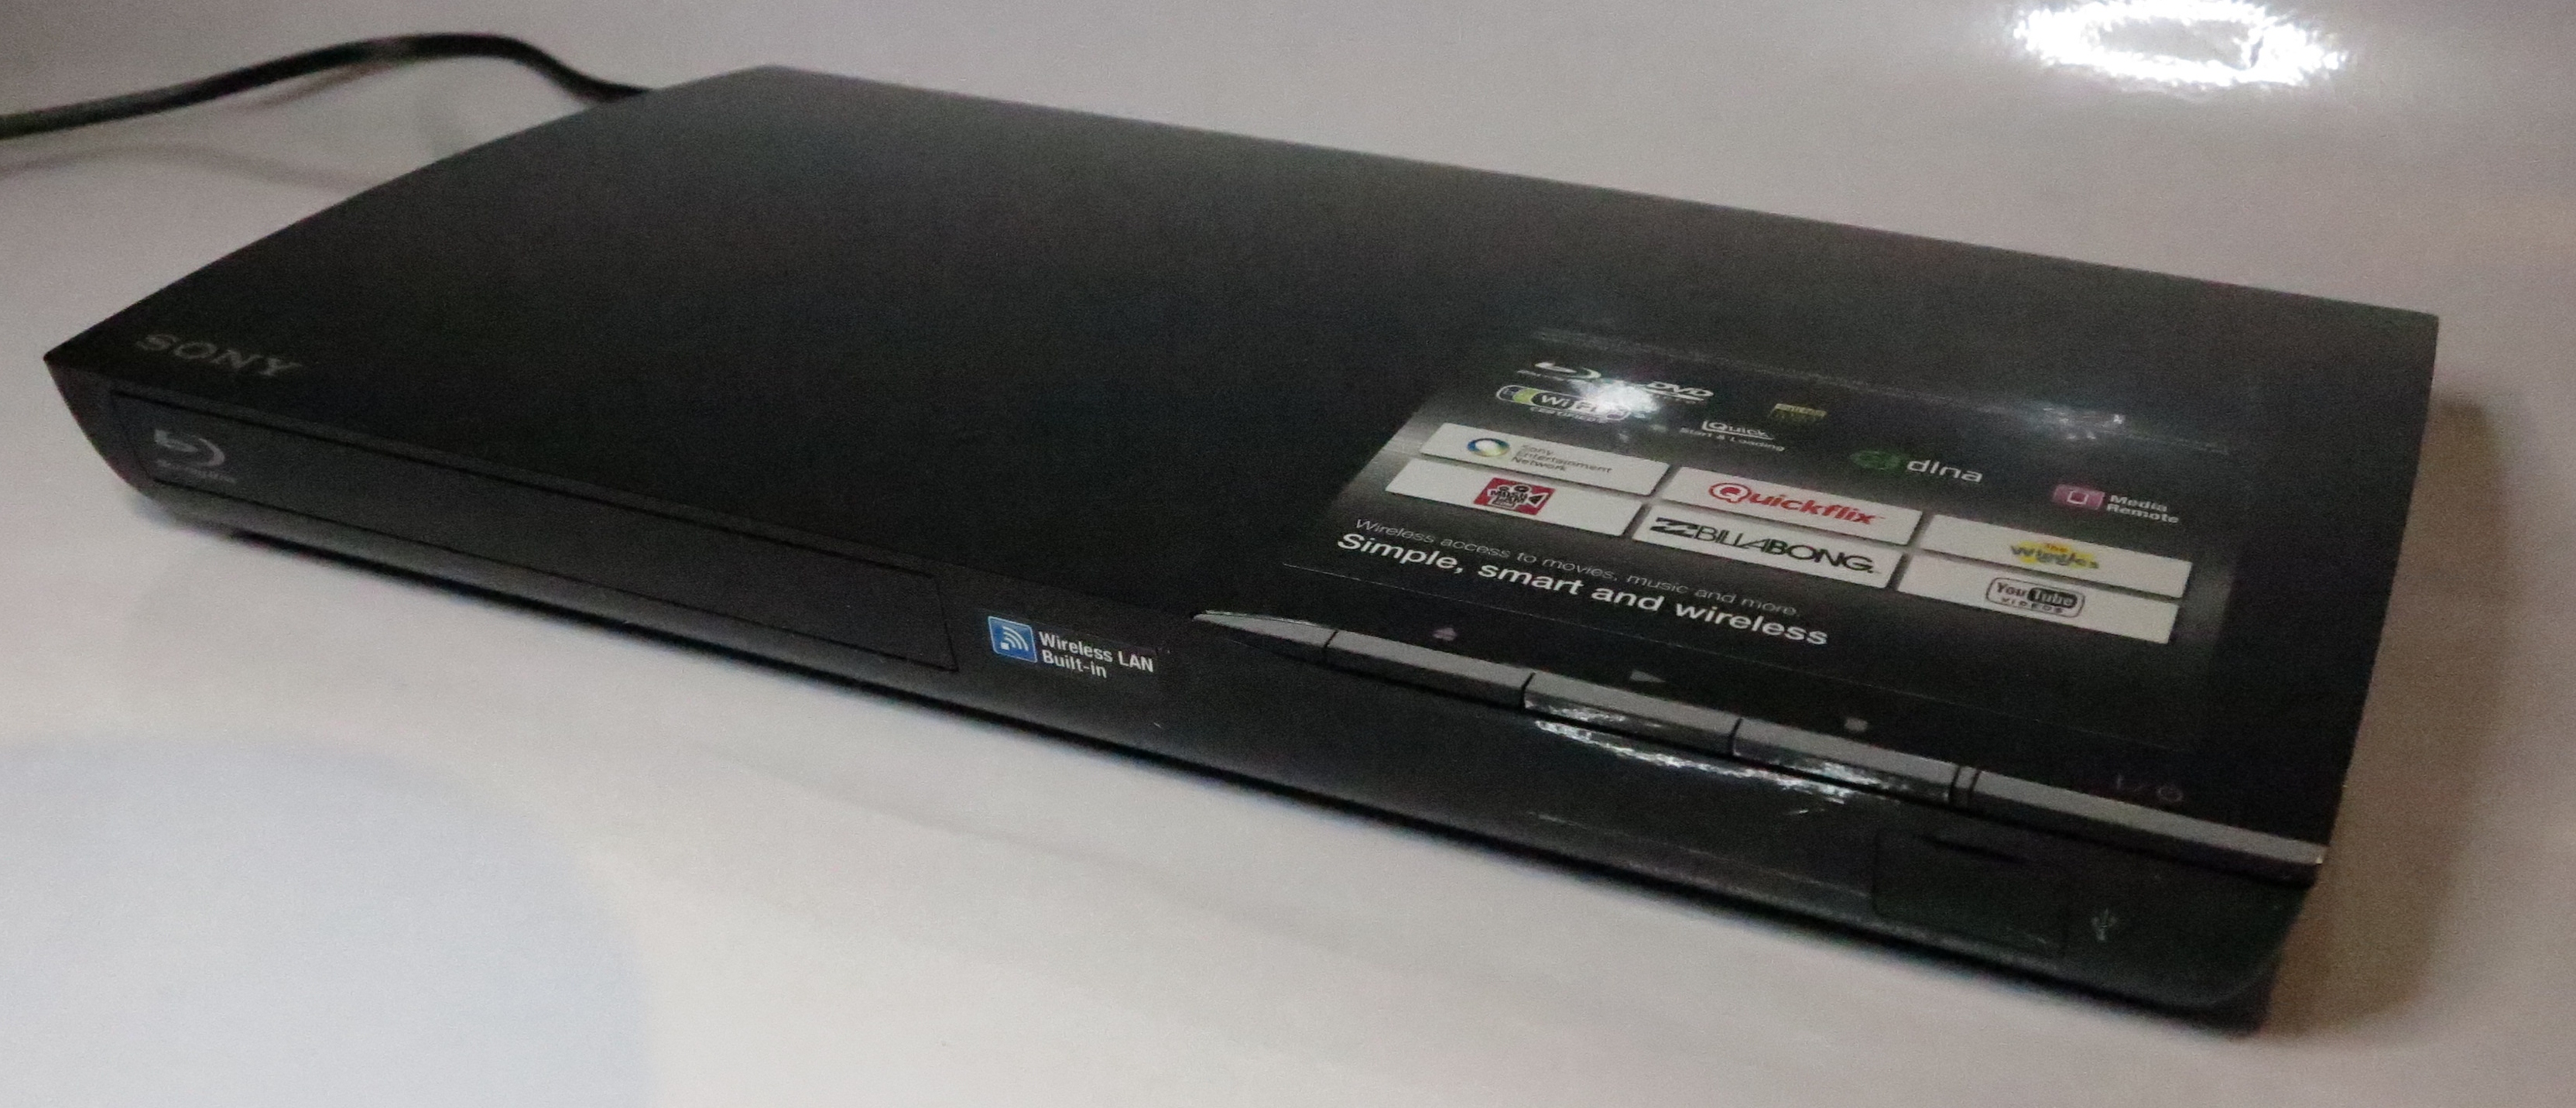
Pioneer BDP-160 DLNA-capable Blu-Ray player – can enable a cheap flat-screen TV, monitor or projector to be used for electronic signage
But you have to have all of the “signage” slides in a folder that is accessible to and shared by the DLNA media server software. On some NAS units, you may be able to add an option for a shared-folder tree anywhere on the NAS to be indexed and shared by the DLNA media server; or you may be required to keep your media content under a certain shared-folder tree. Then you maintain sub-folders that relate to particular occasions or campaigns and put the relevant electronic-signage JPEG files there.
Removable Media
Just about all flat-screen TVs could work with USB memory keys to show electronic-signage images
Most of the large-screen TVs, Blu-Ray or DVD players, network media players or similar devices are providing the ability to show still images held on a USB memory key or SD card. Similarly, you could burn a CD or DVD full of digital images and show these on most, if not all, recent-issue DVD and Blu-Ray players As well, an increasing number of the portable video projectors are even offering as a differentiating feature the ability to allow you to show pictures or videos from a USB memory key or SD card.
Here, you can upload a campaign’s worth of images to a USB memory key and plug it directly in to your display device or video peripheral. To the same extent, you could put these images on an optical disc and show them using most recent DVD and Blu-Ray players.
Using removable media works best if you are working with one or two display devices to show your signage material. Similarly, it can work very well if you are not likely to change the material very frequently.
You may also find that some of these display devices or video peripherals will run the images at the sharpest resolution that the display can support. Here, the playout hardware integrated in the display is working directly with the display rather than at an “agreed” resolution.
A computer connected to a large display
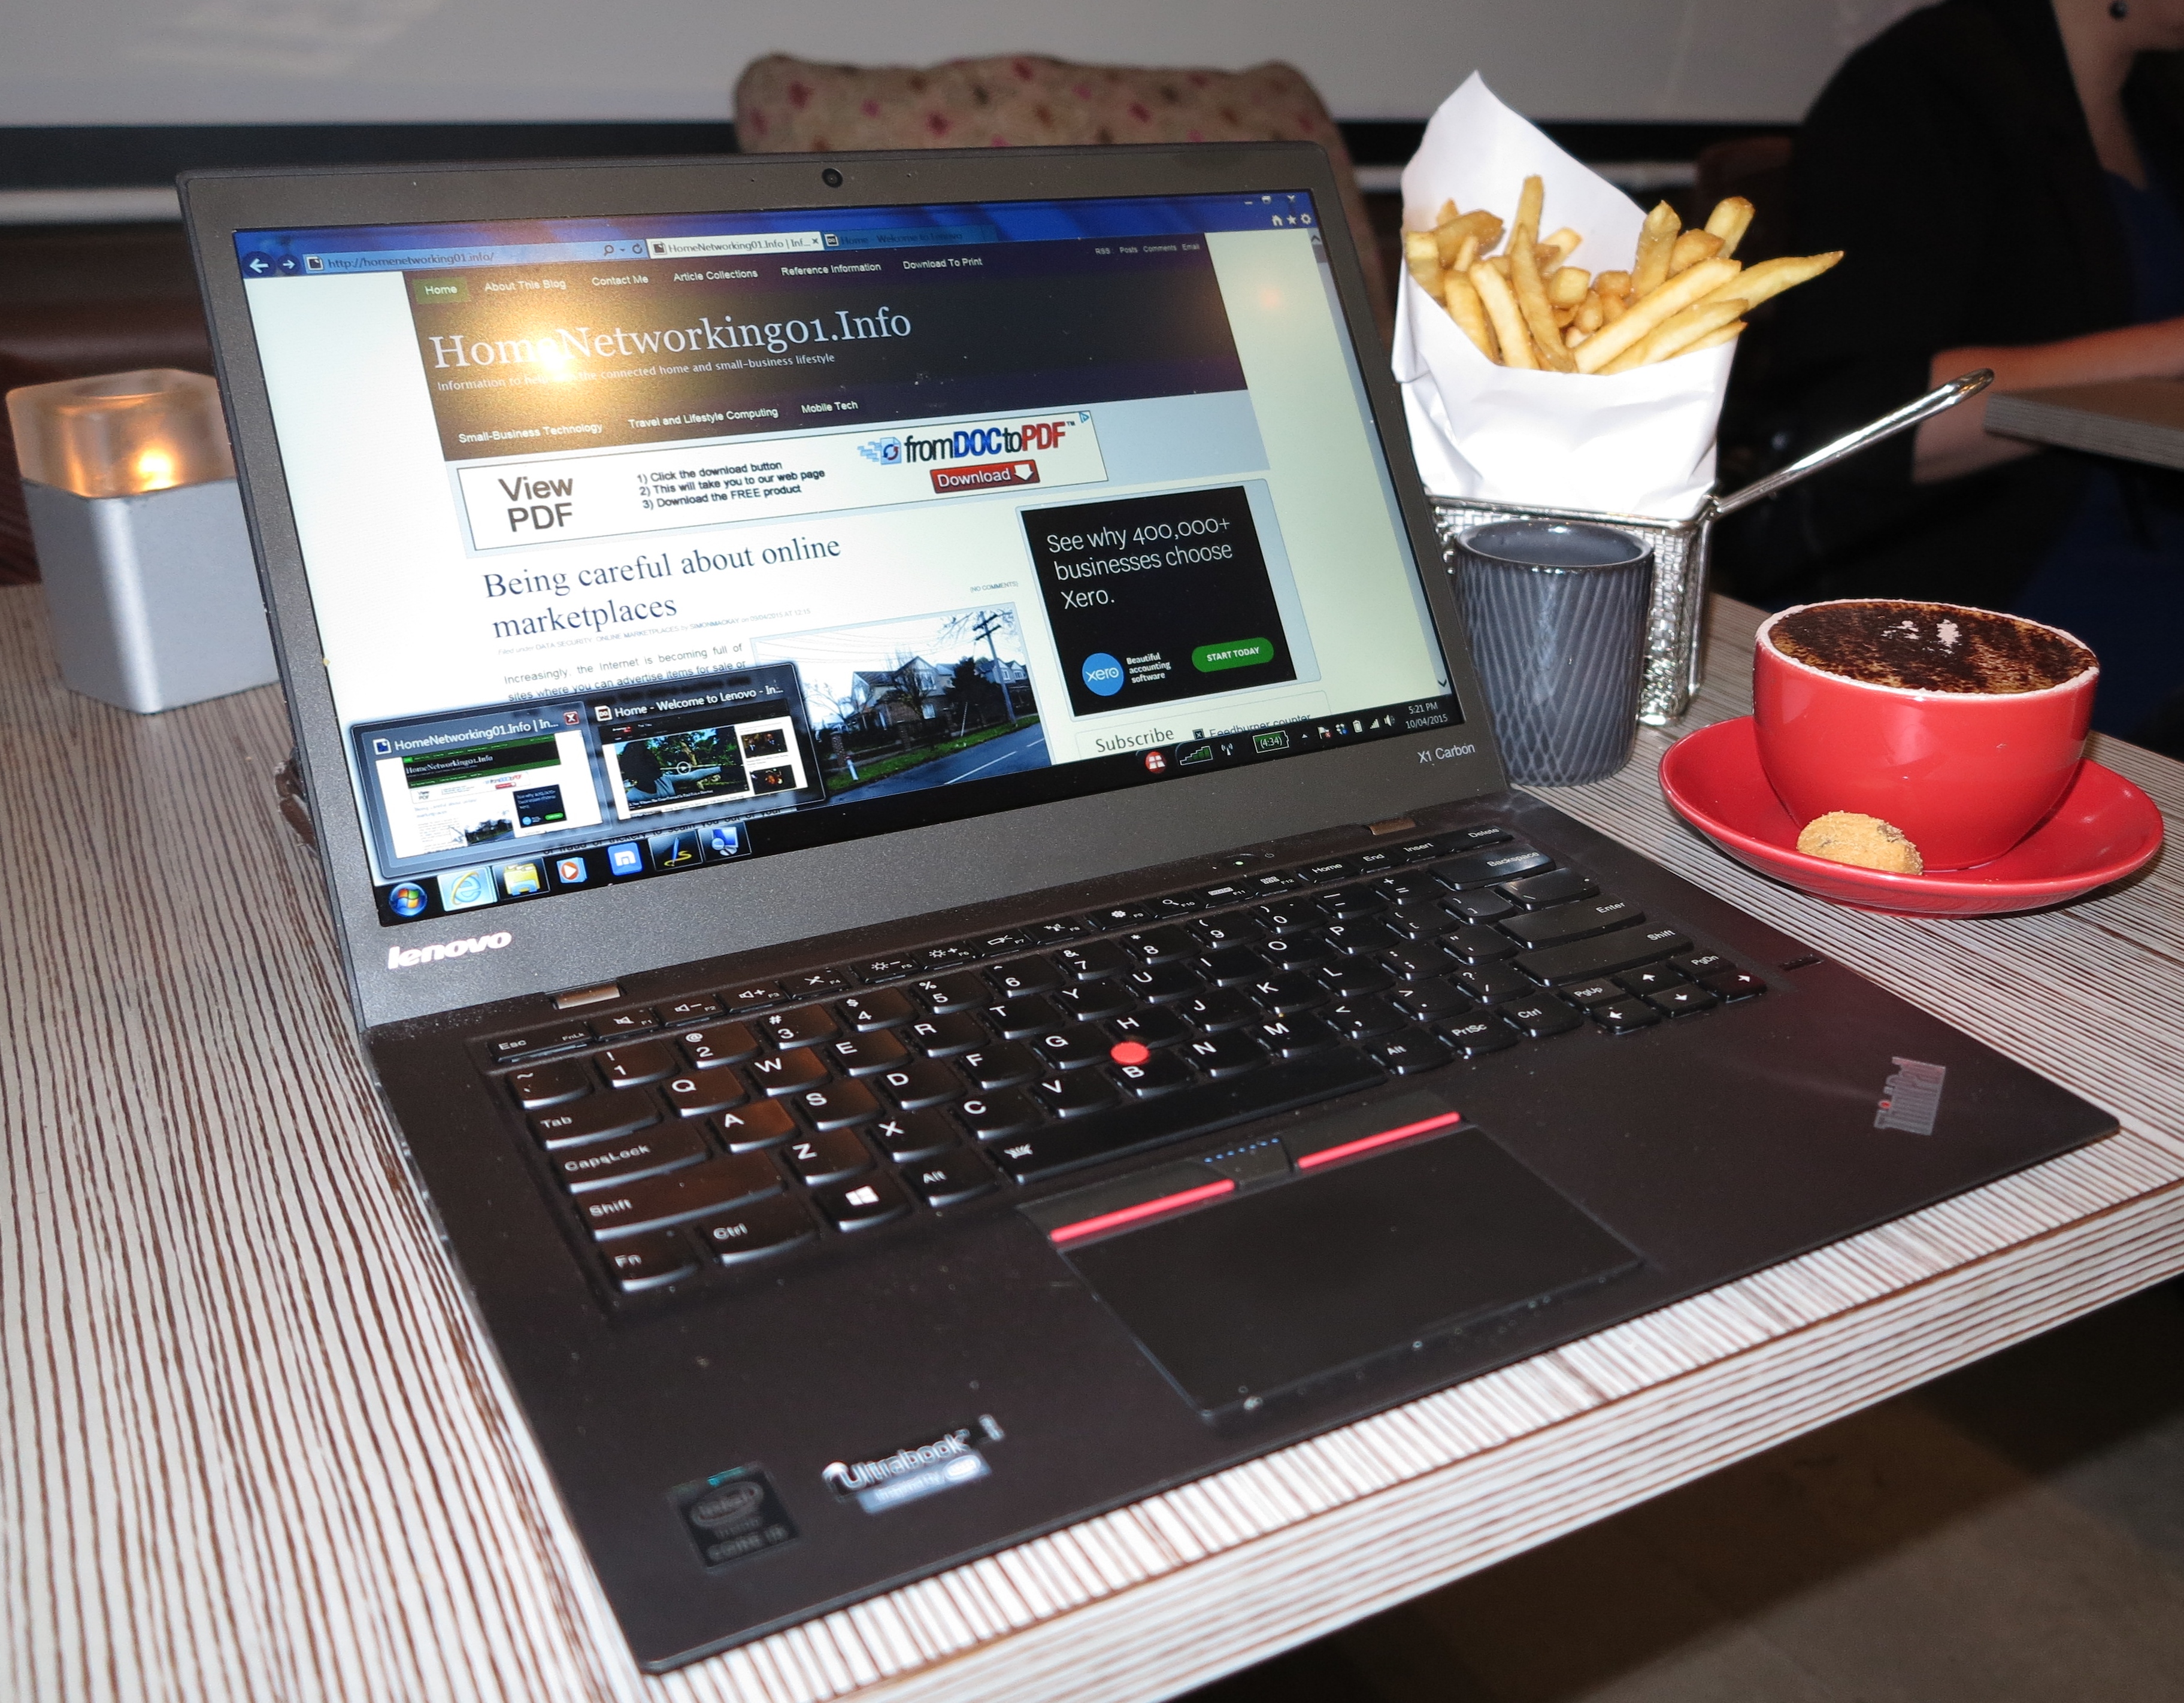
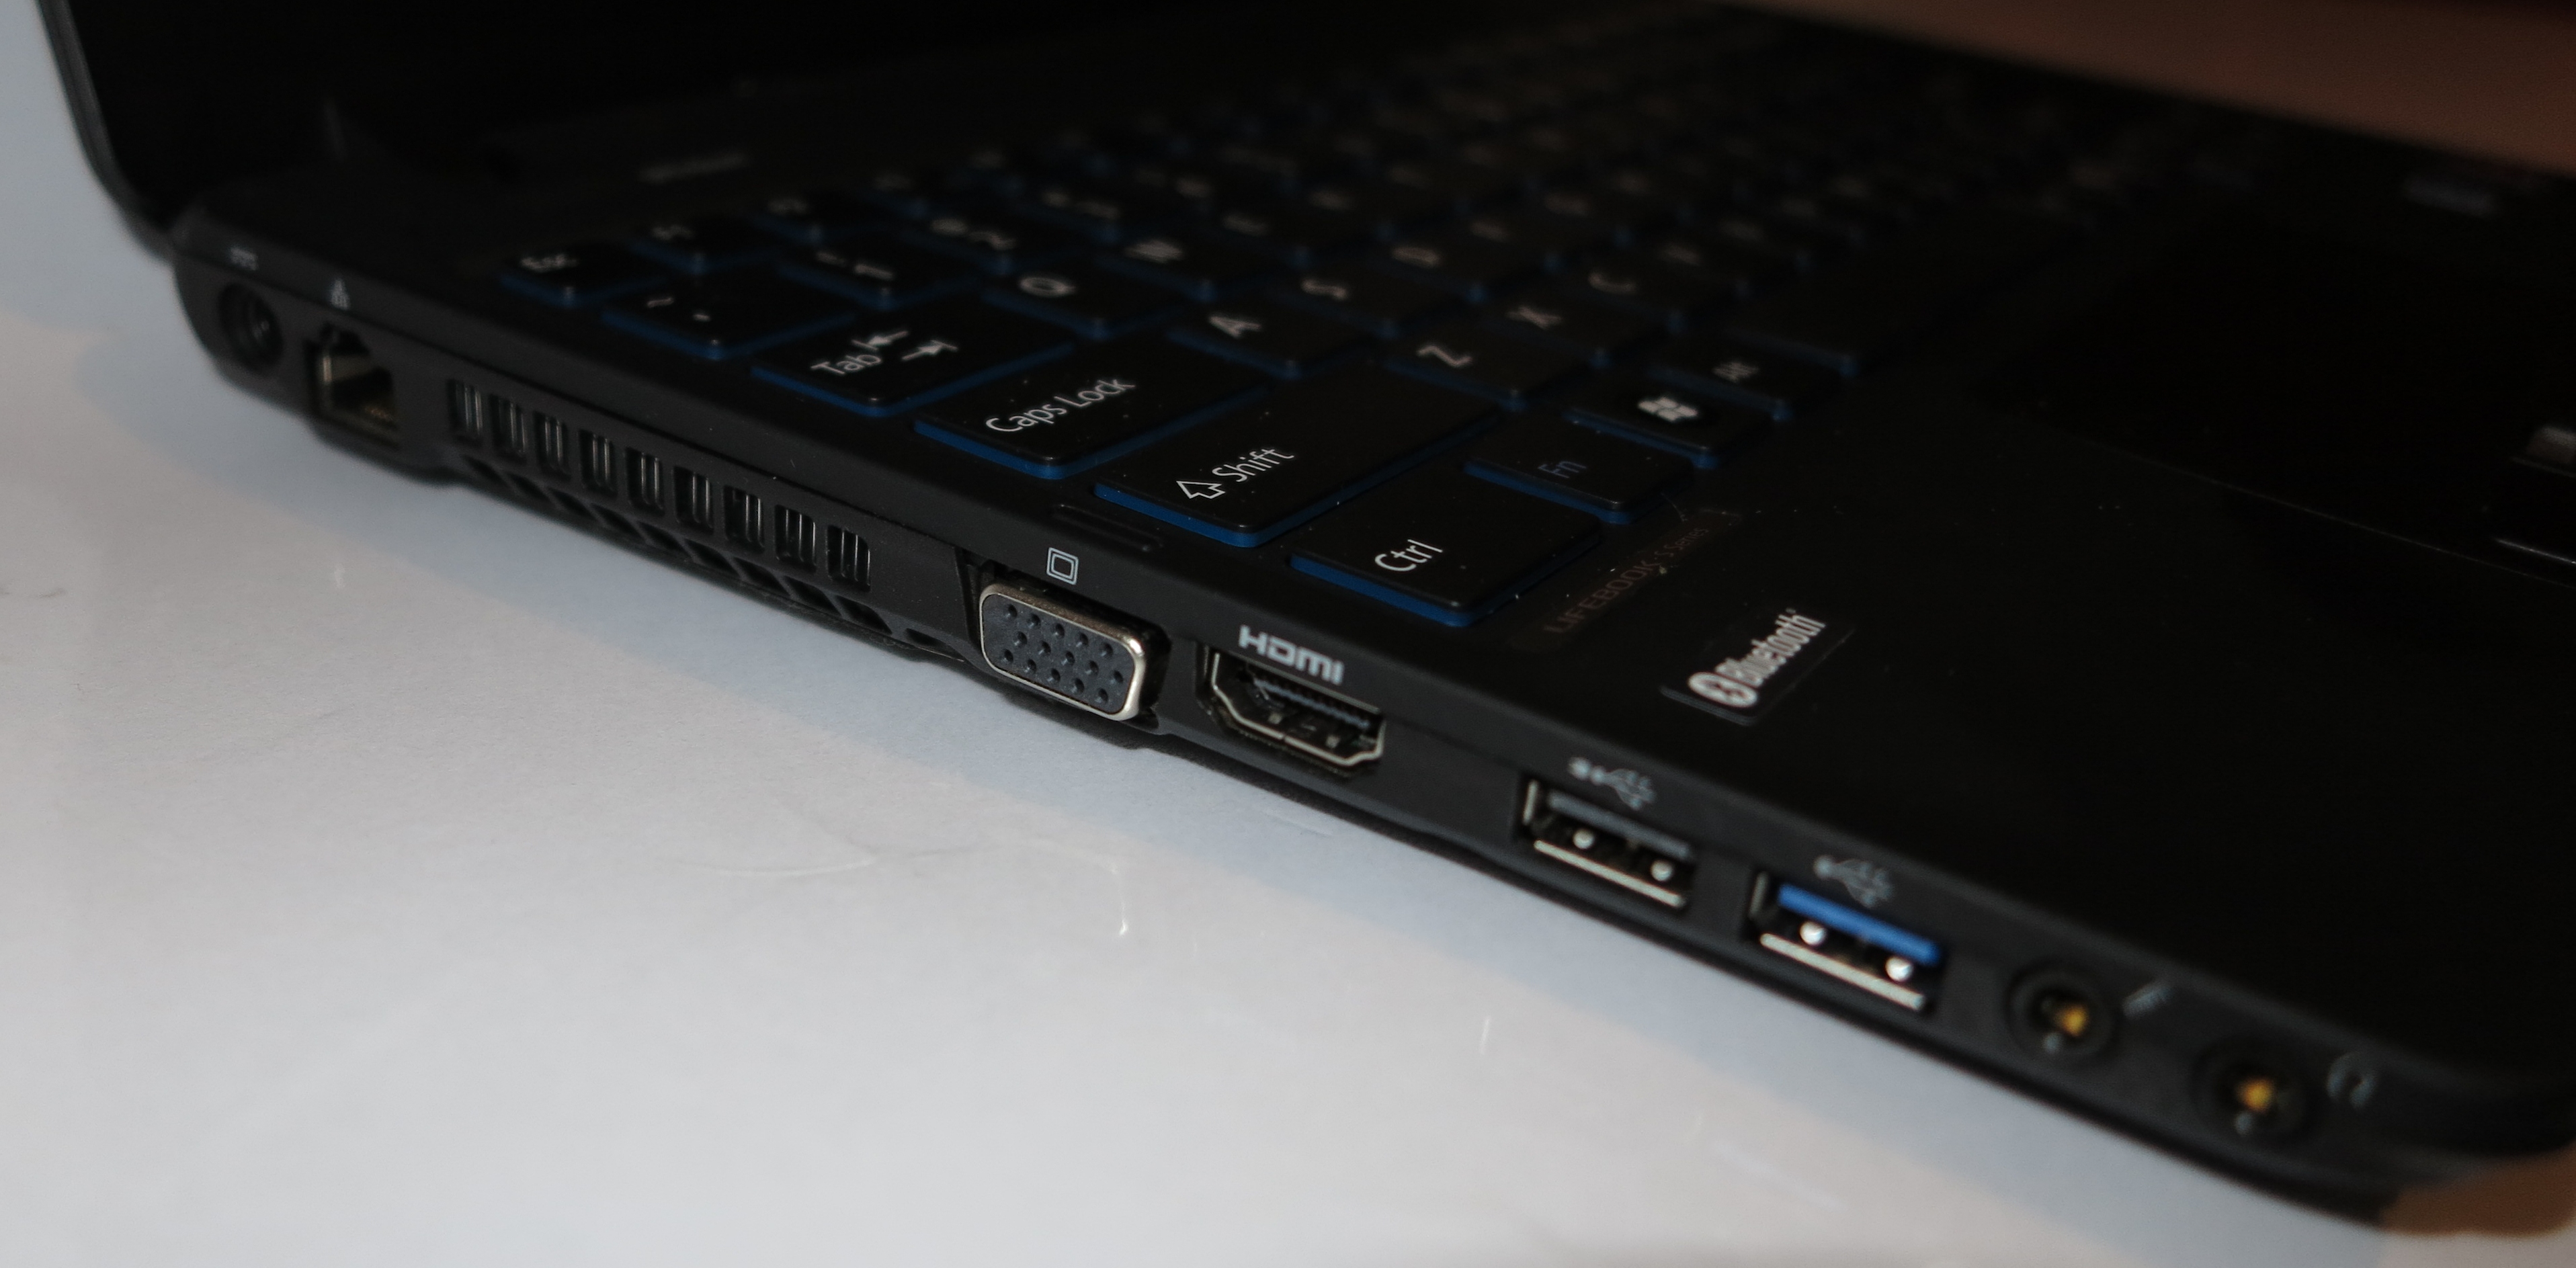
Desktop or laptop computers when used with external displays can earn their keep for electronic signage
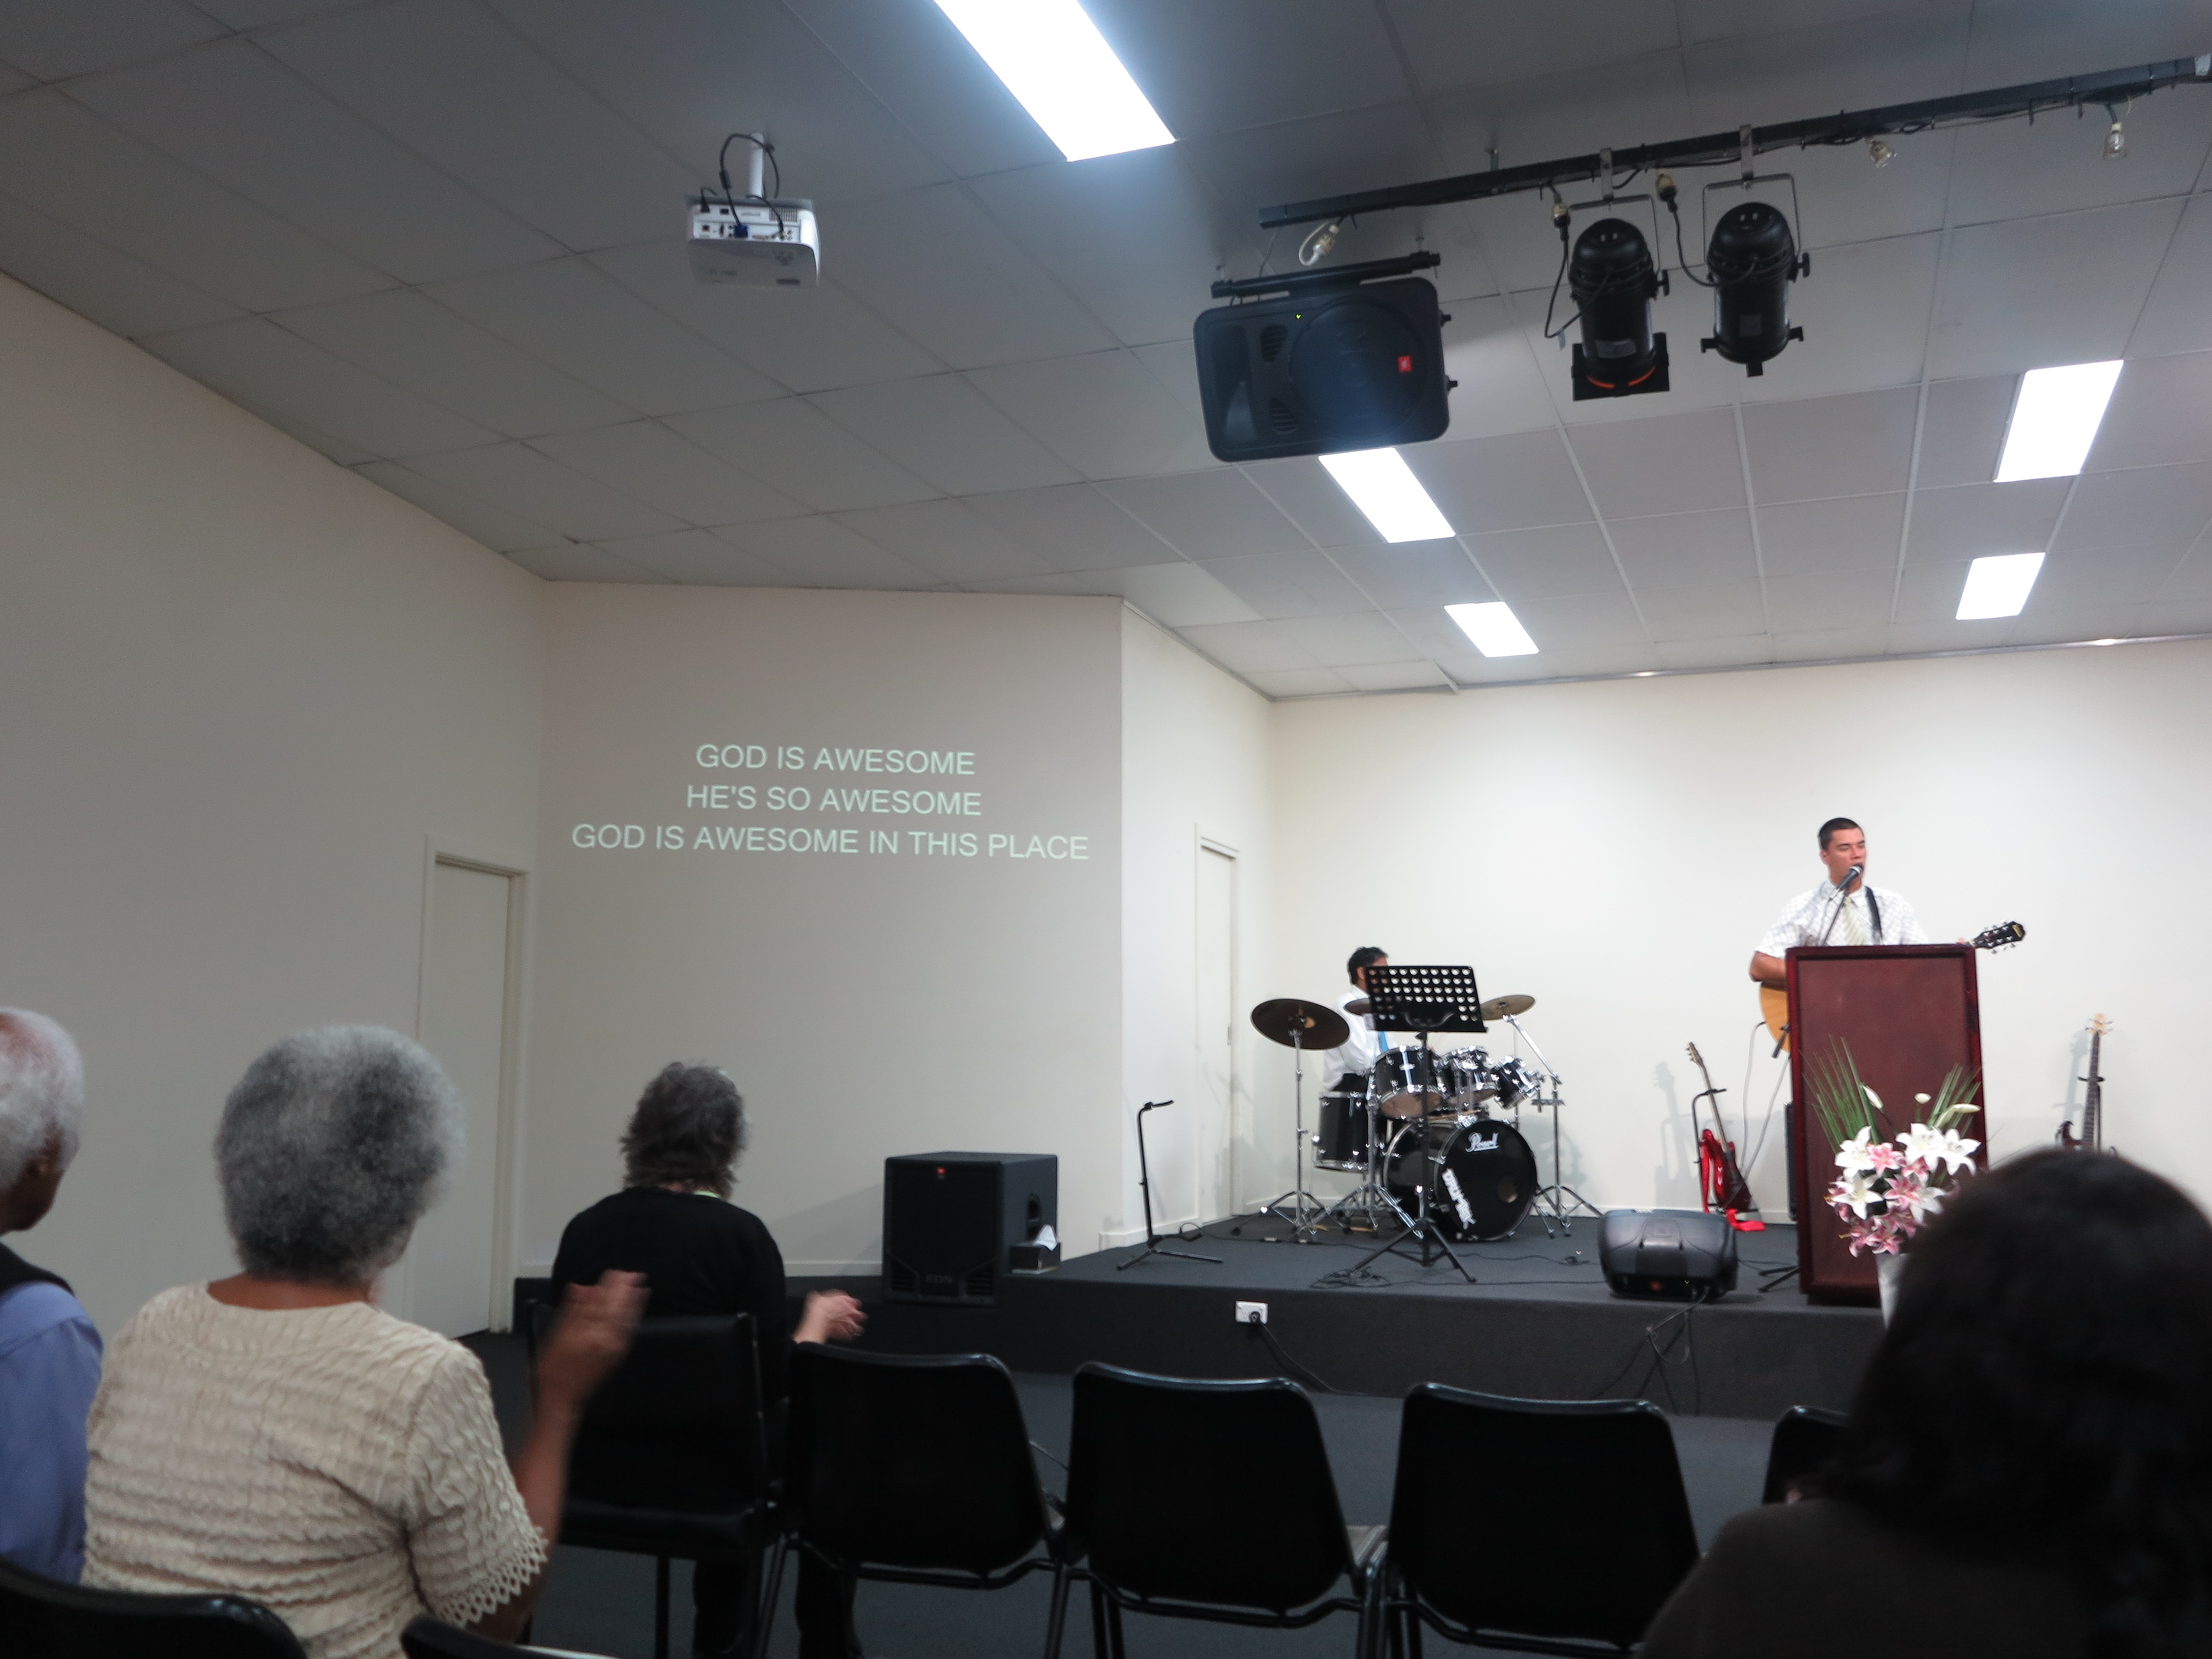
Some of you may customarily hook up a computer to a large display like a projector and will want to use it for showing the electronic signage. It would be of importance for churches and other houses of worship where a computer is used to show worship material; or cinemas and theatres where a computer is used to show the program material.
Here, you could use a presentation program to do the job especially if you used the same presentation program or a compatible piece of software to create those slides; or just get by with a photo-viewing or media-playout tool like even Windows Photo Viewer to do this job without installing extra software. I have written up some instructions on how to press this program in to service with a larger display when you have a dual-display setup like a laptop connected to a large screen or a desktop with a monitor and a projector for showing to the audience.
Sometimes you may find that the one presentation tool doesn’t answer all of your needs with your computer or some of these tasks may be difficult to perform with that tool. For example, you, as a church AV manager, may find that a worship-lyrics program of the EasiSlides ilk can cut it just fine for the song lyrics that are part of your worship service while a program like Windows Photo Viewer can cut it for showing many JPEG images. On the other hand, you may come across that presentation tool that can satisfy main-program applications as well as the electronic signage applications.
An iPad or similar tablet
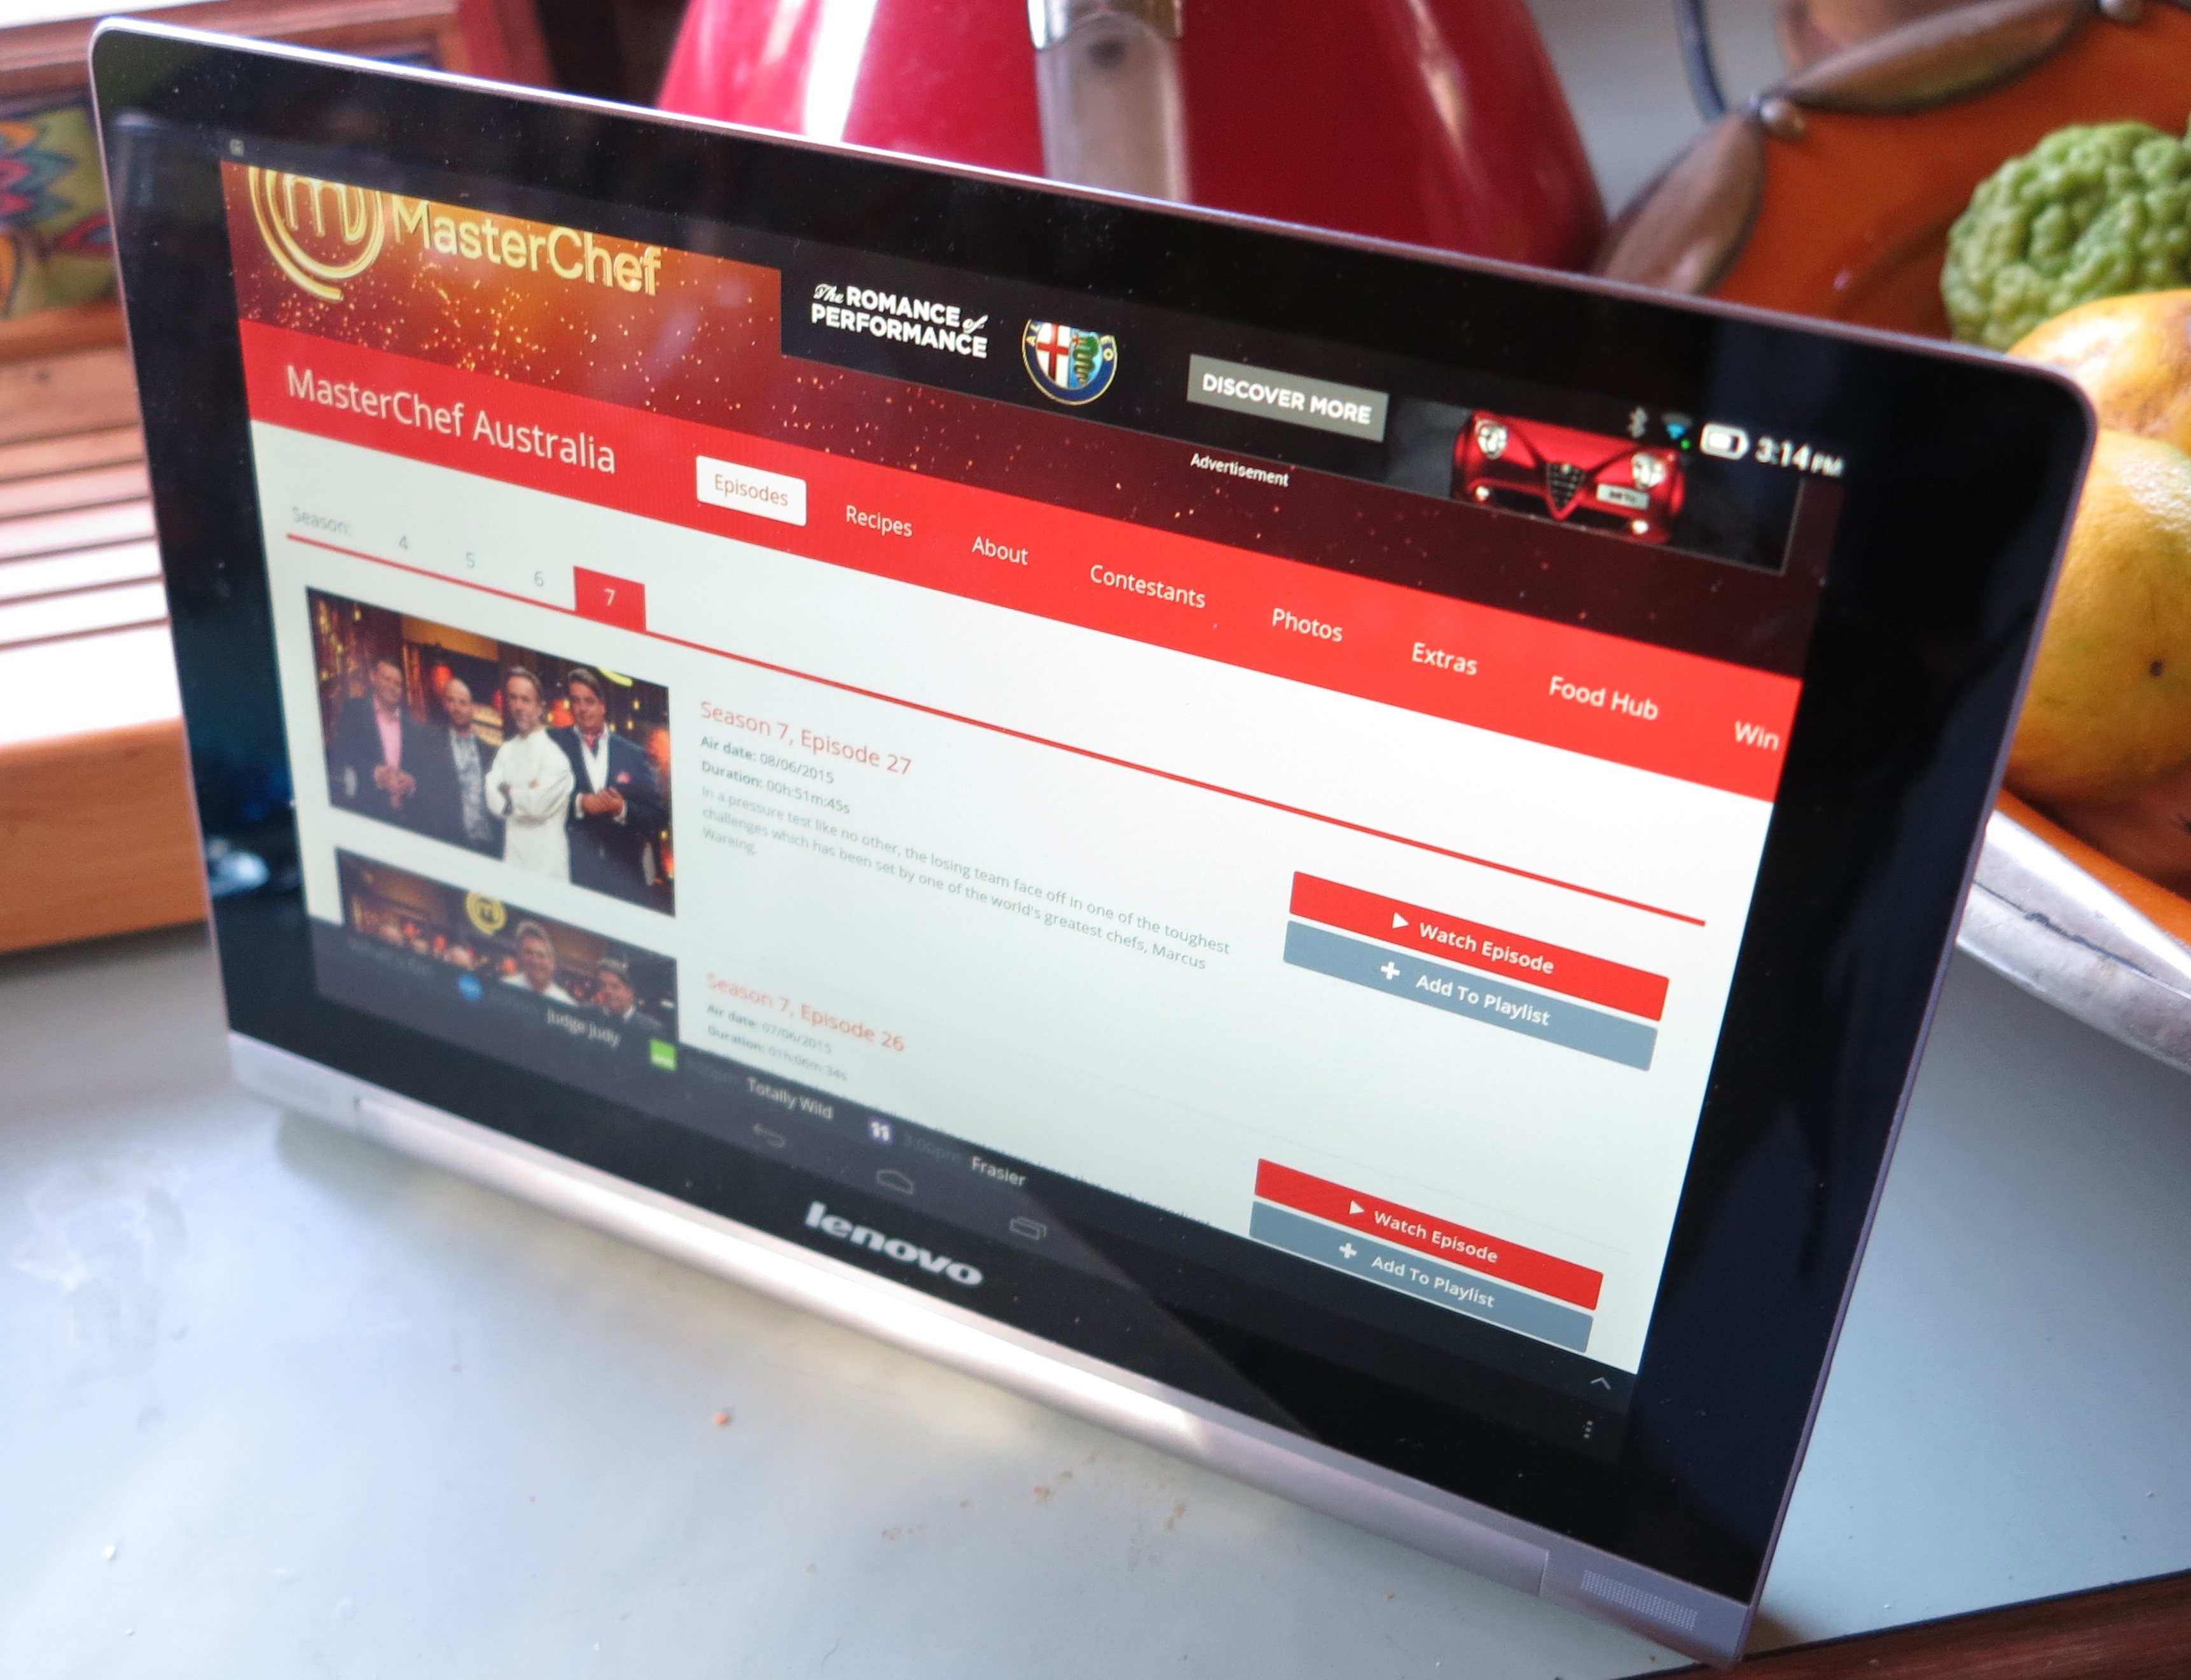
One of these tablets could work as counter-top electronic signage
Most tablets have a screenshow application but you would have to upload the signage in to the tablet whether via Dropbox or similar cloud storage; connecting the tablet to your computer to transfer the files; or plugging in a microSD card or USB thumbdrive in to an Android tablet that supports USB OTG or removable media. You may also find that a DLNA media client running on your tablet can also fulfil this task effectively if your tablet and NAS are part of the same network.
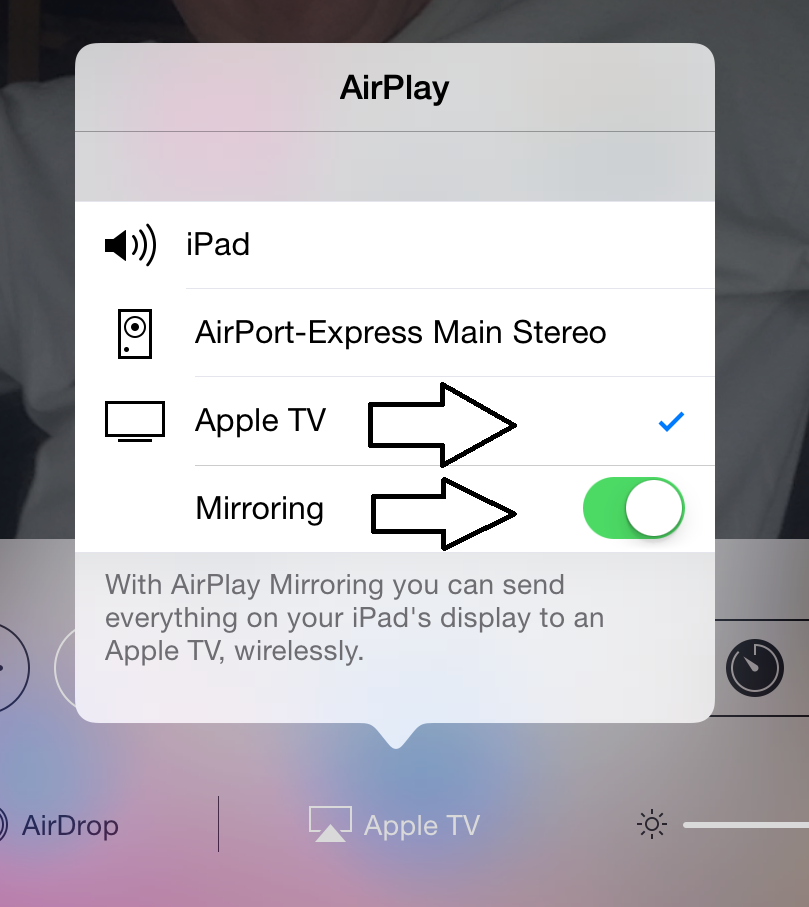
It can be taken further with an Apple TV or Google Chromecast device that purposes your TV screen as the external screen for your tablet. Similarly, running a DLNA media-controller client on that tablet to “throw” the signage to DLNA MediaRender-capable devices like Smart TVs could answer your needs. But these situations may not allow you to use the tablet’s screen and the external screen simultaneously.
These would work well when you want to have this signage on a bar or reception desk for your visitors to see up close.
Conclusion
Once you know how to use your favourite presentation program to create electronic signage and that you can use cost-effective equipment to display it, you can then have a digital display that you can always have updated regularly with new information.