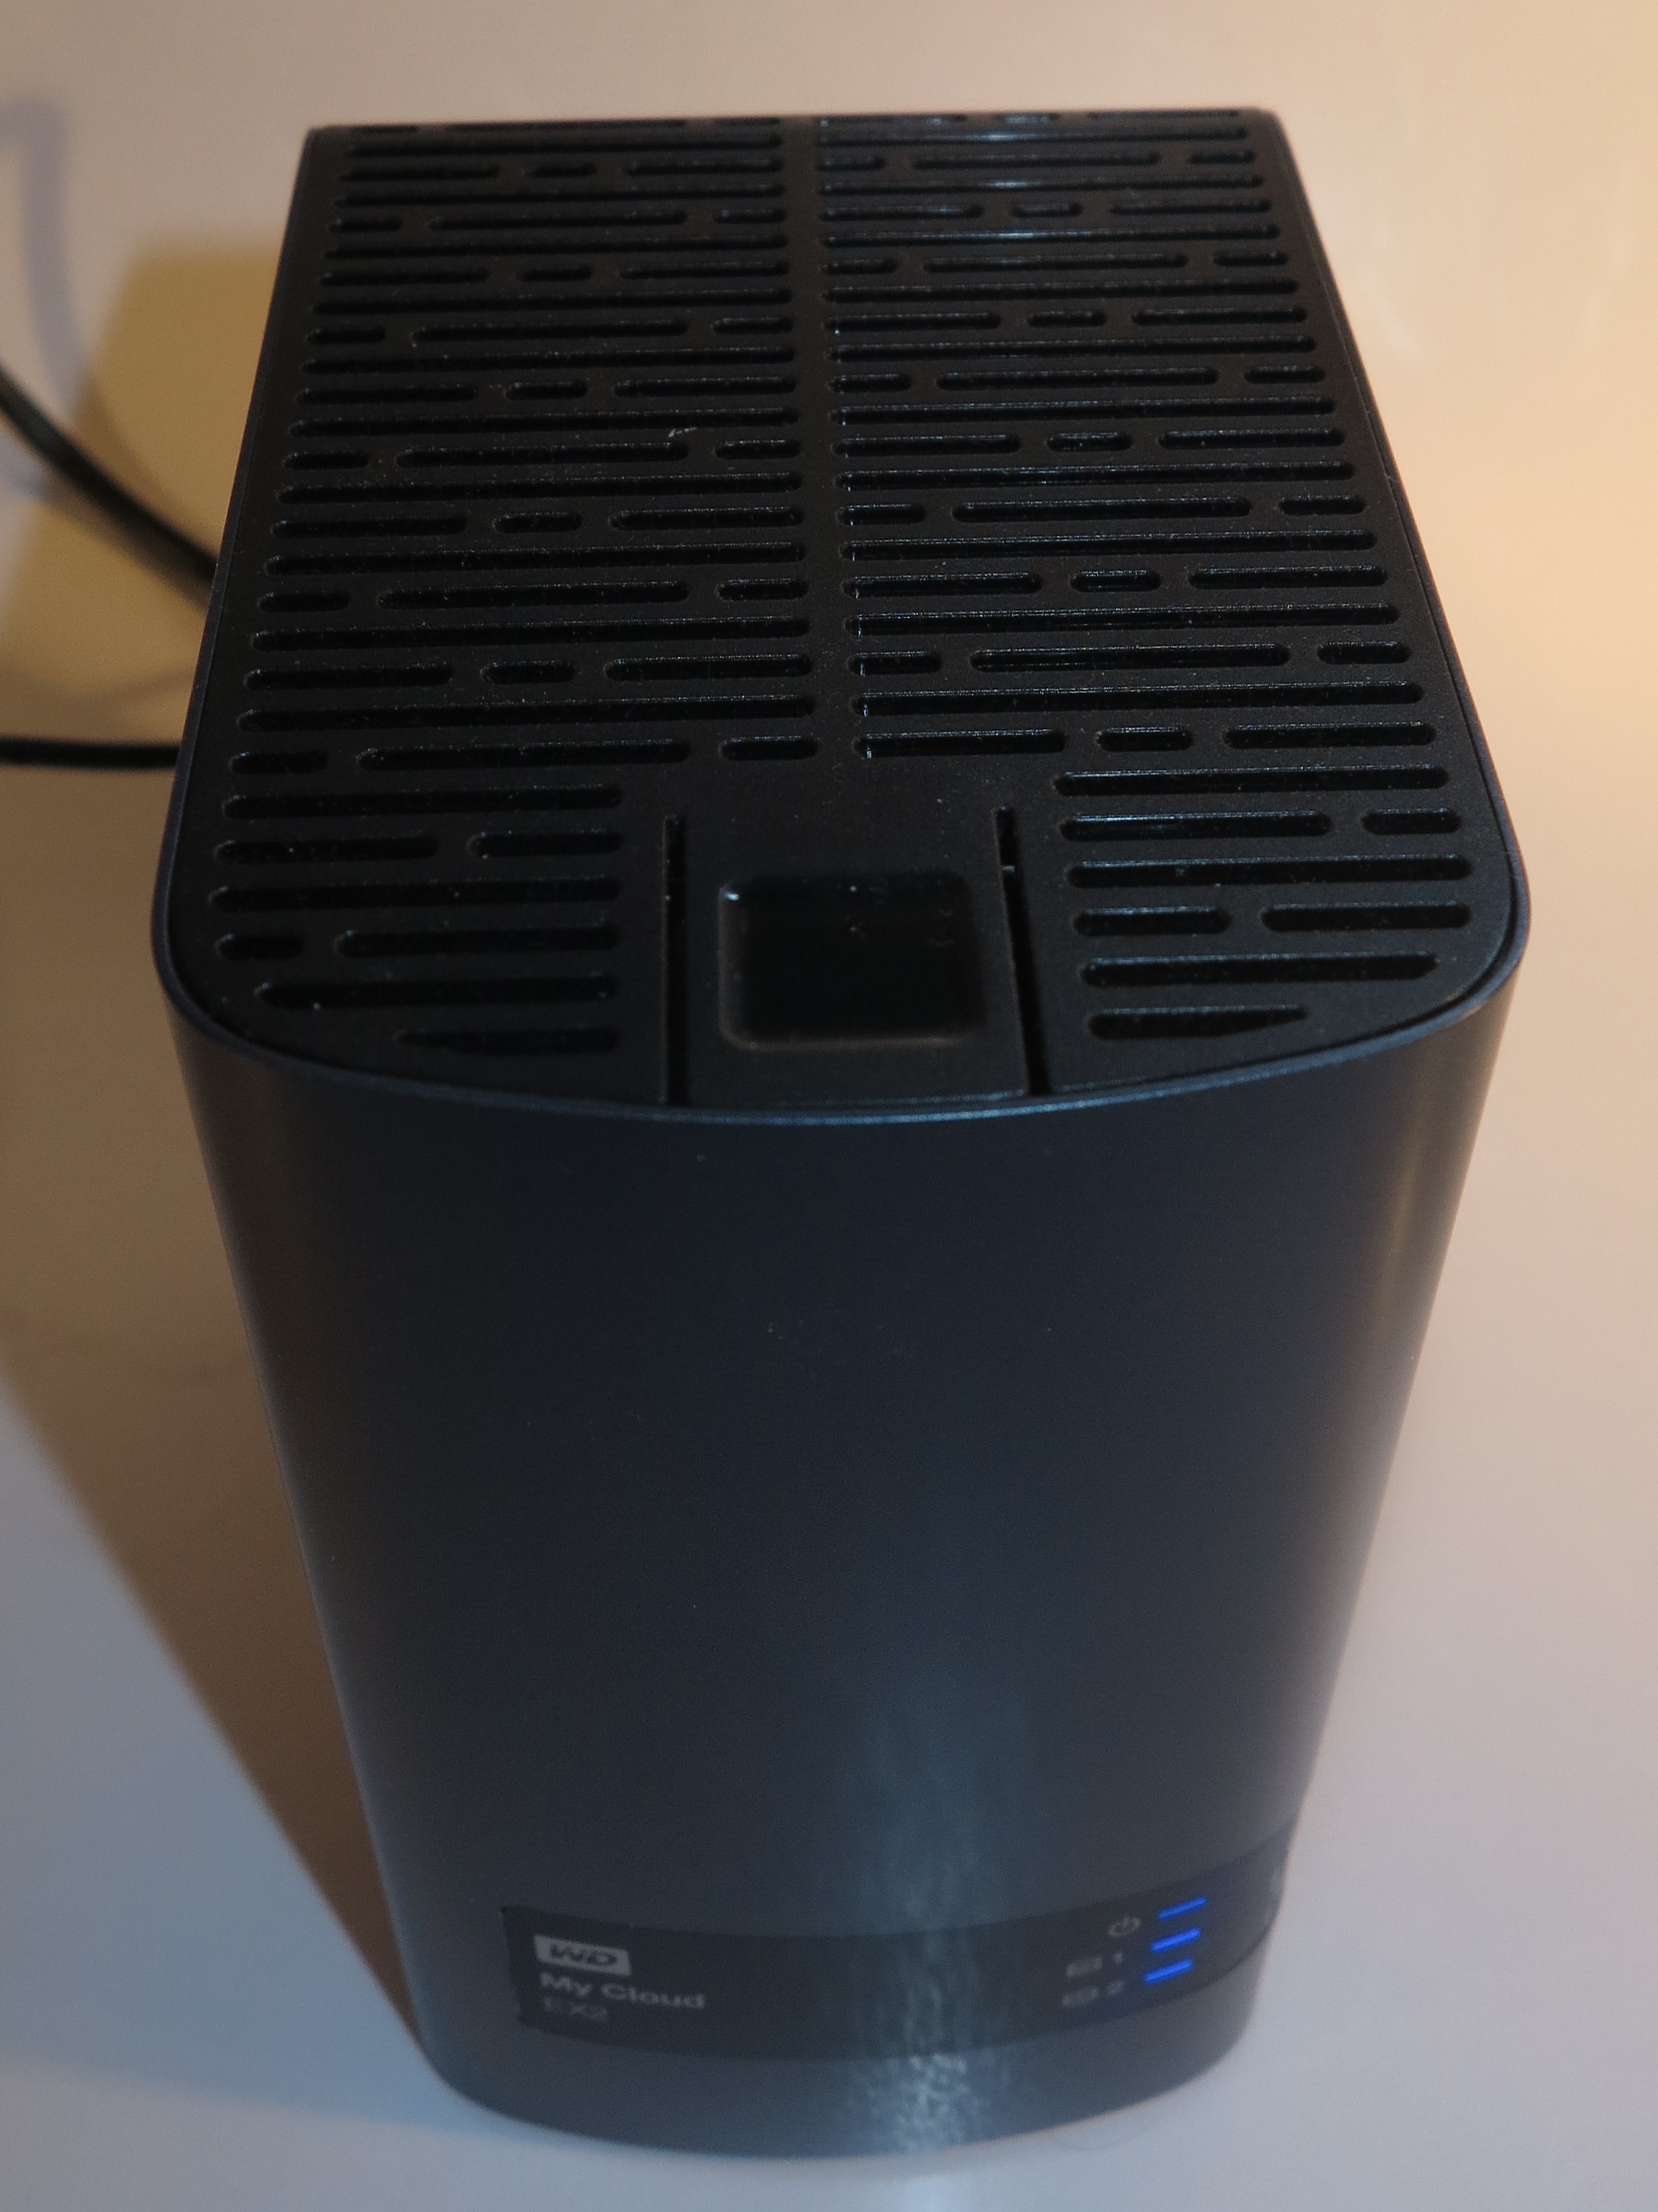
WD MyCloud EX2 2-disk NAS – has a 2-disk RAID setup
All network-attached-storage units that have two or more drive bays in them offer different ways to make use of the hard disks installed in these drive bays. These are primarily about creating one logical disk volume out of the many disk drives.
You may also find multiple-disk arrays being implemented in so-called “Direct Attached Storage” devices which connect to your computer as if they are a peripheral or are integrated in the computer. These are typically used for computer setups where read-write performance for secondary storage is considered important like video editing or for computers that work as servers.

WD MyCloud EX4 NAS – can be set up as a 4-disk RAID array
The most common setups are described as “RAID” or “Redundant Array Of Independent Disks”. These setups gang multiple hard disks (or solid-state drives) to improve data throughput, effective disk capacity or system fault-tolerance.
Multi-Drive Disk setups
RAID setups
It is important to remember that a RAID setup that is about fault tolerance doesn’t obviate the need to back up the contents of a NAS. This is something you can do with a USB hard disk connected to the NAS, another NAS on the same network or connected via the Internet or an online storage or backup service.
RAID 0
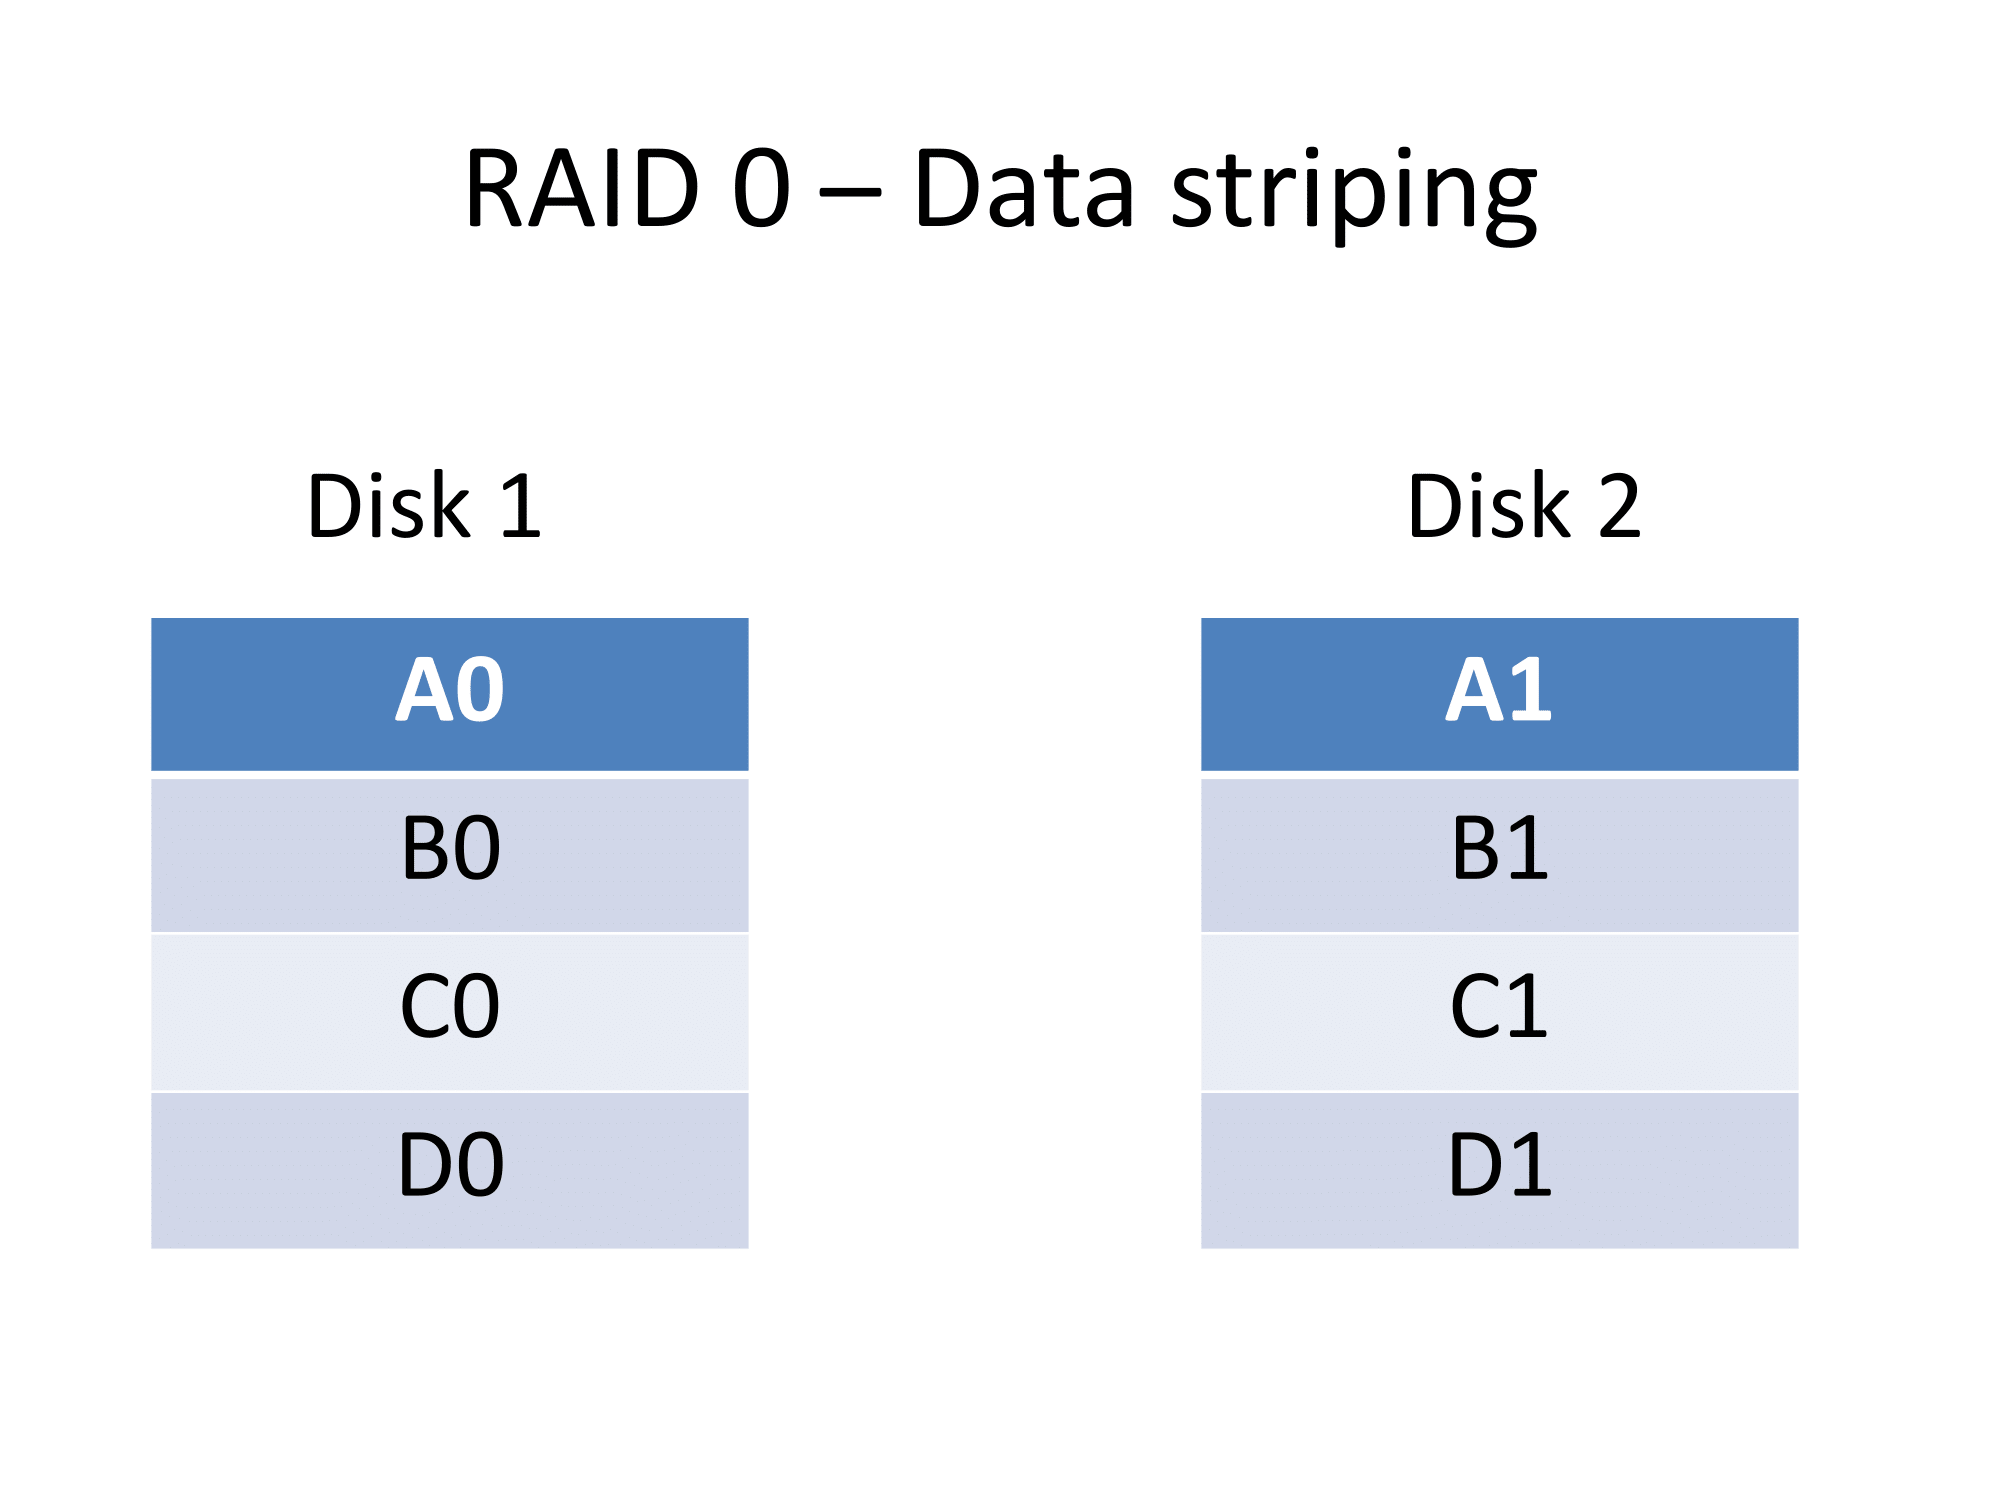
RAID 0 Data Striping across disks
Here, this creates one logical volume with the data spread across the disks, a method known as “striping”. Each block of data is sequentially stored across each physical disk rather than a disk being filled with data then another disk being subsequently filled with data.
This allows for increased capacity and read / write data throughput, but loses on fault tolerance because the disk array is no good and the data is lost if one of the drives fails.
Volume Capacity: Number of Disks x Size of smallest disk
RAID 1
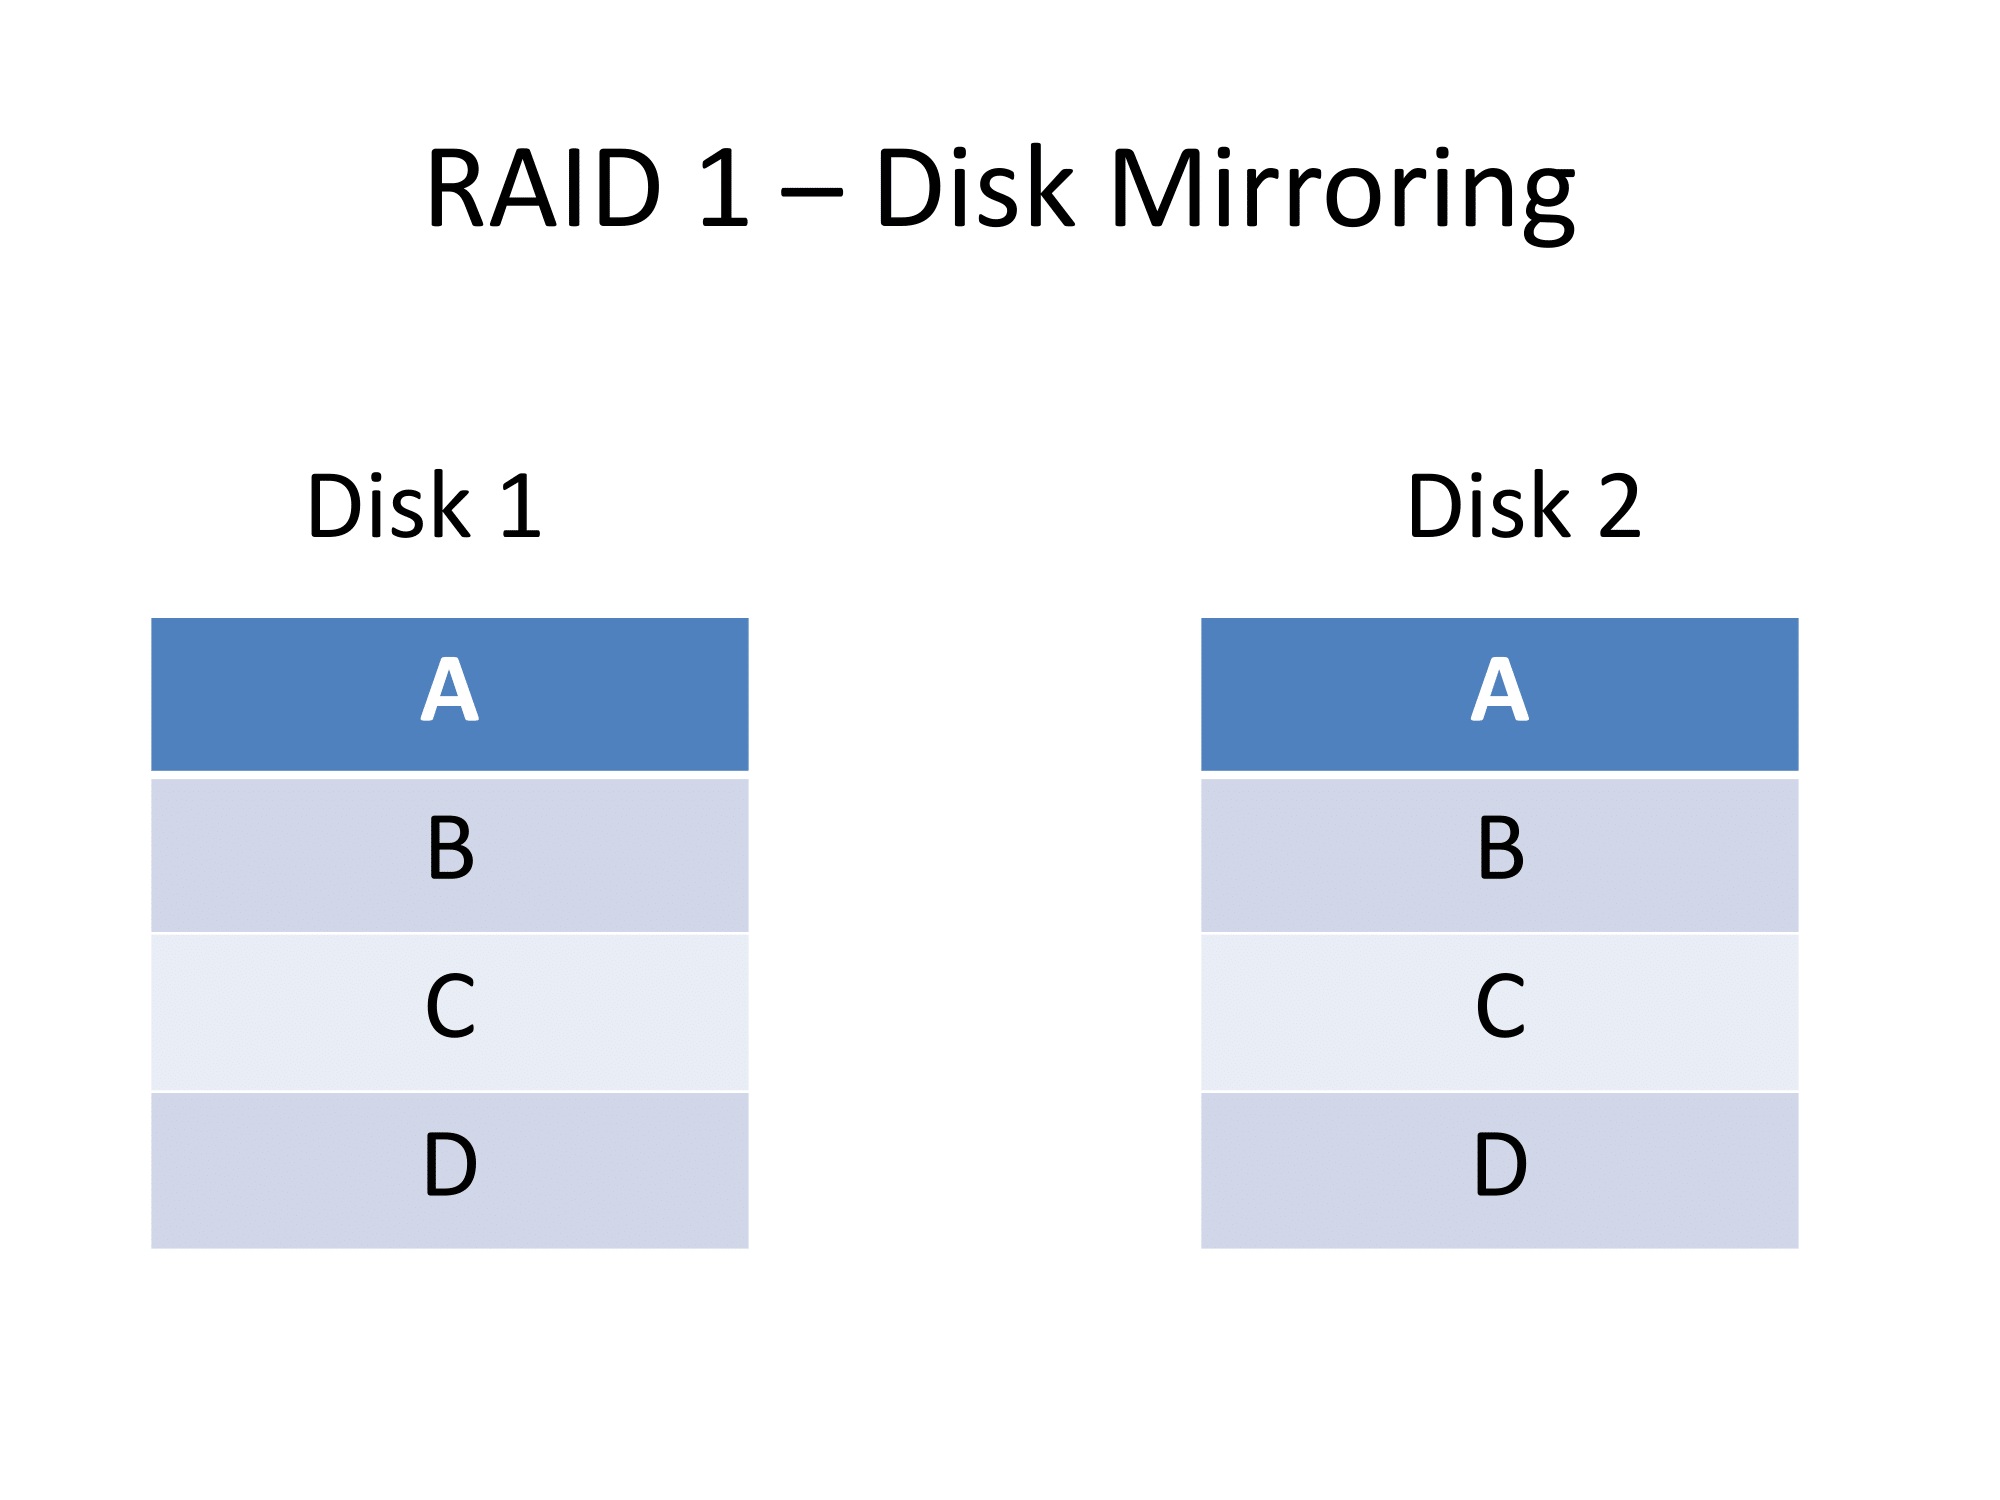
RAID 1 – Disk Mirroring
This setup creates a logical volume with the data duplicated on each physical drive. a method known as “mirroring”.
The main advantage here is increased fault-tolerance because if a disk dies, you still have access to the the data on the other disk. There is also another advantage of increased read throughput because both physical disks can be read at the same time.
The only limitations here are the volume capacity which is the size of the smallest disk in the array along with the write speed because the disk controller has to write the same data to multiple disks. It is infact a preferred RAID array setup for a 2-bay NAS due to the fault-tolerance.
Volume Capacity= Size of smallest disk in the bunch
RAID 5

RAID 5 Data Striping with a parity block
This setup works between data capacity and fault tolerance in a very interesting way. It is because the RAID 5 setup creates “parity” data. This is used in computing as a fault-tolerance measure because an algorithm can use this data along with the “known-to-be-good” data to reconstitute data lost in transmission.
Here, a RAID 5 array stripes data across the physical disk collection but inserts a block of parity data at regular intervals as part of this “striping” so as to create some form of fault-tolerance. Then the RAID 5 disk controller reconstitutes data from parity and available “known-to-be-good” data if things start to go wrong with a disk.
The advantages in these setups are the disk capacity, the read throughput and the fault tolerance but there is a performance reduction for those systems that do a lot of data writing.
Volume Capacity: (Number of disks – 1) x smallest disk size
RAID 6
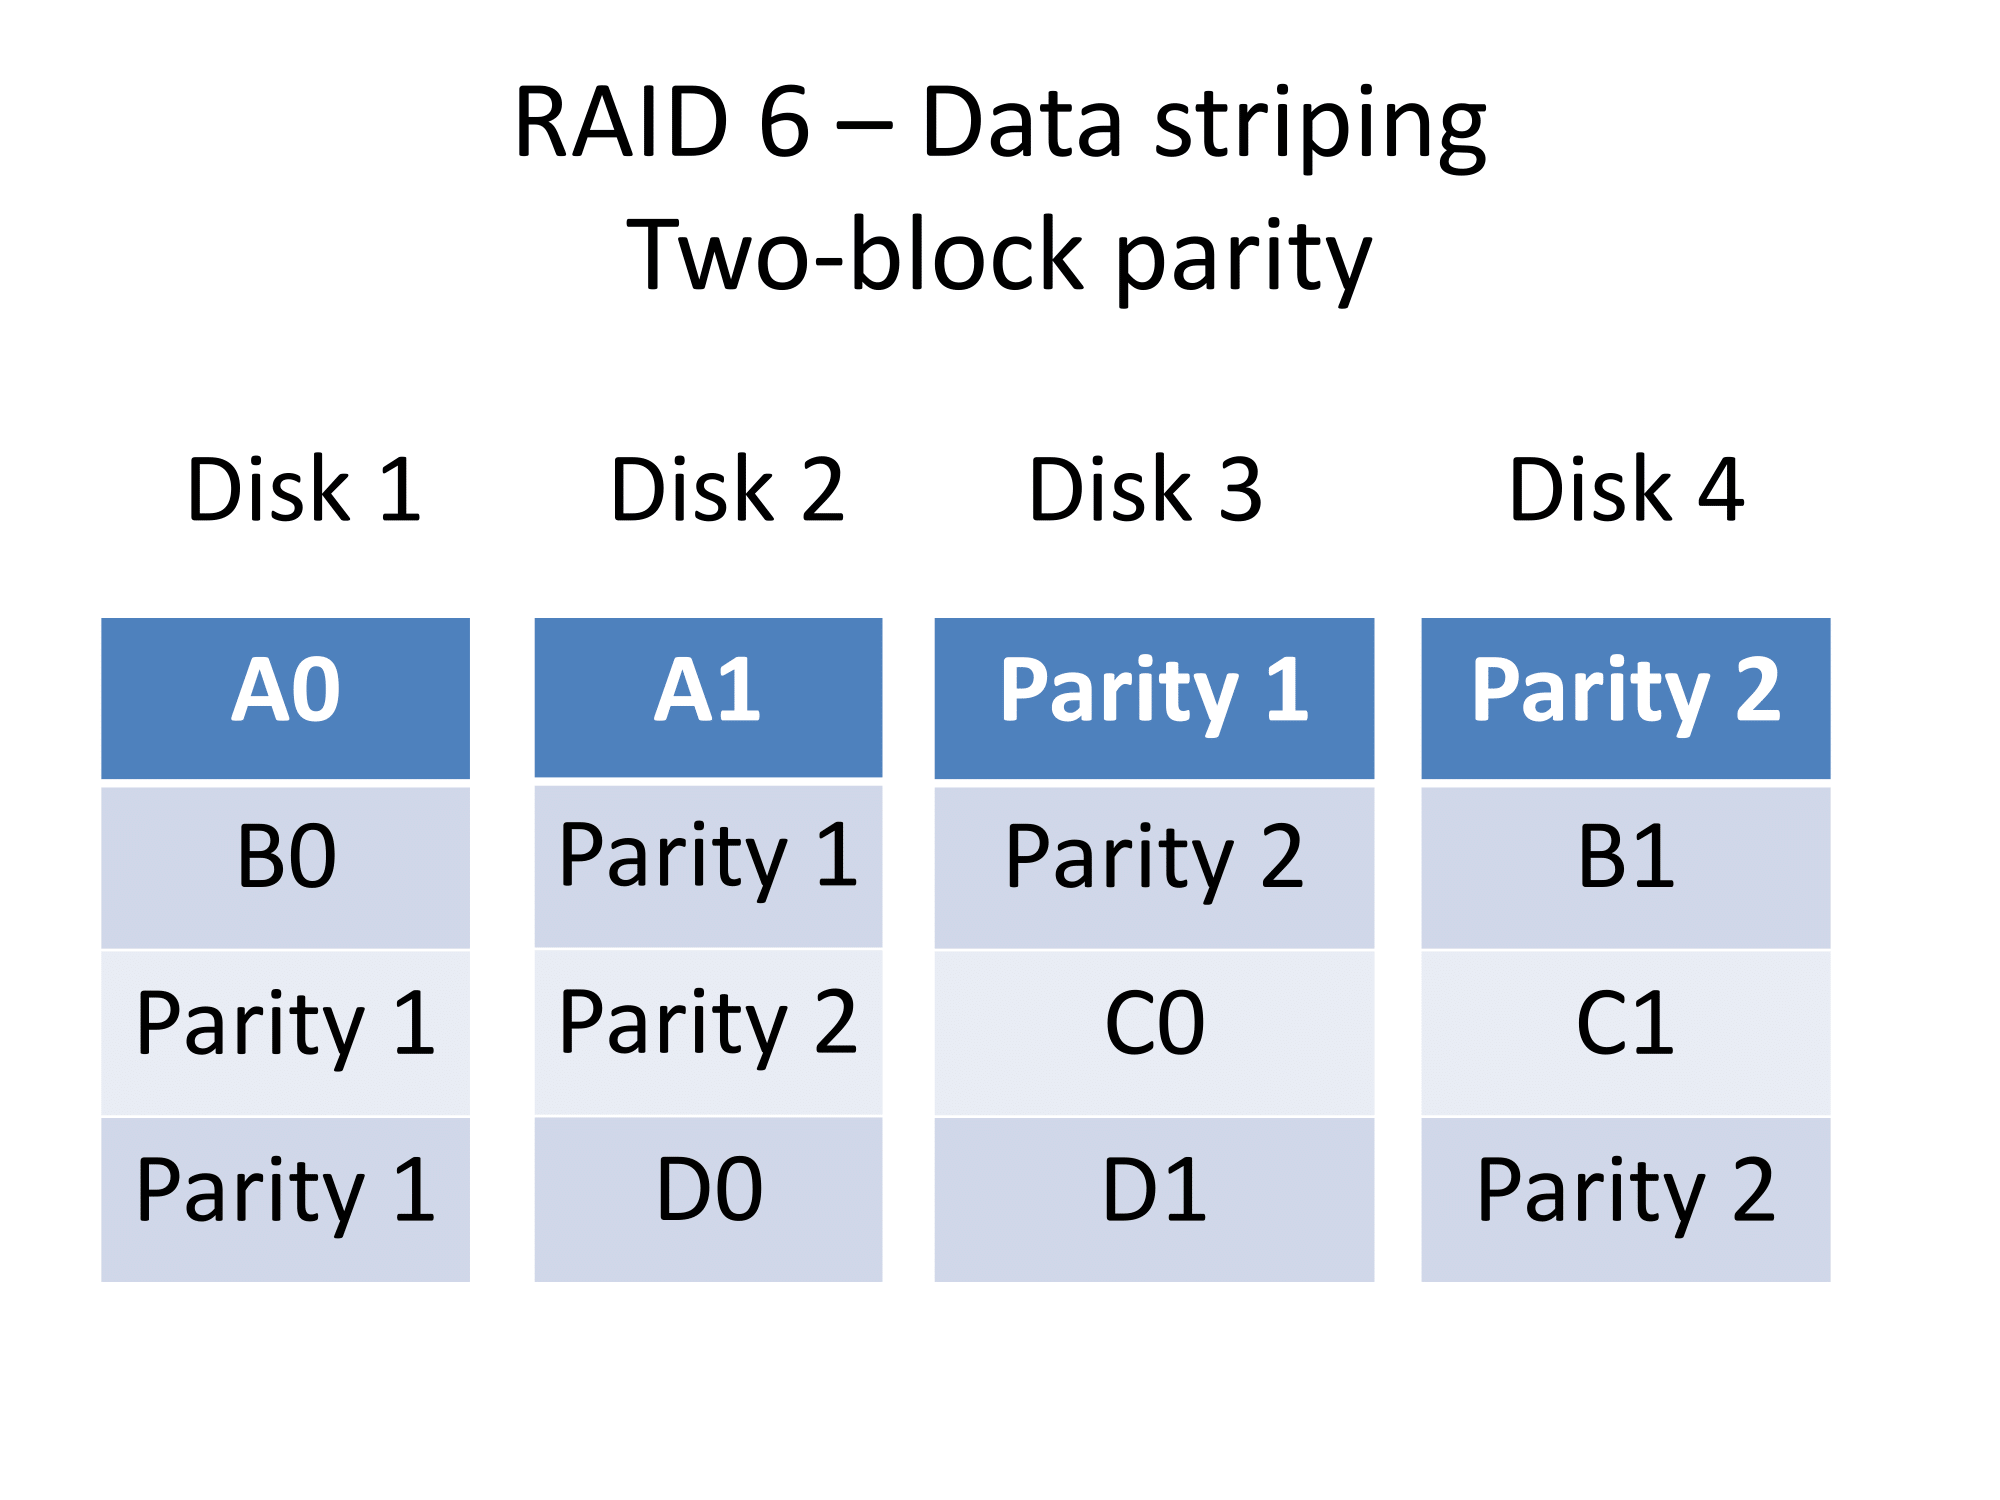
RAID 6 Data striping with two-block parity
RAID 6 works in a similar manner to RAID 5 in that it stripes data across multiple physical disks and creates a parity block for fault-tolerance. But a RAID 6 array creates another parity block to increase the amount of fault tolerance in the setup.
Volume capacity: (Number of disks-2) x smallest disk size
RAID 10 (1+0)
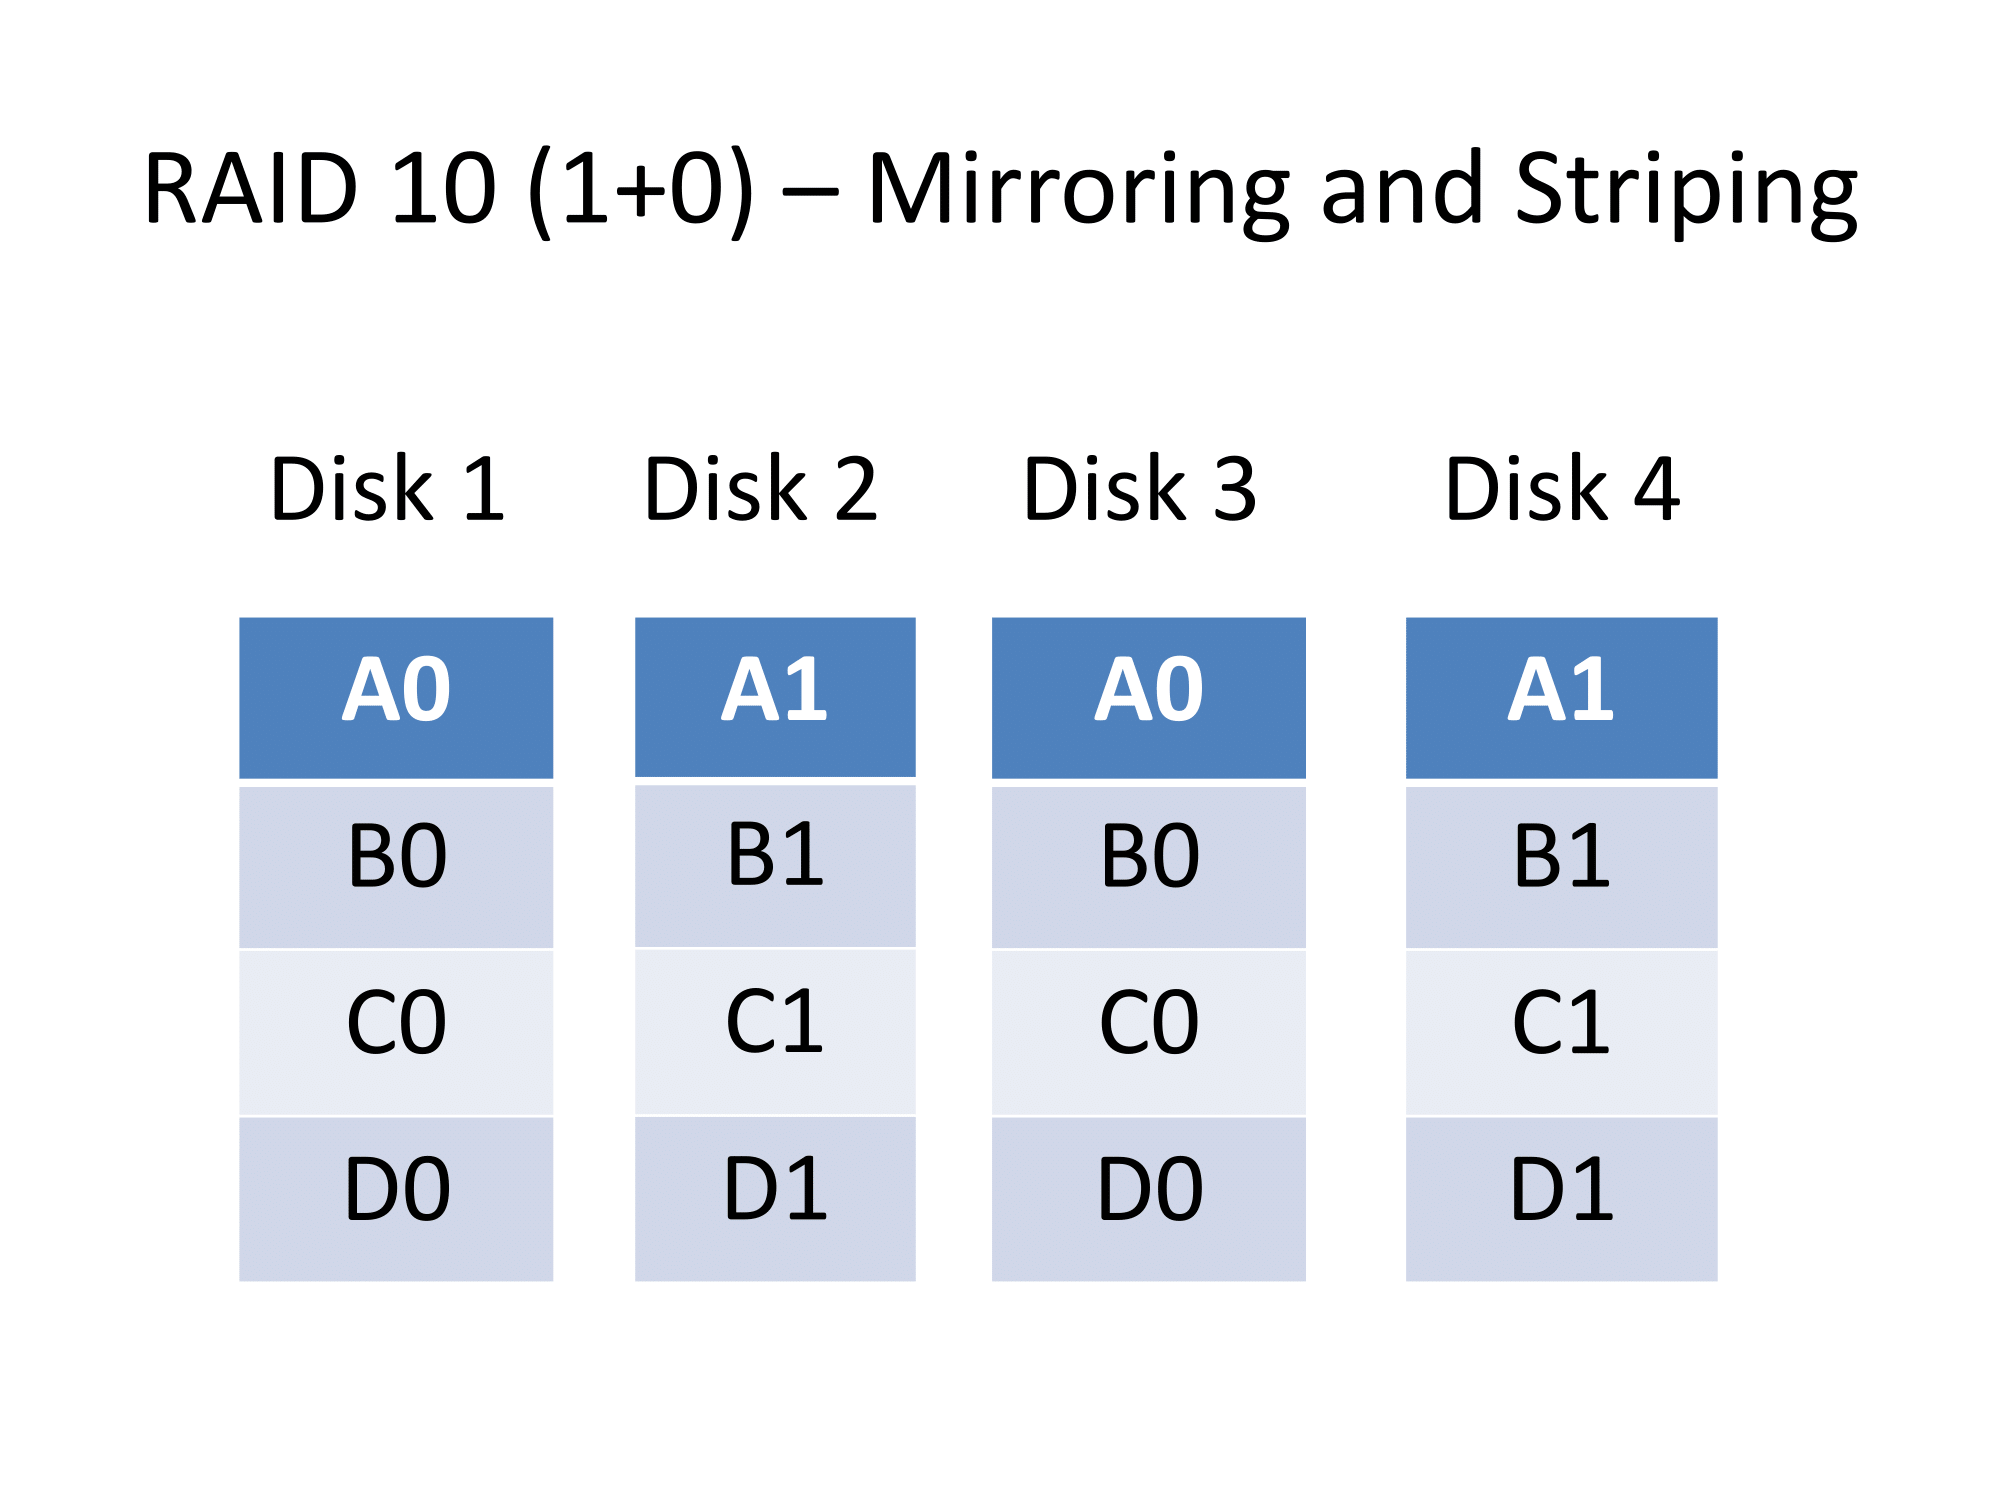
RAID 10 A combination of data striping and disk mirroring
A setup that is used with 4-disk RAID arrays is the RAID 10 array also known as the RAID 1+0 array which is a combination of both the RAID 1 setup and the RAID 0 setup.
Here, there are two collections of disks with one collection keeping copies of the data held on the other collection. Each collection has its data “striped” across the disks for capacity and performance.
The core benefit with a RAID 10 setup is that there is increased write throughput which can come in handy with write-intensive setups like databases. This is in addition to the fault tolerance provided by mirroring along with the read performance provided by striping.
Volume Capacity: Combined size of two of the smallest disks
Non-RAID setups
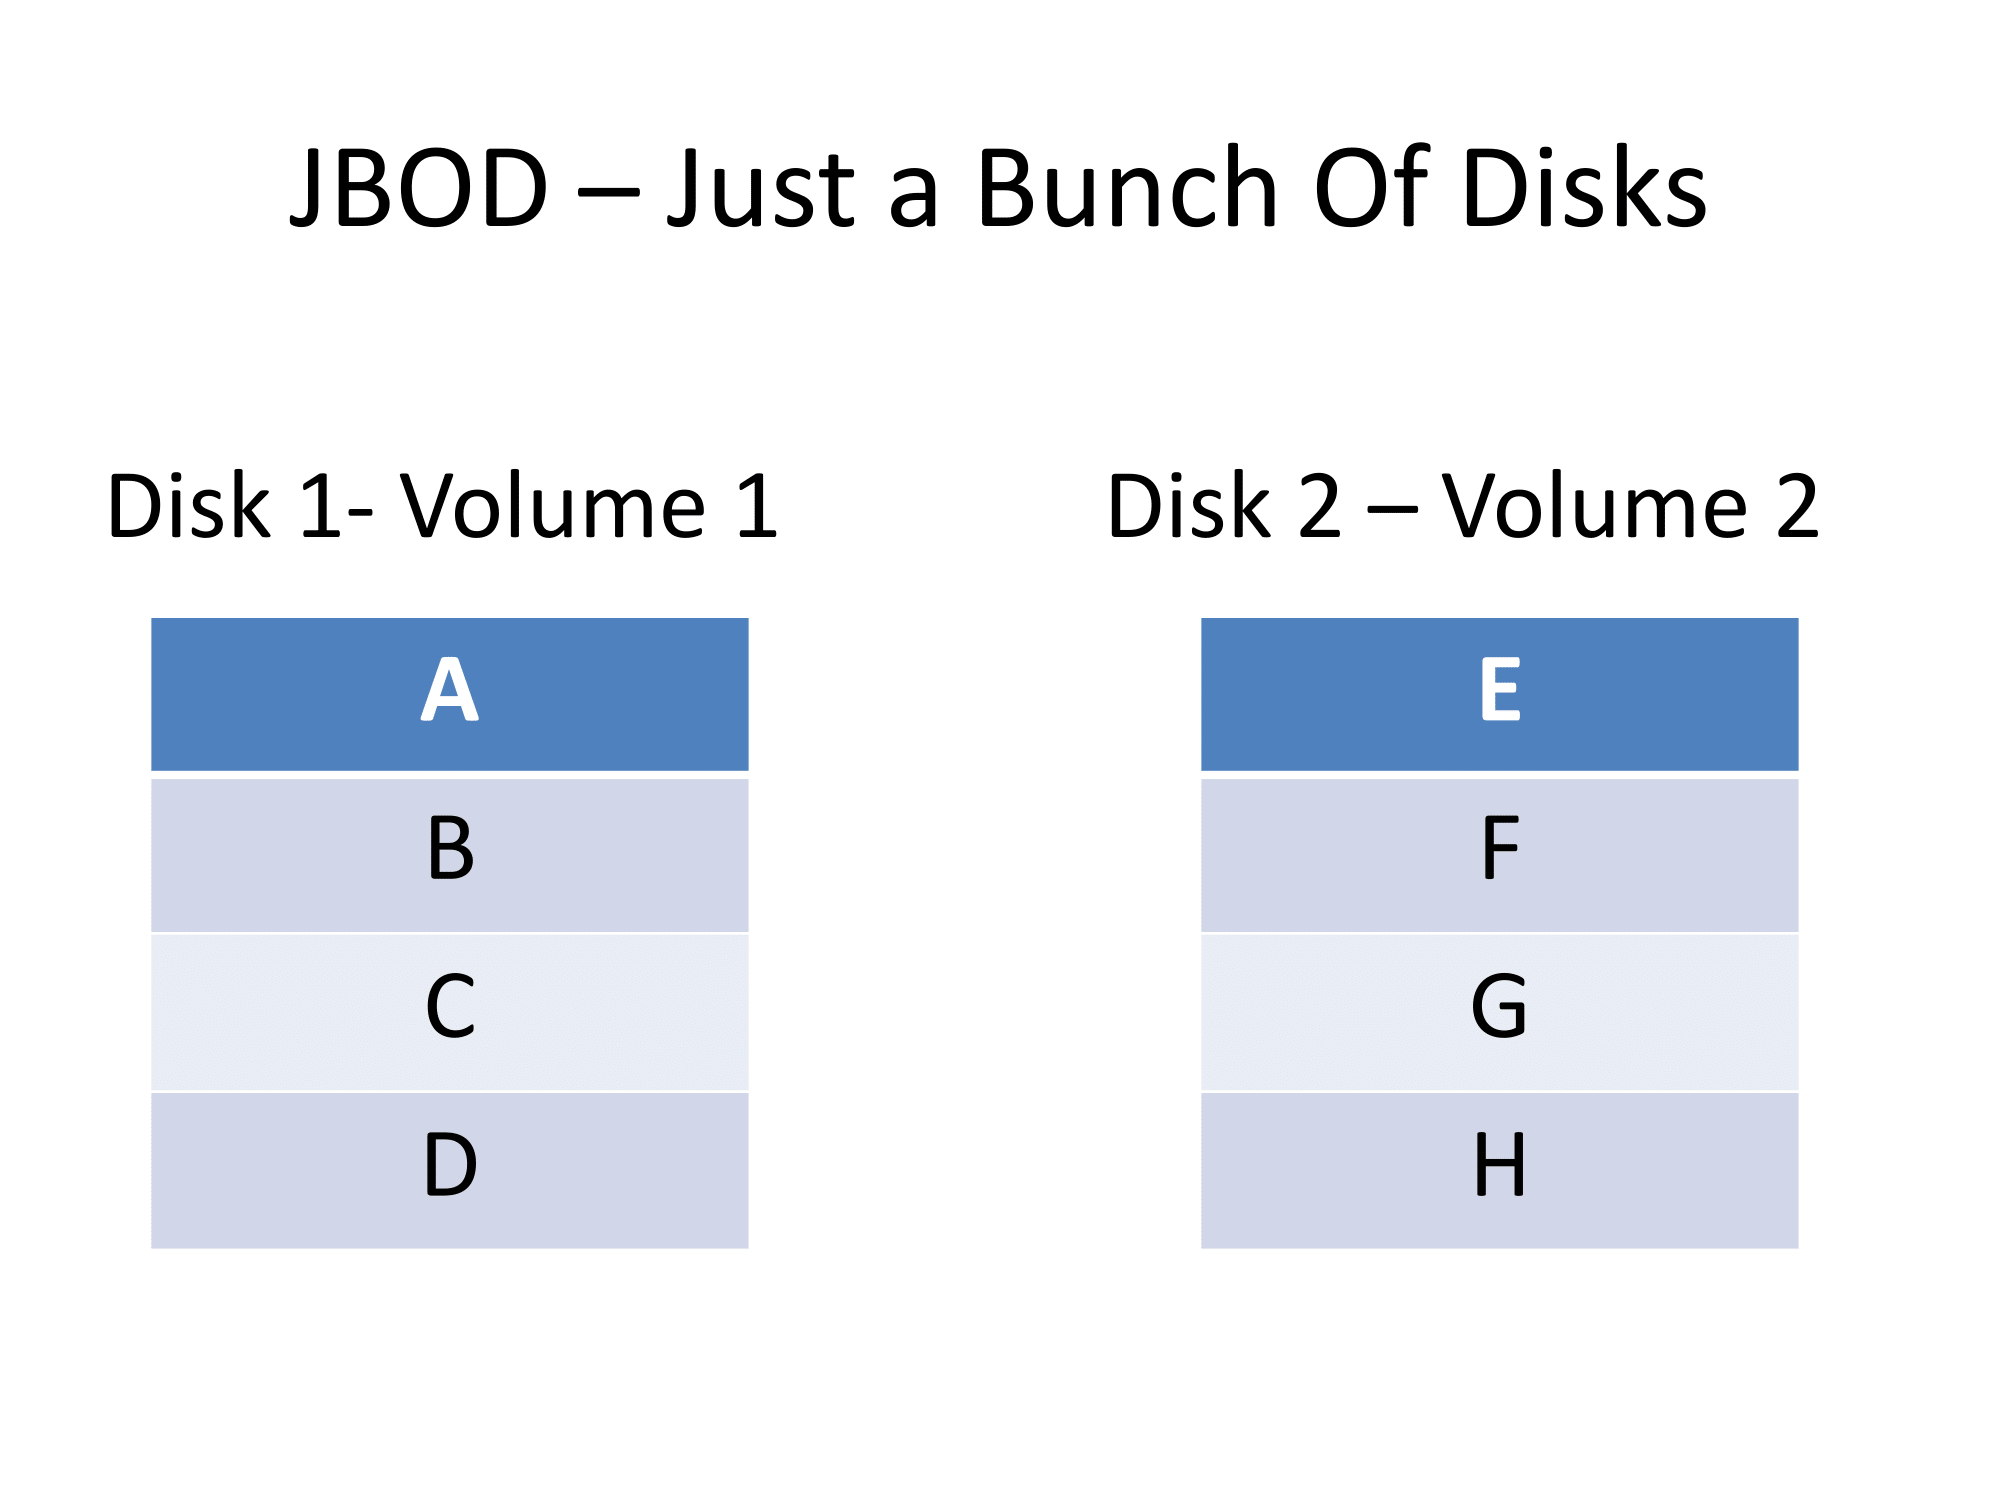
JBOD – Disks as separate volumes
JBOD
This setup, known as “Just a Bunch Of Disks” is simply about each physical disk being treated by the NAS as a separate logical volume. It can be useful if you want to maintain separate data on each disk under a separate volume name.
Spanning
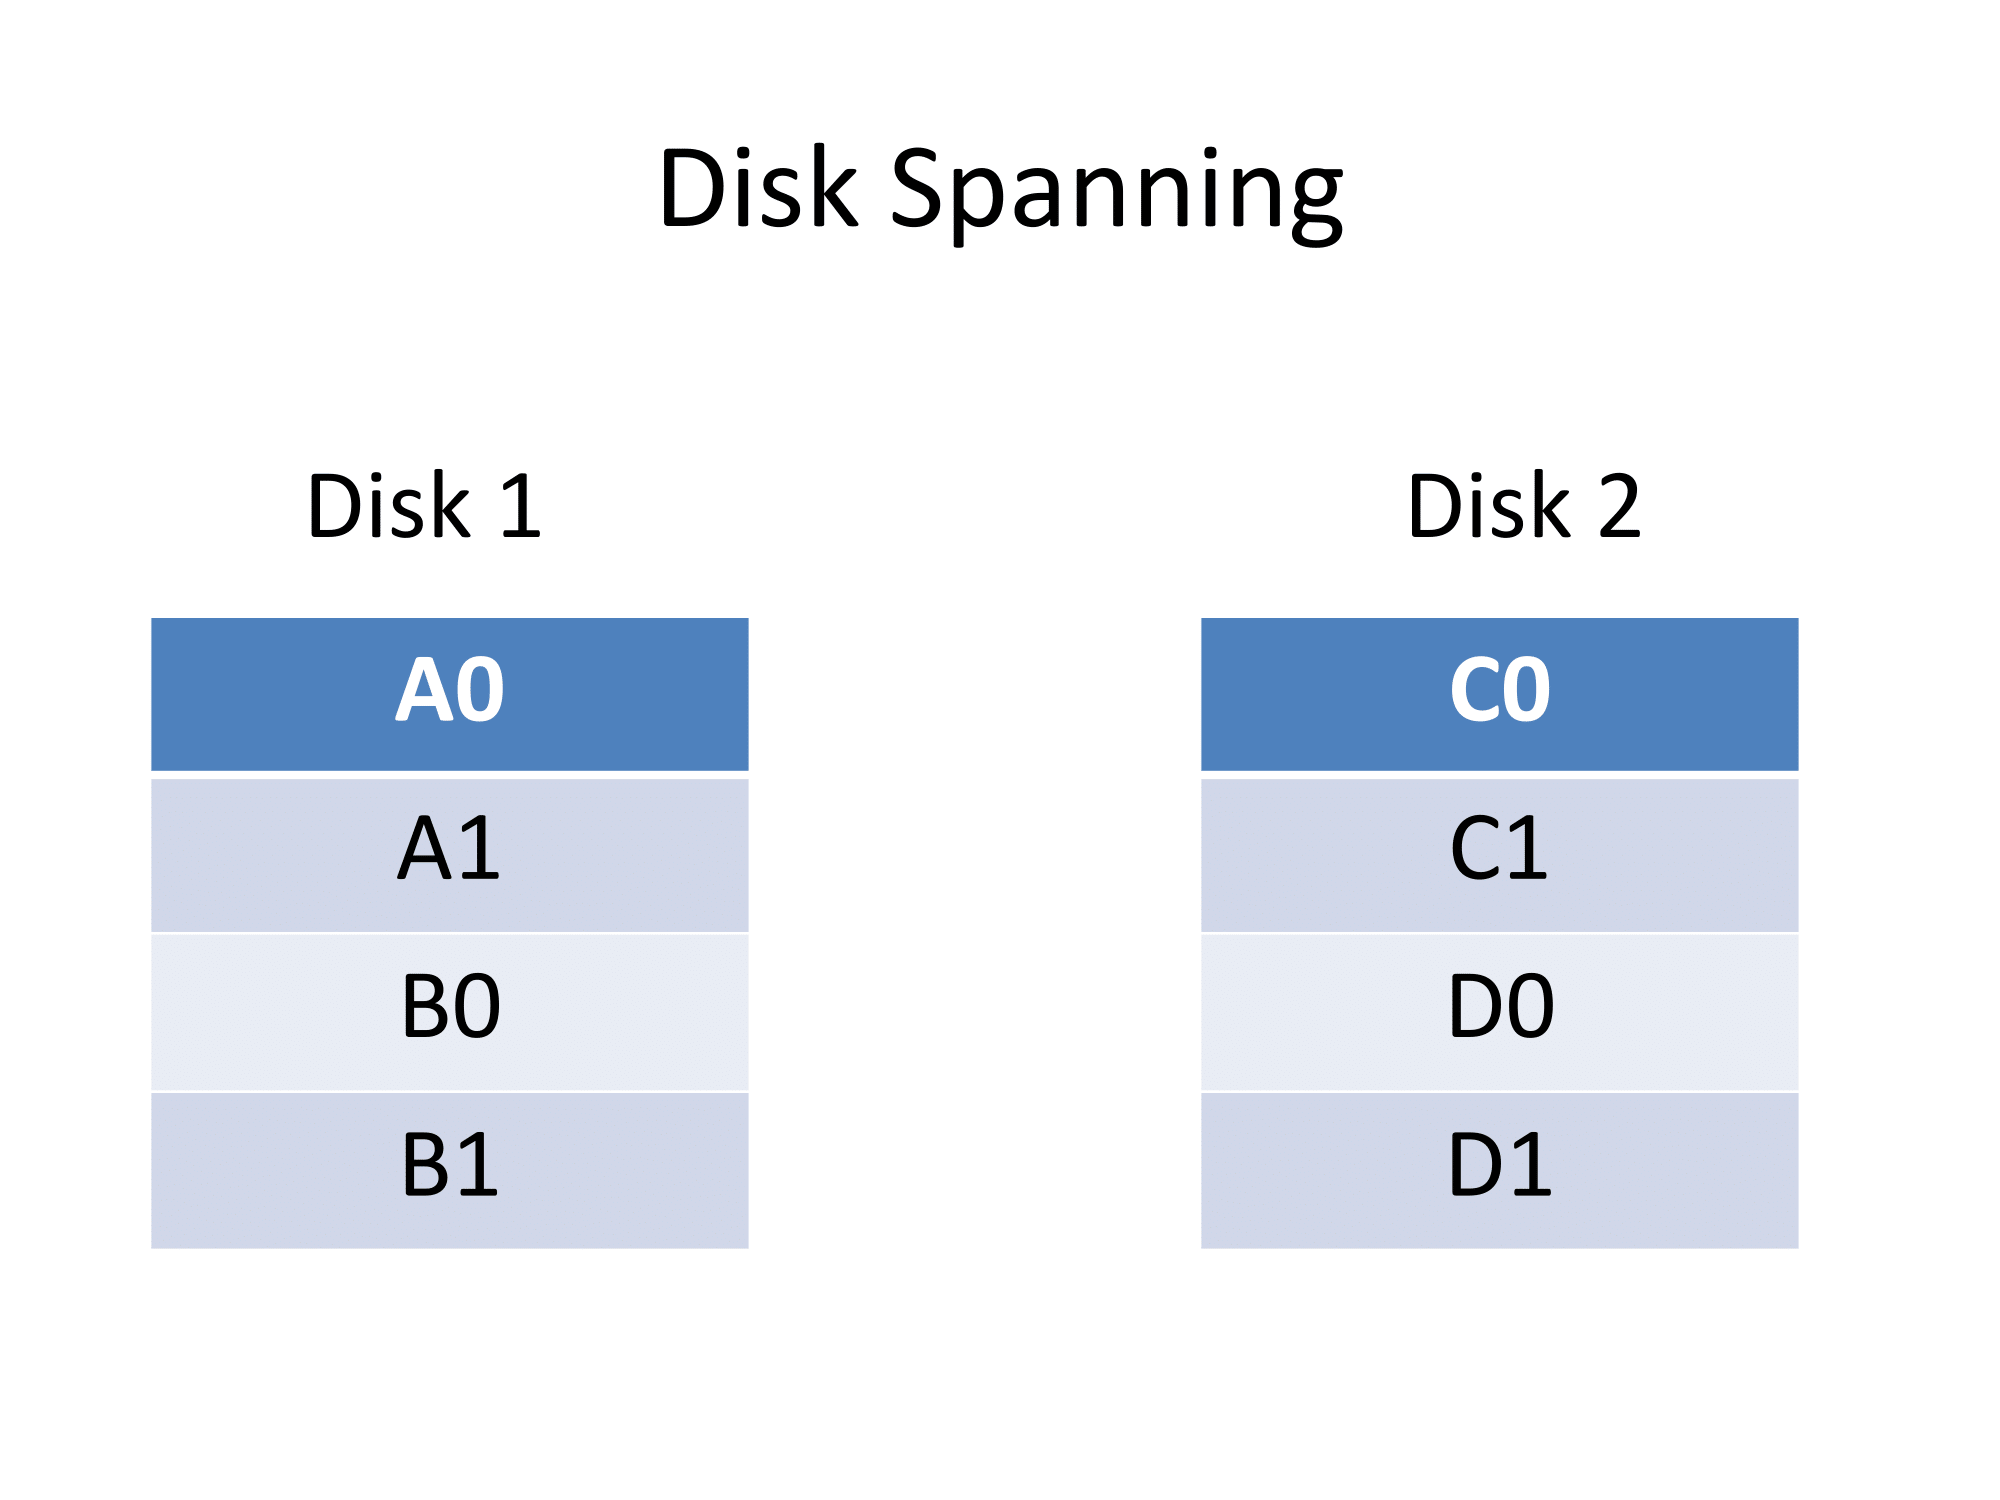
Disk Spanning, sometimes known as JBOD by some manufacturers
The “spanning” setup simply is based on data filling up one disk then filling up another disk in that same volume.
| Array Type | Disks | Capacity | Performance | Fault Tolerance |
| RAID 0 | Min: 2 | Yes | Yes | |
| RAID 1 | Min: 2 | Yes improved read |
Yes Copied disks |
|
| RAID 5 | Min: 3 | Yes | Yes improved read |
Yes Parity |
| RAID 6 | Min: 4 | Yes | Yes improved read |
Yes dual parity |
| RAID 10 | Min: 4 Even number of disks |
Yes improved write |
Yes Copied disk arrays |
|
| JBOD | Logical volume / disk | Yes | ||
| Spanning | Min: 2 | Yes |
Different options available
Automatic RAID setups
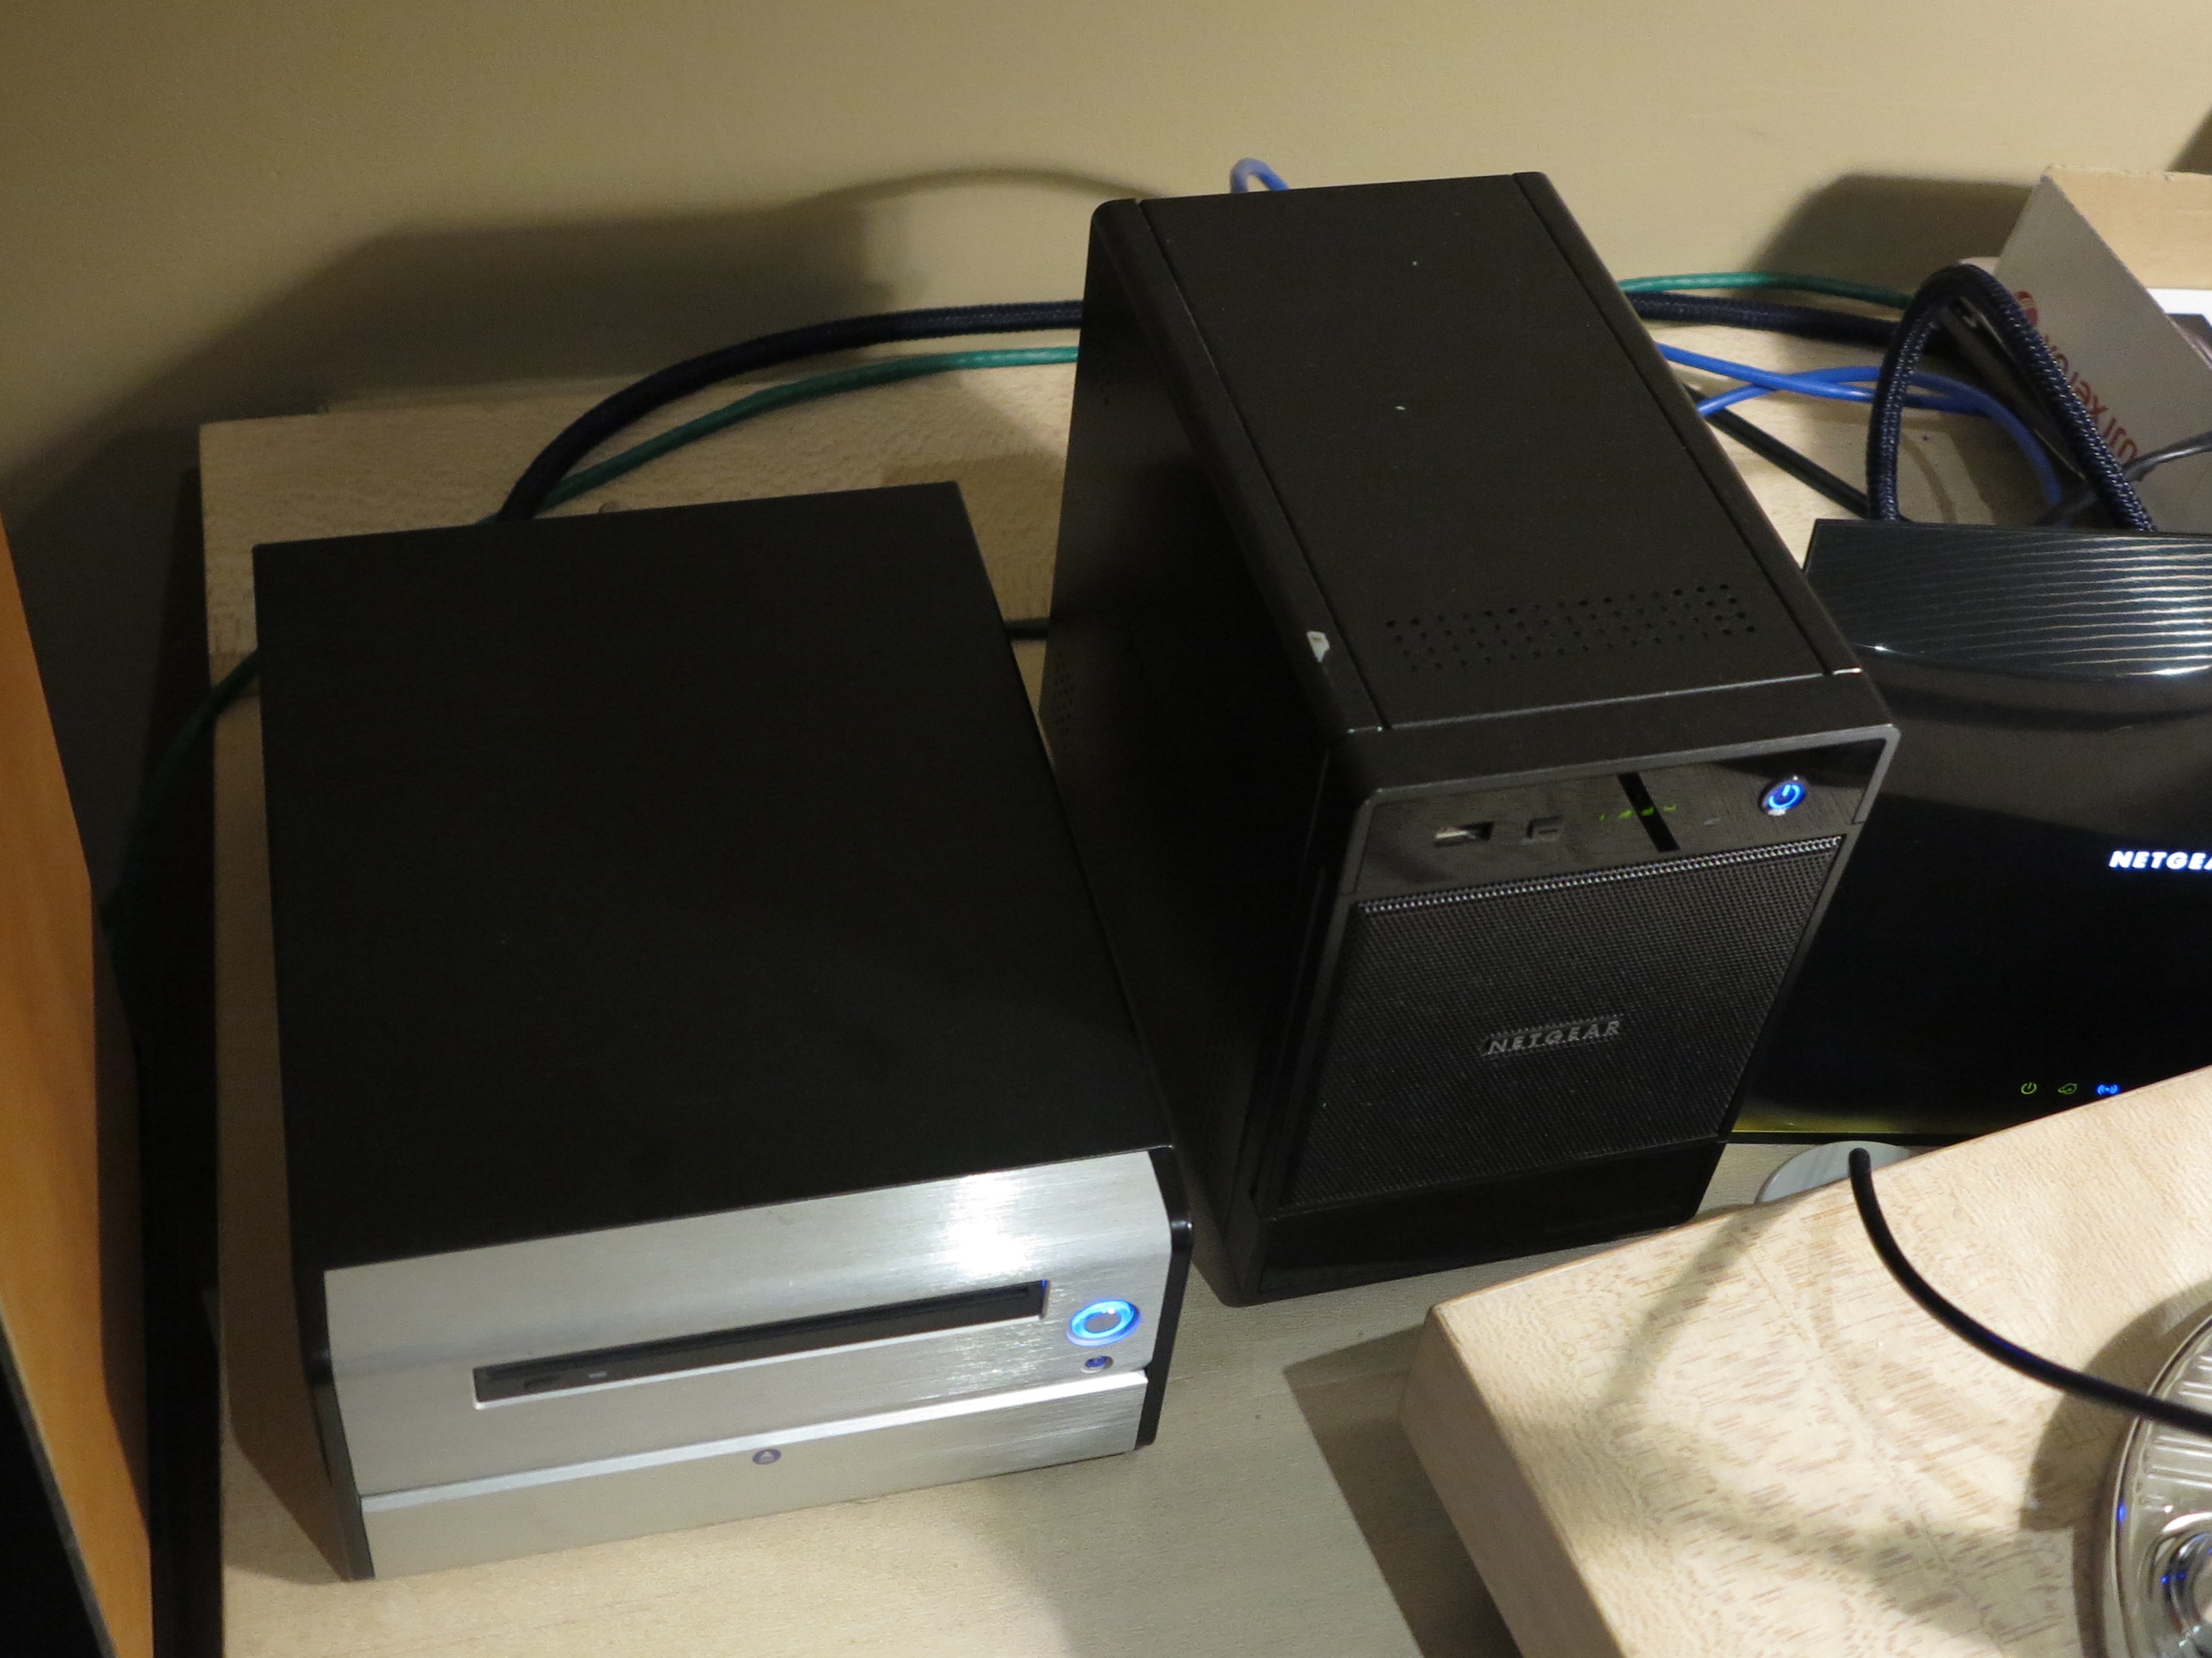
The NETGEAR ReadyNAS on the right can implement X-RAID automatic RAID setup
An increasing number of manufacturers use an “automatic RAID” setup like Synology’s Hybrid RAID or NETGEAR’s X-RAID. These are RAID setups that are optimised to mix different-sized hard disks so that these arrays work to maximise useable capacity, disk performance and fault-tolerance.
Manufacturers pitch these RAID setups for people new to NAS or disk-array management who are thinking about how much redundant storage is needed to balance capacity and fault tolerance. They also encourage the customers to “build out” a RAID array as and when they can afford the extra disks.
Hot-spare disks
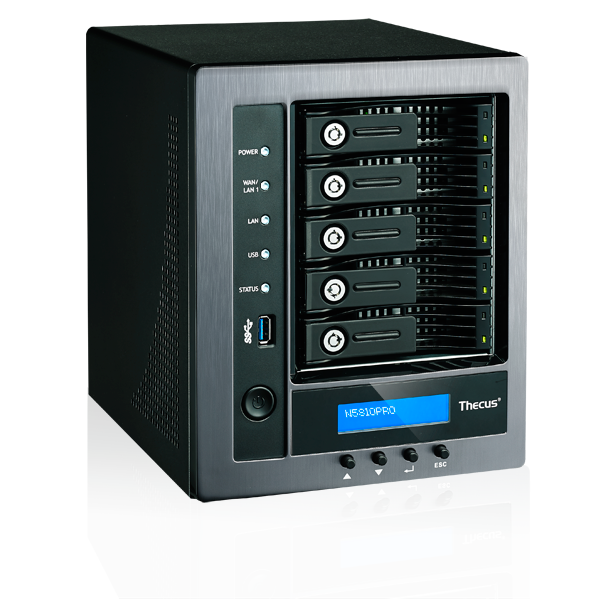
Thecus N5810PRO small business NAS is able to implement a hot-spare disk for high RAID availability
Another feature offered mainly with small-business NAS units is the addition of a hot-spare disk. Such RAID arrays will have a separate hard disk that isn’t used unless one of the disks in that array fails. These setups are preferred for environments where there is emphasis on a multi-disk array that is to be highly available at peak performance.
Hot-swap setups
An increasing number of prosumer and small-business NAS units come with a “hot-swap” functionality where you can swap out the hard disk while the NAS is in operation. This is more so for replacing faulty disks that are degrading a RAID array’s performance and is more relevant with RAID 1, RAID 5, RAID 10 and “automatic RAID” setups.
Upsizing a NAS’s RAID array
QNAP 2-disk NAS – capable of setting up a highly-available high-performance RAID1 array
Upsizing a RAID array is something you could be tempted to do, especially as hard-disk prices gradually become cheaper and the time when one hard disk in a RAID array fails may be the time to upsize it.
But this can be difficult. Here, you would need to copy out all of the data to storage with the same volume capacity as your NAS’s current RAID array. Then you would have to simultaneously replace the disks in that array with units of the same but higher capacity before copying back the data. This may be easy to achieve with a 2-bay NAS.
Or you could migrate a 2-disk RAID 1 array in a 4-bay NAS to a RAID 5 array while adding a higher-capacity disk to that array. Here, you get increased capacity on the new disk due to the smaller disks being combined for real data use while space on the larger disk is allocated for parity data. Then you would need to swap out the small disks in that array with the larger disks as a way to gradually increase the volume’s useful size.
The automatic RAID setups make it easier to upsize your NAS as you can afford it and manage the right amount of redundant storage needed for your data.
The best RAID array setup for your needs and your NAS
The RAID array that you set your NAS up with depends on the number of drive bays the device has along with the number of disks you have. But these suggests are based on setups that are cost-effective yet yield high availability . They would also yield high read performance especially for multimedia applications. It is also a good idea to populate your multiple-bay NAS with drives of the same capacity when you are setting a new unit up.
A 2-bay NAS would be best set up as a RAID-1 array in order to implement the mirroring ability for high availability and increased read throughput which is necessary for video files streamed using DLNA.
A 4-bay NAS would be best set up as a RAID-5 array of at least three disks of the same size. There is the ability to make use of the capacity yet use the parity blocks to keep the data available should one of the disks keel over.
Conclusion
Once you understand how the various RAID and other multi-disk arrays work, you can choose the most cost-effective way to have your data stored for capacity, performance and high availability with your NAS.
