Product Review – HP Photosmart Wireless-E Multifunction Printer (B110a)
An Internet-based printing appliance from HP
Introduction
I am now reviewing the HP Photosmart Wireless-E Multifunction Printer (B110a) which is the successor to the Photosmart Wireless (B109n) printer that I reviewed previously on this site.
| Scan | Copy | Fax / |
Paper Trays | Connections | |
| Colour | Colour | Colour | Colour | 2 x A4 | USB |
| Inkjet | Receive e-mail from Web-based service | 802.11g/n WPA2 WPS wireless |
Prices
Printer
RRP: AUD$129
Inks
| Standard | High-capacity | |||
| Price | Pages | Price | Pages | |
| Black | AUD$18.76 | 250 | AUD$51.20 | 800 |
| Cyan | AUD$16.76 | 300 | AUD$29.56 | 750 |
| Magenta | AUD$16.76 | 300 | AUD$29.56 | 750 |
| Yellow | AUD$16.76 | 300 | AUD$29.56 | 750 |
There are no fees or charges to use the ePrint service for print-to-email or the ePrint applications.
The printer itself
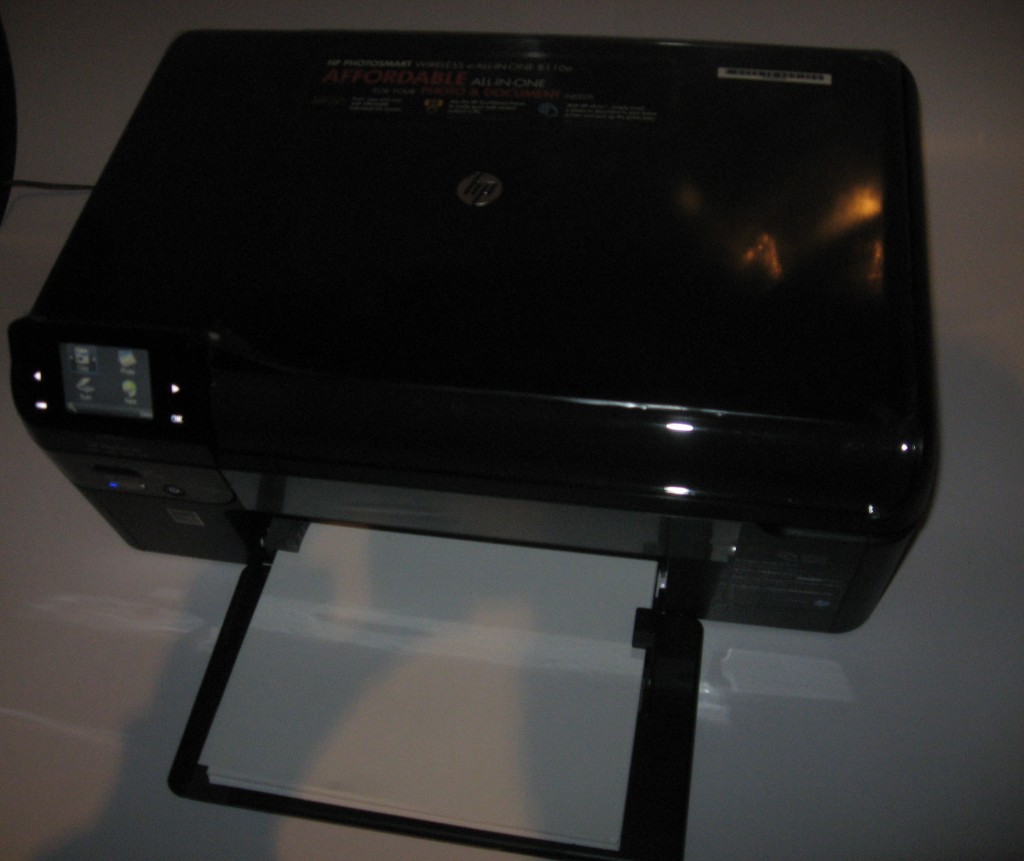
This unit looks as if it is a copy of the previous model, with the same compact black chassis and small screen with ATM-style operation and “pinball-machine” touch-buttons around the screen. The printing mechanism is very similar to the predecessor and using the same consumables.
But there is a lot more that meets the eye when you plug it in and switch it on,
Improvements over the B109n
Wireless-network setup
You will notice the first improvement when you set up the printer to work with your wireless network. Previously, if your Wi-Fi network’s router or access point didn’t support WPS “push-button” setup, you had to connect the printer to your computer and run the HP-supplied software to enrol it with your secure wireless network. With this model, you can enrol it with your non-WPS wireless network segments using the control panel. This is done using a “pick and choose” text entry method for entering the network’s WPA passphrase.
Another improvement is the ability to integrate properly with 2.4GHz 802,11n Wi-Fi network segments which means that you don’t need to “downgrade” your 802.11n router or access point to “mixed mode” or 802.11g for it to work properly.
The Internet-based printing appliance
The printer can now work as a network-based “printing appliance” for emails and MMS messages as well as being a network printer and scanner. There is also support for “print apps” where the printer can print out Web pages, RSS feeds, Sudoku pages and the like from the control panel. These are all set up by visiting the HP ePrint website (http://www.hp.com/go/ePrintCenter) where you establish an account using your Google, Facebook or openID credentials or site-particular credentials. Here, you enrol the printer by entering the device-specific code which is on an “ePrintCenter” sheet that is printed as part of the setup process.
Once set up, you have a machine-specific email address which you can add to your laptop, smartphone or MMS-capable mobile phone. Here, you then forward your document, photo or message to this address or add this address as a BCC address to an email to have it printed on the printer. This will then be printed out by this unit without you needing to have a computer at the same location switched on all the time. You may have to make sure you type some text before the photo if you are sending a photo by MMS so the ePrint service doesn’t reject your picture as spam.
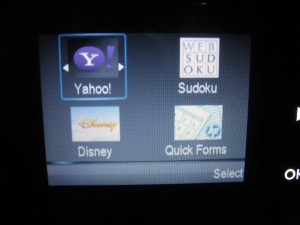
Similarly, HP have introduced “ePrint Apps” which allow you to print items provided by certain content providers from the control panel. I have talked about this feature on this site last year when HP released their first TouchSmart-based Web-enabled multifunction printer that had this functionality. One of these “ePrint Apps” that I like is the “Tabbloid” which allows you to have today’s posts from a list of RSS feeds that you select printed out at the touch of a button. Of course, there is the HP Quick Forms application which allows you to turn out ruled paper like notepaper, graph paper or music-manuscript paper using the printer’s control panel. This application still has some limitations like only being able to print 10 staves on the music-manuscript paper which is useless for certain music projects such as “vocal+piano”, quartet or organ pieces.
Limitations and Points of Improvement
On the other hand, the small control panel makes it harder to perform most walk-up printing tasks. Here, you have to highlight the task, touch “OK”, then work through menus to determine the task, which can make the whole process more difficult and confusing to perform and lead to more operation errors. This is a real limitation for older people or those of us who have eyesight or dexterity limitations.
As well, like the previous model, this unit doesn’t have Ethernet connectivity, which may be required if your Wi-Fi network is plagued with reception difficulties and you want to use HomePlug as an alternative networking method or connect it directly to the router using an Ethernet cable.
Some of these limitations may be to do with a common practice associated with the design of manufactured goods as the design nears the end of its lifecycle. This is where the manufacturer creates a model that is based on a common physical and mechanical design as other popular models that have the design but this model has a swathe of improvements over the previous models either in order to “finish off” the design or rush certain features in to that design.
Conclusion and Recommendation Notes
I would recommend this printer for home use as an entry-level network-enabled printer especially if you are moving towards the laptop-based wireless-network-driven “new computing environment”. It would also work well as a secondary printer for the study or kitchen area or in another building, especially if you place high value on the unit’s function as a “network printing appliance” that prints emails and photos that you send to it.


