Introduction
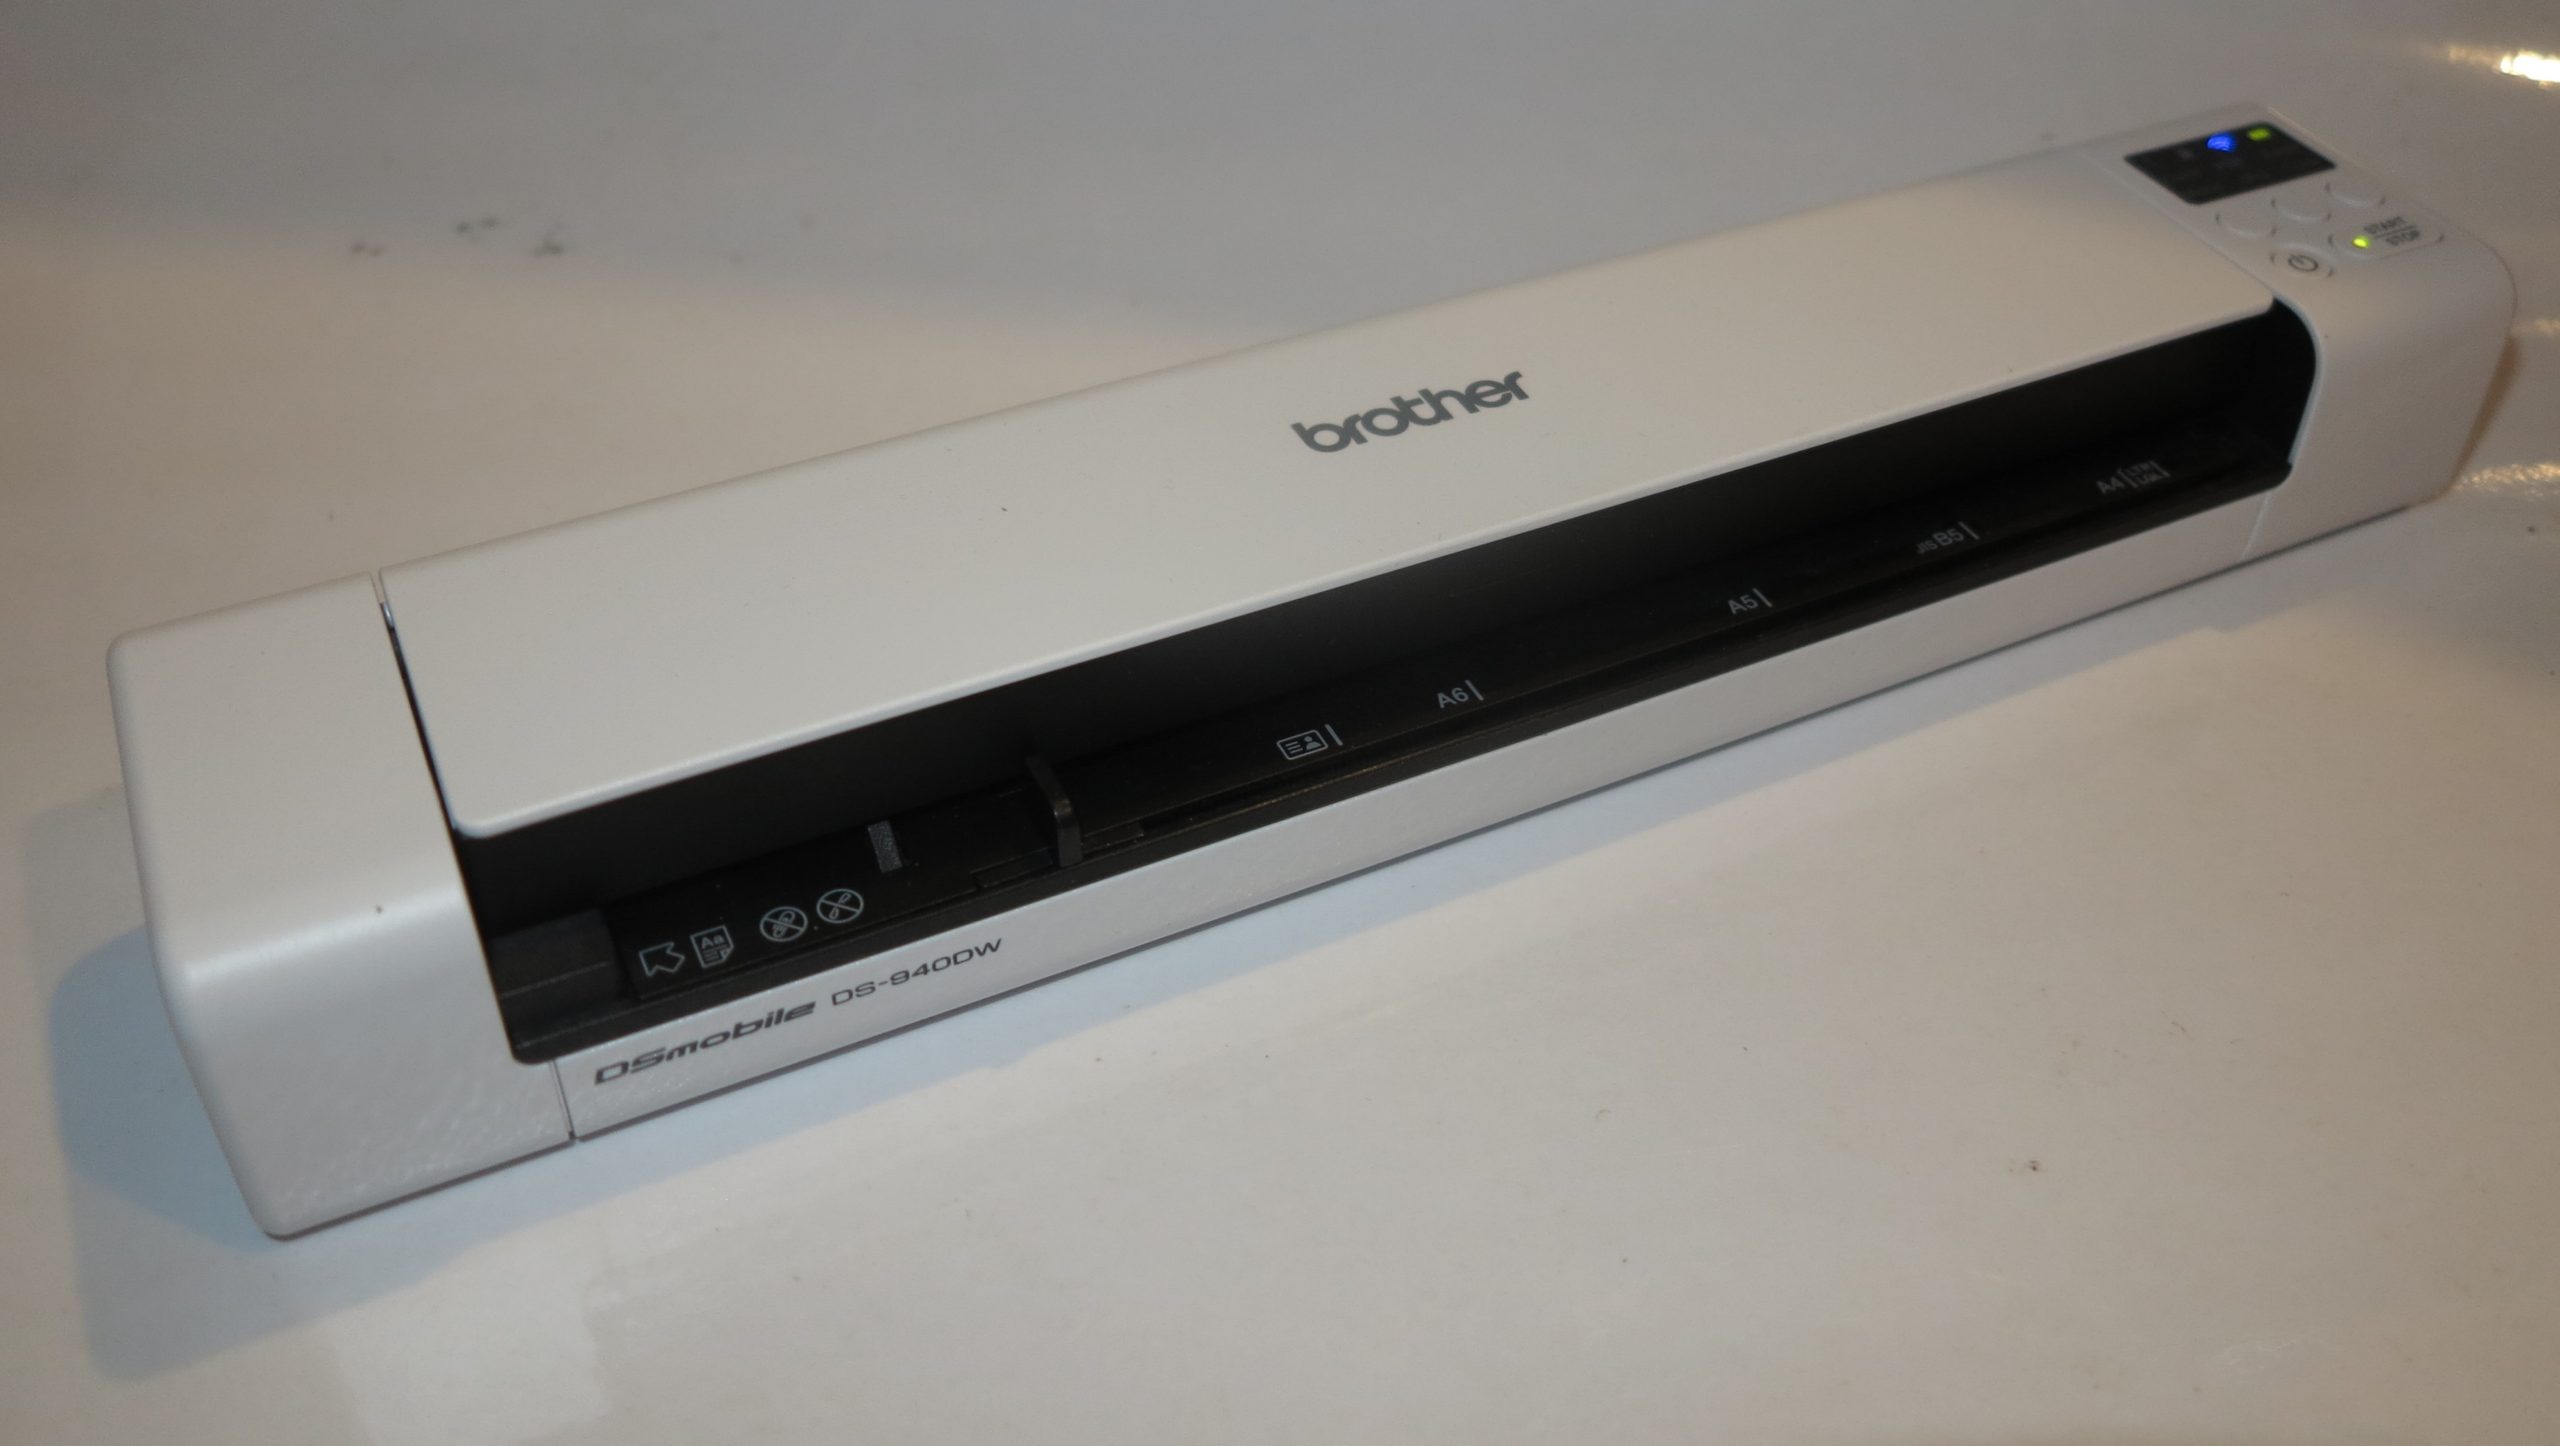
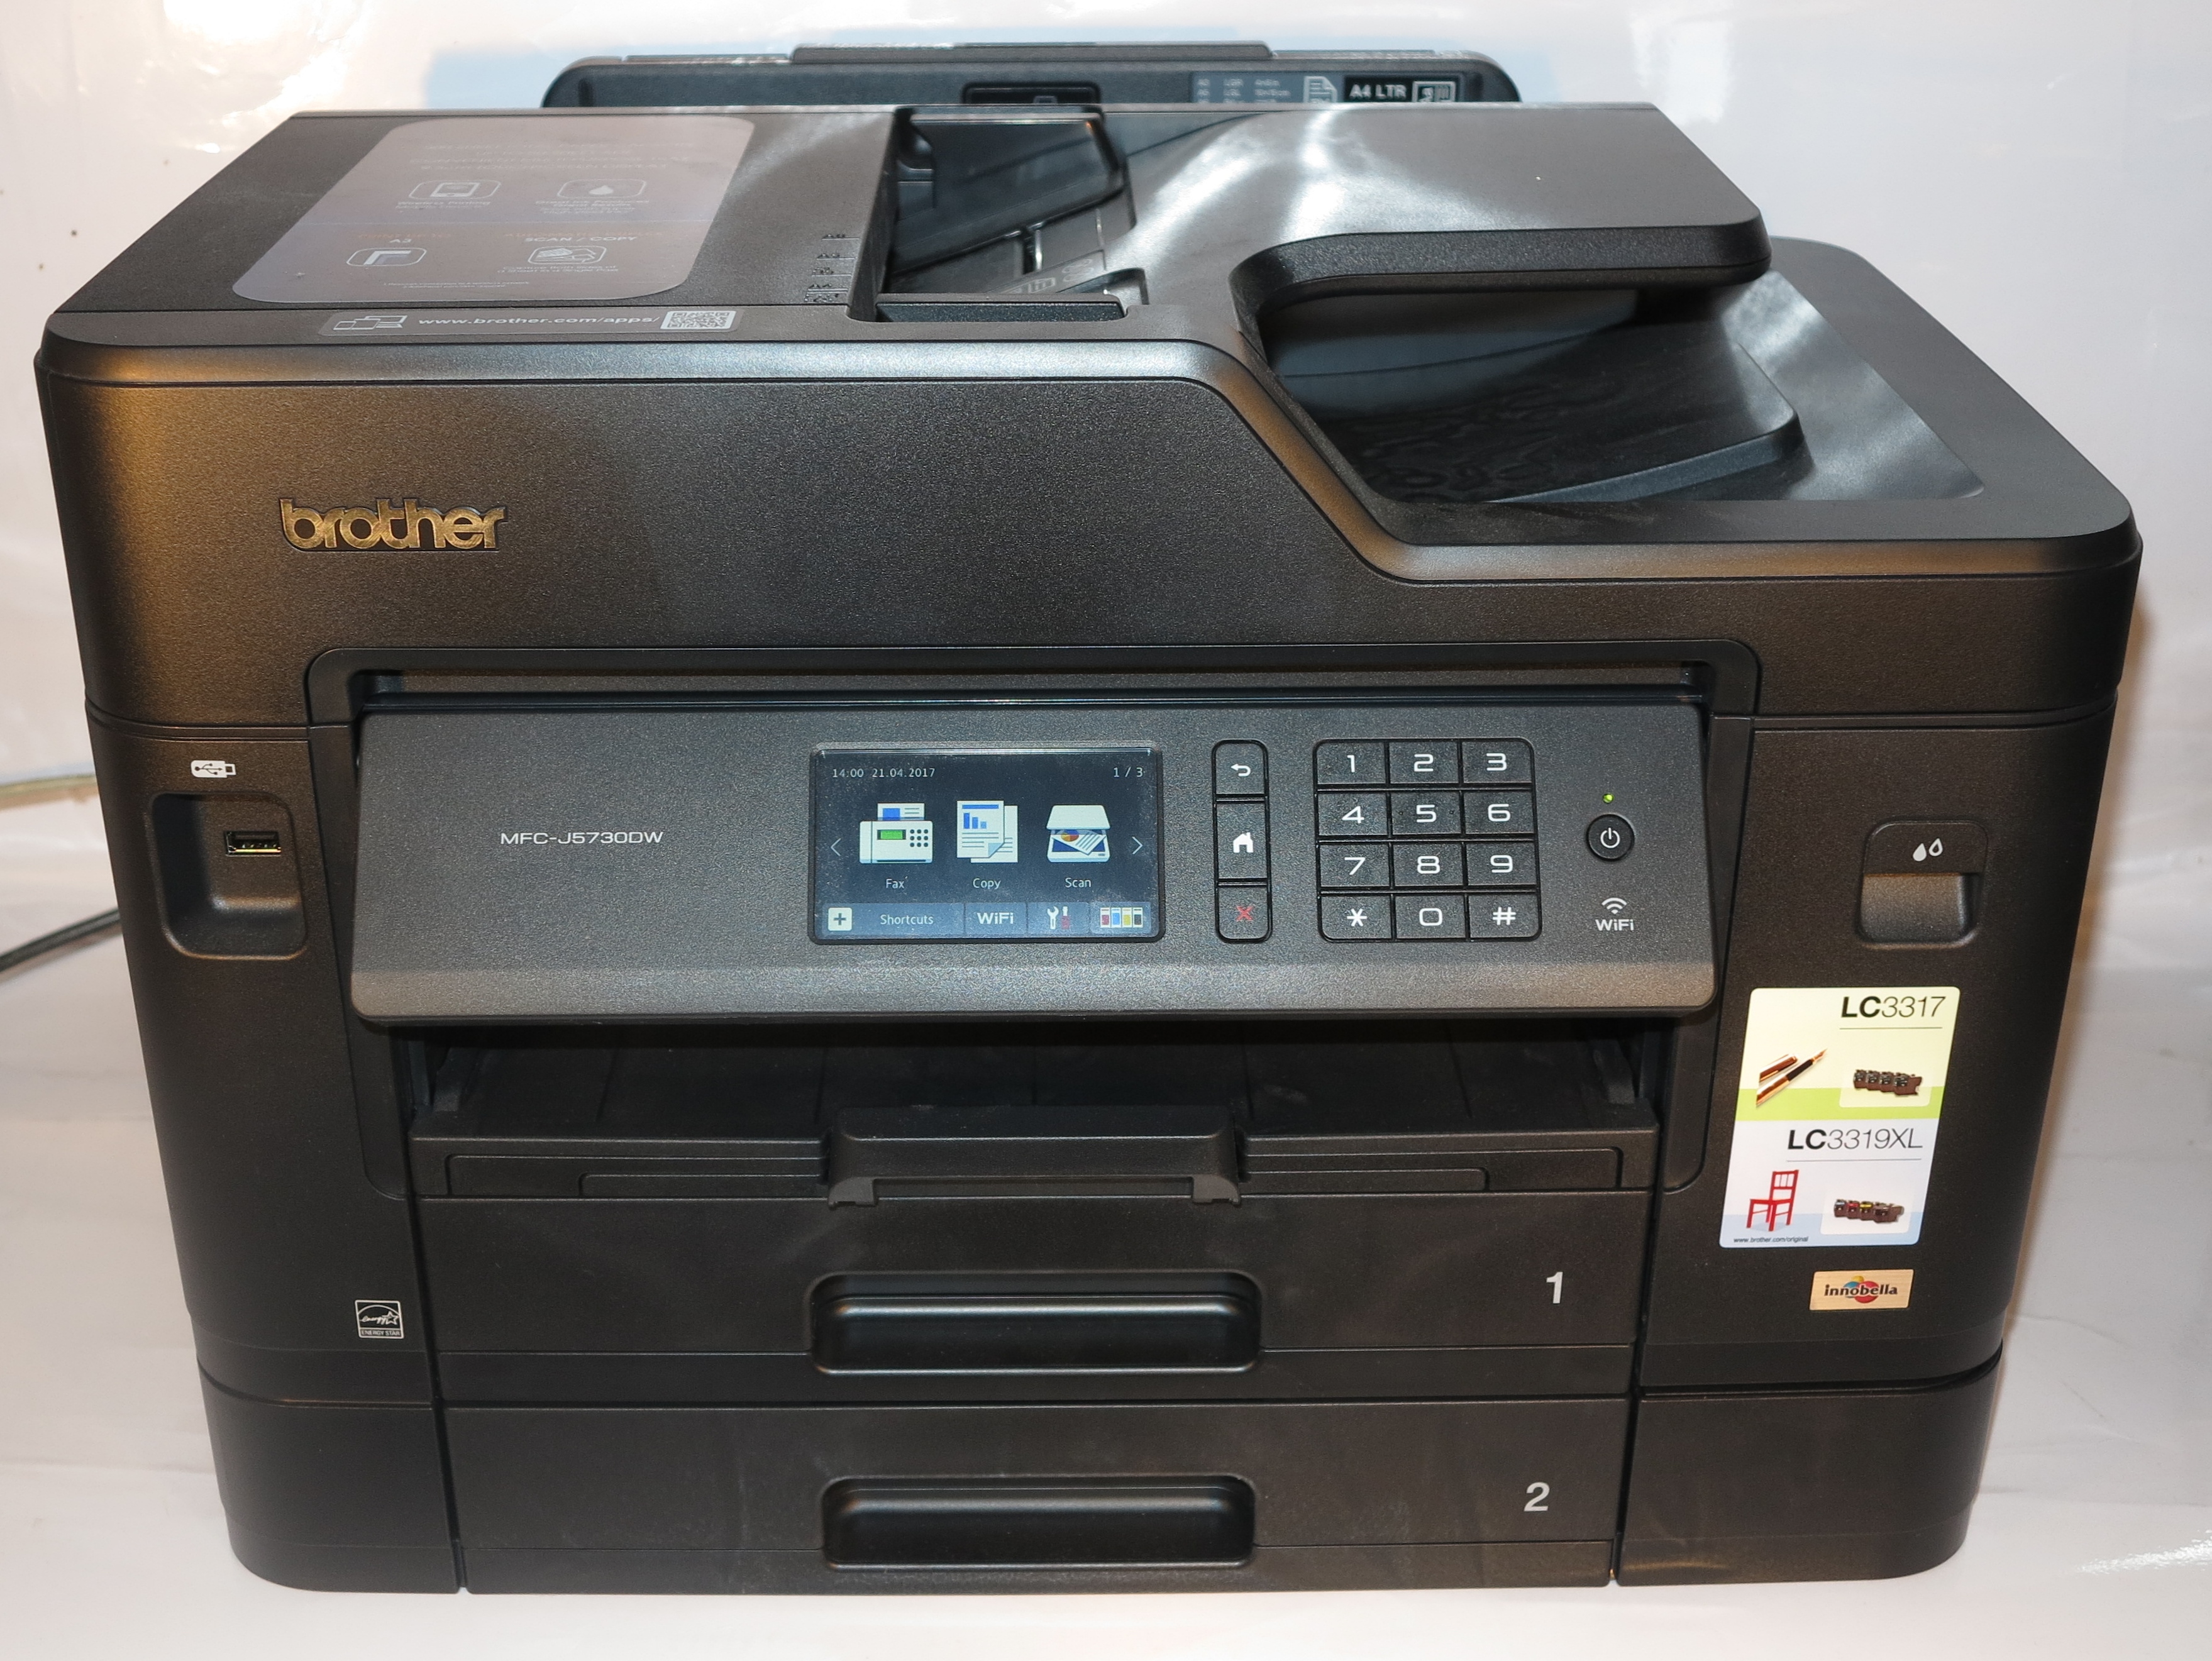
I am reviewing the Brother MFC-J5730DW multifunction colour inkjet printer which is part of Brother’s newest generation of colour business inkjet printers that follows on from the MFC-J5720DW that I previously reviewed.
There is a cheaper model in this lineup, known as the MFC-J5330DW that has a single A4/A3 tray, a paper bypass feed that only handles one sheet, doesn’t come with the single-pass duplex scan, and has a smaller user-interface screen But this printer uses the same high-capacity ink cartridges and is able to print to A3 using that same landscape-printing technique.
| Print |
Scan |
Copy |
Paper Trays |
Connections |
| Colour |
Colour |
Colour |
2 x A3 |
USB 2.0 |
| Piezoelectric Ink-Jet |
1200×2400 dpi resolution (platen) |
ID Copy
Book Copy |
100 sheet A3 |
Ethernet
Wi-Fi
Own-access-point Wi-Fi |
| Auto-Duplex |
Single-Pass Auto-Duplex ADF |
|
|
IPv6 capability |
|
|
|
|
|
| Document Send/Receive |
|
|
| Real-Time |
Super-G3 Colour Fax via phone |
|
| Email-based |
T.37 IP Fax
Scan-to-email
Print-from-email |
TIFF-FAX
JPG
PDF |
| Walk-up Printing |
USB – PictBridge |
PDF
JPG
TIFF |
| Mobile Printing |
Apple AirPrint
Google CloudPrint
Windows Mobile printing
MoPria support
Brother iPrint&Scan native app |
|
| Online Services |
Print From |
Scan To |
|
Dropbox
OneDrive
Box.com
Facebook
Evernote
Flickr |
SMB NAS
Dropbox
OneDrive
Box.com |
| Multiple Users for Online Services |
Yes |
|
| “Own Account” Guest Access for Online Services |
No |
|
Prices
Printer
Recommended Retail Price: AUD$369
Inks and Toners
|
Standard |
|
High Capacity |
|
|
Price |
Pages |
Price |
Pages |
| Black |
AUD$46.45 |
550 |
AUD$68.95 |
3000 |
| Cyan |
AUD$30.50 |
550 |
AUD$44.95 |
1500 |
| Magenta |
AUD$30.50 |
550 |
AUD$44.95 |
1500 |
| Yellow |
AUD$30.50 |
550 |
AUD$44.95 |
1500 |
|
|
|
|
|
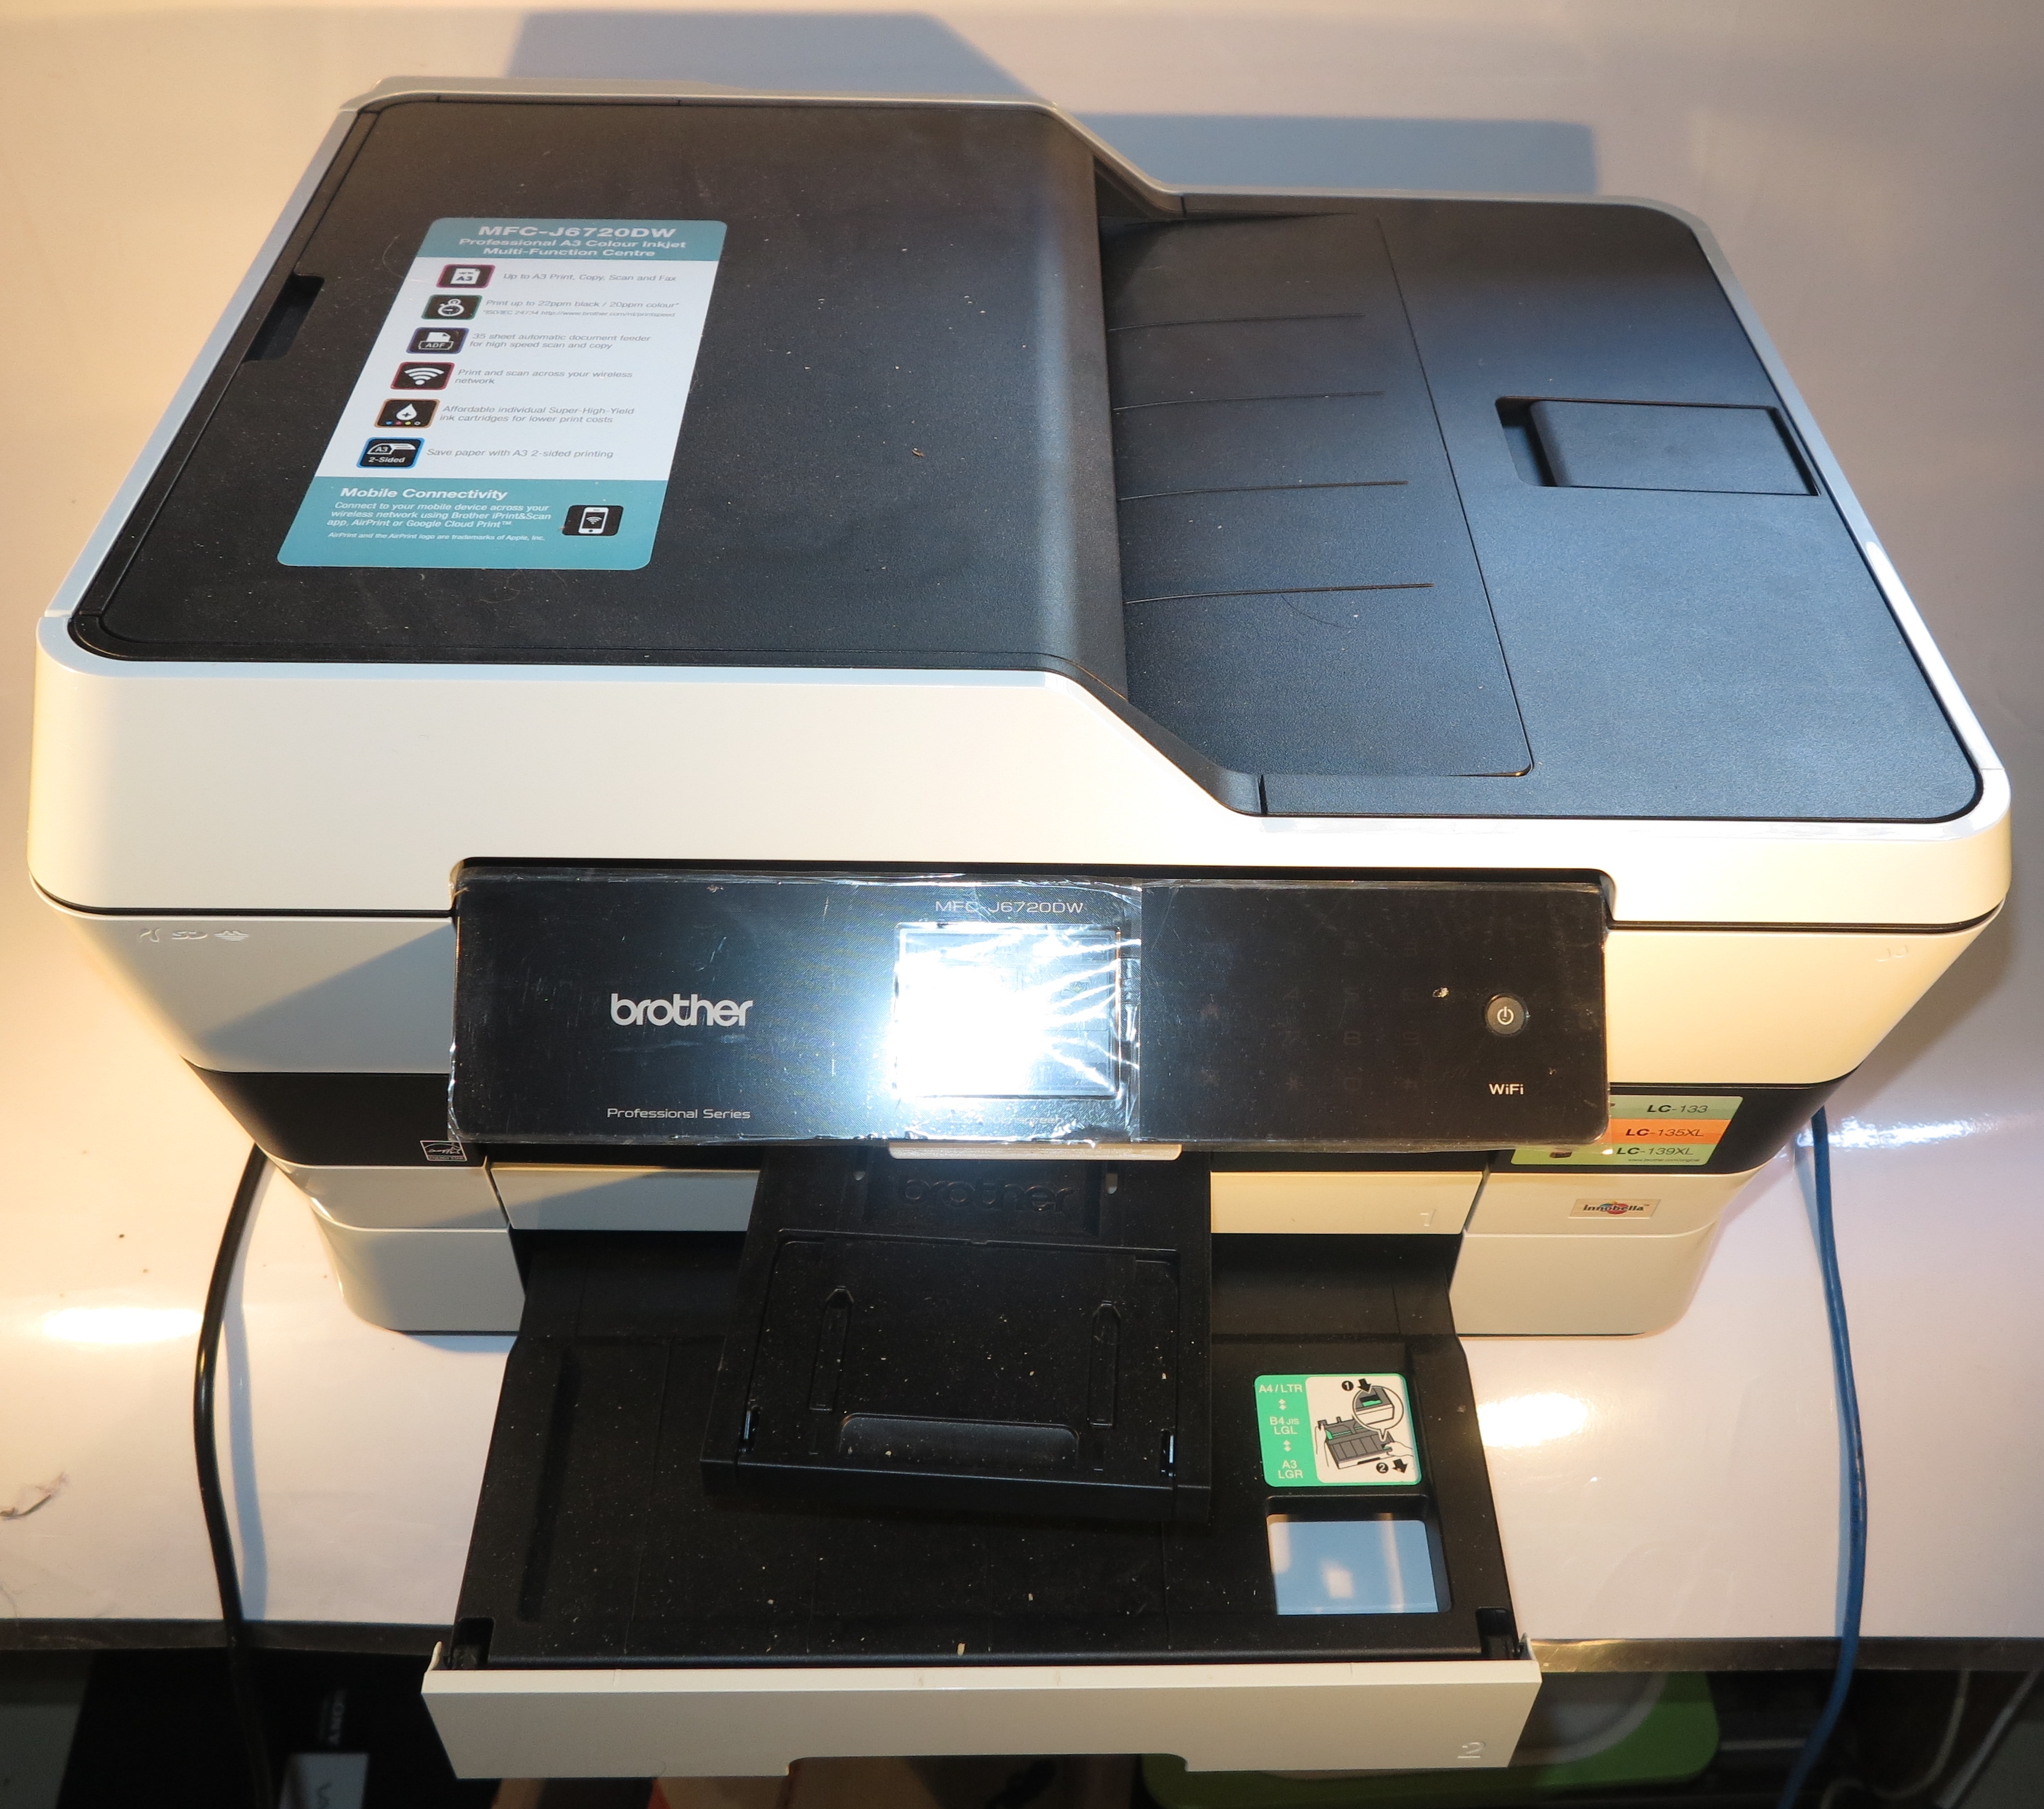
The printer itself
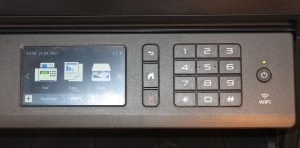
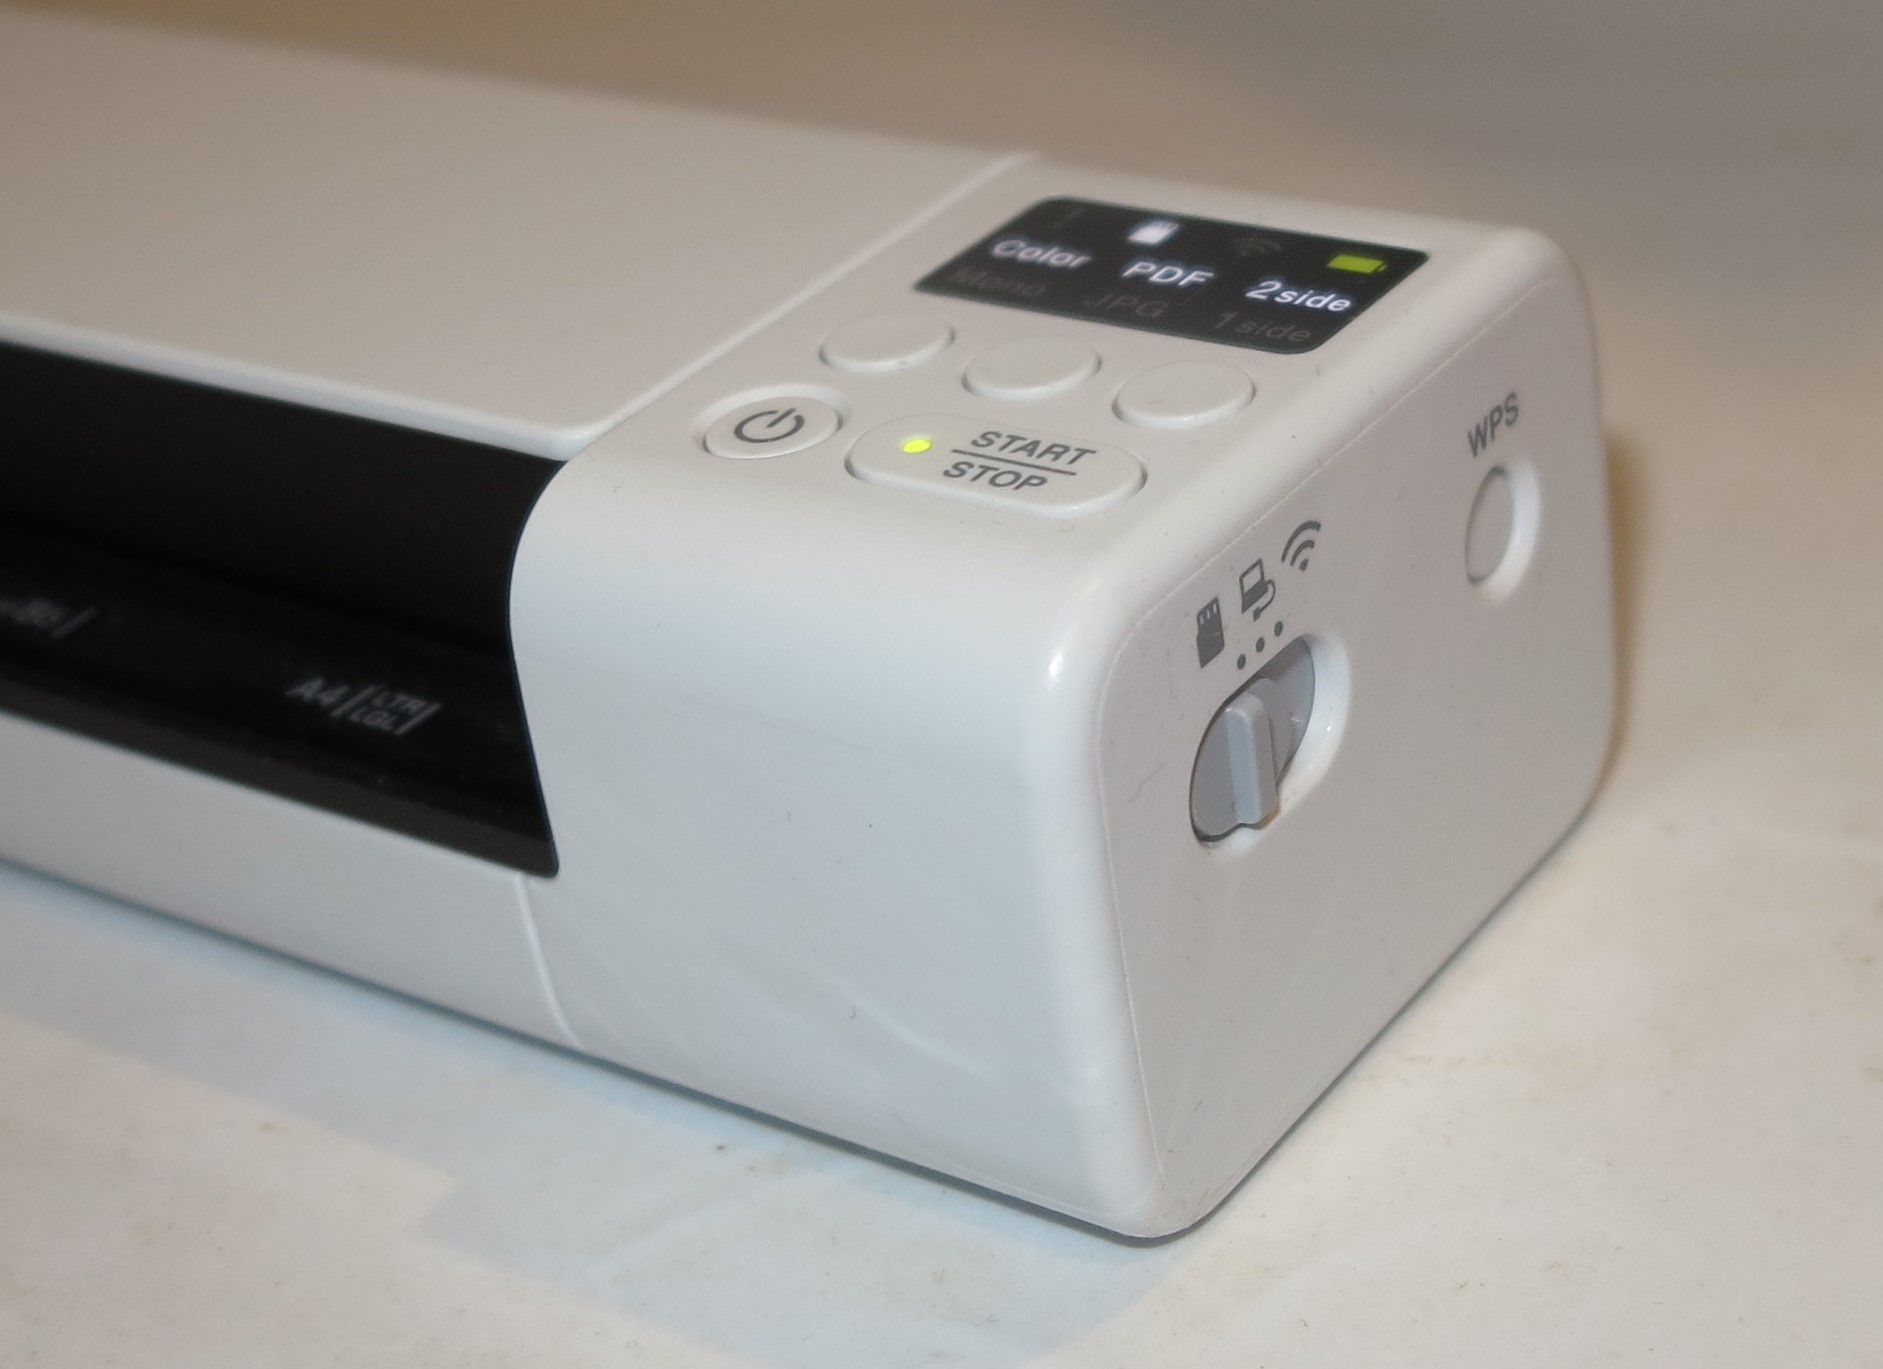
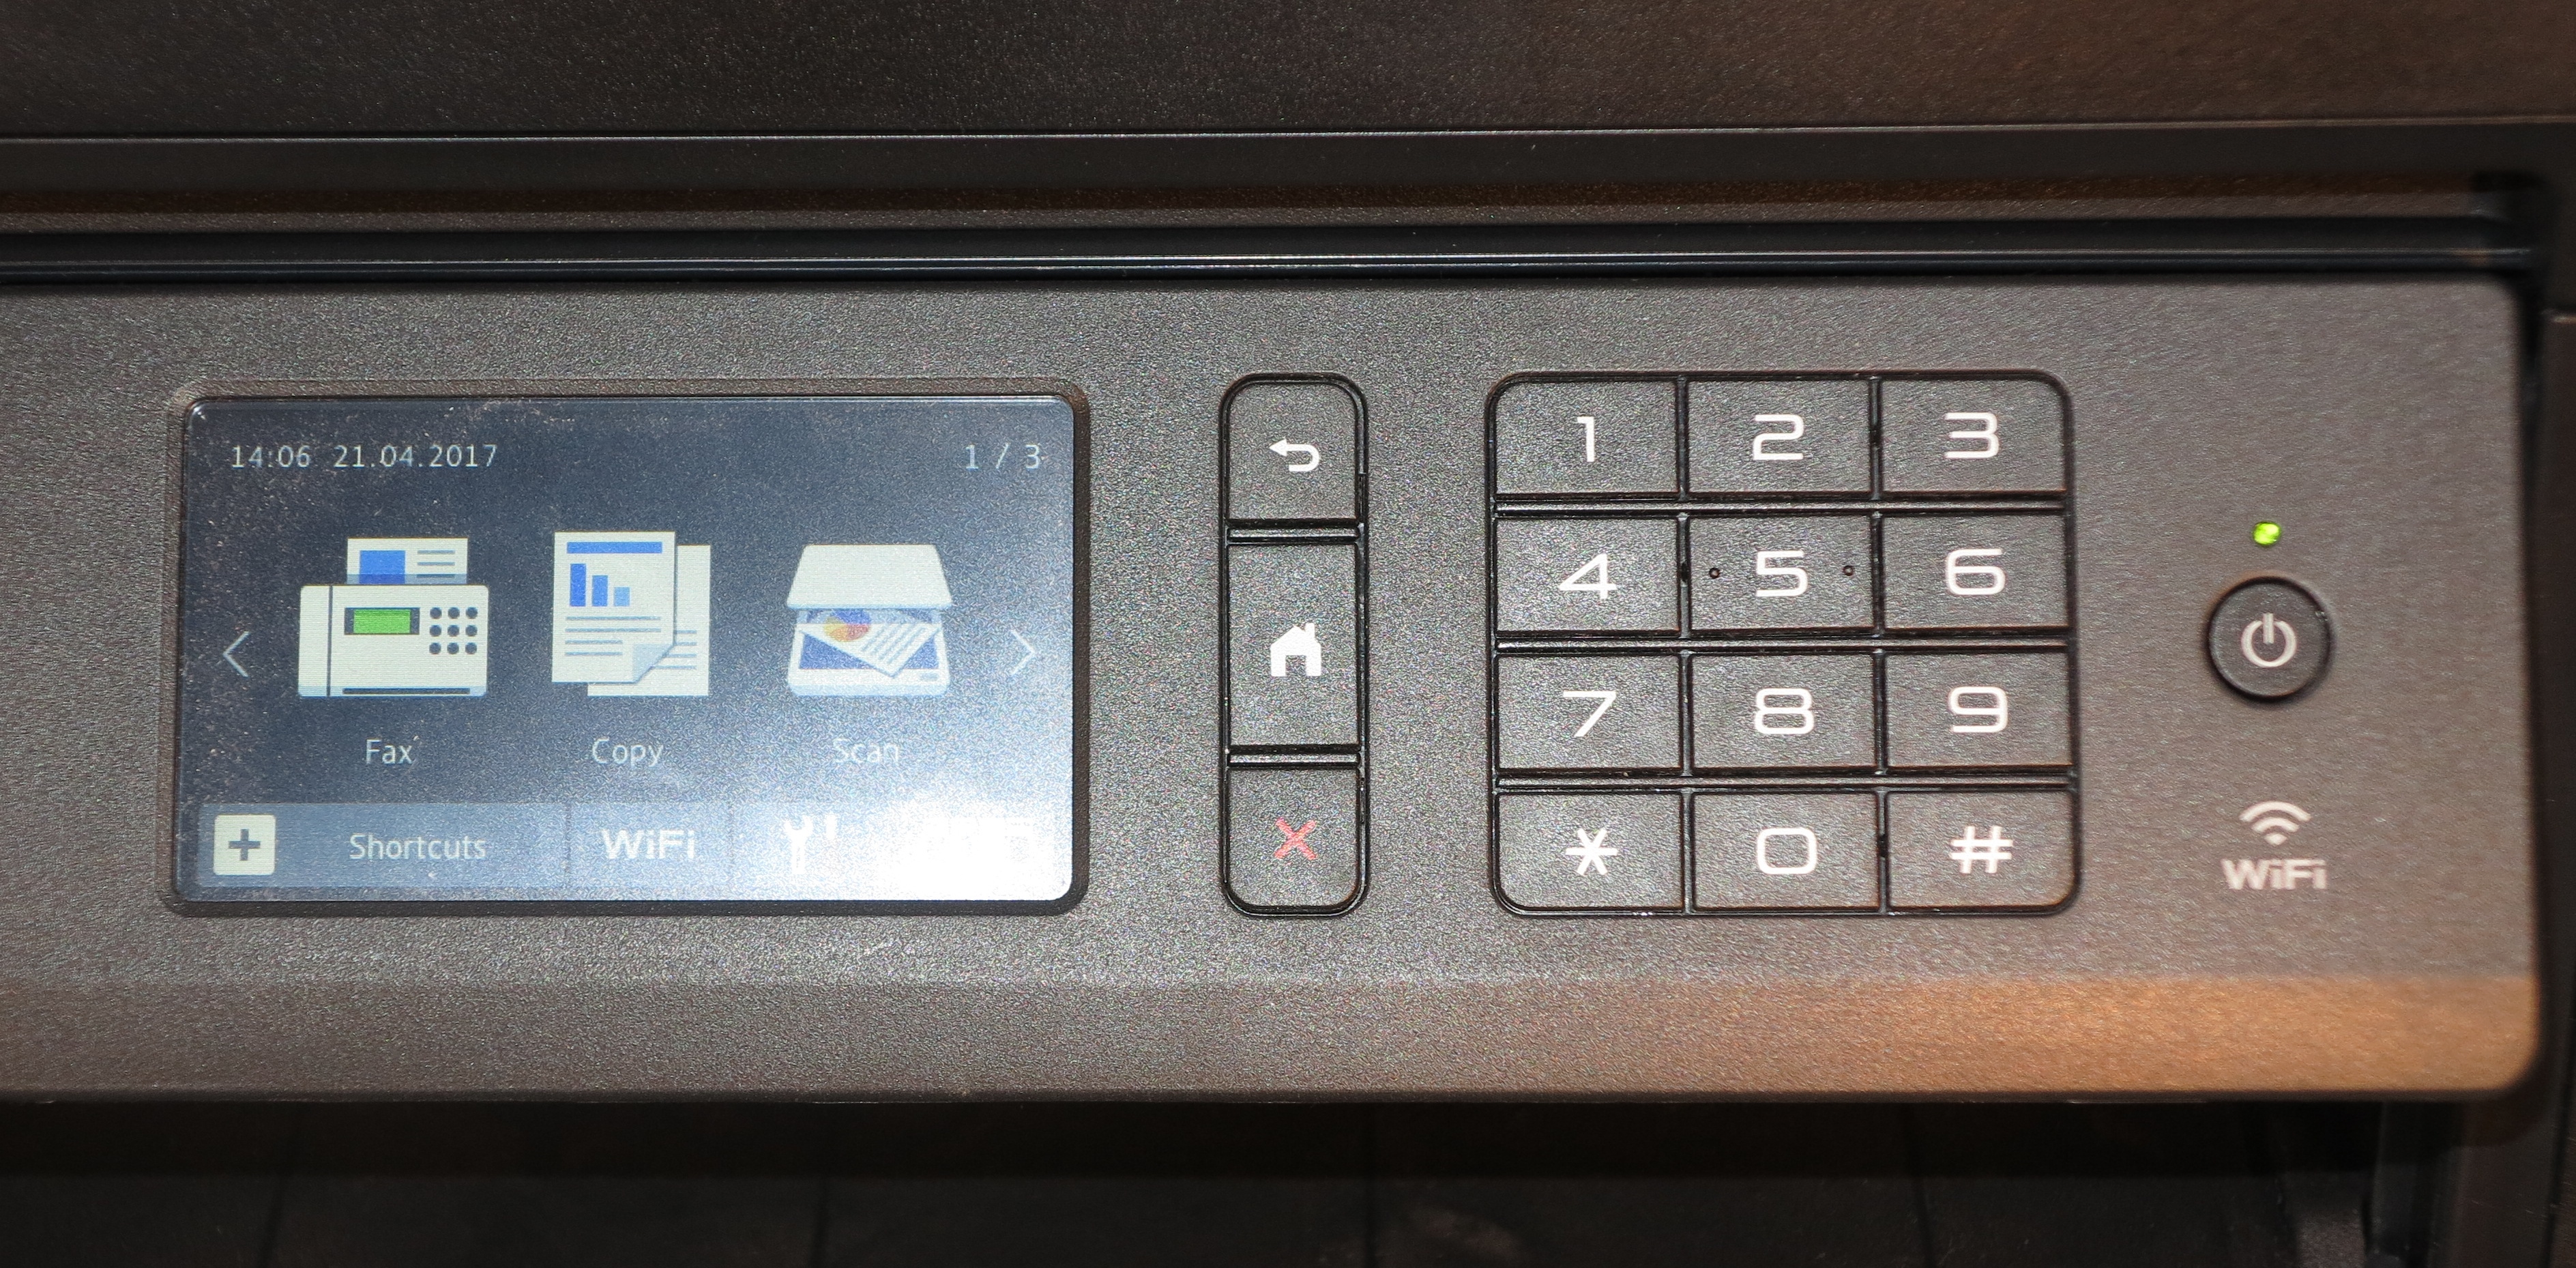
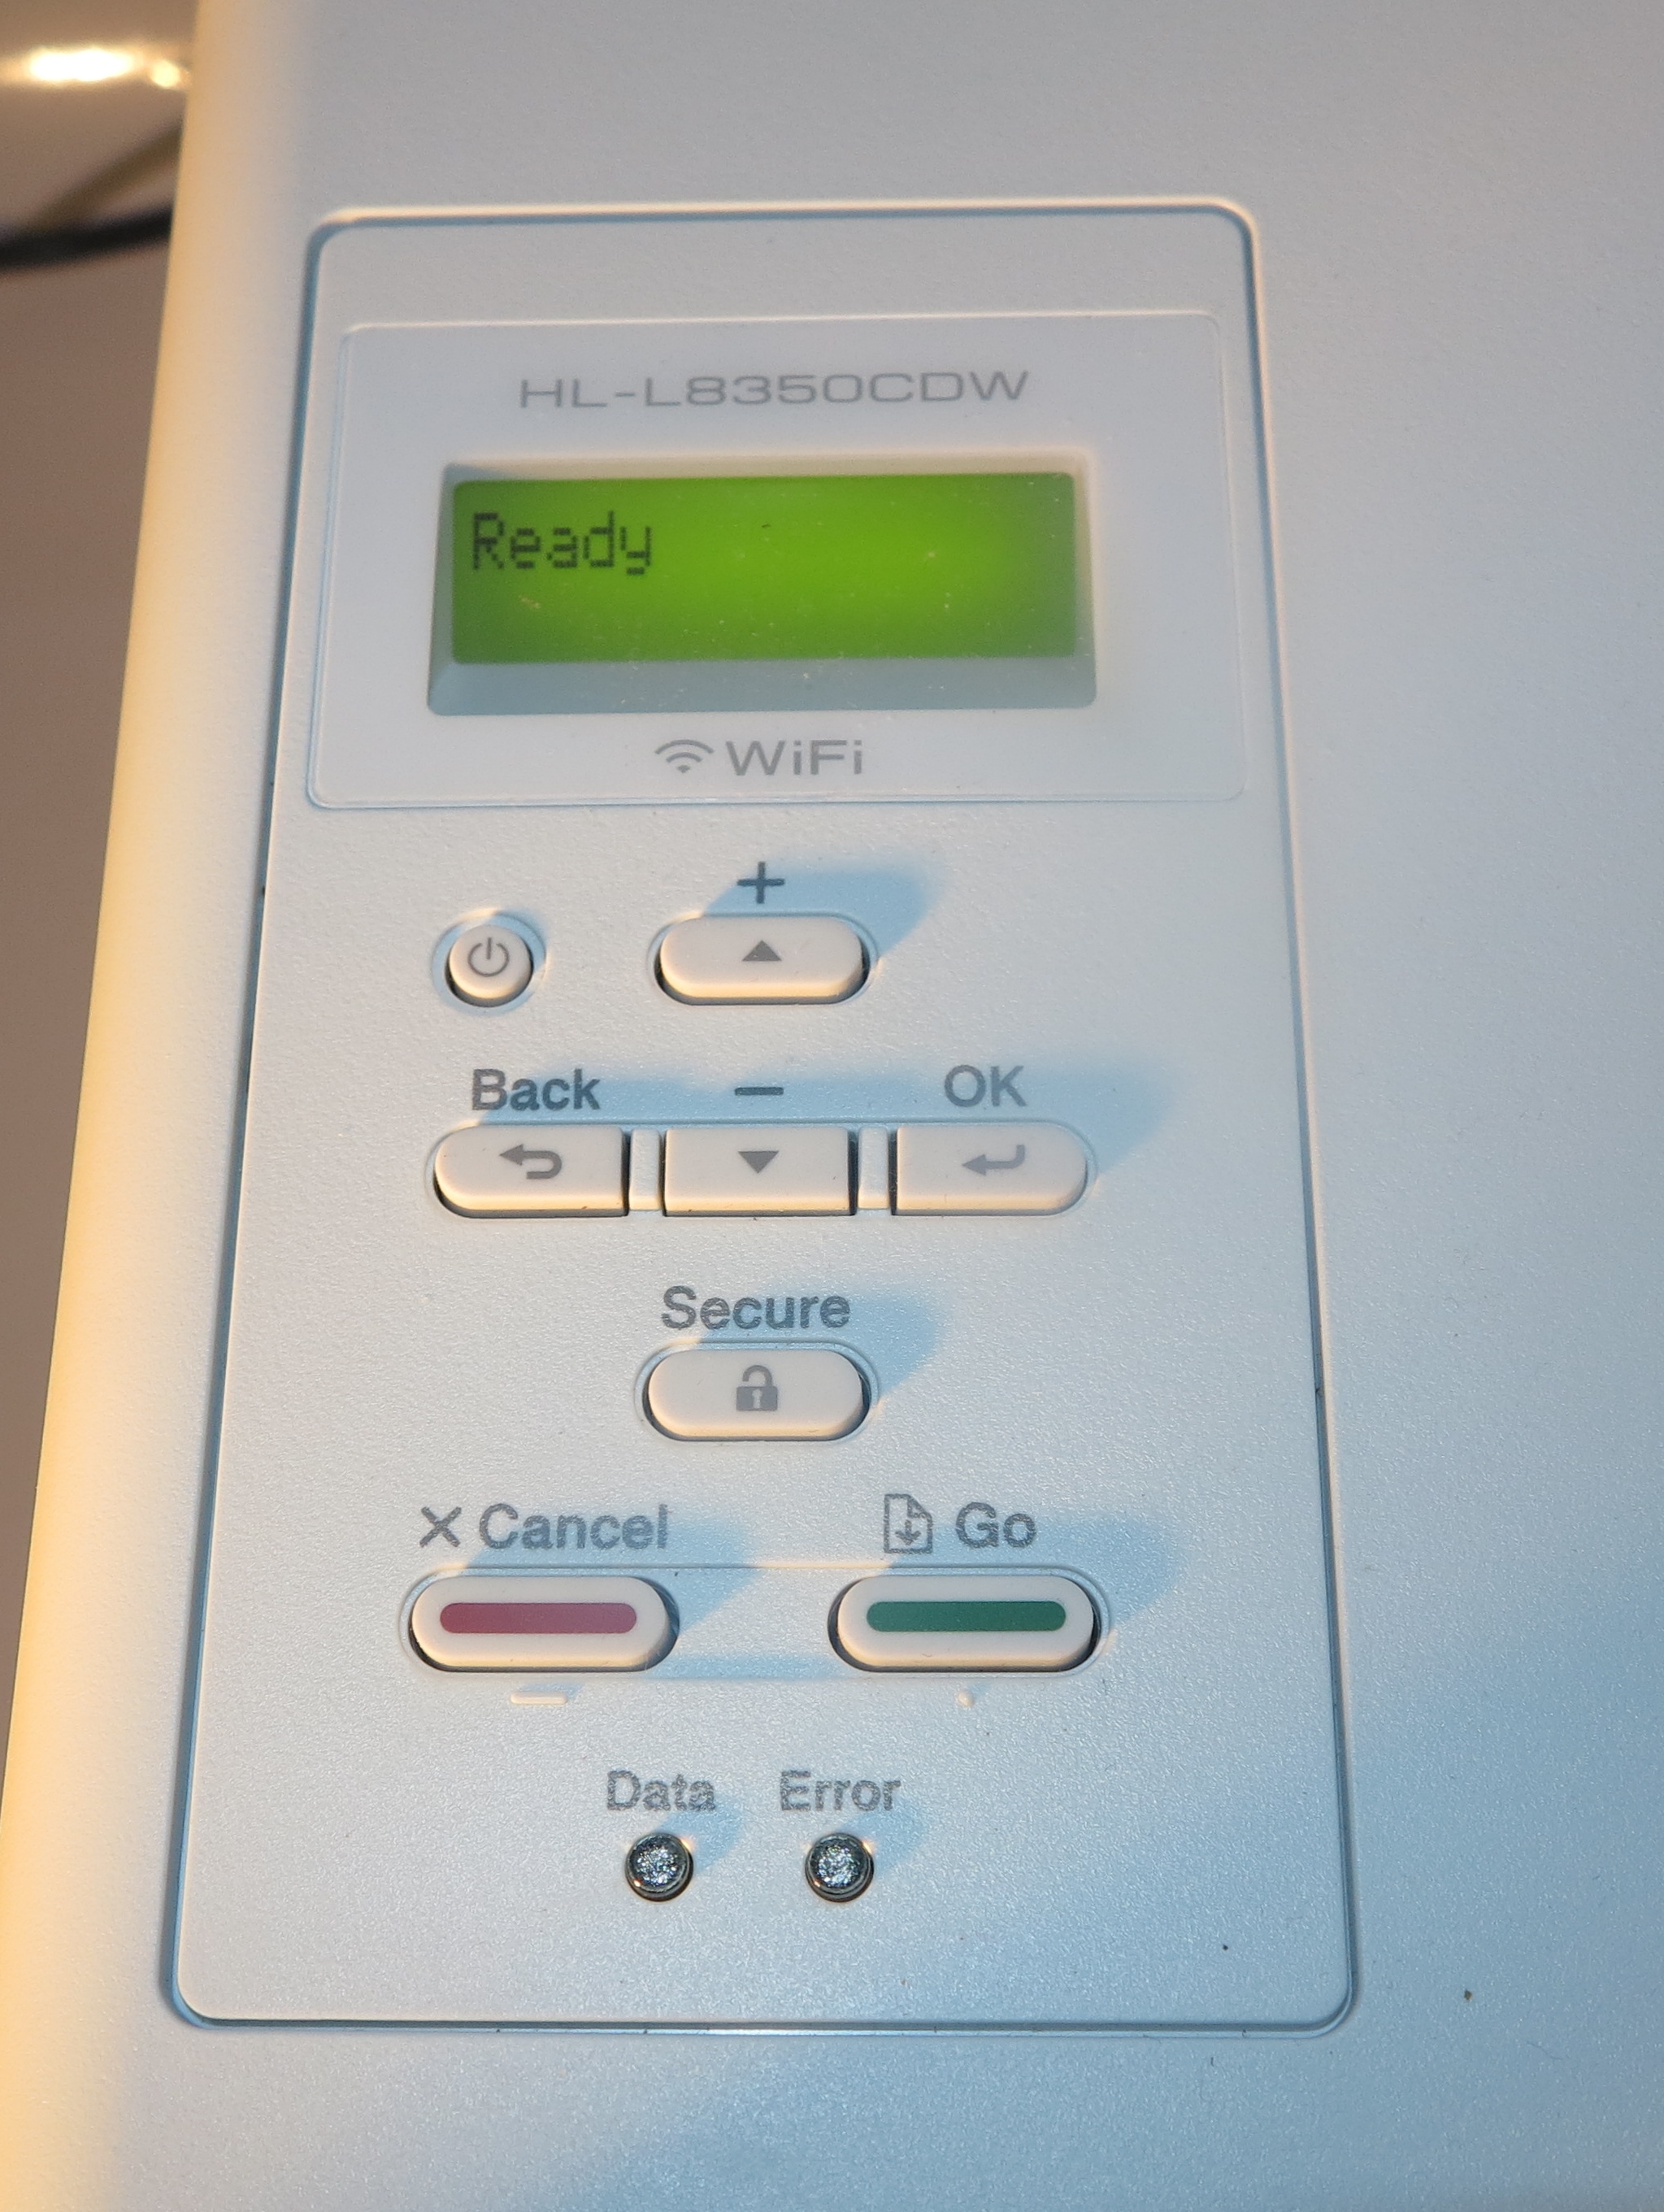
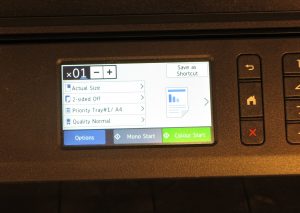
Control panel with touchscreen and traditional keyboard
Unlike the Brother MFC-J5720DW, the Brother MFC-J5730 doesn’t convey the sleek looks that make printers of this class attractive. Here, the unit is styled in a more conventional approach that is very similar to Brother’s laser multifunction printers with the control panel keyboard that you use for entering numbers very similar to most other office-grade printers. This may be more user-friendly for those of us who are confused with touch-panel keyboards that light up on an “as-required” basis.
Connectivity and Setup
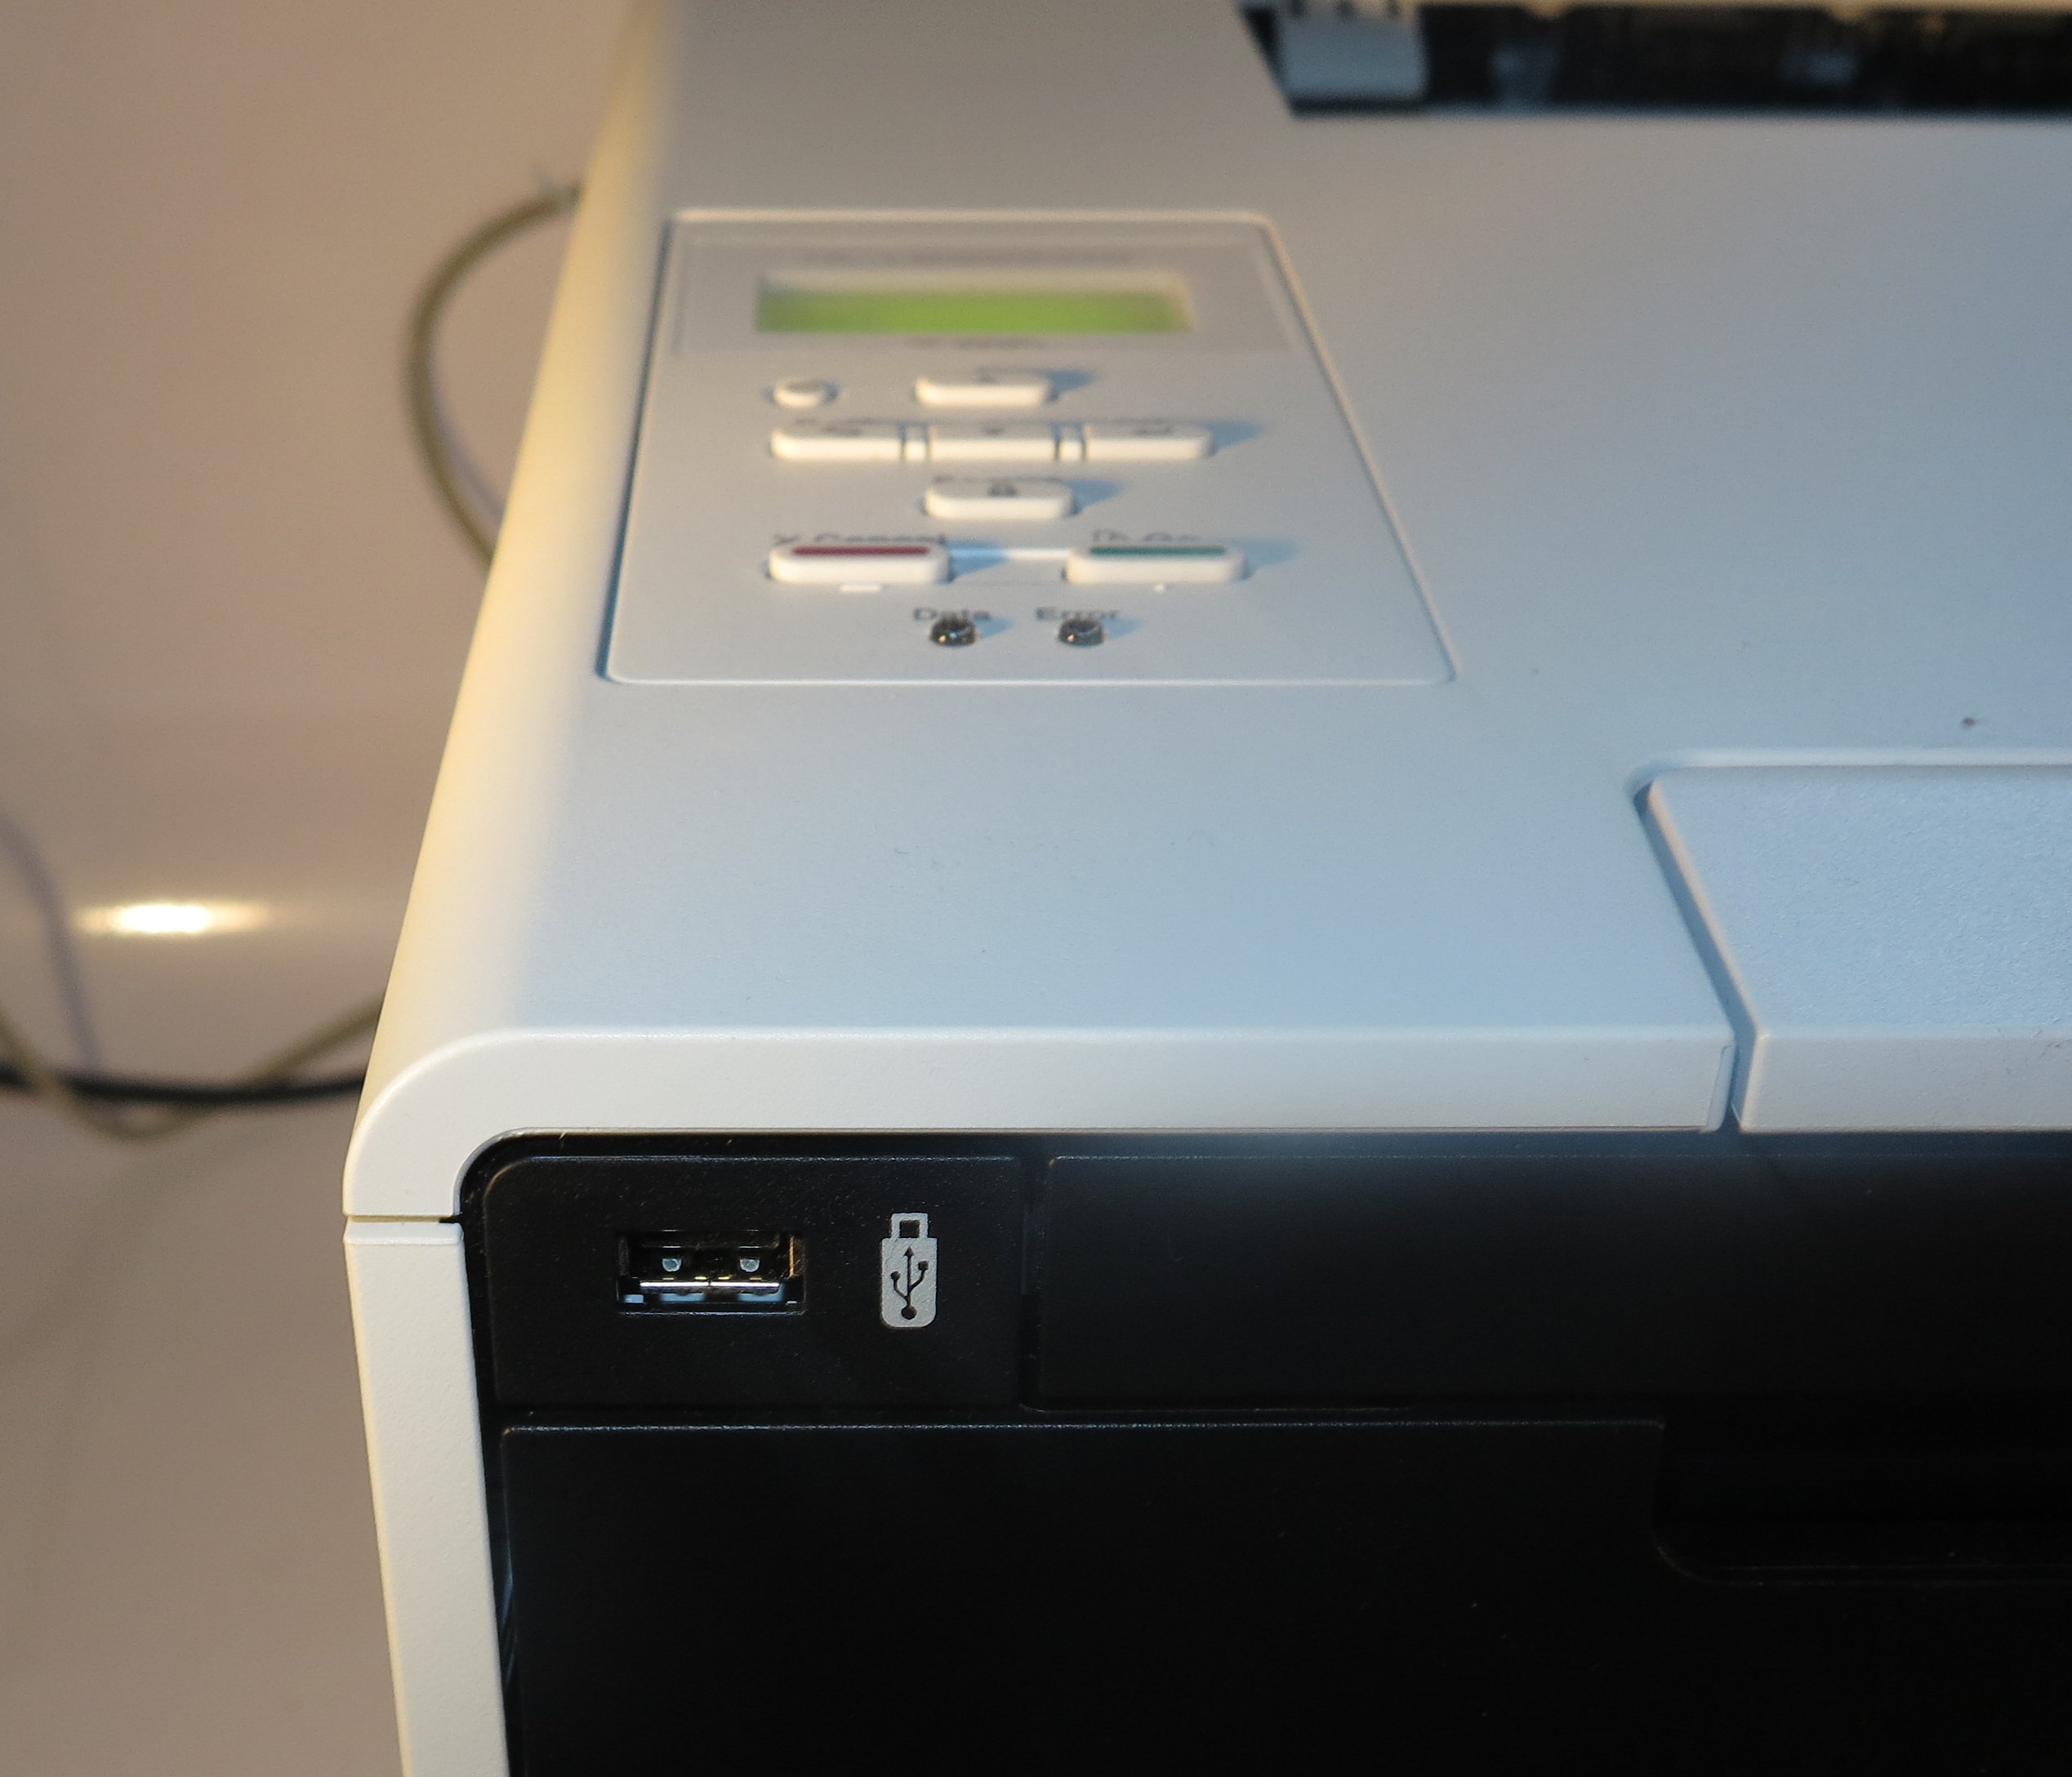
The printer can connect directly to your computer via a USB cable. But it can connect to your home or small business network using Ethernet or Wi-Fi wireless that supports most connection setups. It can even create its own Wi-Fi access point which just exists for printing and scanning, but I personally would like to see the ability to be its own access point to “extend” coverage of a wireless network with this feature able to be disabled by management IT along with supporting “business” access point requirements. The network functionality is future-proof in that it supports IPv6 addressing, a real requirement as we run out of public IPv4 network addresses.
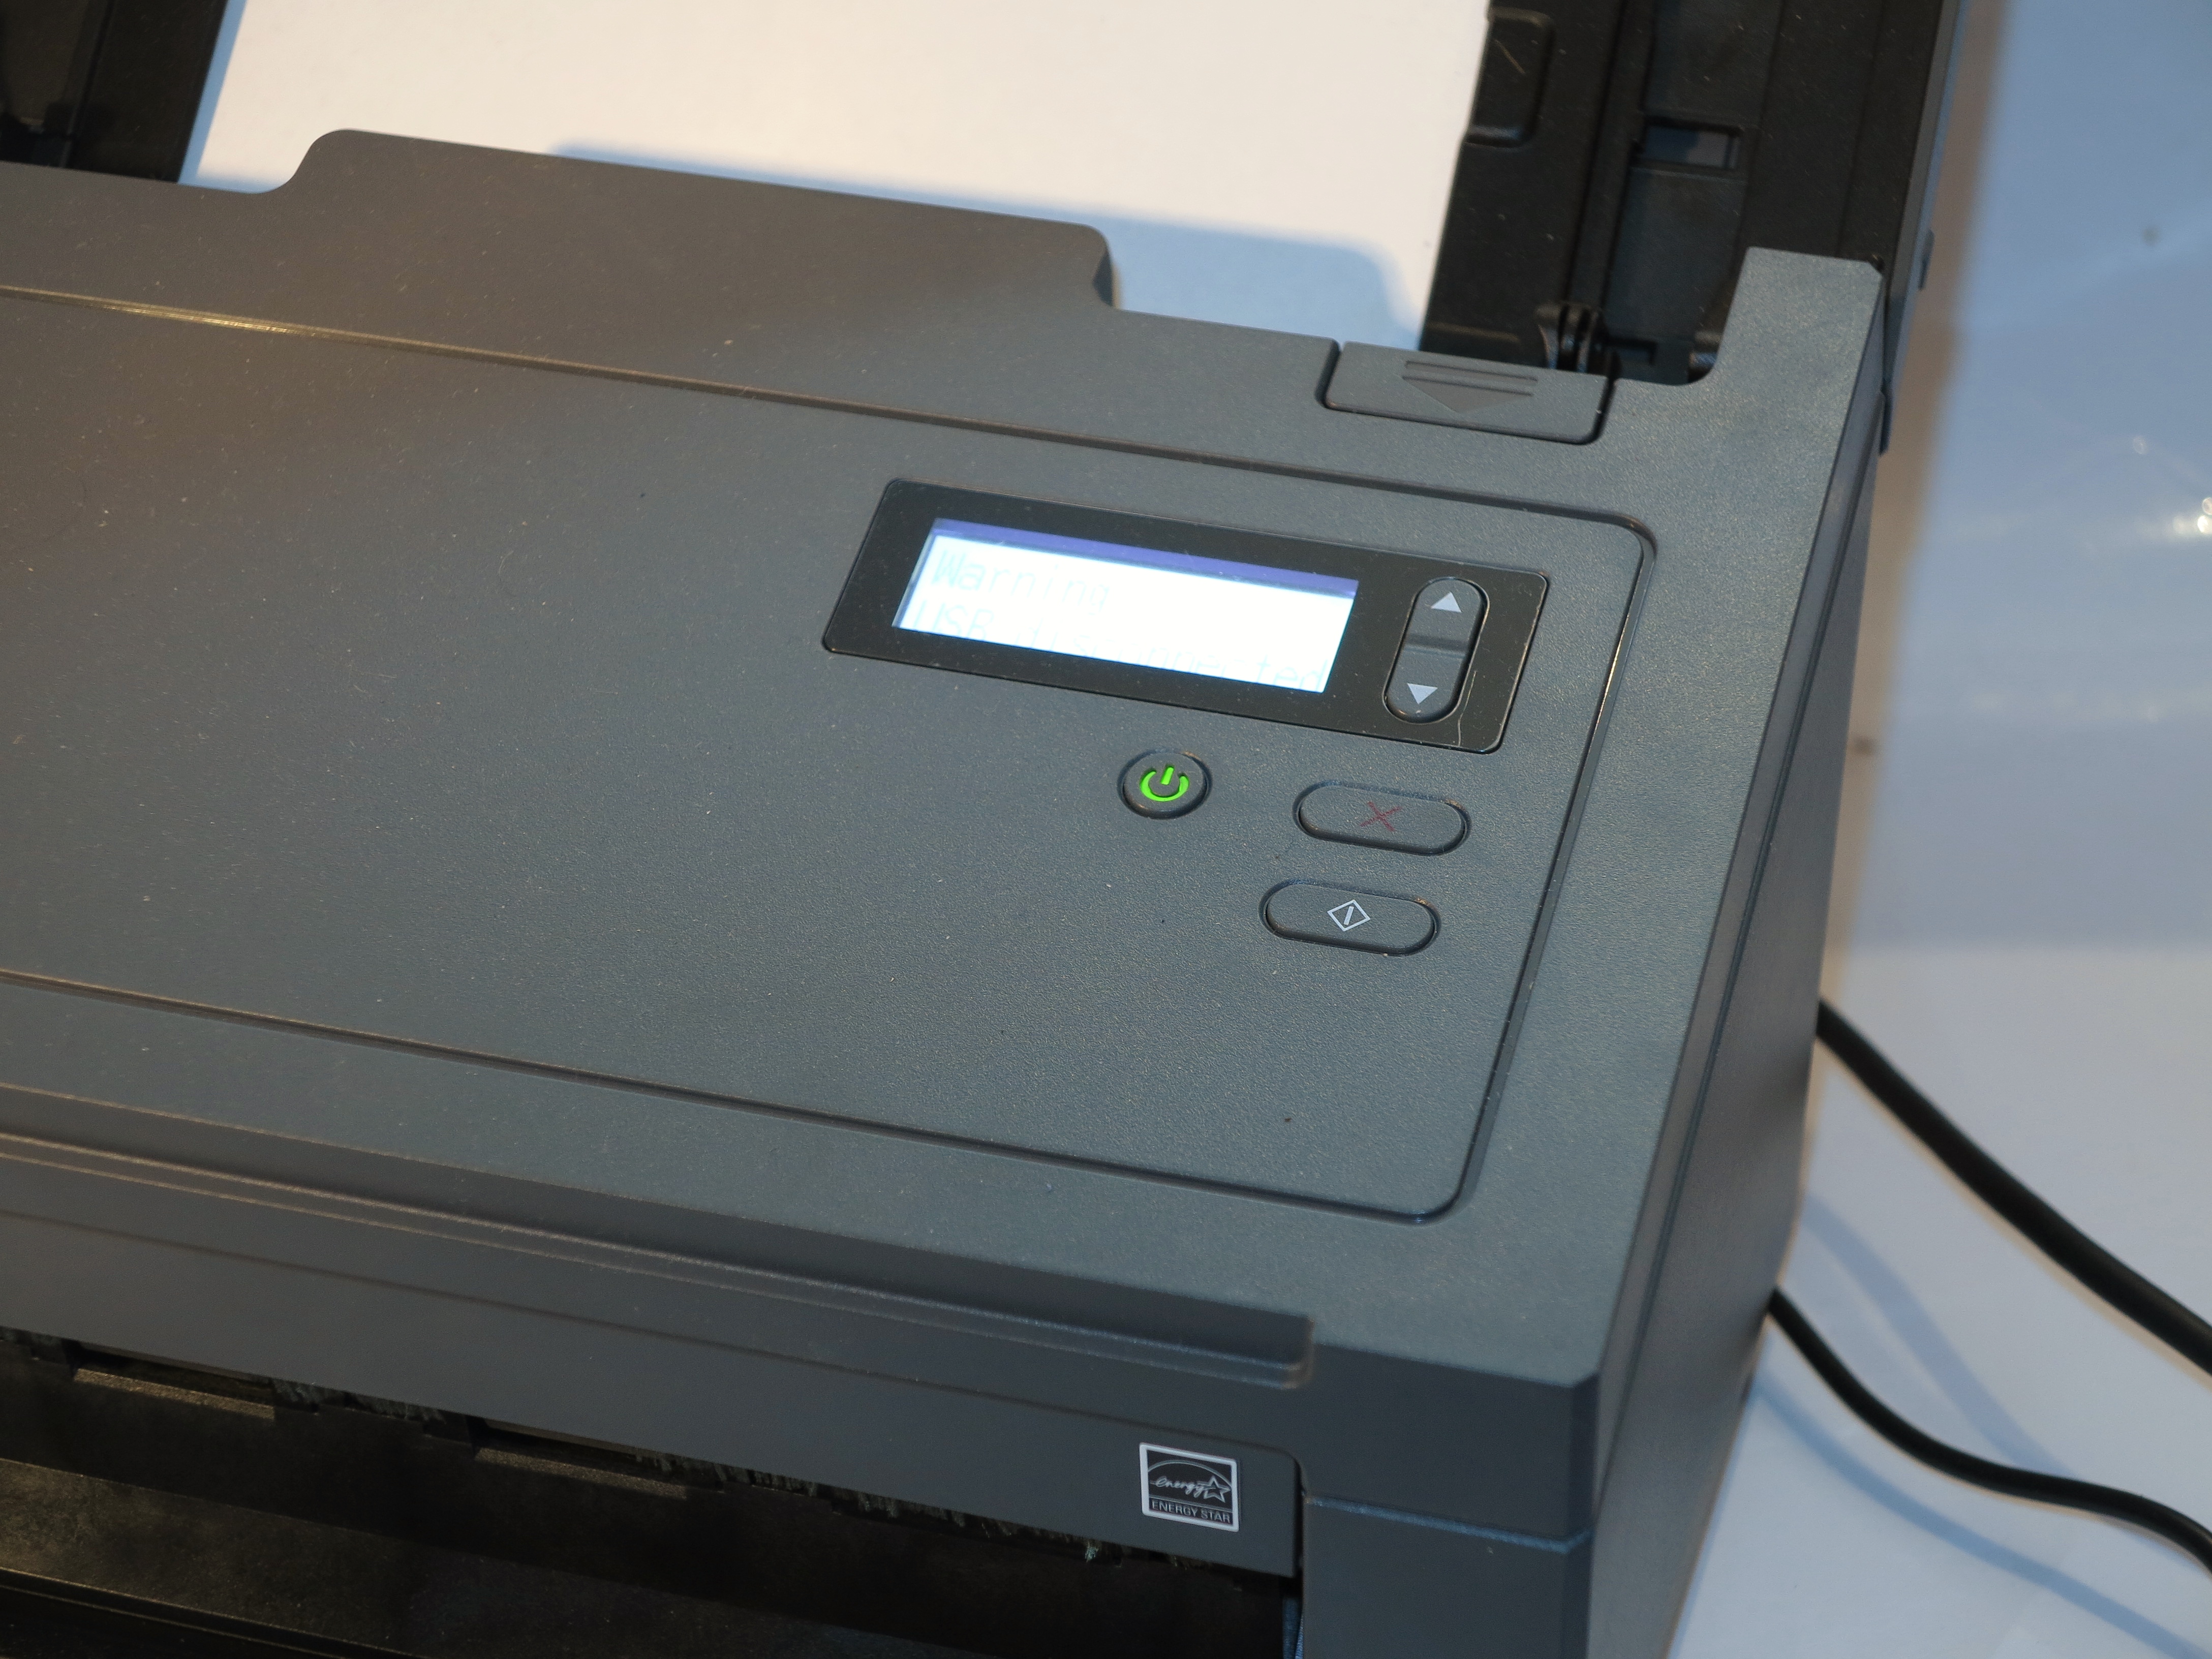
Black-on-white detailed function display
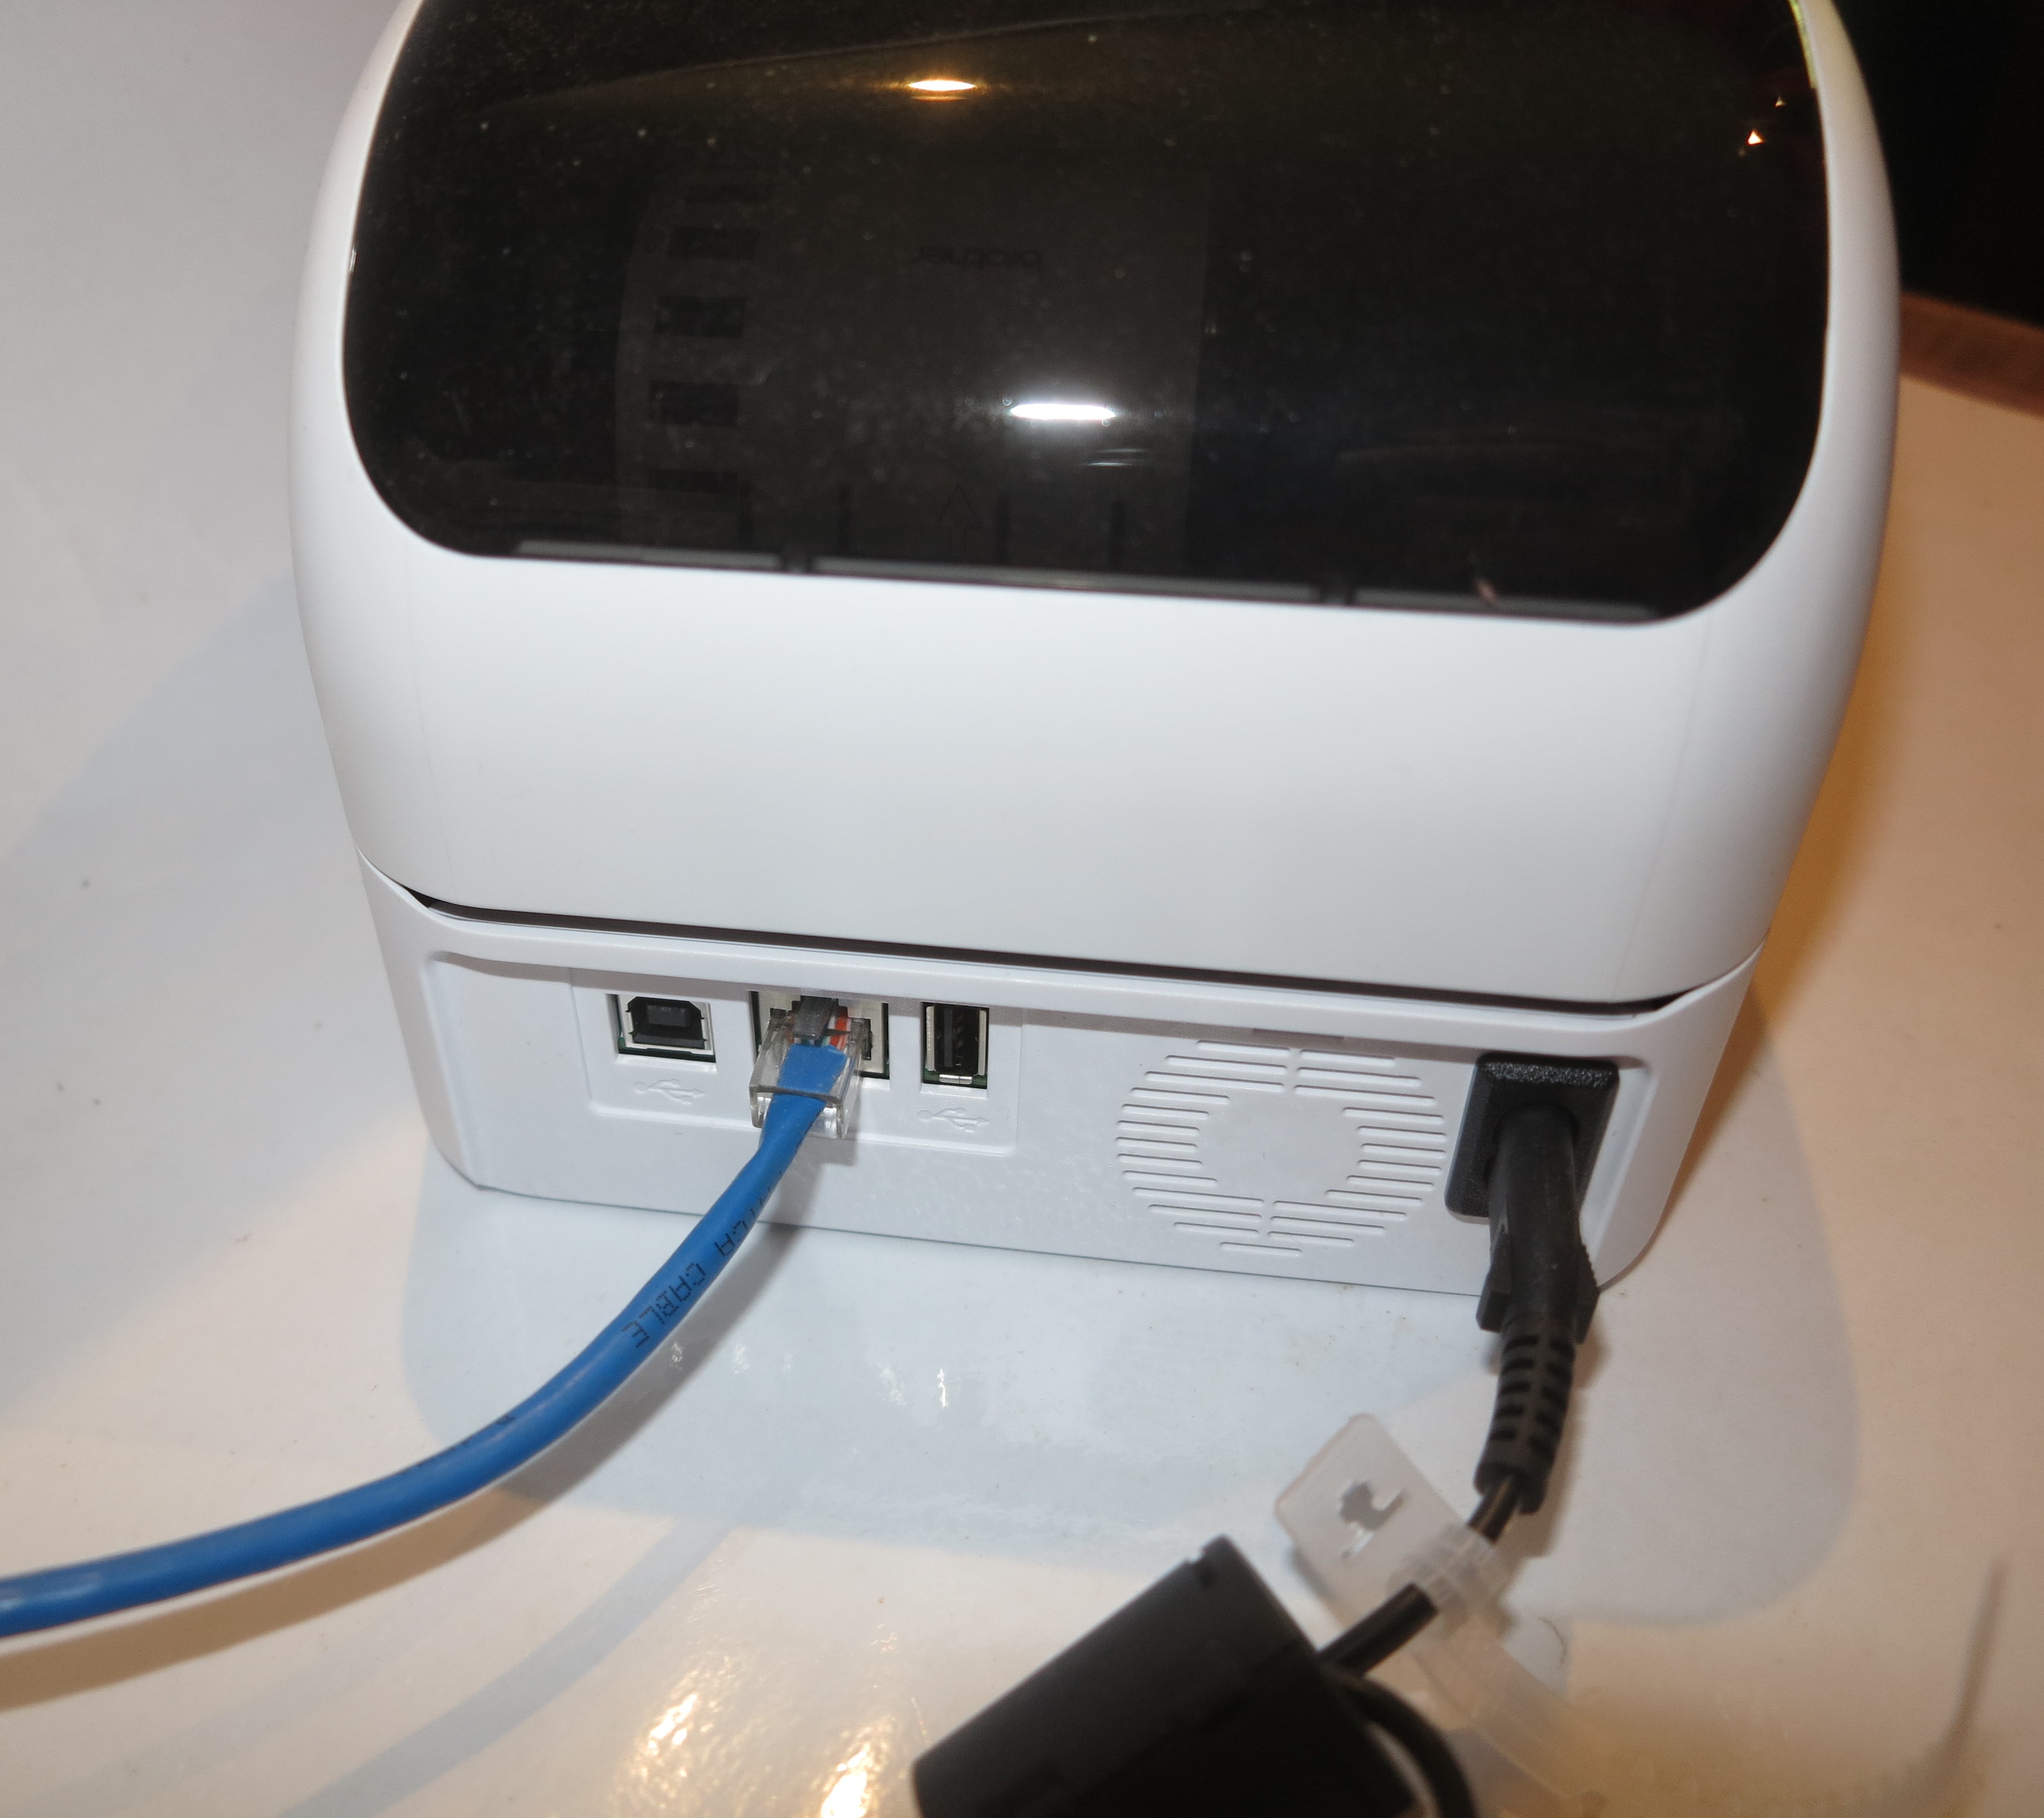
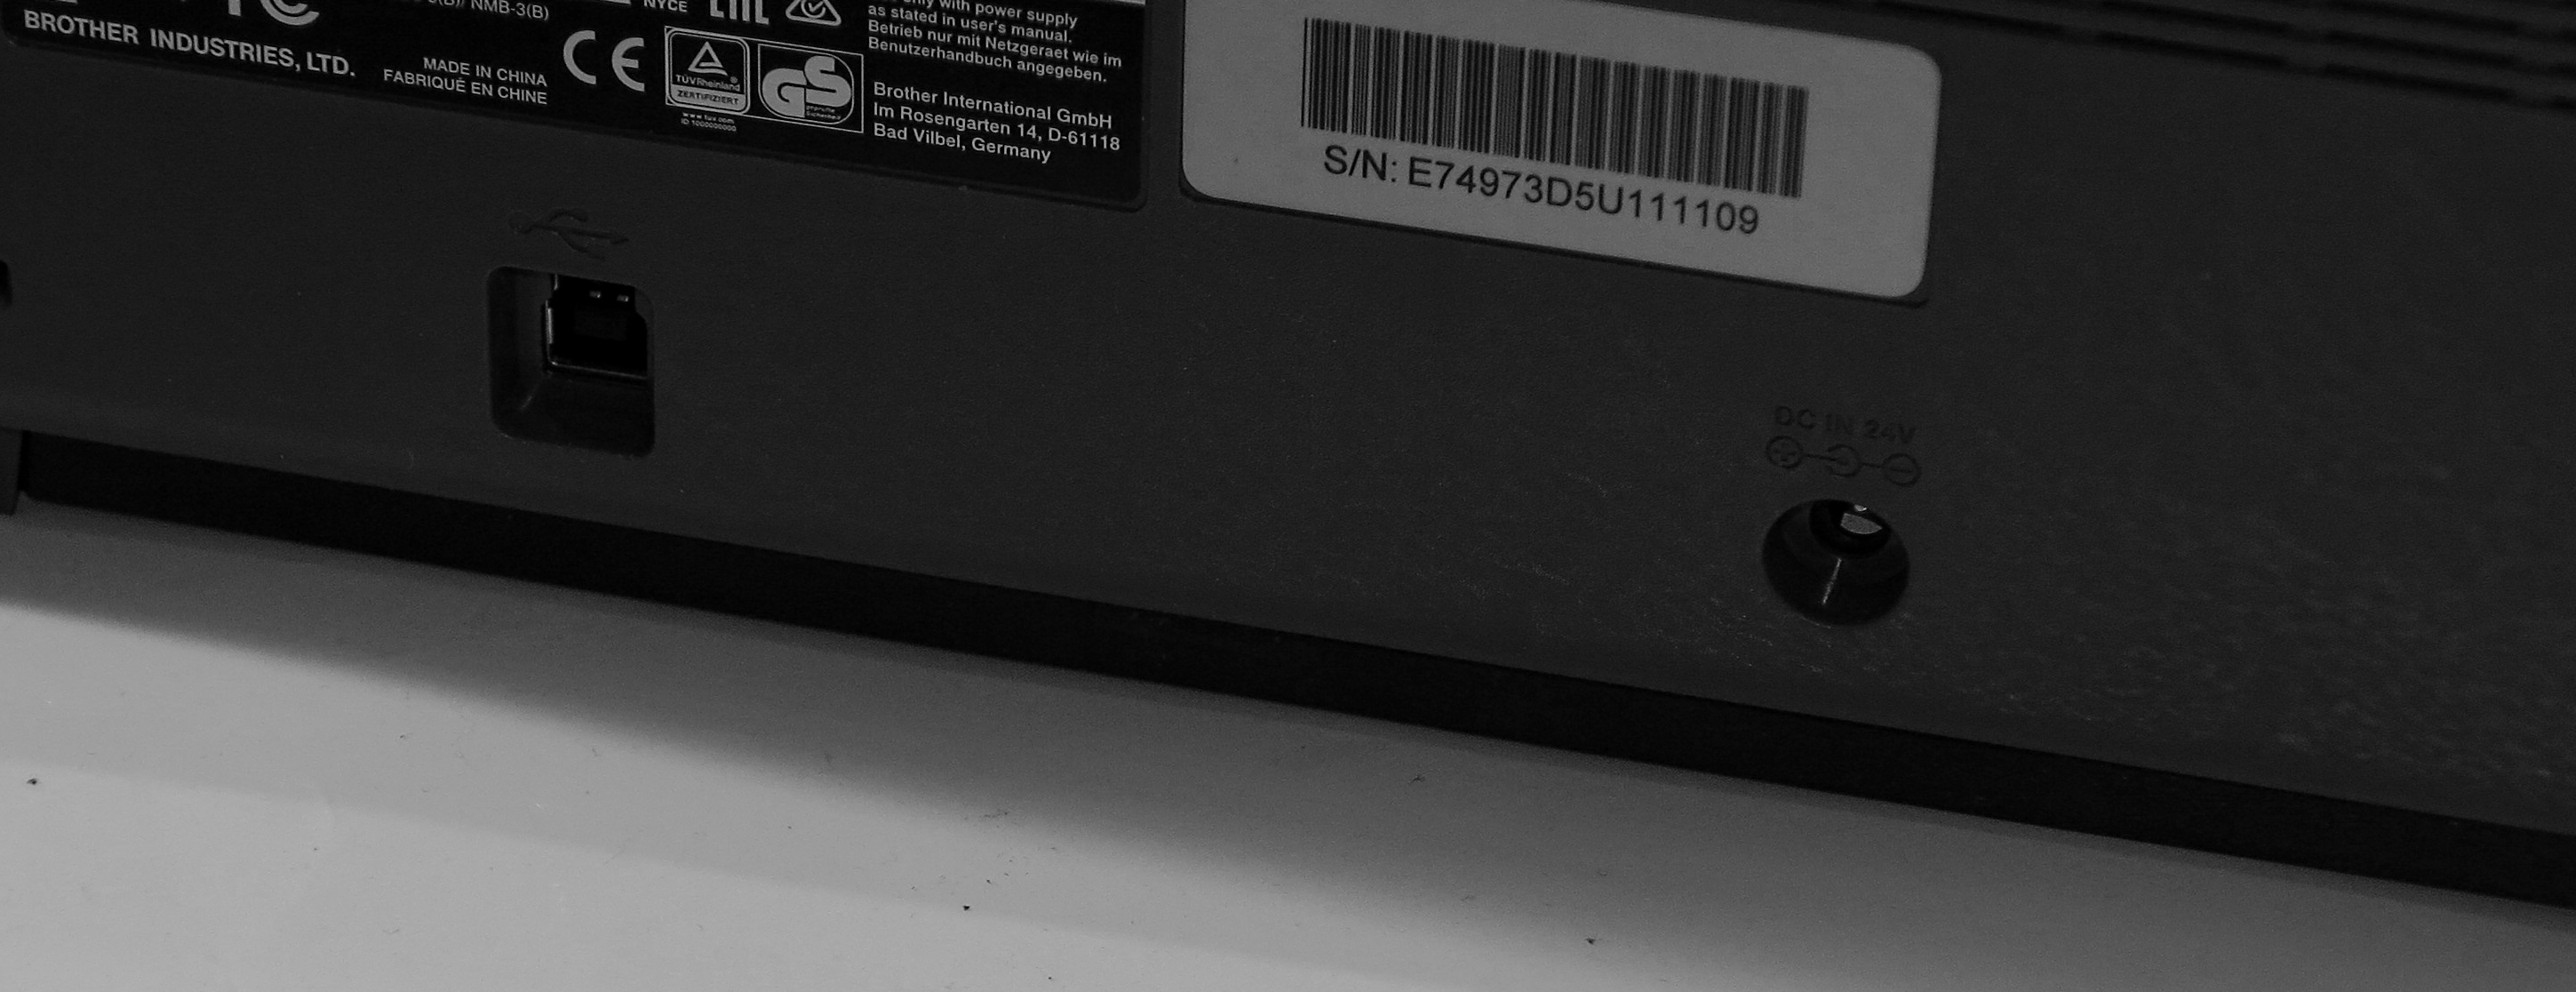
Like all of the recent Brother inkjet printer generations, the cables for the USB or Ethernet connections is snaked in under the scanner rather than being connected to a socket on the back of the printer. The same holds true for the phone and line connections that you would need to use if this machine is being used as a fax.
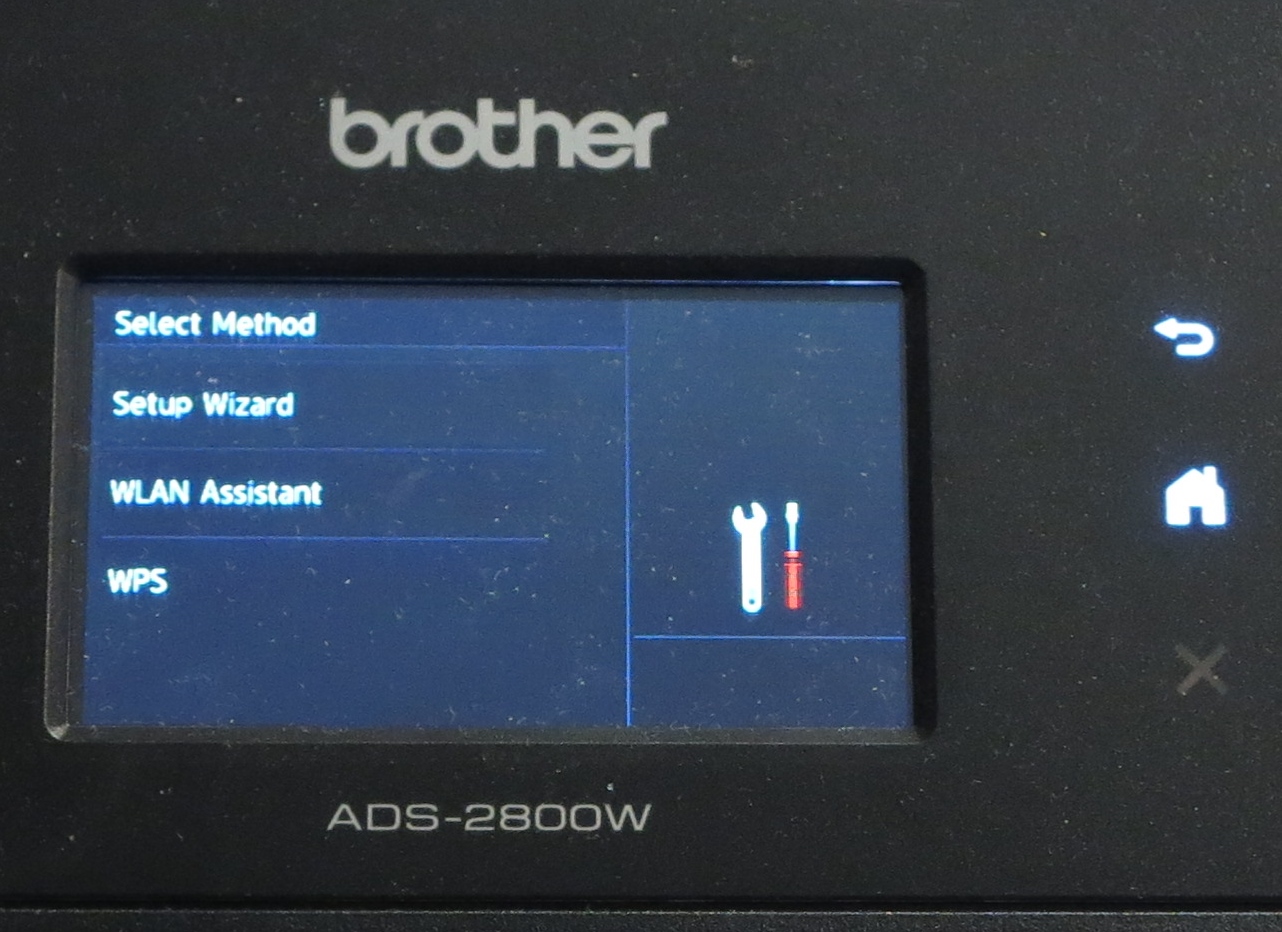
The setup experience is very similar to the previous Brother printers but this is improved thanks to the larger LCD display that the printer is equipped with. Some of you may find that the black-on-white display which is implemented in this generation of printers may be a bit awkward to use when working the menus.
Paper Handling
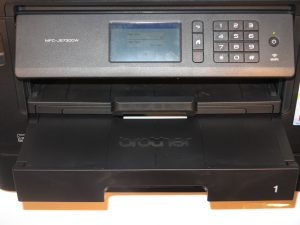
The Brother MFC-J5730DW implements the same paper-feed options as its predecessor model that is: to use two paper drawers up front as well as a bypass feed slot on the back of the printer capable of handling many sheets of paper. These drawers can be extended out so you can load A3 or Ledger paper in the machine, but they leave the paper exposed, which can cause it to attract dust, thus leading to unreliable operation. Here, Brother could answer this problem by integrating a larger slide-out flap in each of these trays which comes out whenever you load the tray with larger paper sizes.
Output shelf separate from the upper paper tray
Printed documents end up on a separate output shelf rather than one that is integrated in one of the paper drawers. This makes the job of topping up the paper supply in that drawer easier because you are not having to extend or collapse the output shelf.
The ability for the Brother MFC-J5730DW multifunction inkjet printer to print to A3 or Ledger paper from either the bypass feed or any of the paper trays. This has been due to Brother implementing the “landscape” paper feed for the standard document sizes. This means that the print head works along the long edge of the paper and has allowed for documents to be printed very quickly while allowing for a relatively-compact printer design.
The scanner’s automatic document feeder doesn’t share that same compact look as the previous generation of A4 business inkjet printers that Brother issued. Here, it looks like the automatic document feeder installed on Brother’s “full-A3” inkjet multifunction printers or their laser/LED-based multifunction printers. The other missing feature for this model is that the glass platen for manual scanning is still only able to handle A4 or Letter document sizes, where I would prefer these units to have a Legal-sized glass platen for documents that are on Legal or foolscap paper sizes.
The automatic document feeder in this model implements single-pass duplex scanning but the paper path is still the “U-shaped” path which can be of concern when you are dealing with brittle paper like thin letter-writing paper. Here, it is a design limitation associated with scanners that are required to support manual and sheet-fed scanning, but could be improved upon by supporting a “two-way” feed setup.
Like with the previous models, the scanner lid on the Brother MFC-J5730DW can be pulled up at the rear so you can scan or copy thicker documents but I would like to see this improved upon by allowing you to lay the multipurpose feed tray flat so you can easily position thicker originals further up the back.
Walk-up functions
The Brother MFC-J5730DW only supports USB-connected media like USB thumbdrives or SD card readers for local data storage. This can be a limitation if you deal frequently with digital photos, where I would like to see it support PictBridge “direct-from-camera” printing or printing from SD and CompactFlash cards.
You also have the Brother MFC-J5730DW able to work as a capable up-to-date colour fax machine with T.37-compliant email-based Internet fax functionality.
This includes the fact that Brother MFC-J5730DW offers a “fax-to-cloud” feature for standard faxes where incoming documents can be forwarded to a folder on an online storage service as soon as they arrive. This offers an Internet-based “fax-vault” functionality so that the machine isn’t printing out every fax that comes in, making it easy for others who have access to your office like contract cleaners or night-shift workers to be snooping on your confidential incoming faxes when you are not there. This is also in conjunction to being able to have faxes forwarded to a fax number or email address or sent to your regular Windows computer, functions that Brother had offered for handling incoming faxes.
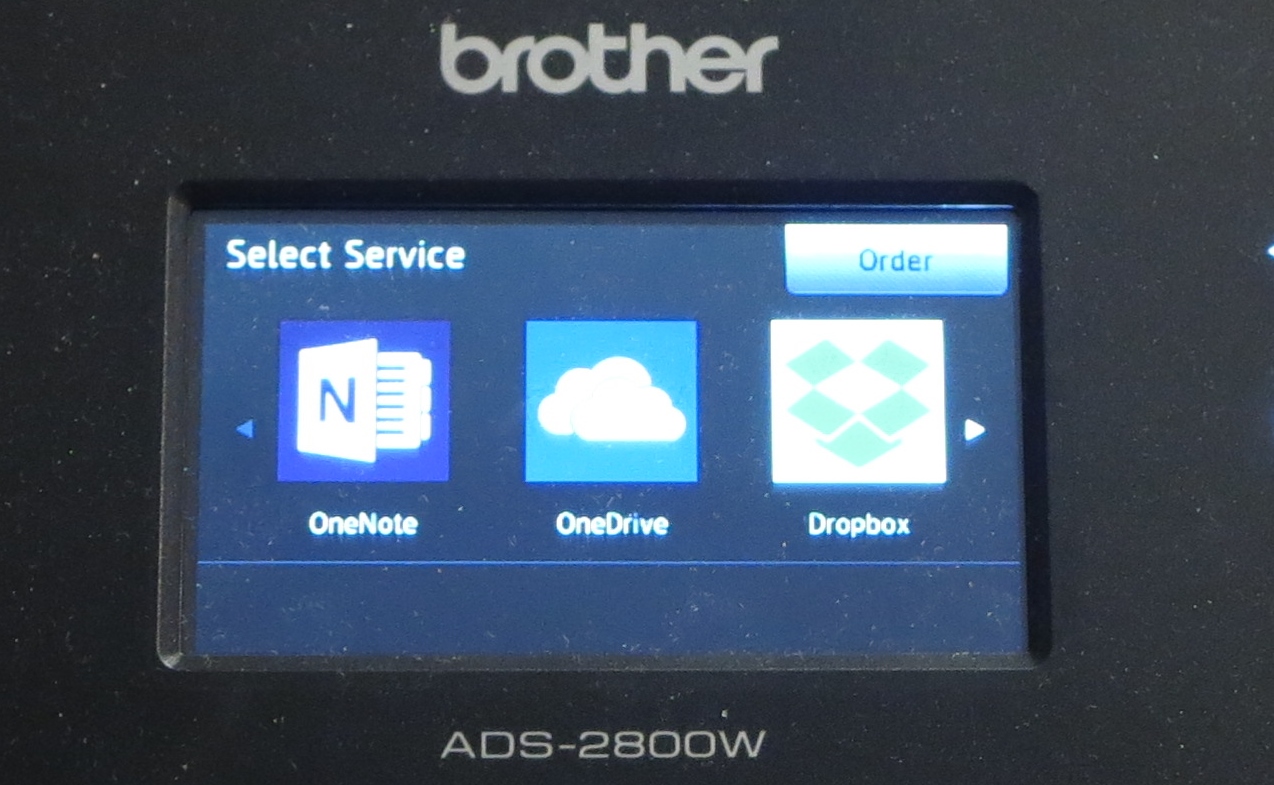
Speaking of cloud services, Brother offers access to the common online services for scanning and printing. This means that you could print a photo from Facebook, a document from Dropbox or scan a document to OneDrive for you to work with on your laptop. The cloud services also include the ability to print notepaper, graph paper, music manuscript paper and similar form documents, a feature that competing printer vendors have been offering for a while. But these documents can be improved upon such as simply providing the music paper without any clef markings so you could write manuscript for different instruments and ensembles.
Computer functions
At the moment, Brother still supplies model-specific drivers for their printers rather than offering a monolithic driver that can cover a product range. This applies to the desktop operating systems although they offer a single piece of software for the mobile operating systems. A single piece of software that covers one or more product ranges could make it easier for those of us who standardise on a particular manufacturer’s devices to set a computer up for newer printers.
But these drivers installed properly on my Windows 10 computer without throwing any error messages. They also provide the same “at-a-glance” dashboard that Brother uses for their printers. The print jobs had come through properly and reliably as would be expected.
The scan software that Brother provides hasn’t been improved upon for a long time and could be worked on, especially in the context of “editing” multiple-page scans. Here, it could support the ability to do things like re-scanning a single page so as to correct scanning mistakes like skewed pages or “splitting” a scan job to two or more documents. The latter situation may be of benefit if you are using the machine’s automatic document feeder to expedite the scanning of multiple documents and would earn its keep with the Brother MFC-J5730 and other machines equipped with a single-pass duplex scanner.
I have used this printer with my Android phone and it worked properly when I wanted it to print out an email attachment. This was using the Brother-supplied Android Print Services plug-in for the Android platform, but the printer can work with Mopria-compliant print-service plug-ins.
Print / scan speed and quality
Like most inkjet printers, the Brother took a similar amount of time to get going with the first page of the print job.
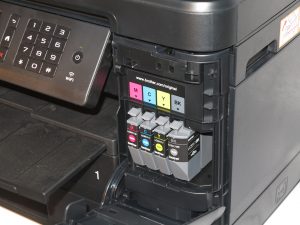
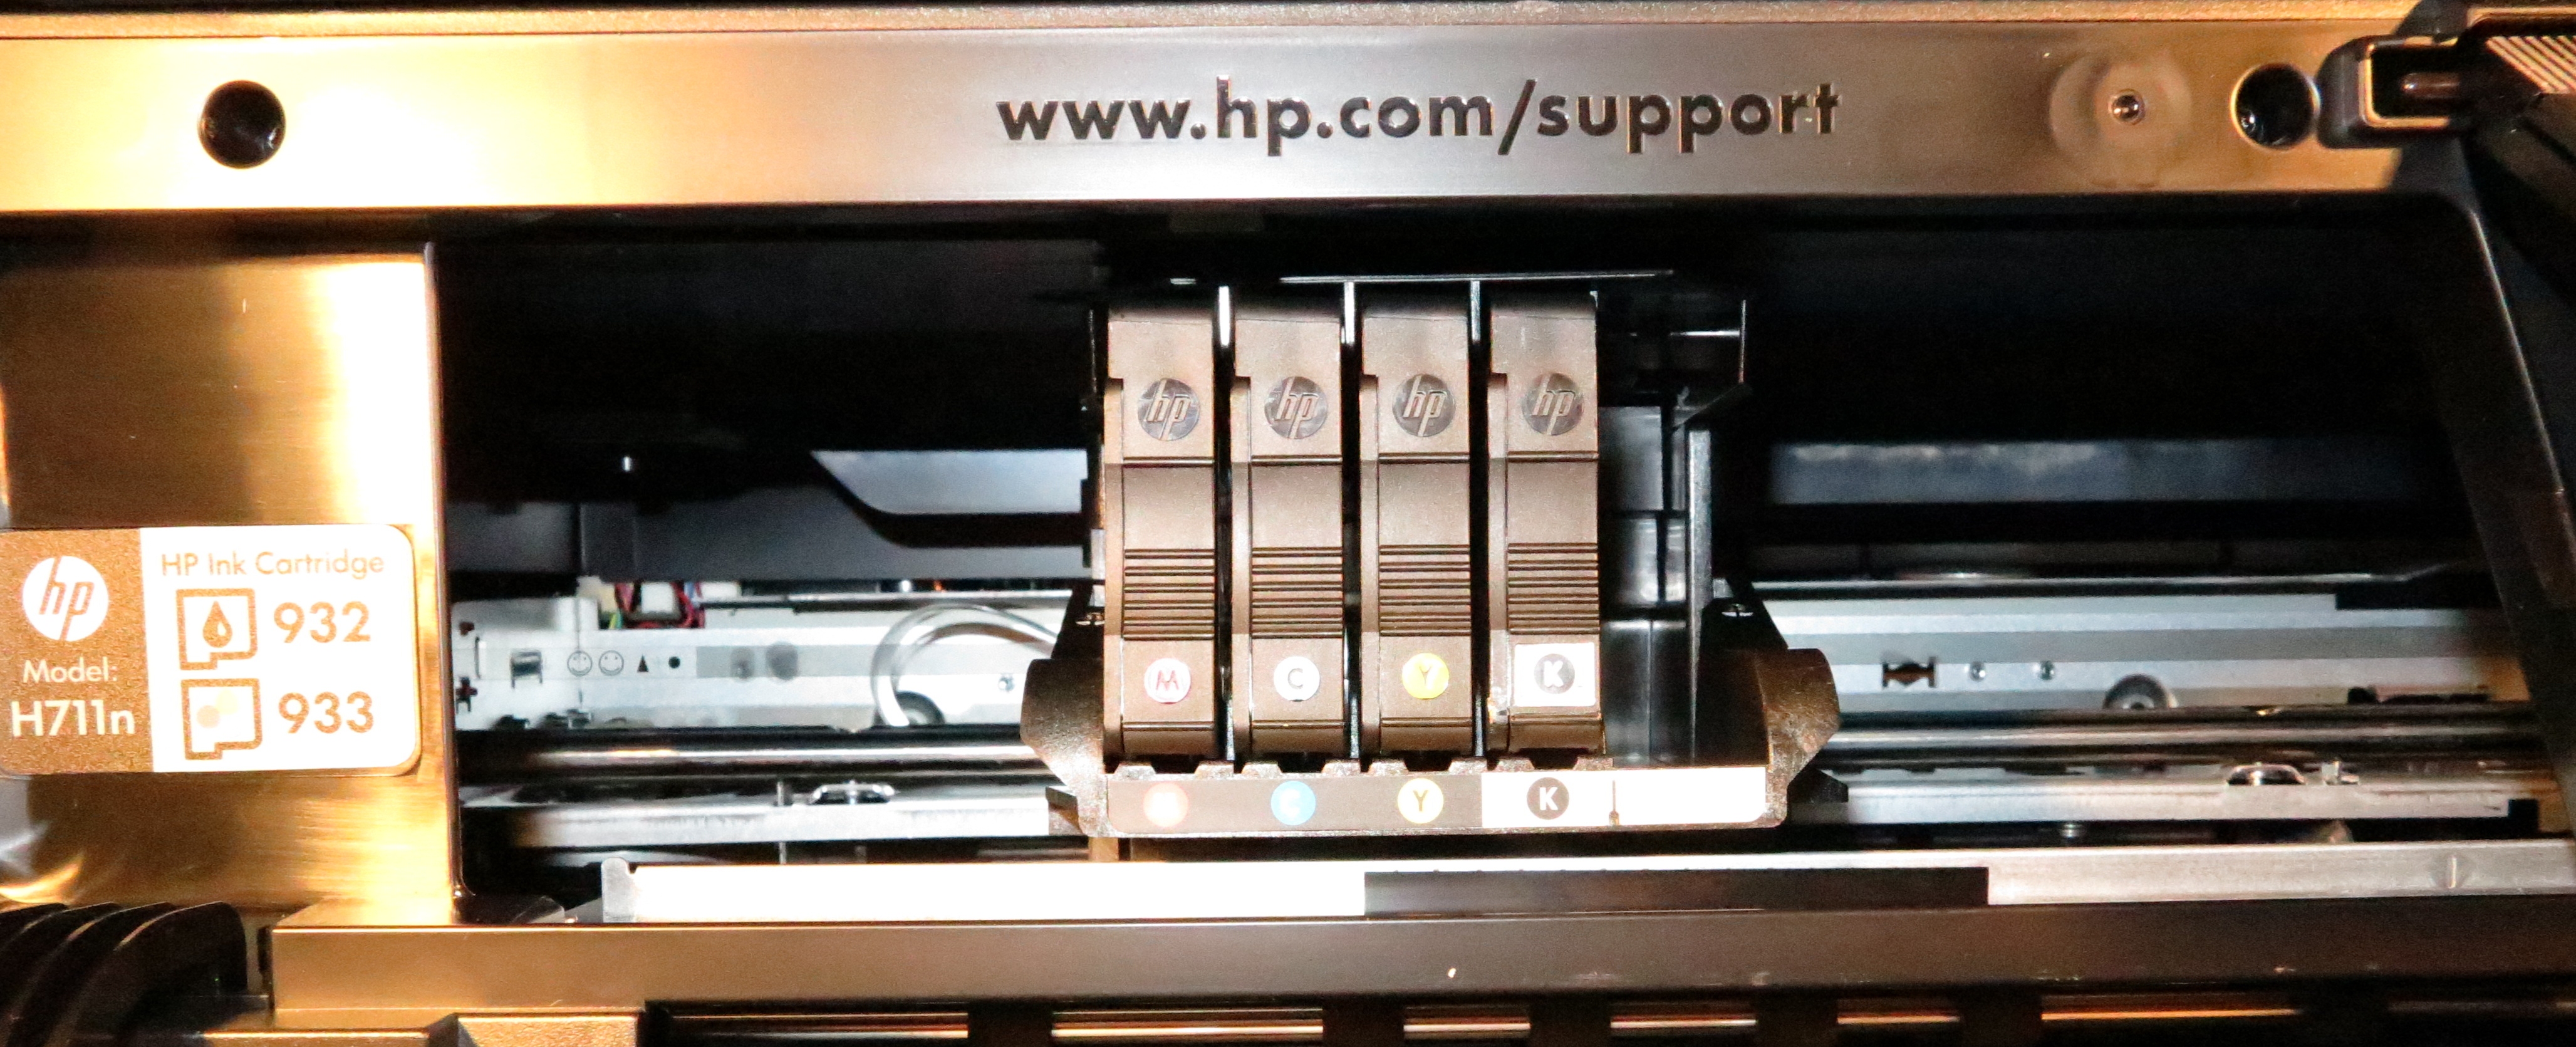
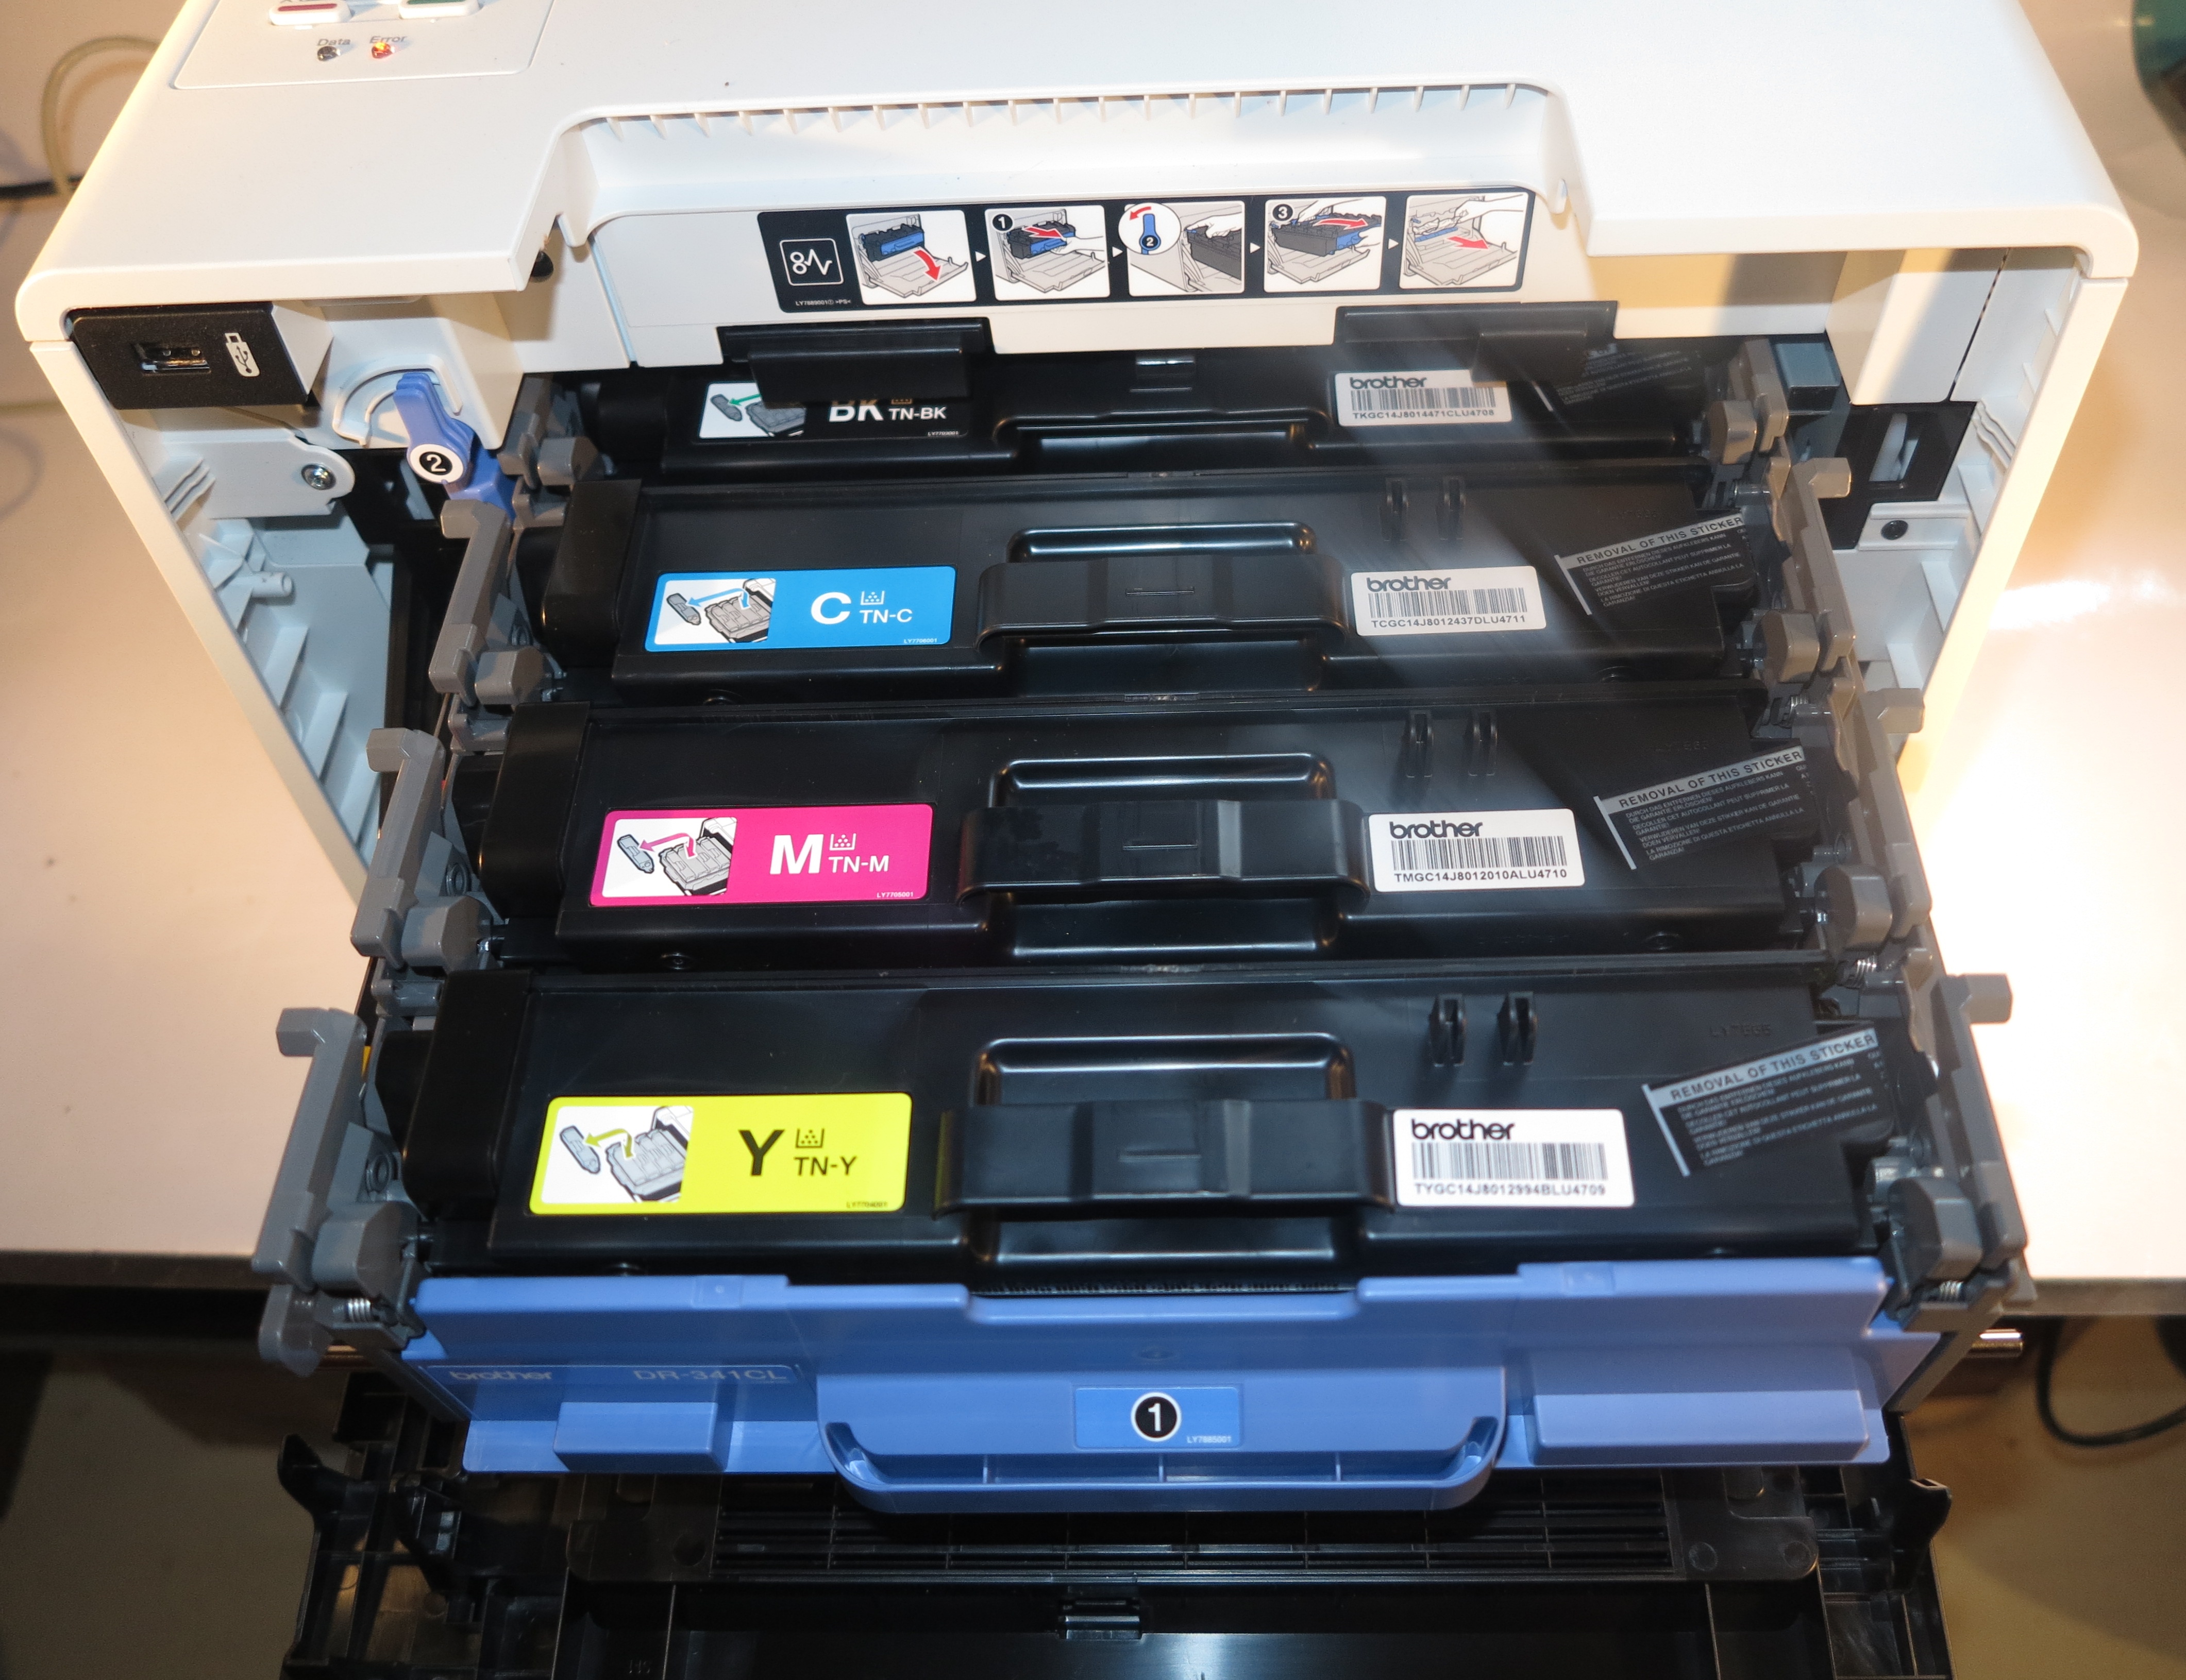
Pigment-based inks and pipe-based ink-distribution are part of this generation of Brother inkjet printers
But I have focused the print-quality tests in a way to show up the print quality offered by the new pigment-based ink setup that Brother implemented in this generation of inkjet printers compared to the previous generation machines. Here, this generation of business inkjet printers integrates the pipe-based ink-flow system, piezo-based printhead design and the pigment-based ink chemistry in to equipment designed to offer value for money at a price most people and businesses can consider.
As well, I have allowed for a firmware update to take place to assess the print quality for these newer machines.
The Brother MFC-J5730DW multifunction printer was able to turn out regular office documents very clearly and there wasn’t much difference in the quality of these standard print jobs.
But when it comes to presentation-grade printing, be it a poster to put up on that noticeboard, a presentation handout to give to your attendees or a photo to put in your album, this is where the real tests show up. This also applies to those of us who use these printers to turn out inkjet proofs of documents we intend to have printed by someone else before we engage the printing service to have them printed.
You may have to use the “vivid” setting in the printer driver to make sure that presentation-grade work doesn’t look dull, as I have tried with a noticeboard “tear-off” poster to promote this Website.
But I have compared output quality for photo printing against the MFC-J5720DW which represents Brother’s previous generation of printers. Here, the photos came across with slightly more saturated with flesh tones coming across slightly more red compared to the previous model. This is a very similar look to what comes across with magazines or with most TV broadcasts where there is that stronger colour effect.
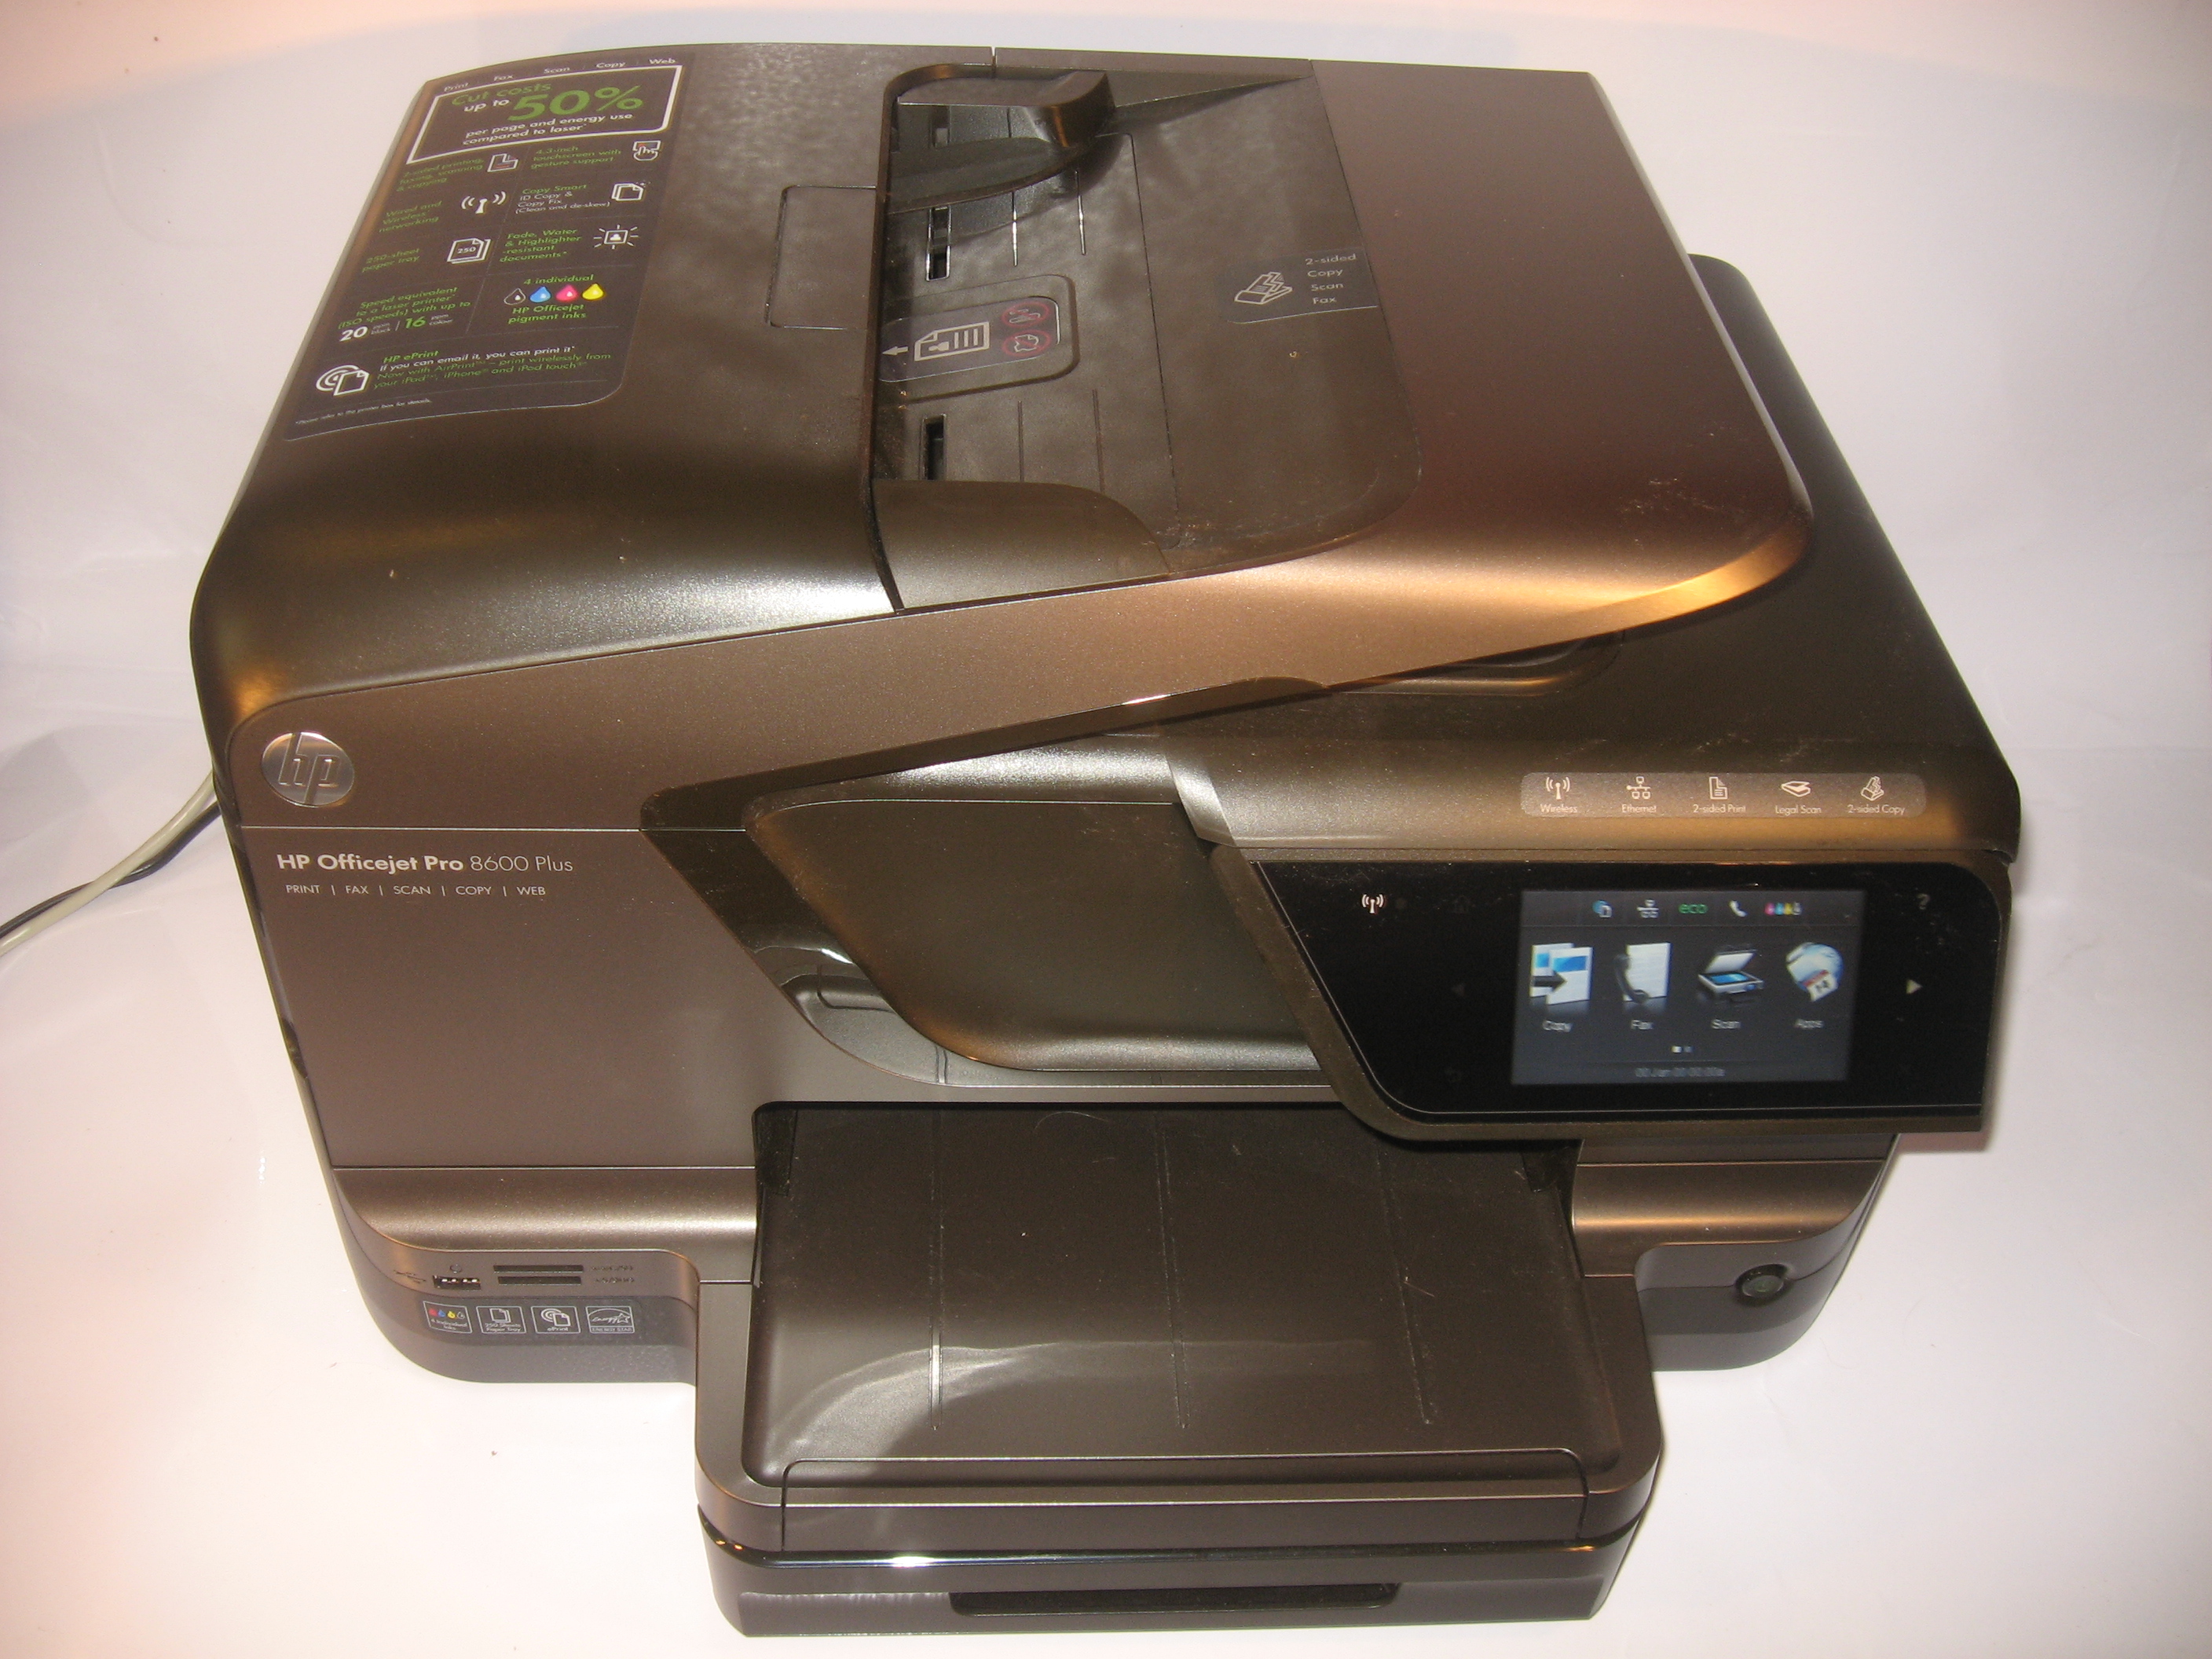
What is happening is that Brother is pushing their business inkjet printers towards the same standard as the HP OfficeJet 8600a which was a printer of this class that was known for sharp vibrant presentation-grade image quality.
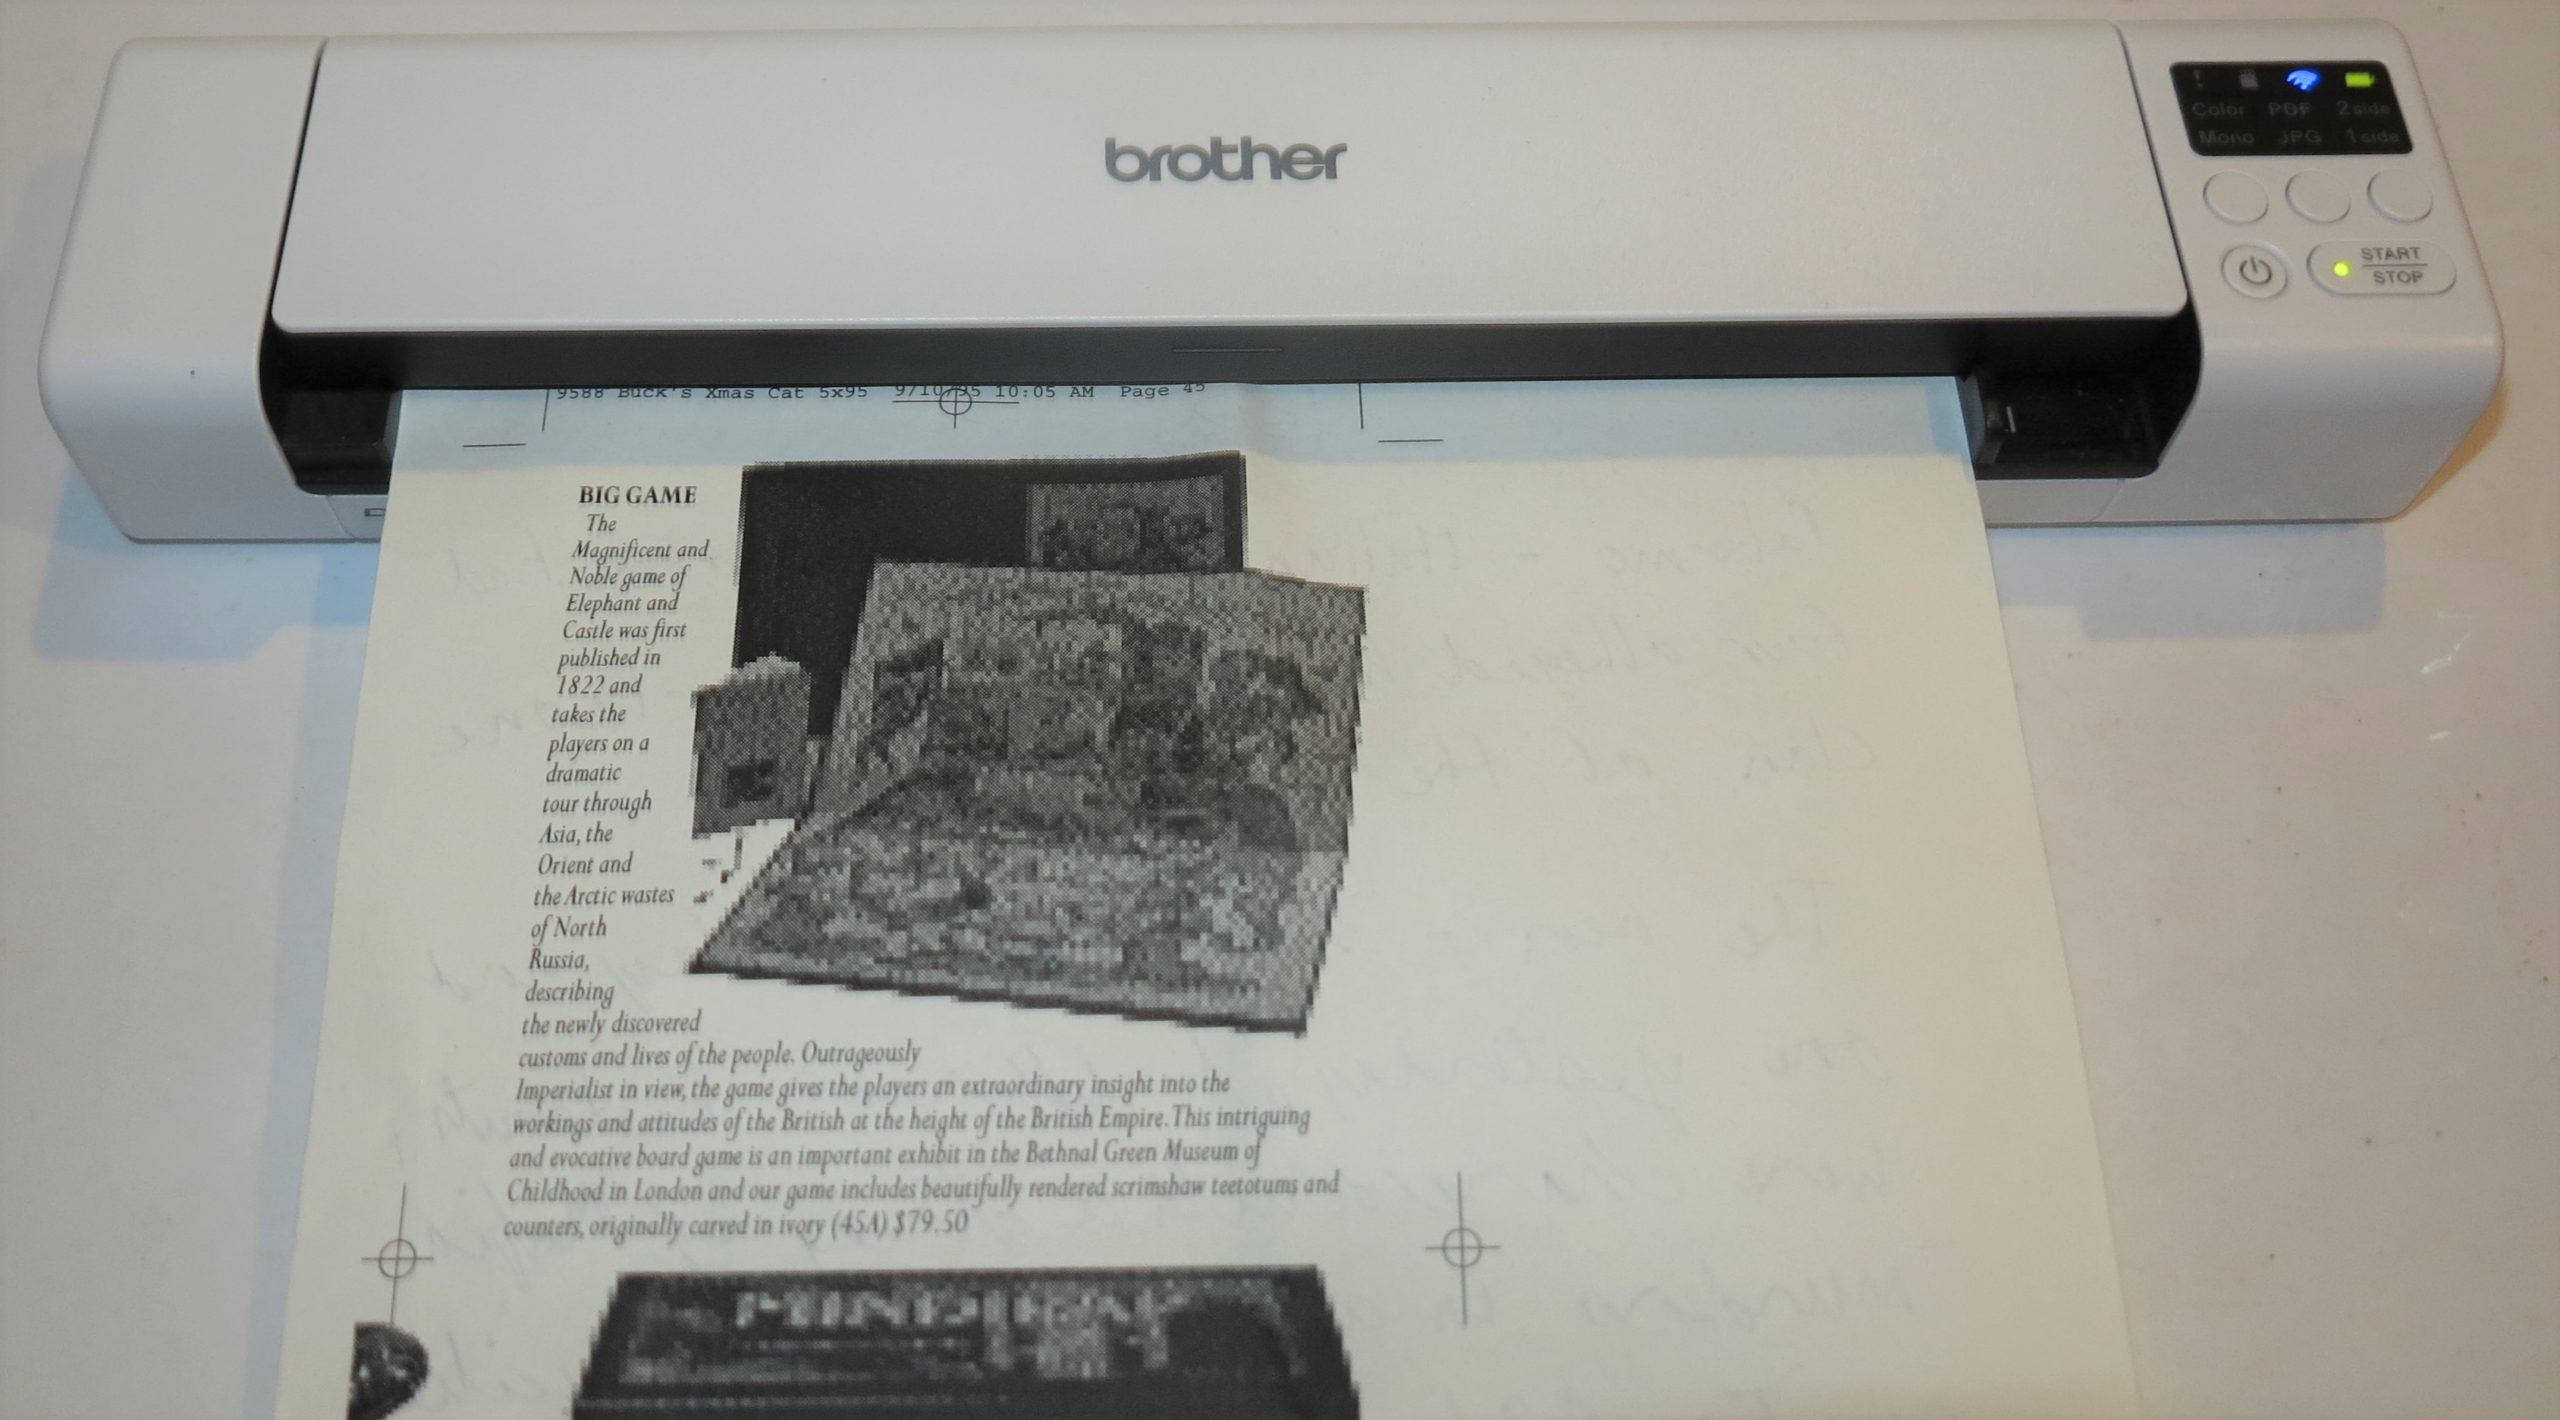
As for scanning and copying, the Brother MFC-J5730DW had yielded a clear sharp image for the documents that were scanned. But it needed to be configured for the standard A4 paper size when you set up the scan software for working with most office documents if you are in Europe, Asia, Oceania and other areas where these sizes are normally used. This was because it was set up by default for the US Letter paper size, normally used in North America.
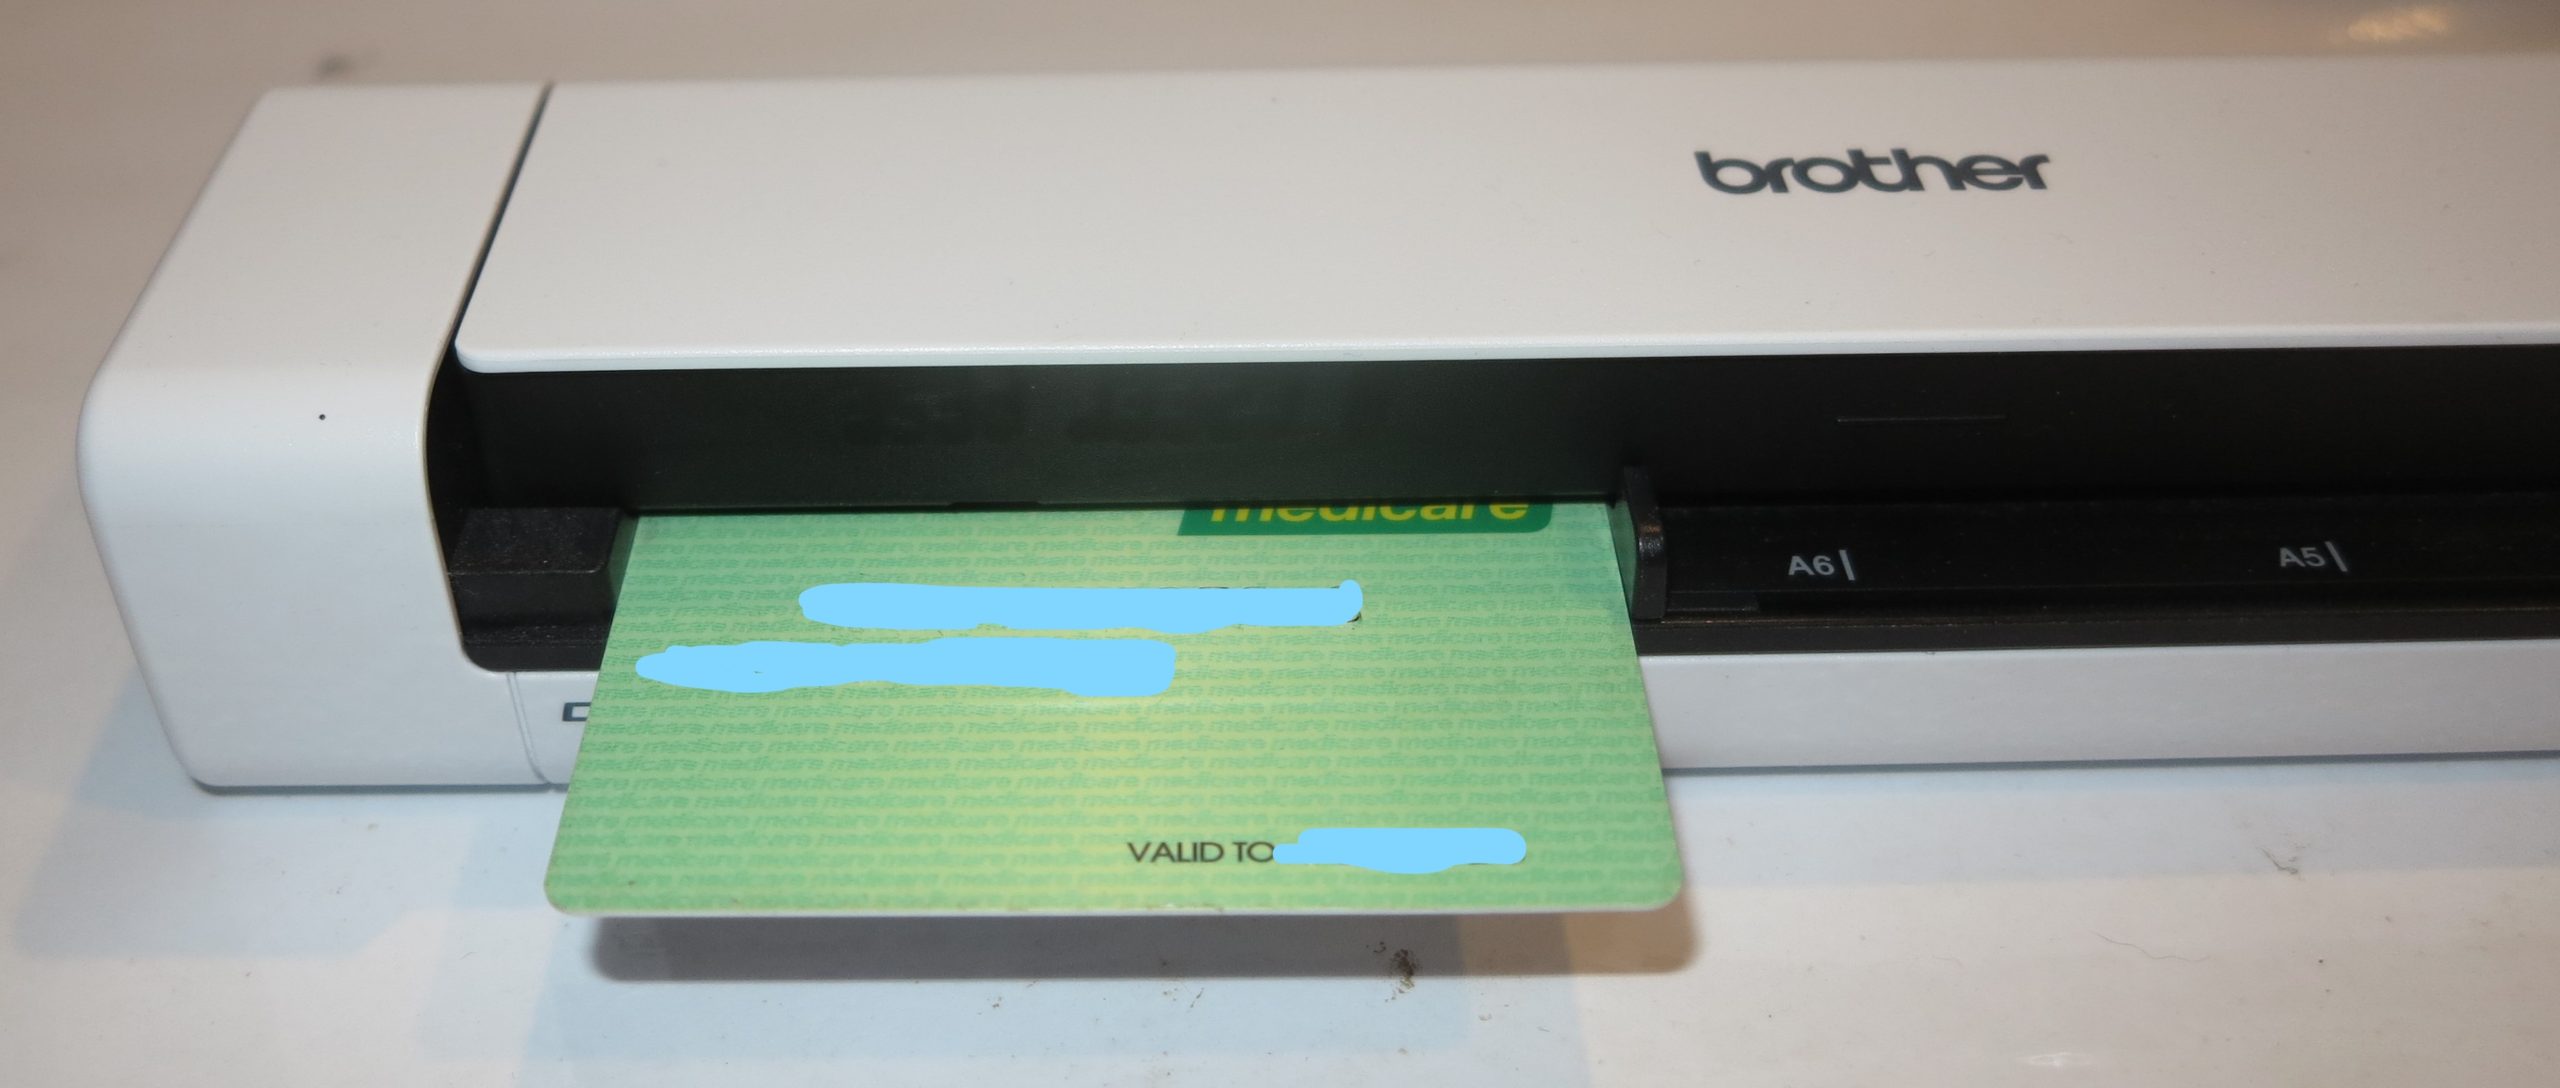
Brother hasn’t yet rectified a problem that I find with copying or scanning from the glass platen. This is where the document edge is clipped by a few millimetres and can affect jobs where you deal with documents are printed “to the edge” like credit and ID cards or news clippings, but you want to align the document against the platen’s edge to avoid skewing.
Limitations And Points Of Improvement
Brother could equip this printer with a Legal-size scan platen rather than the standard A4 / Letter platen. Here, it could cater towards situations where you are dealing with documents written on Legal-size or foolscap-size notepads which can be a reality when you are digitally archiving very old material. As well, they could support “to-the-edge” scanning so that documents that are placed against the edge of the glass aren’t clipped.
Brother could make better use of the network connection on these printers so people can benefit from these connections especially where there is on-premises network-storage options available to that network. This is more so for small businesses and community organisations who may prefer to use a small desktop network-attached-storage system or file server in addition or in lieu of an online service for this purpose.
For example, they could provide a walk-up print option that allows you to print documents that exist in a folder shared via your network or an Internet location using SMB, FTP or HTTP protocols using the machine’s LCD control panel. This feature could allow an organisation to create a “document library” or “stationery library” shared using an on-site server or NAS that has documents or pro-forma stationery which can be printed as required. This idea can extend to public Websites or organisation-specific intranet sites that host a collection of “download-to-print” resources.
These “print from network” setups could be configured through the printer’s Web-based admin dashboard or through the printer’s control panel. There could be the ability to remember resource-specific passwords for network shares or Web pages that are protected with passwords or require the user to supply them each time they print documents from these resources while allowing for SSL encryption where applicable. Here, it avoids the need just to rely on Dropbox & co to provide these resources.
To the same extent, the Brother “MFC-series” fax-capable multifunction printers could use a network-shared folder to hold incoming or outgoing faxes for later printing or sending. Here, this can capitalise on the idea of a “fax-vault” used to assure confidentiality when it comes to inbound documents, or to allow an organisation who does a lot of overseas business to hold the overseas faxes to be delivered to the partners according to their “local morning” time.
Similarly, Brother could support PictBridge camera-based digital printing for their business printers. This is where you can print pictures from your digital camera using a suitably-equipped printer just by connecting the camera to that printer and using the camera’s control surface to print the pictures. Such a feature can come in very handy if you need to turn out “proof-quality” prints of the photos you had taken in order to show them to others.
Brother can also use some of the neat-looking design aspects from the previous generation of business inkjet multifunction printers along with the new print-engine design to develop a range of consumer-focused A4/Photo inkjet multifunction printers that use the same consumables as these business printers. Here, these machines could be positioned as a secondary printer for the home network or as an entry-level printer for one’s home-computing setup.
Similarly, they could offer a single-function A3/Ledger printer based on these printer designs to allow people to add large-sheet printing to their document-handling needs without having to replace their existing A4 multifunction that has served them well.
Conclusion and Placement Notes
Brother has just about achieved its goal in yielding a business inkjet printer that can excel with presentation printing as well as regular office-document printing tasks. This was more important for me where the goal was to see something answer HP’s well-known OfficeJet 8600 series of business inkjet printers when it comes to this task. As well, I placed importance on this feature with these printers due to the fact that the Brother MFC-J5730DW and its peers can print on A3 or Ledger paper, a size that yields very strongly with presentation-grade printing jobs.
What the printer manufacturers need to do is to keep themselves interested in maintaining their business inkjet printer lineup as something that is about high-quality presentation-grade printing especially on A3 paper as well as turning out ordinary office documents. It can encourage everyone else in the small-business desktop printer game to compete against each other when it comes to presentation-level output quality as well as their equipment’s functionality. What it can lead to is companies like HP, Brother, Epson, Canon and others to keep a viable product class for machines that can satisfy small-businesses’ and community organisations’ small-run printing needs without losing the quality aspect.
Here, I would recommend the use of the Brother MFC-J5730DW as an all-round small-run workhorse printer for a home office or other small office. This is more so if you expect to doe a significant amount of A3 printing such as to place posters on that noticeboard. You may be able to get away with saving money and buying the cheaper MFC-J5330DW if you rarely do A3 print jobs or don’t place value on double-sided scanning.
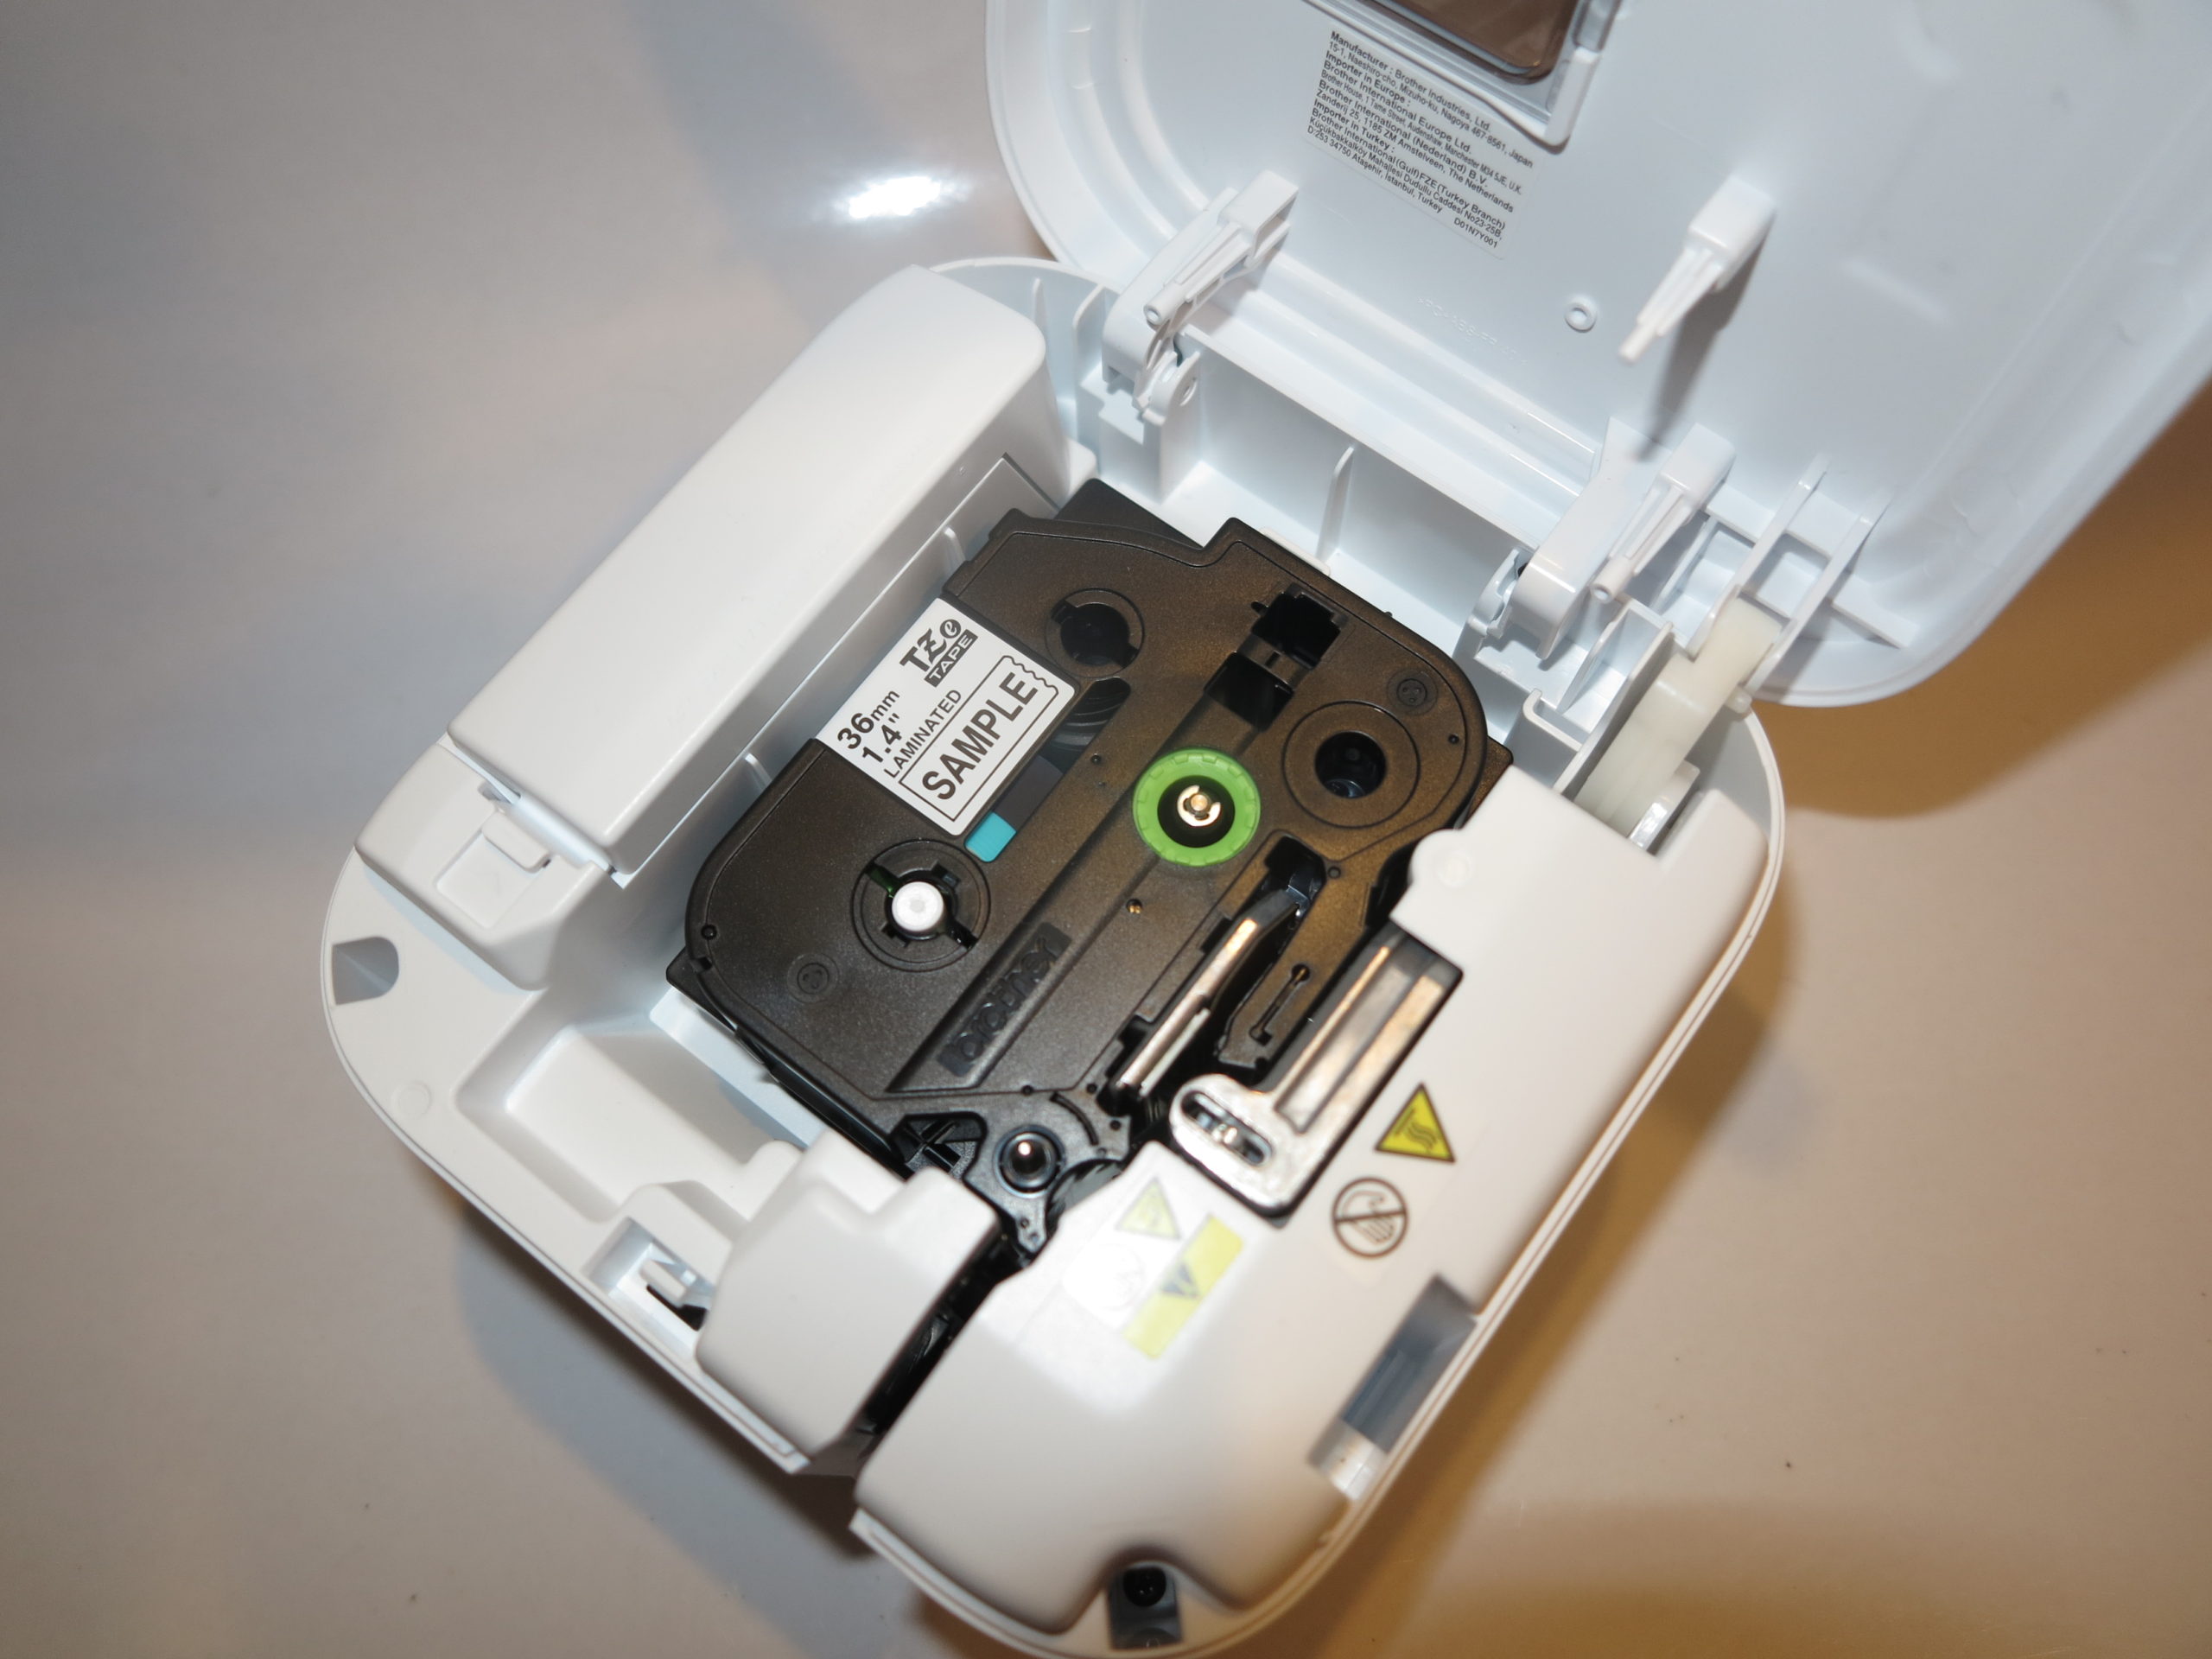
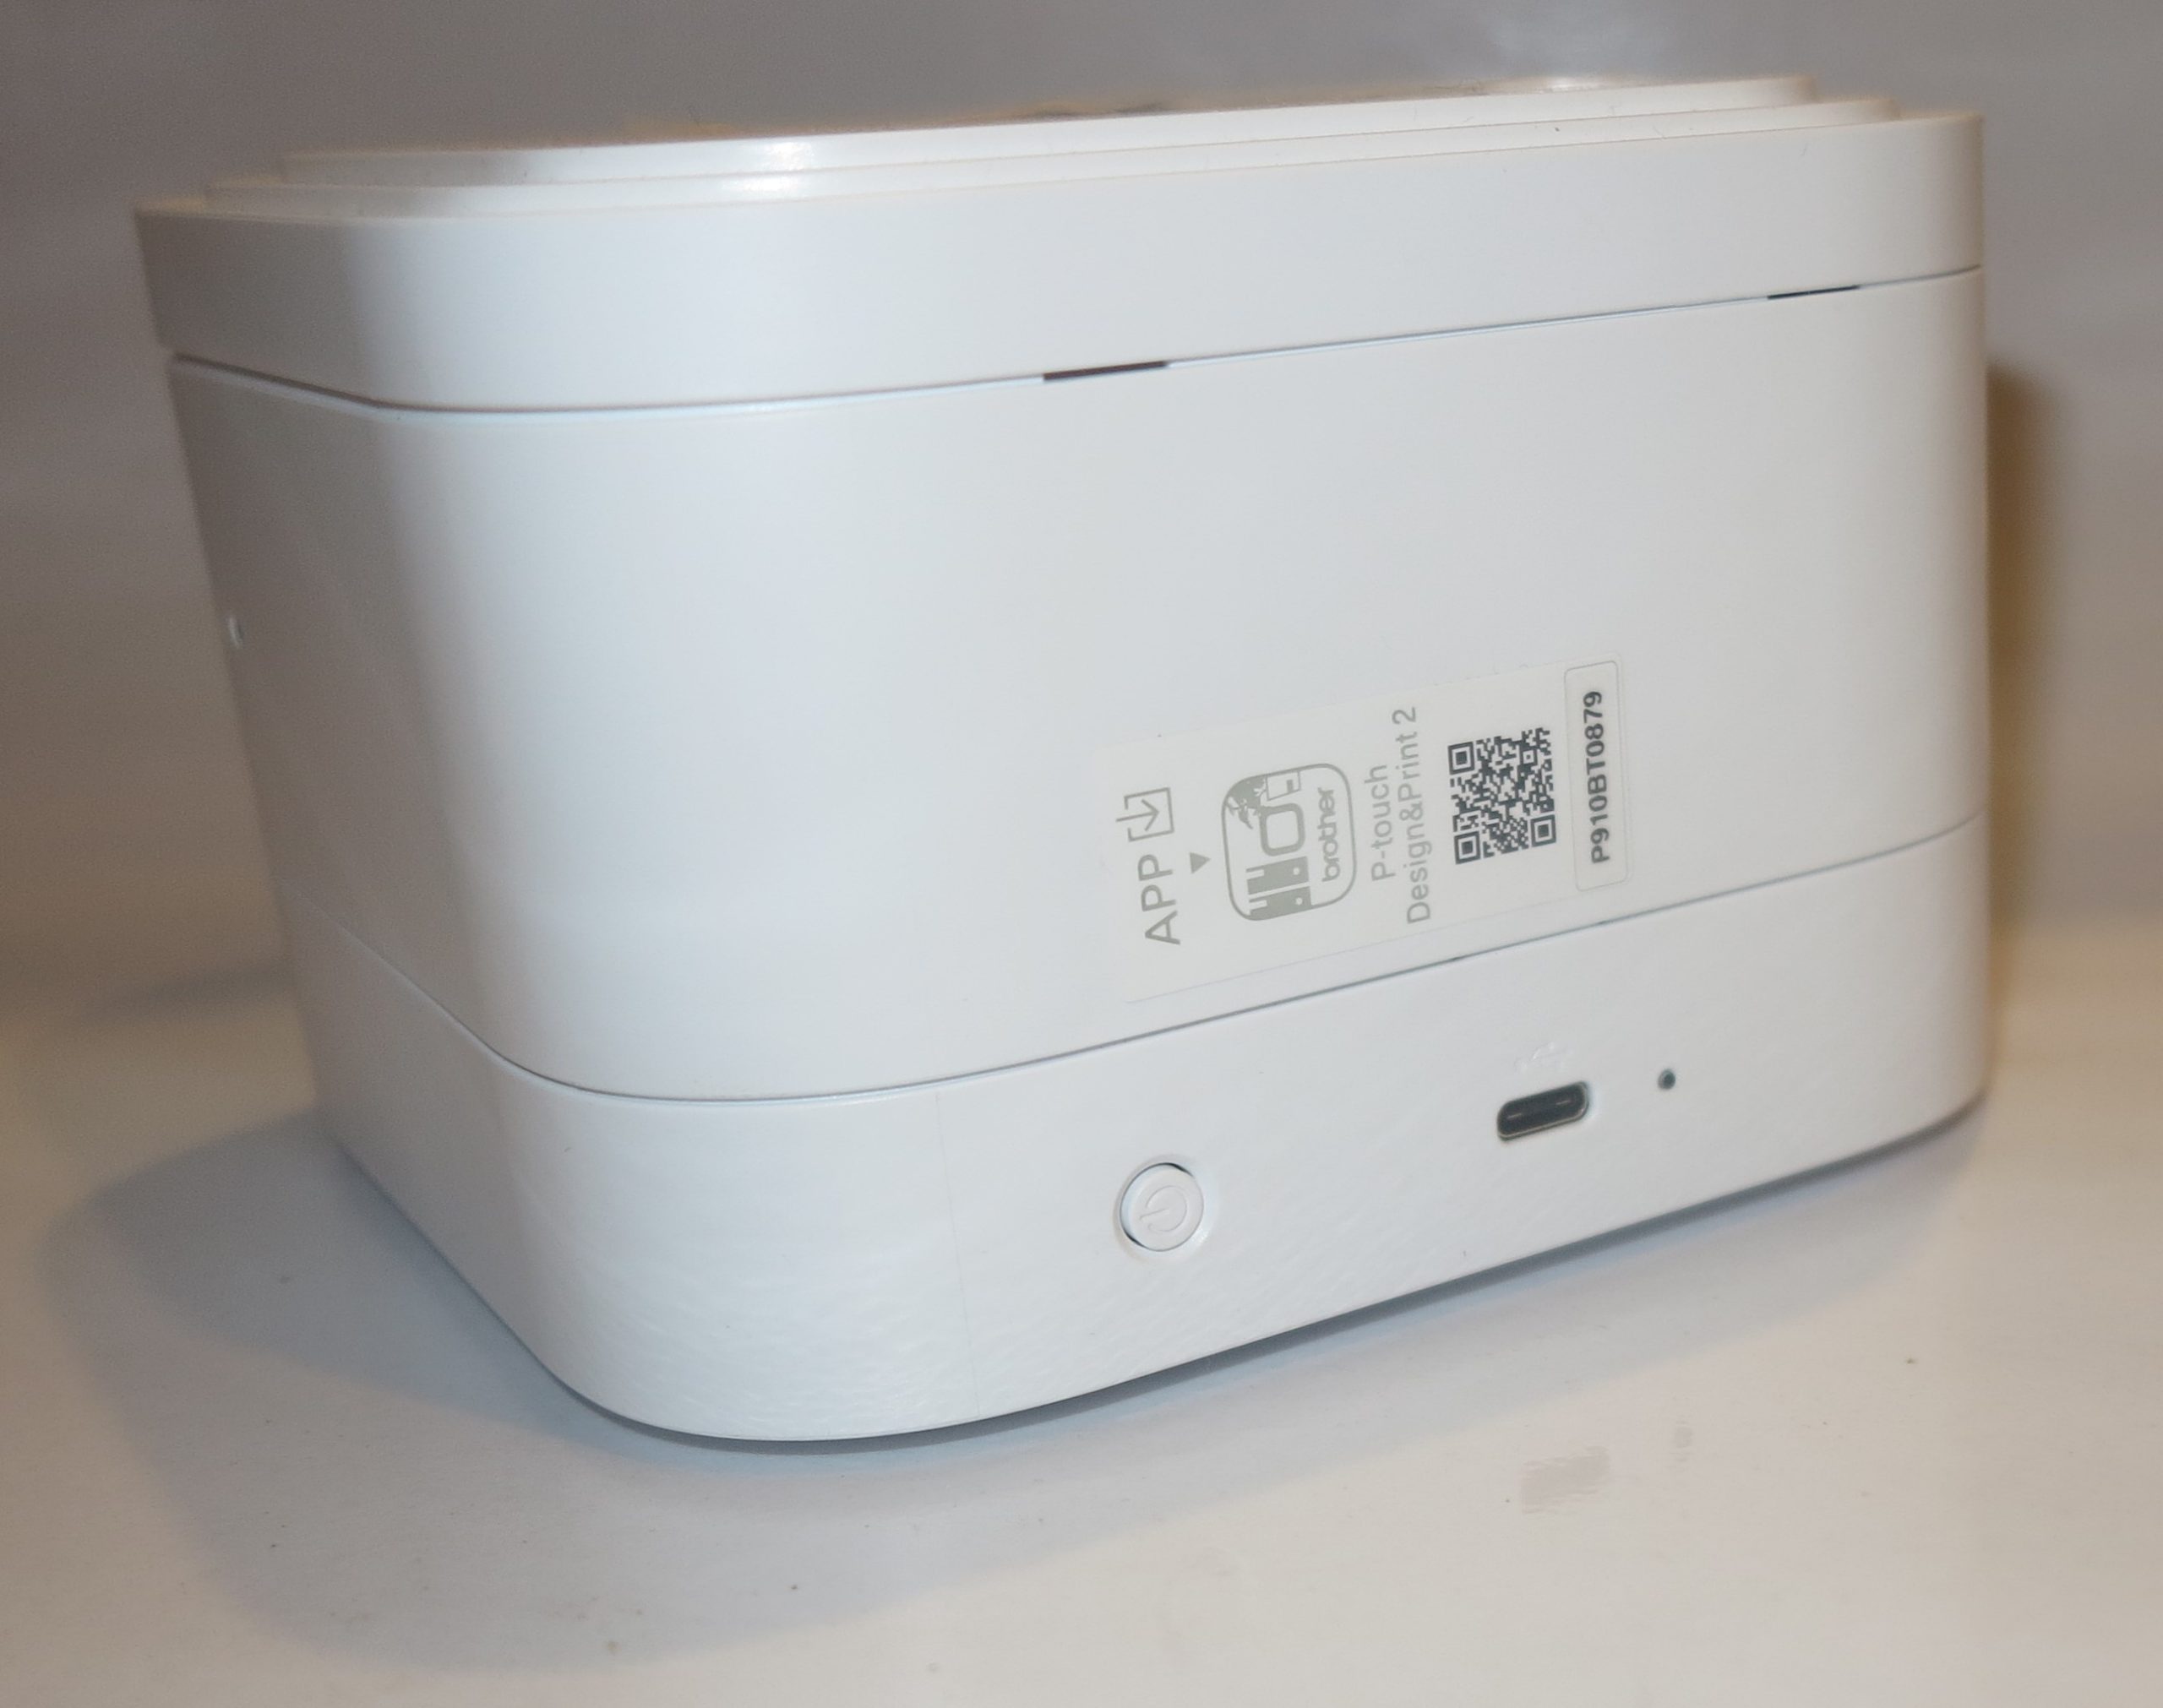
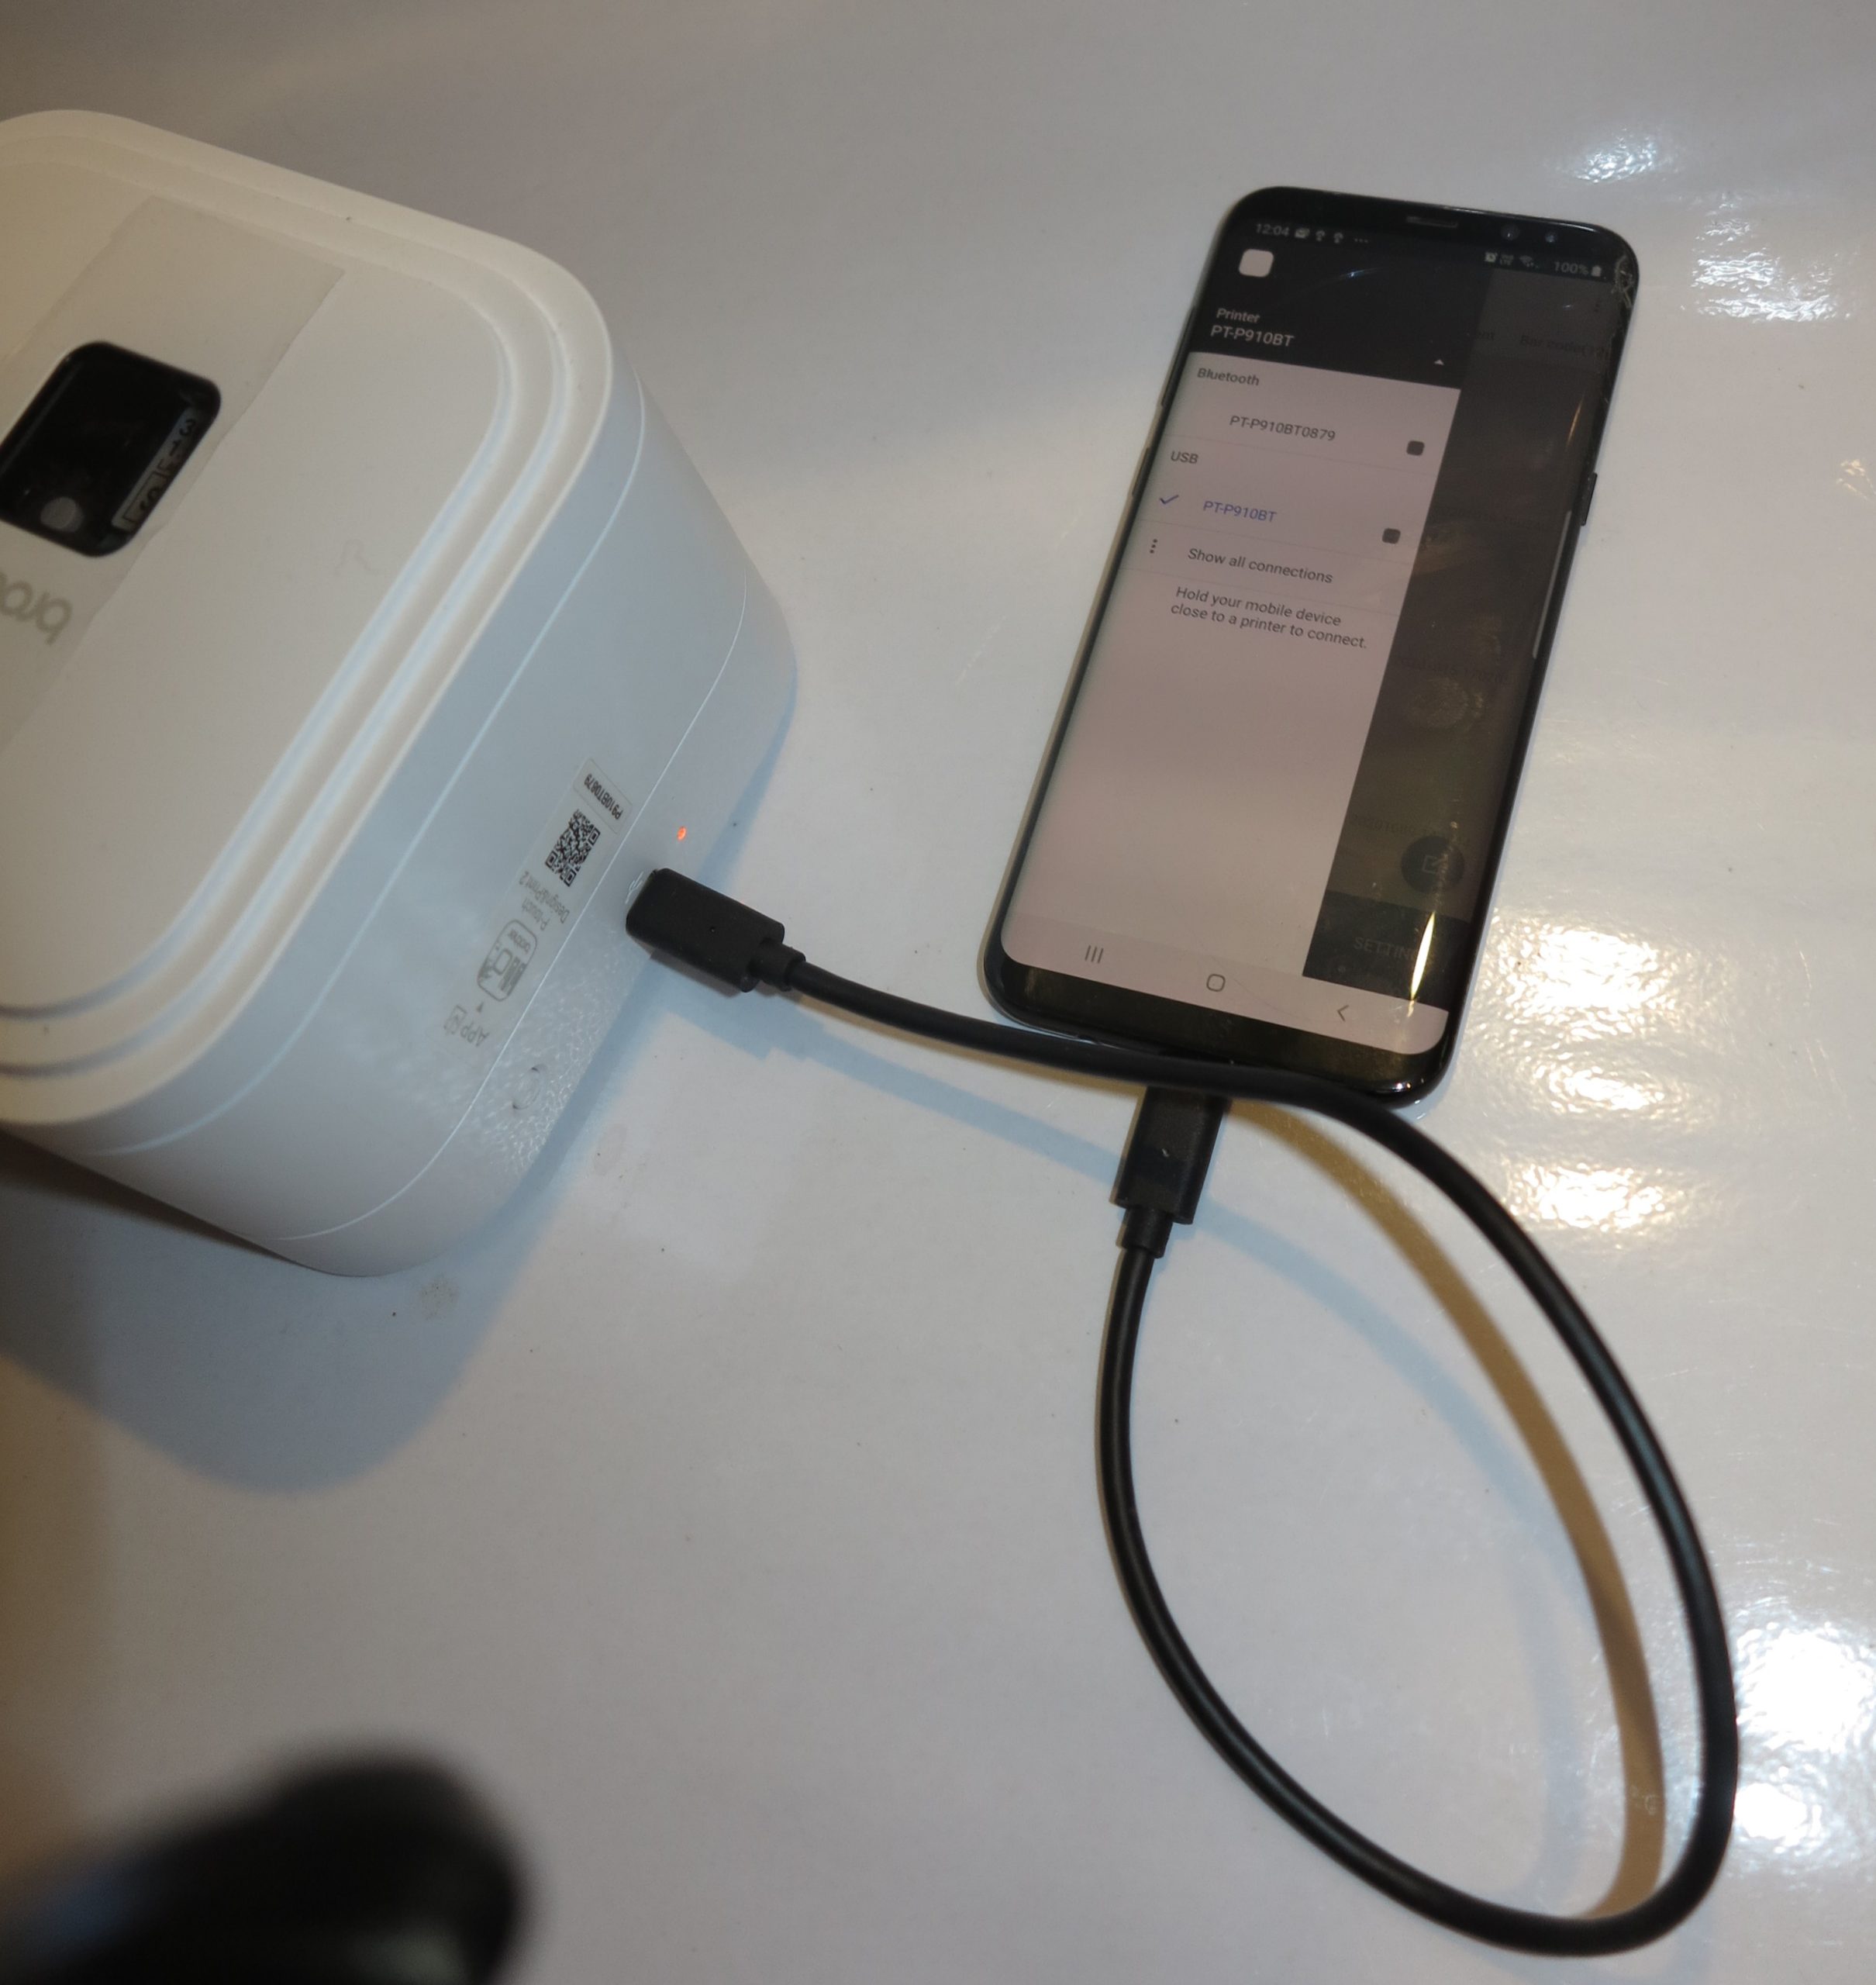
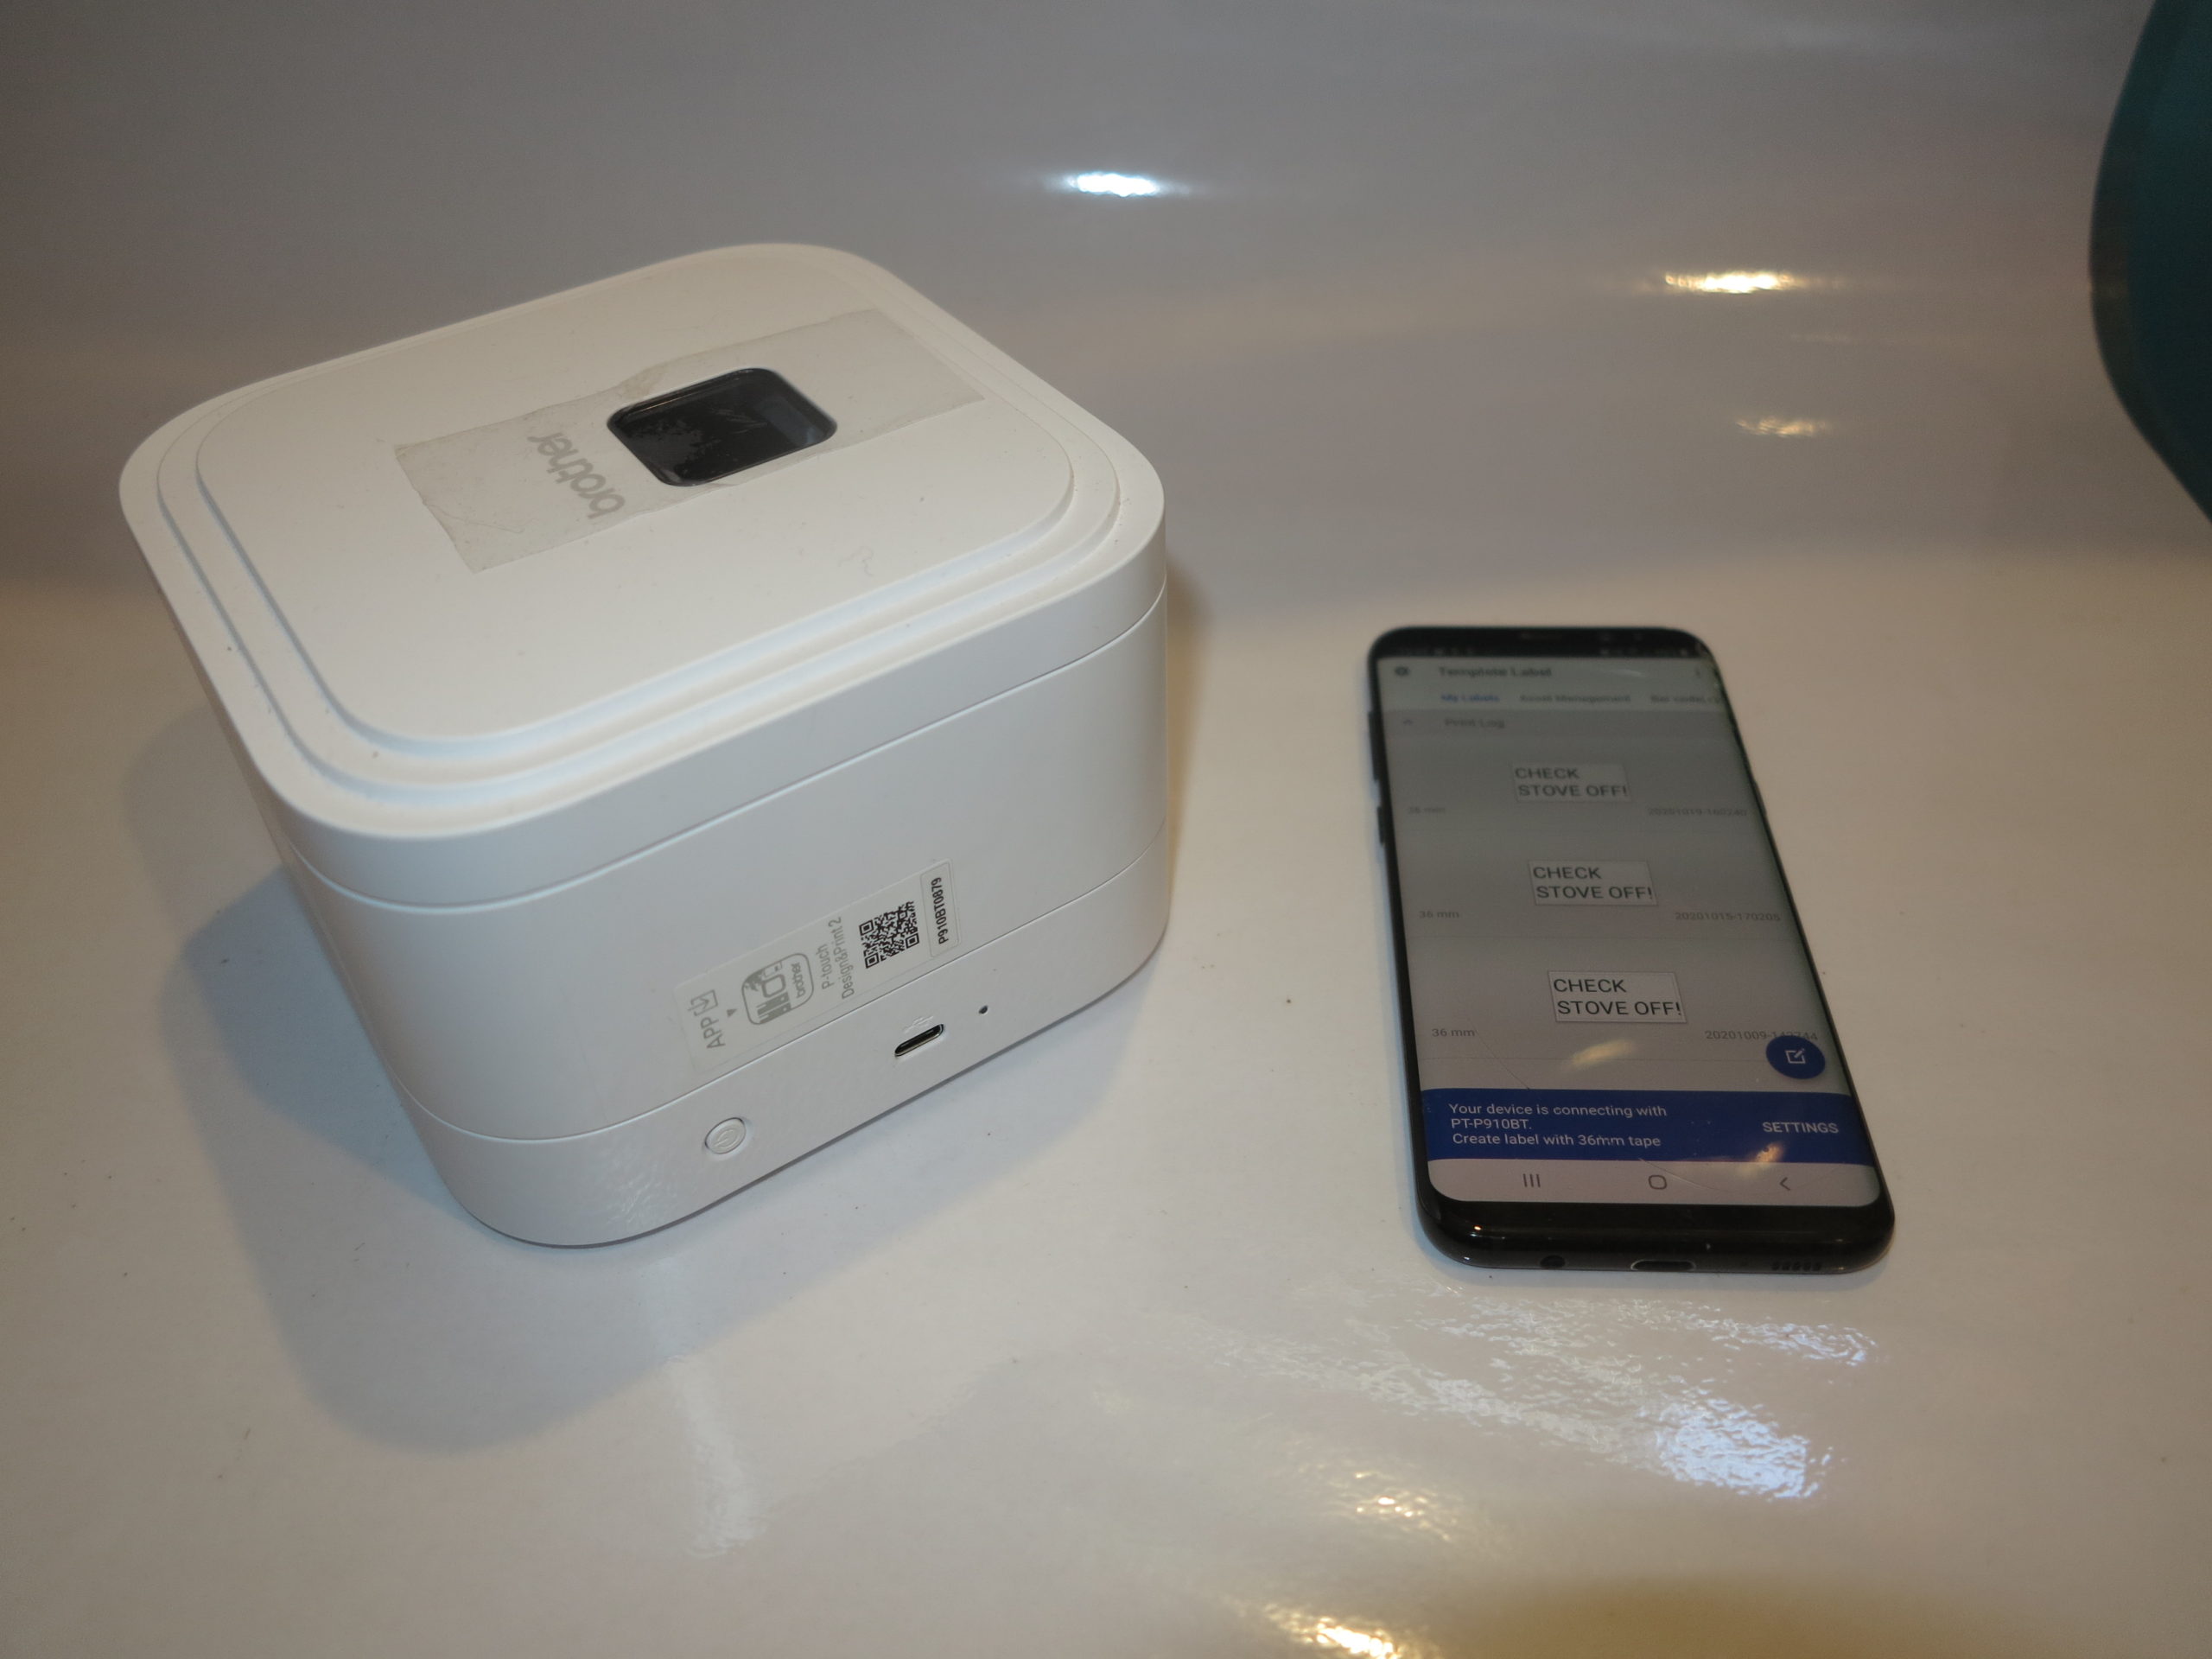
 The Brother PT-P910BT Bluetooth label printer is similar to the PT-P710BT label printer that I have previously reviewed. Here, these devices work on an USB power or a user-replaceable battery pack installed within the unit. They talk to the host computing device via a USB or Bluetooth connection working in a similar vein to a direct-connected printer.