Tag: USB hard disks

A USB-C hub may take your Chromecast with Google Play further

Article

You can do more with your Chromecast with Google TV if you use a USB-C hub or dock that offers Power Delivery pass-through

Use a USB-C Hub to Upgrade Your Chromecast With Google TV (gizmodo.com)

My Comments

The Google Chromecast with Google TV device is actually an Android TV set-top box which has a lot of what Android can offer.

This includes being able to work with external peripherals thanks to device class support for some peripheral types that are connected via USB. It is thanks to Android TV having class drivers built in to the operating system in order to support these peripheral types.

What do I need?

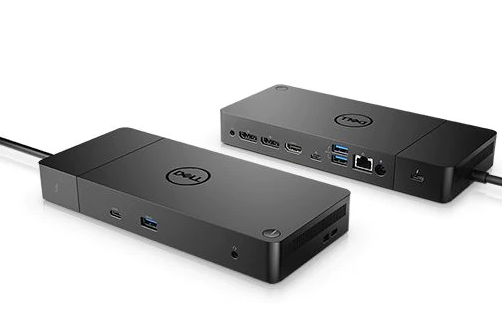
USB-C hub must have Power Delivery pass-through connection

Dell WD19TB Thunderbolt dock product image courtesy of Dell

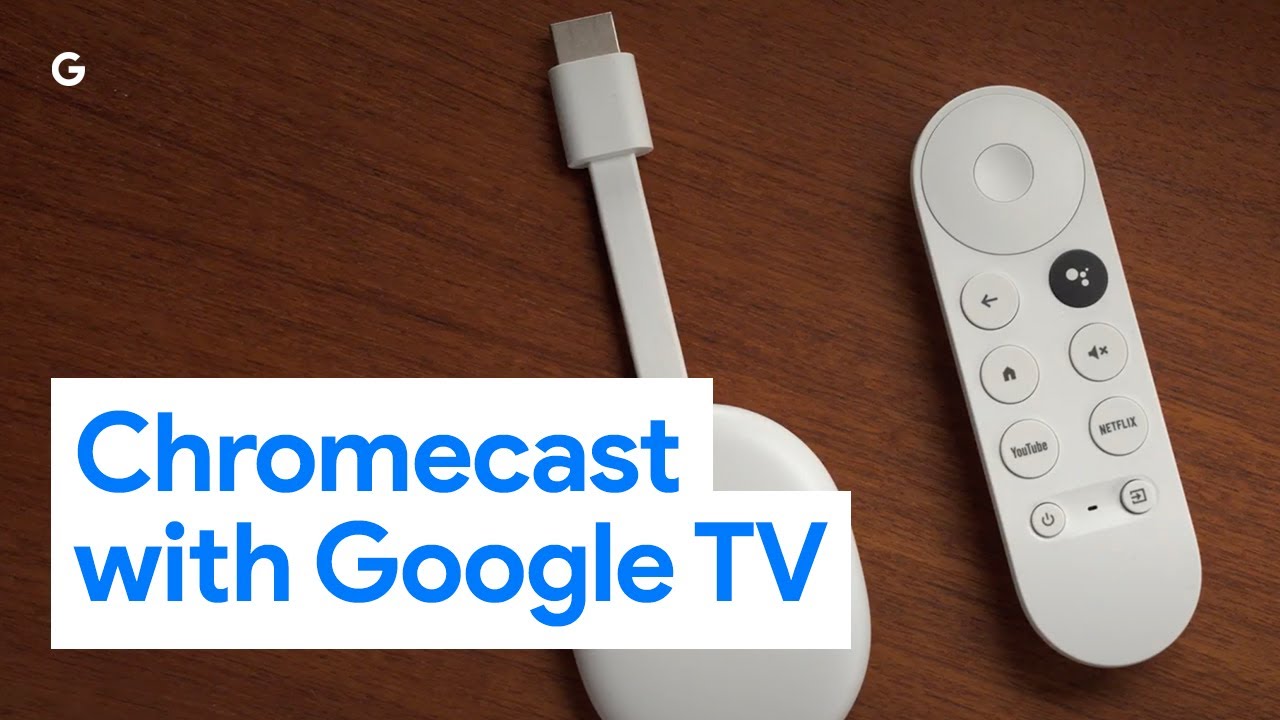
USB-C hubs and docks can be used to expand your Google Chromecast with Google TV set-top device

The USB-C hub or dock must have at least one USB-C port set up for Power-Delivery pass-through connectivity. This connection arrangement, which may be known as “Charge-through”, passes power from a USB-C PD charger to the host computing device that is connected to the upstream connection. This is in addition to providing power to the hub itself and any USB bus-powered peripherals connected to that hub.

USB PD-compliant charger with at least 45 watts power output

The USB charger that came with your Chromecast with Google Play device would not be able to power anything beyond the Chromecast device itself. This is because it is rated just for that device.

Rather you use a USB-PD compliant charger that offers at least 45 watts output and is something you would get with most of today’s ultraportable laptops that just use this connection. Using a USB-PD charger offering 65W or more may give you more flexibility especially if you are dealing with USB mass-storage devices or Webcams.

You may find that some if not most business-grade USB-C hubs and docks have their own power-supply arrangement and can provide power to the host computer in a USB Power-Delivery compliant manner. That is typically to provide power to an ultraportable laptop that is connected to these docks. These can be used without the need of a separate charger to connect to these hubs or docks – you just use the hub’s actual power supply and associated transformer to power your Chromecast setup.

What can I do?

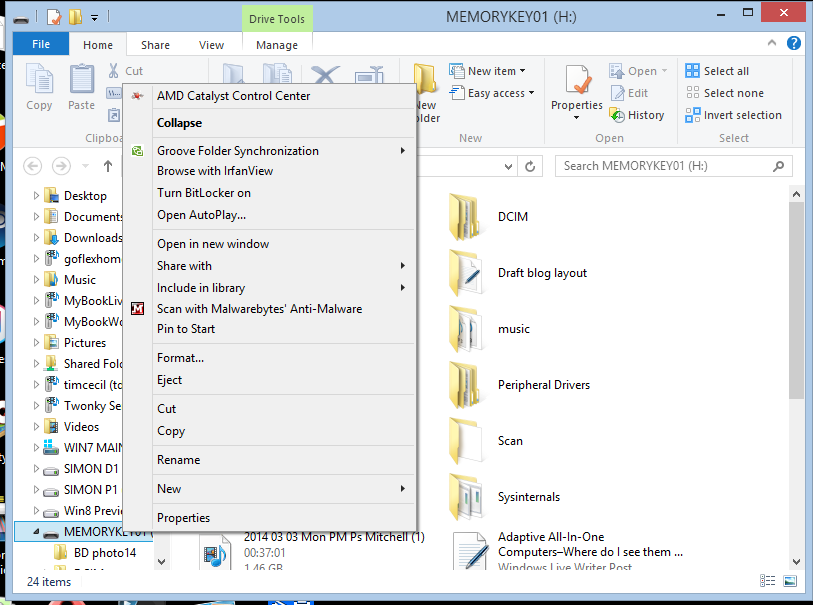
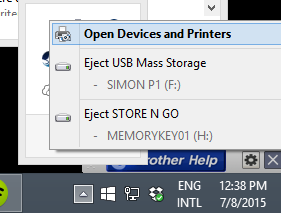
Play multimedia files held on USB mass-storage devices

If the USB hard drive, memory key or other mass-storage device (including memory cards in a memory-card reader) is formatted to FAT32, you may be able to view or play image, audio or video files held on that storage.

You may have to use a higher-powered USB PD charger if you are dealing with something like a portable hard disk or SSD. As for apps, software like VLC media player that can navigate the Android directory tree can work for finding content. There are also file managers available to the Android TV platform so you can see what is there on the storage devices.

A question that can be easily raised is whether this Android-TV-based Chromecast can support USB mass-storage devices that represent themselves as multiple volumes in one physical device. It is a situation that will come true with multi-slot memory-card readers, USB devices that have internal and external storage or USB storage devices partitioned in to multiple logical volumes.

Similarly, Android TV would need to support exFAT and the other open-source ext-based file systems in order to handle the high-capacity mass-storage devices as they should be handled.

Use of keyboards and mice as input devices

Connecting a USB keyboard or mouse, including a wireless one that uses a USB receiver dongle, provides an alternative input method for your Chromecast with Google TV.

For example, a keyboard can avoid the need to “hunt and peck” with your remote control when logging in to something like Netflix. This can also apply if you make heavy use of the search functionality within your favourite video-on-demand platforms. It can even apply if you are using an Android-TV-optimised Web browser to work the Web on the big screen.

This may even encourage Google to see Android TV as a viable TV-based gaming platform especially if they provide device-level support for wired or wireless games controllers be it USB Human Interface Device class controllers or device-specific support for XBox or PlayStation controllers. It also can lead to the creation of Android-TV-based hardware that has real gaming performance along with games that can take advantage of this performance.

To the same extent, Android TV support for USB-MIDI music devices could open up support for music-based applications and games on that platform. This could be ranging from music-based games through computer-based music training apps to music performance software.

Chromecast with Google TV as a group videophone

You can connect a Webcam to the USB-C hub so you can run this device as a group videophone. But you may find that some Webcams do need a bit more power and will need a stronger USB-PD charger on your setup.

As for software, Google’s Duo is the only videocall platform capable of supporting Android TV with the proper 10-foot “lean-back” user experience. You do need the app to be open and in the foreground when you are expecting a videocall on the Duo platform.

Google needs to encourage software developers who have videoconferencing software for the Android platform to write in Android TV support with the “lean-back” user experience. This could then have any TV or set-top device based on the Android TV / Google TV platform work well as a group videophone.

Infact Skype should reinstigate support for TV-based videocalling after they had many group videophone clients written for various smart-TV platforms.

More reliable Internet connectivity for your Chromecast

An increasing number of USB-C hubs are being equipped with Ethernet ports, primarily so that you can connect that ultraportable laptop to an Ethernet or HomePlug powerline network segment.

Let’s not forget that Google offered an Ethernet adaptor for their previous Chromecasts so these devices can be run from a more stable wired network segment. But they omitted an official Ethernet adaptor for the Chromecast with Google TV as part of its official aftermarket accessories lineup.

But the Ethernet connection on a USB-C hub is also available to the Google Chromecast with Google TV. It would be useful as a means to bring a reliable wired network connection to this device, especially if your home is wired for Ethernet, you have a HomePlug powerline network setup or your TV is next to your home network’s router.

Conclusion

Once you have USB-C hubs and docks that support common standard device classes for their internal connections or allow connection of peripherals honouring standard device classes, this could make Internet-of-Things and similar devices become very capable.

But these setups show a few glaring weaknesses within the Android TV ecosystem like lack of support for high-capacity file systems. It can be a chance for Google to take the Android TV platform further and turn it in to a highly-flexible large-screen set-top platform.

External or portable USB storage devices–what is the difference

Article

USB portable hard disk

An example of a portable hard disk

Portable vs external hard drive: Which one to buy | Gadgets Now

My Comments

The type of outboard storage devices is becoming differentiated in to two distinct classes – a desktop-grade “external” device and a smaller “portable” device.

Typically, a desktop-grade “external” hard disk or enclosure will house a 3.5” or larger desktop-grade storage device intended for installation in a traditional desktop computer or a server. As well, they will have their own power supply that could be provided using integrated electronics or a power brick like what you would use for a laptop computer. Better designs may offer their own USB hub that will allow you to connect more USB devices to your computer or other functions or some will even be multiple-disk RAID setups. This class of device also extends to external graphics modules or USB expansion

On the other hand, a portable hard disk or enclosure will house a 2.5” or smaller storage device and be powered from the host computer via its USB port. Here, they are being optimised for use on the road and the hard disks will implement data-protection measures to factor the unpredictable nature of this use. These units will typically be more expensive “per gigabyte” compared to the desktop-grade units.

Hard-disk-based devices will use a 3.5” drive spinning at 7200rpm for external units or a 2.5” drive spinning at 5400rpm for portable units. It is assumed that the higher-speed drives will offer better data-access performance over the lower-speed devices. There are solid-state-storage devices being released as outboard storage devices, primarily for portable use most of these devices will be more expensive per gigabyte than portable hard disks.

The desktop-grade “external” devices may be a better solution if you intend to have the device staying at one location all the time. This could be to cater towards extra storage for a desktop or laptop computer where you intend to use the data at home or the workplace, to expand a NAS’s storage capacity or to connect to a router for use as a baseline NAS.

On the other hand, the portable devices can be useful if it is very likely that you will take your data with you or move the device around. This could be to: use as external backup or offload storage for your laptop computer; to store a disk full of confidential data in a locked filing cabinet and only connect the disk to your computer on an “as-needed” basis; create a “grab and run” backup of critical data; or to have a large amount of data that could be used on other computers.

What is worth noting is that the portable devices will be designed to be able to handle unpredictable storage environments where there is a likelihood of increased movement. This is while desktop “external” hard disks are primarily useful for a normally-sessile usage environment.

Why do you need to safely remove or eject removeable media?

USB memory key

USB storage device

As you use a computer, you will have to get in to the habit of removing or ejecting external or removeable media safely and in a proper way rather than just unplugging the device or pulling out the card.

What is this about safely removing or ejecting removeable storage?

Mainframe and similar large computer setups required the operating system to logically mount a tape or disk pack after the system operator installed the medium in the appropriate drive. This procedure makes the files on the medium available to the operating system and computer programs

USB external hard disk

USB hard disks are more critical with this procedure

Then when the medium was finished with, the system operator had to logically unmount the disk or tape which forced all files to he written back to the medium and the operating system to deem the files on the medium to be unavailable. This procedure was also simplified when the tape and disk-pack drives used electromechanical readiness detection like sensing when a lid or door was closed or a tape was past the heads to let the host computer know that they had media on board and were ready to work with it. It would then require the operator to logically mount the medium and make it available to the system’s programs, typically by typing a special “mount” command.

Desktop operating systems like MS-DOS did away with this to simplify the operating procedures for most people especially as they were used just by one user compared to the previous mainframe systems that were used by multiple concurrent users. It also allowed the use of low-cost disk and tape systems on these computers.

Here, these operating systems immediately wrote back all file changes to the disk when a file was created, modified or deleted. As well, if a program was after a file, it would perform a directory search to determine if the file was there on that disk and the operating system didn’t cache the removeable medium’s directory structure in to the host’s memory. In a lot of cases, the act of closing the disk drive’s door or inserting a 3.5” floppy disk cause the operating system to start reading the disk’s directory in to memory.

But the Apple Macintosh maintained a similar operating requirement to the larger computer systems where you had to logically remove a floppy disk or CD from the system typically by dragging the disk’s icon to the Trash before the computer ejected the disk. This was facilitated with these computers having floppy drives that implemented electromechanical load-eject mechanisms and no hardware “eject” button ever since the platform was created.

This was carried through with Zip drives and other similar removeable-media drives that used any form of electromechanical load-eject mechanisms. The presence of an eject button on these drives typically worked as a way of telling the operating system about an intent to remove the medium so it is logically unmounted and was also implemented with newer iterations of the MS-DOS / Windows operating system along with driver programs for earlier iterations of that operating system.

Similarly, those of you who have used the MiniDisc format, especially with an MD deck or a music system that has an integrated MD recorder, may notice this taking place when you are recording to these discs. What will happen with these decks is that a message will flash up on the unit’s display screen that it is writing all the changes to the disk when you press the eject button or power off the unit before the disk is available or the unit switches off. This makes sure that all of the recording and editing activity is properly committed to the disk and is intact.

Why was there a need to tell the operating system that you were intending to remove the medium

If removeable media is removed by surprise, there can be problems with the quality of the data that is written to the medium because the operating system and applications think that certain files on the medium are available to be worked with.

This can lead to corrupted files because all the changes to the file being worked on haven’t been written to the medium completely. There are also issues with the files being locked by programs that are writing back the necessary changes so that other programs can’t interfere with this process, and if a program hasn’t released these locks or committed all of the changes, the files may not be available for other programs to work with. In the worst cases, your computer can go in to a headspin if it is working with a file that exists one minute and doesn’t exist the next.

How do you safely remove USB removeable media?

Windows Explorer (File Explorer) eject option

Eject option in Windows Explorer

With a computer, you make sure that you have closed the files you are working on if you were using a program to work with them. Then you perform a safe-removal procedure that is dependent on your operating system.

Macintosh users simply drag the icon representing the removeable storage to the Trash icon at the bottom right of the Desktop screen. Then there will be a message to say that it is safe to remove the medium.

Windows users can do this in two ways. They can open Windows Explorer (File Explorer) or My Computer and right-click on the removeable storage which will be represented as its own drive letter. They then select the “Eject” option to begin safely removing the storage device.

Safely Remove Hardware icon in Notification area

Safely Remove Hardware icon in Notification area

The other method requires you to click on the Notification Area on the Taskbar and right-click on the “Safely Remove Hardware And Eject Media” icon. Here, you are presented with a list of USB storage devices that are connected to your computer. Click on the one you want to remove to begin safely removing it. In some cases, a physical device may represent two or more logical volumes (drive letters) because it has been partitioned as such. Here, you select the physical device’s name to safely remove that device.

Safely Remove Hardware devices list

Devices available to remove

USB-based removeable-media adaptors like floppy-disk drives, Zip drives and memory-card readers have the ability to safely remove a particular medium or the whole device. Here, you can click on the medium to remove the card or disk or click on the physical device name to remove the device before you unplug it.

Safely remove hardware devices list

Two logical devices in one physical device – the one that is written clearly is the one to remove

This is more important with those devices that handle multiple media types like some multi-slot memory-card readers or devices that have a combination of fixed and removeable storage options like some digital cameras and camcorders that have internal storage along with an SD or microSD card slot. In the latter situation, these devices would have fixed storage greyed out while the removeable storage is written in black.

I have prepared a PDF reference sheet about the procedure needed to safely remove your removeable media from your Windows computer. Download and print this and keep it by your computer if you or others need to know how to do this properly.

Android users would go to the Storage menu and select the “Unmount SD Card” option for the SD card or “Unmount Mass Storage” for storage devices connected to their mobile devices via USB “On The Go” connectivity.

Safe to remove notification

It is safe to remove

For other devices like A/V devices that write to an SD card or USB memory key, you would have to go to the device’s menu and select the “Unmount”, “Remove” or, more likely, “Eject” option. This process would be analogous to ejecting a tape, CD or MiniDisc so you can work with another medium.

Of course, powering off the equipment properly such as selecting a logical shutdown option would prepare any media or removeable devices attached to the equipment for safe removal.

Conclusion

Once you know how to properly and safely remove media or detach USB storage devices from your computer or similar device, you can avoid situations which can place your computer’s reliability or the data on that medium at risk.

External hard drives–a useful little travel helper


External hard disk

A typical external hard disk

An accessory worth having on hand for your laptop is an external hard disk. These typically connect to the computer using a USB or eSATA connector and, in the case of smaller-sized USB drives, are powered off the host computer.

Backup tool

One often-promoted use for these hard disks is for them to be a data-backup tool. Here, you could copy all of your work to an external hard disk, either by copying out your user-data folders to the hard disk or using a backup tool supplied by the operating system vendor or a third party.

What you can do is keep this backup hard disk somewhere safe such as that in-room safe in the hotel you are staying in. Then you work your data on your laptop and perform regular backups of that data. If the backup software allows this, you could perform a “disk-image” backup of your programs and data so that if something happens to the hard disk, you can restore this “image” to your new hard disk.

In some cases, you could do a full or “disk-image” backup of your computer’s storage to one of these external hard disks and send the external hard disk to your home or workplace by registered or certified mail or a courier service. Here, you would need to make sure the service has proper insurance cover for the equipment under transit and it may be something that you may have to buy when you send the item onwards.

Data-offload tool

eSATA port on some laptops

eSATA / USB port on some laptops

Another application would be a “data-offload” disk. Here, you could move surplus user data to the external hard disk before you find that you are running out of disk space on the laptop’s main disk.

If you do need the data, you could just connect the hard disk to your laptop so you can get at that data. Of course, some of you who own a high-capacity iPod may move all of your digital music collection to the iPod and not have it on your computer’s hard disk.

This common application would be increasingly important with Ultrabooks and other small notebooks that don’t have much in the way of capacity on their main secondary-storage. Here, this situation can allow you to have the best of both worlds – a compact computer with a quick-access storage and a large amount of space to hold those photos or music tracks.

Those who play computer games will also benefit from using USB hard disks. Here, it is about offloading the data associated with these games so you can keep your laptop for productivity use and will be important as your games acquire extra abilities like downloadable content. You may even find that you could offload games you aren’t touching so you can focus your computer’s storage resources on the one you are currently playing. Steam and other game-distribution platforms have support for this kind of arrangement including offloading games.

What to choose

Interfaces

U3.0 socket on laptop

USB 3.0 socket (in blue) on laptop

Personally, I would prefer a USB 3.0 or eSATA unit if the computer is equipped with a USB 3.0 or eSATA port. This allows for higher data throughput which would be important if you are moving a lot of data at once. If you are doing small incremental data transfers, you could get by with a USB 2.0 hard disk at the time this article was initially created.

The newer connection that is appearing is the USB Type-C connector. Here, this provides a high-throughput data transfer rate when implemented to USB 3.2 or newer standards as well as being a highly-compact connection form. Here, this connection is being used as the only peripheral connection type for ultraportable laptops but is also appearing on some of these portable hard disks.

Dell Inspiron 14 5000 2-in-1 convertible - keyboard left hand side connections (USB-C, HDMI, 2 x USB 3.0, audio jack)

Newer USB-C socket on a Dell Inspiron 14 5000 2-in-1 laptop

You will also notice that USB portable hard disks that work to the USB 3.0 or USB 3.1 standards and don’t have a USB Type-C connection will have a USB Type-Micro-B 3.0 “blade-shaped” connection that plugs in to the hard disk unit itself. They will came with a cable that has this connection and the traditional USB Type-A host-connection plug. But you can use them with newer computers that have the USB Type-C port if you purchase a cable with a USB Type-Micro-B 3.o plug on one end and a USB Type-C plug on the other.

Most small USB hard disks run off the host computer’s power rather than a separate power supply. The same doesn’t hold true for eSATA hard disks because the eSATA interface doesn’t pass power from the host computer to the drive. That situation can avoid the need to carry extra power cords or adaptors if you want to use an external hard disk.

For that matter, I have written an article about what is the difference between an external USB hard disk versus a portable USB hard disk. Here, it is about how these devices are powered and their size, but it also encompasses whether the hard-disk mechanism is designed for increased resilience to accidents.

Physical size

The size that would work well for travel would be a unit that is no bigger than a pack of playing cards or, if you were old enough to remember them, an audio cassette. This then means that the external hard disk doesn’t take up much space or add extra weight to your luggage. It also means that your backup disk doesn’t take up much room in the in-room safe and wouldn’t cost much to send by certified post if you had to send it home under separate cover.

Capacity

When you do purchase these hard disks, be prepared to buy as much capacity as you can afford. This is something I stand for when recommending any equipment that uses a hard disk, so you are not always running out of capacity or having to move and delete data off the device.

What is worth knowing

Integrating images with the main digital-image collection

If you are using the external hard disk to offload digital images that you have downloaded to your Ultrabook, you can use your main computer’s image-management program’s “import” method to import the images. Here, you would have to use “Open Autoplay” in Windows to invoke this functionality.

On the other hand, you may just simply copy the image folder on the external hard disk to the main computer’s image folder under a particular folder name of your choice. Here, you may have to rotate images to view them the correct way. This is more so if you haven’t used an image-management program to import your photos from the camera’s memory card to your Ultrabook’s storage.

A possible workflow idea

What you could do to manage images while travelling could be to use iPhoto or Windows Live Photo Gallery to import the pictures from your camera card and smartphone to your “traveller” computer’s main storage.

These tools give you the ability to pre-process your images such as making sure they are the “right way up”, doing basic cropping or panorama creation or simply adjusting exposure. As well you use this image collection to post up select pictures on Flickr, Facebook and similar online sharing or social-networking services.

Then you use the external hard disk to offload images whenever you find you are running tight on space or simply to make a backup copy of those pictures.

When you arrive home, you just simply copy that image collection to your main image folder on your regular computer and / or your network-attached storage.

Conclusion

Once you know about these external hard disks, you would then value them as an compact auxiliary storage unit for the data you create using that laptop while you go travelling.

Updates:

15 December 2020

Added newer information about the USB-C connection and USB 3 Micro-B connection that appear on these USB hard disks.

Also referenced an article about the difference between portable and external hard disks; along with information about offloading games to these hard disks without breaking them.