Photos not the right way up on your TV?
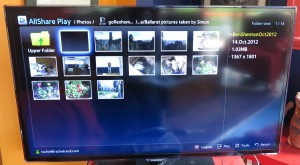
A problem that can surface with some photos that you view using your Smart TV, set-top device or similar equipment is that they don’t appear the right way up.
It happens more so with those pictures that come in from an email whether as attachments or downloadable links, or from a cloud-storage service. Similarly it also happens if you transfer the pictures from your device to your computer using the operating-system’s file manager i.e. Windows / File Explorer or MacOS Finder by using the file-copy procedure. This latter process is something most of us do when we want to make digital pictures that we took at someone’s location available on their computer.
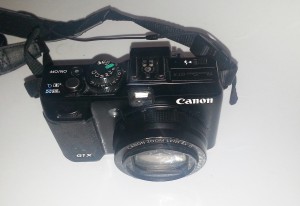
These cameras record information about the photo orientation as part of the picture file when you click the shutter
The main problem is that today’s cameras and mobile devices record the orientation of the photo in the file that represents the image as part of machine-readable EXIF metadata. Most of the file managers recognise this metadata and use it for creating the thumbnail that is seen for each file. Similarly, when you upload photos to an image-sharing or social-media site, you will find that these pictures will be shown the right way up thanks to this metadata. It is also true of image management software which even creates copies of the imported files that are the “right way up” as part of the image-import process.
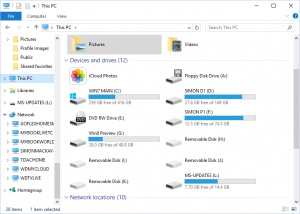
Copying photos from your camera using Windows / File Explorer or other file managers may not guarantee the best results with photo-rotation metadata
But a lot of hardware media players like smart TVs, set-top devices and electronic picture frames don’t recognise this EXIF picture-orientation flag and show the picture with the incorrect orientation. It can be exacerbated with DLNA media-streaming setups where the DLNA media server doesn’t use this flag to rotate the picture to the correct orientation when it is being served to the client device. The same problem also extends to some photo-viewer and presentation software that doesn’t understand the EXIF photo-orientation tag properly.
Another situation that always surfaces with photo orientation is if you are photographing something on a table, floor or similar horizontal surface. Here, the camera or smartphone doesn’t properly register the orientation due to the orientation sensor being driven by gravity. In this situation you would still have to manually rotate the image even if you were importing it with software that understood this EXIF orientation metadata.
How can you work around these problem when you want to show images that are drawn in from email or copied over from that digital camera?
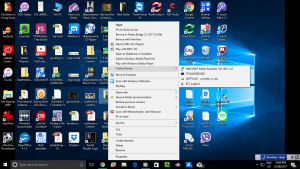
Cast To Device option to show picture on DLNA video player – may not always work properly with the EXIF photo-orientation metadata
One way would be to open each portrait image using a photo editor or bitmap image editor that understands the EXIF photo-orientation tag like Windows Paint or Adobe Photoshop, then save the image as a JPEG file using the software’s Save As command. This will typically rotate the image the right way up and strip off confusing EXIF tags. It would appeal to situations where you are preparing a folder of photos to be shown, perhaps on a USB stick or using “Cast To Device / Play To Device” on your Windows computer and a DLNA-capable video device.
For Windows users, especially those who regularly copy photos to their computer using Windows Explorer / File Explorer, there is a free program that can batch-rotate photos in a folder correctly. The program is called JPEG Autorotate and is freely available from its author’s site. Once installed, it appears as a secondary-menu (right-click) option to allow you to rotate a single image or all the photos in a folder including the subfolders without quality loss.
If you are using a computer as the primary storage or “staging post” for your digital image collection, the best path is to use the photo import functionality that is part of the image management software installed on it. Typically this will be Windows Photos, Windows Photo Gallery or Photos for MacOS (formerly iPhoto) that will be with your operating system. As well, make sure that the “rotate photos on import” option is selected in your software’s import settings.
This information will help you with making sure that digital pictures appear the right way up no matter the device you are using.

