Category: Computing Tips

Is your mouse acting too “hair-trigger”? Check the Mouse settings in your operating system

On Saturday, I had been asked by a friend to help her out with her laptop computer and there were problems with her Outlook email client. After a bit of troubleshooting, I had found that I was single-clicking to open emails rather than doublie-clicking. She also mentioned that she was having similar problems with other applications on the same computer.

But what I had done was to check what is happening every time one double-clicks with the mouse by visiting the Mouse item in Windows XP’s Control Panel. The setup was a laptop which was also being used with a wireless mouse. So I selected the “Other Hardware” option which would pertain to the wireless mouse and adjusted the “double-click” speed for that mouse.

This is a problem that can happen with some mice and trackballs especially as they implement switches that have an increased rate of “contact bounce”, thus causing this false “double-click” behaviour.

Adjusting the double-click speed

Windows users should go to the Mouse option in the Control Panel then try double-clicking on the folder icon in that dialog box. MacOS users should go to {Apple]-System Preferences, then click on “Mouse“. Then try double-clicking on the display image in that dialog box.

Windows mouse control panel

Mouse Control Panel dialog – Windows 7

Adjust the slider towards “Fast” if the folder opens and closes in one click and towards “Slow” if double-clicking doesn’t cause it to open. Then click OK or Apply to confirm the setting.

This may be a trial-and-error routine as you get the mouse or other pointing device working properly for you. In some cases, you may have to select the device you are using or use its software if you are maintaining two or more devices on the same computer. A common example of this may be when most of you use an external mouse with your laptop computer; or some of you may use two different pointing devices for different purposes such as a trackball and a mouse.

The best practice to do is to play around with this dialog box for your pointing device when you install a new device or acquire a new computer and revisit it to make sure that the double-click speed matches your needs properly.

Setting up your smartphone or tablet for email

You may have your Web-based or client-based email system going strong on your regular computer but you have just joined the hordes and bought a new iPhone or Android smartphone or tablet.

One of the main advantages of these devices is that you can use them to check on your email and send simple email messages or replies. But you need to set up your email to work with these devices before you can use this benefit.

What you need to know

You will need to know the following details:

  • what kind of email setup you are using
    This could be your the name of your Web-based email service or one of the following kinds of client-driven email services (POP3 / SMTP – common in email services with residential Internet services, IMAP – used as a client-side access method for some Web services or an alternative to POP3 for some residential and small-business services and Microsoft Exchange – used in most larger business setups)
  • your full email address 
  • your password for that email service. For email services that are part of your Internet service, this will be the same as your login parameters for that email service.

POP3 (SMTP) email services

If you are using a POP3 email service, which most consumer and small-business email services are, you will need to go to the email client on your regular computer and make sure the option to “Keep messages on server” is selected. If you regularly work your email from your regular computer as well as your smartphone or tablet, you could set the option to clear messages from the server after a month.

Setting up the smartphone or tablet

You will need to open your email app on the smartphone or tablet and go to “Account” options. In the Android platform, this would be “Email” whereas the iOS devices would know it as “Mail” on the iPhone and iPad.

Touch the “Add Account” function and enter your email address and password. In the case of the Apple devices, you will have an option with the graphics that represent the Web mail services and Exchange service as well as an option for an “other” service. Android users would have to use the Gmail app to work their Gmail account. Where prompted, enter your full email address and password. At that point, enter your name in the “Name” field if you are setting up your Apple device.

Here, the smartphone or tablet will obtain the setup details for your email account and set itself up for that account if you entered in the correct email address and password. This is where Android users would be asked to enter their name, which will appear on the email others receive from them.

If you maintain multiple accounts, you can add these accounts to your device so you can monitor them. This is done using the same procedure.

I would still make sure that any taglines like “Sent from iPhone” or “Sent from Samsung smartphone” are kept so your recipients know that you were replying or sending that message from the smartphone. This may be of concern for people getting used to the touchscreen keyboard on these devices.

Your email application

Android users will find that the arrival of new email is marked by an “envelope” on the top of the screen. They then “draw down” the “blind” which shows a notification screen with any notifications still outstanding. Touch on the “new email” notification so you can see all the new mail that has arrived. As well, the email application will be visible on the first home-screen or the first screen of the “Applications” library screen.

For iOS users will see the email application always at the bottom of the screen alongside the phone application. This will have a red bubble indicating the number of new emails that have arrived.

Tips

What POP3 users need to know

People who use POP3 email services and want to keep a record of an email that they sent may need to send a BCC (blind carbon copy) to themselves of the message because the old POP3 protocol doesn’t allow for proper multi-terminal access to these accounts with a synchronous view.

Similarly, an email that is marked as read or deleted on your smartphone may not be marked as read or deleted on your regular computer and vice versa. This is also to do with the same “single-computer” mentality around this protocol.

Setting your phone up for your Wi-Fi network

It is also a good idea to set your phone or tablet up with your home’s or small-business’s Wi-Fi network so you can make use of the better wireline broadband access plans rather than relying totally on your 3G provider’s tight wireless-broadband tariffs for your email.

Conclusion

Once you have your email set up on your smartphone or tablet device, you can find yourself liberated from your desk when it comes to checking on the arrival of important email.

Don’t forget that the Browser Choice Screen is your one-stop Web browser port-of-call

Previous Coverage – HomeNetworking01.info

Understanding The Browser Choice Screen (EN, FR)

Web site

Browser Choice Screen – http://browserchoice.eu

My Comments

Previously, I have covered the Browser Choice Screen, which was par of Microsoft’s anti-trust settlement with the European Commission concerning Internet Explorer. This was to be for consumer and small-business Windows setups in the European Union where people were to be offered a choice of Web browser for their operating environment.

But I still see this menu Web page as a “one-stop” port-of-call for people anywhere in the world who want to install new Web browsers or repair a damaged Web-browser installation. This resource came in handy when I was repairing a houseguest’s computer that was damaged by a “system-repair” Trojan Horse. Here, I could know where to go to collect the installation files for the Firefox Web browser that I was to repair so I can restore their Web environment.

If you are creating a system-repair toolkit on a USB memory key, you may visit this resource to download installation packages for the Web browsers to that memory key. Or you can create a shortcut file to this site and store it on the memory key b

Poor print quality from your Epson or Brother inkjet printer? Airlocks may be the problem

Introduction

Brother MFC-J6720DW A3 inkjet multifunction printer

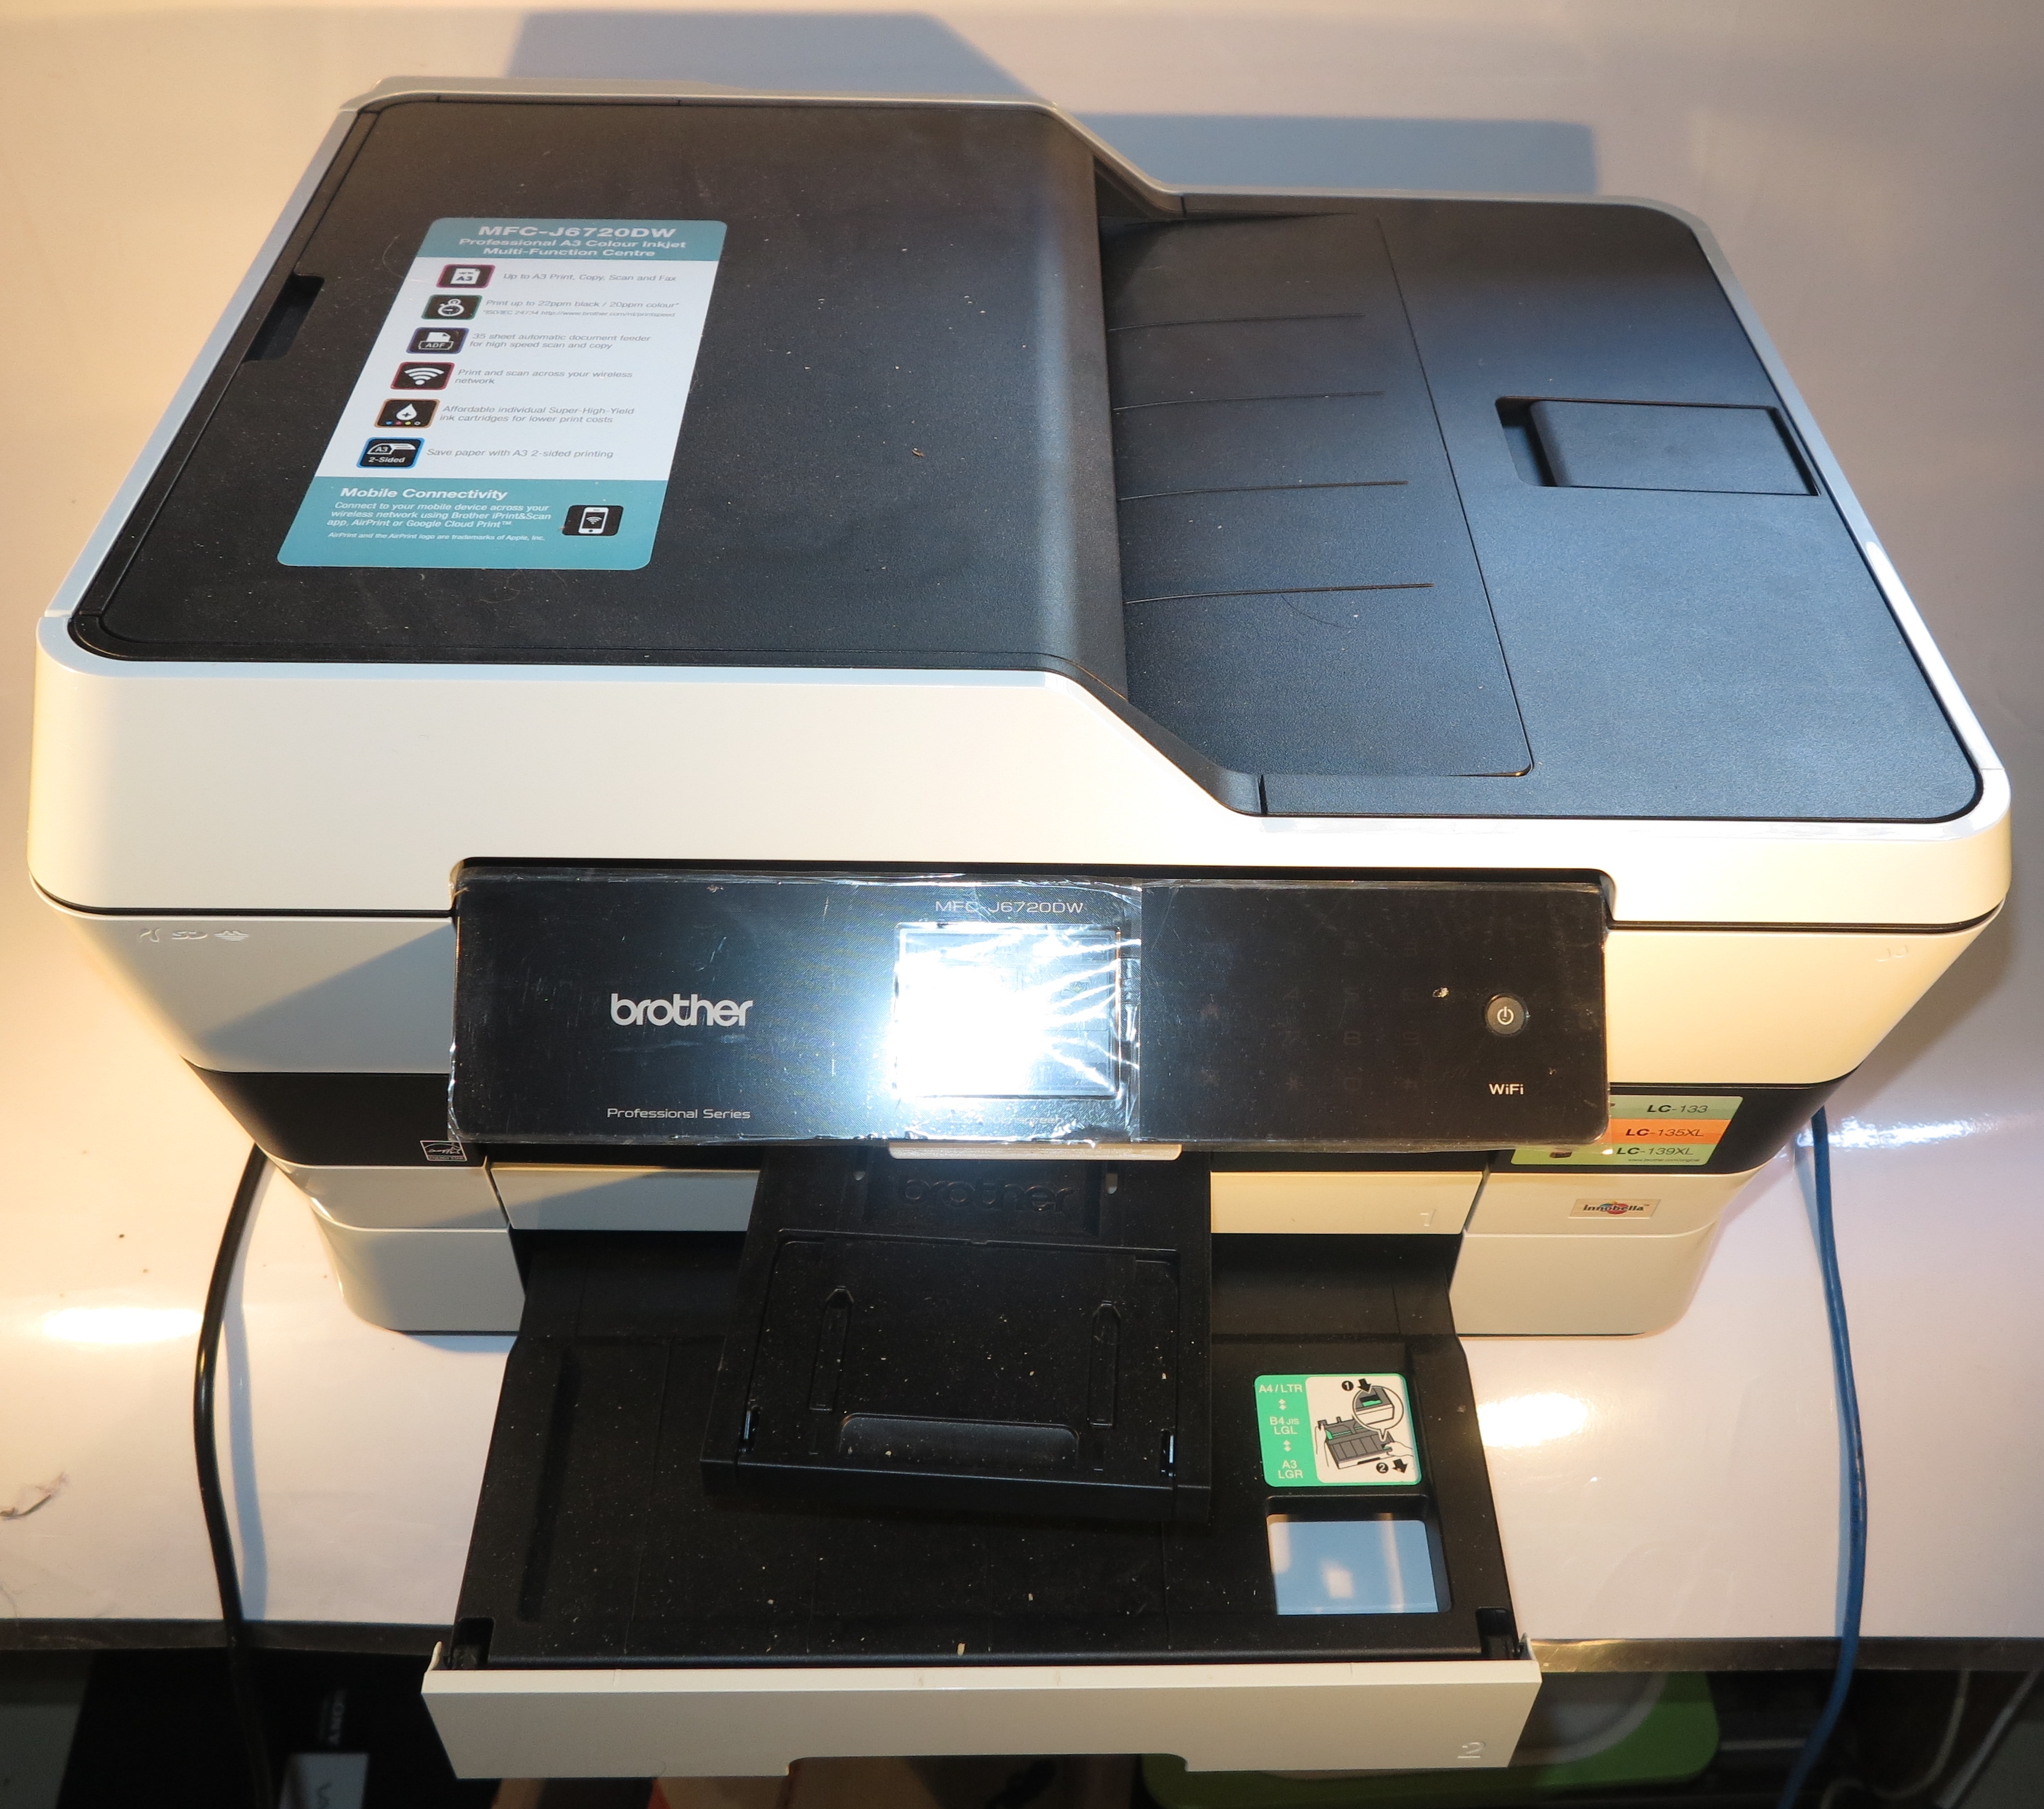
Brother MFC-J6720DW A3 desktop inkjet multifunction printer – uses piezo printheads rather than thermal printheads

If you own an Epson or Brother inkjet printer, you may end up with a situation where there is reduced print quality for particular colours even if you have just put in a new ink cartridge. The symptoms will be in the form of one colour not appearing in your printout or gaps at regular intervals in the printed output.

This is a problem that I have experienced previously with an Epson inkjet printer that I had earlier on through 2000 to 2004. As well I had run in to this problem when I was reviewing the Brother MFC-6490CW A3 inkjet multifunction printer; and had to run this printer through the cleaning cycle a few times after installing a new cartridge.

The piezoelectric print head working as a pump

Saeco GranBaristo Avanti espresso machine press picture courtesy of Philips

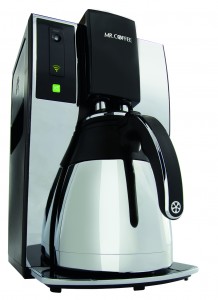
An espresso coffee machine that uses a pump to push the water through the ground coffee – similar to how the piezo printhead in an Epson or Brother printer works

This may be to do with the way these printers work compared to most other brands. Here, the ink is pushed through the printer using a piezoelectric pump mechanism which integrates technology similar to what is used to force the hot water through the ground coffee in a domestic espresso-coffee machine when you make that latte or cappuccino.  On the other hand, the HP, Canon and Lexmark printers use a thermal a.k.a. “bubble-jet” method of pushing the ink drops through the printhead in a similar vein to the way water is pushed through a drip-filter coffee maker.

Mr. Coffee Smart 10-Cup Drip Filter Coffee Maker - press image courtesy of Belkin

HP, Canon and Lexmark printers use a printhead that works in a similar way to how this drip-filter coffee maker passes water from its tank to the ground coffee

If you happened to fill one of the previously-mentioned espresso machines with water after allowing it to run dry, then decide to make a coffee, it will take a very long time for the coffee to come through. As well, you will hear the machine’s pump initially make a loud noise, then make a softer noise as it takes on the water. The loud noise that you hear initially is due to the pump encountering an airlock. Then the softer noise that you hear is what is happening as the espresso machine’s pump is being primed and airlocks are being removed out of the pipework in the machine. In some cases, you may have to run water through the machine’s cappucino steam-jet as if to make hot water for this to work.

Similarly, what can happen with your Epson or Brother printer is that after allowing an ink to run dry, you will end up with airlocks in the pipework or printhead. This may be more so if you try to “run it out” beyond the “out-of-ink” warning so you could get those last few pages printed. This same situation tends to happen with newly-purchased printers because you have to establish a constant flow of ink through the pipework and printhead.

What can you do?

The cleaning cycle

Main menu on Brother MFC0J5720DW printer

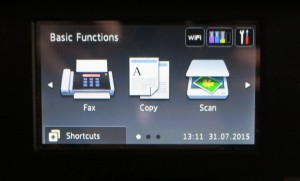
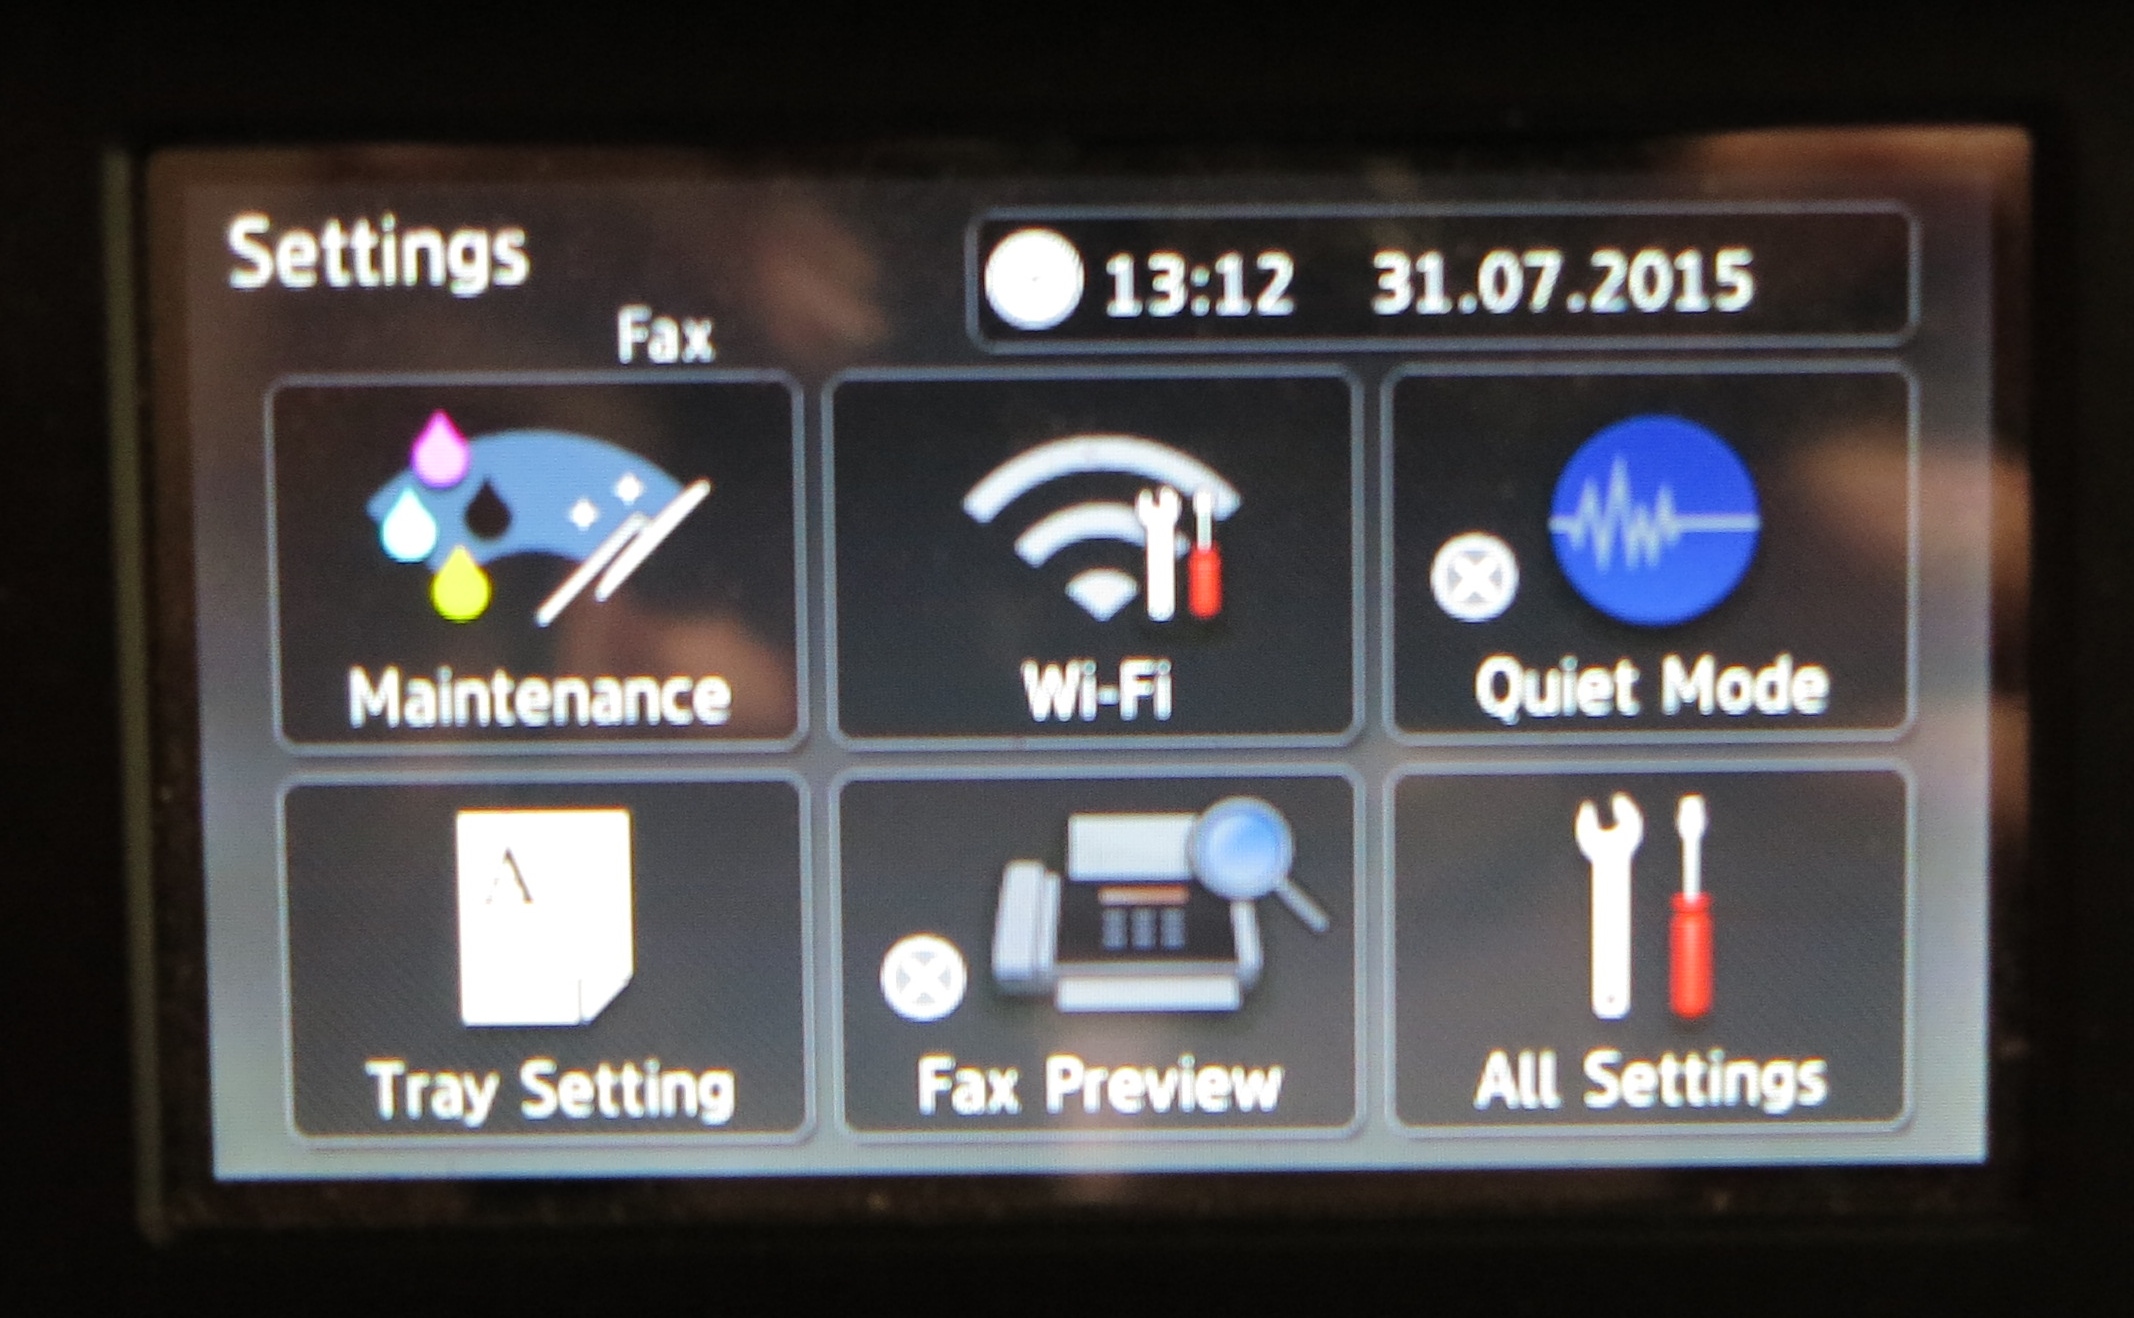
Newer Brother printers represent the settings menu with “tools”

If this happens, you may have to do one of two things. One would be to run the printer through the “cleaning” cycle a few times as this will “prime” the printhead pumps. You may have to do this after you install a new ink cartridge.

Brother MFC-J5720DW settings menu

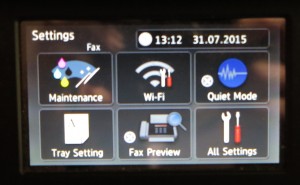
Maintenance menu in Settings menu

In most of these printers like the previously-mentioned Brother printer, you will need to start the cycle through going to the “Maintenance” or “Setup” menu on the printer’s control panel, then select the “Cleaning cycle” function. Recent Brother printers use a “tools” icon for access to the Settings and Maintenance functions.

Brother MFC-J5720DW head cleaning menu

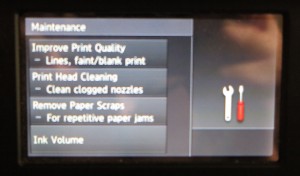
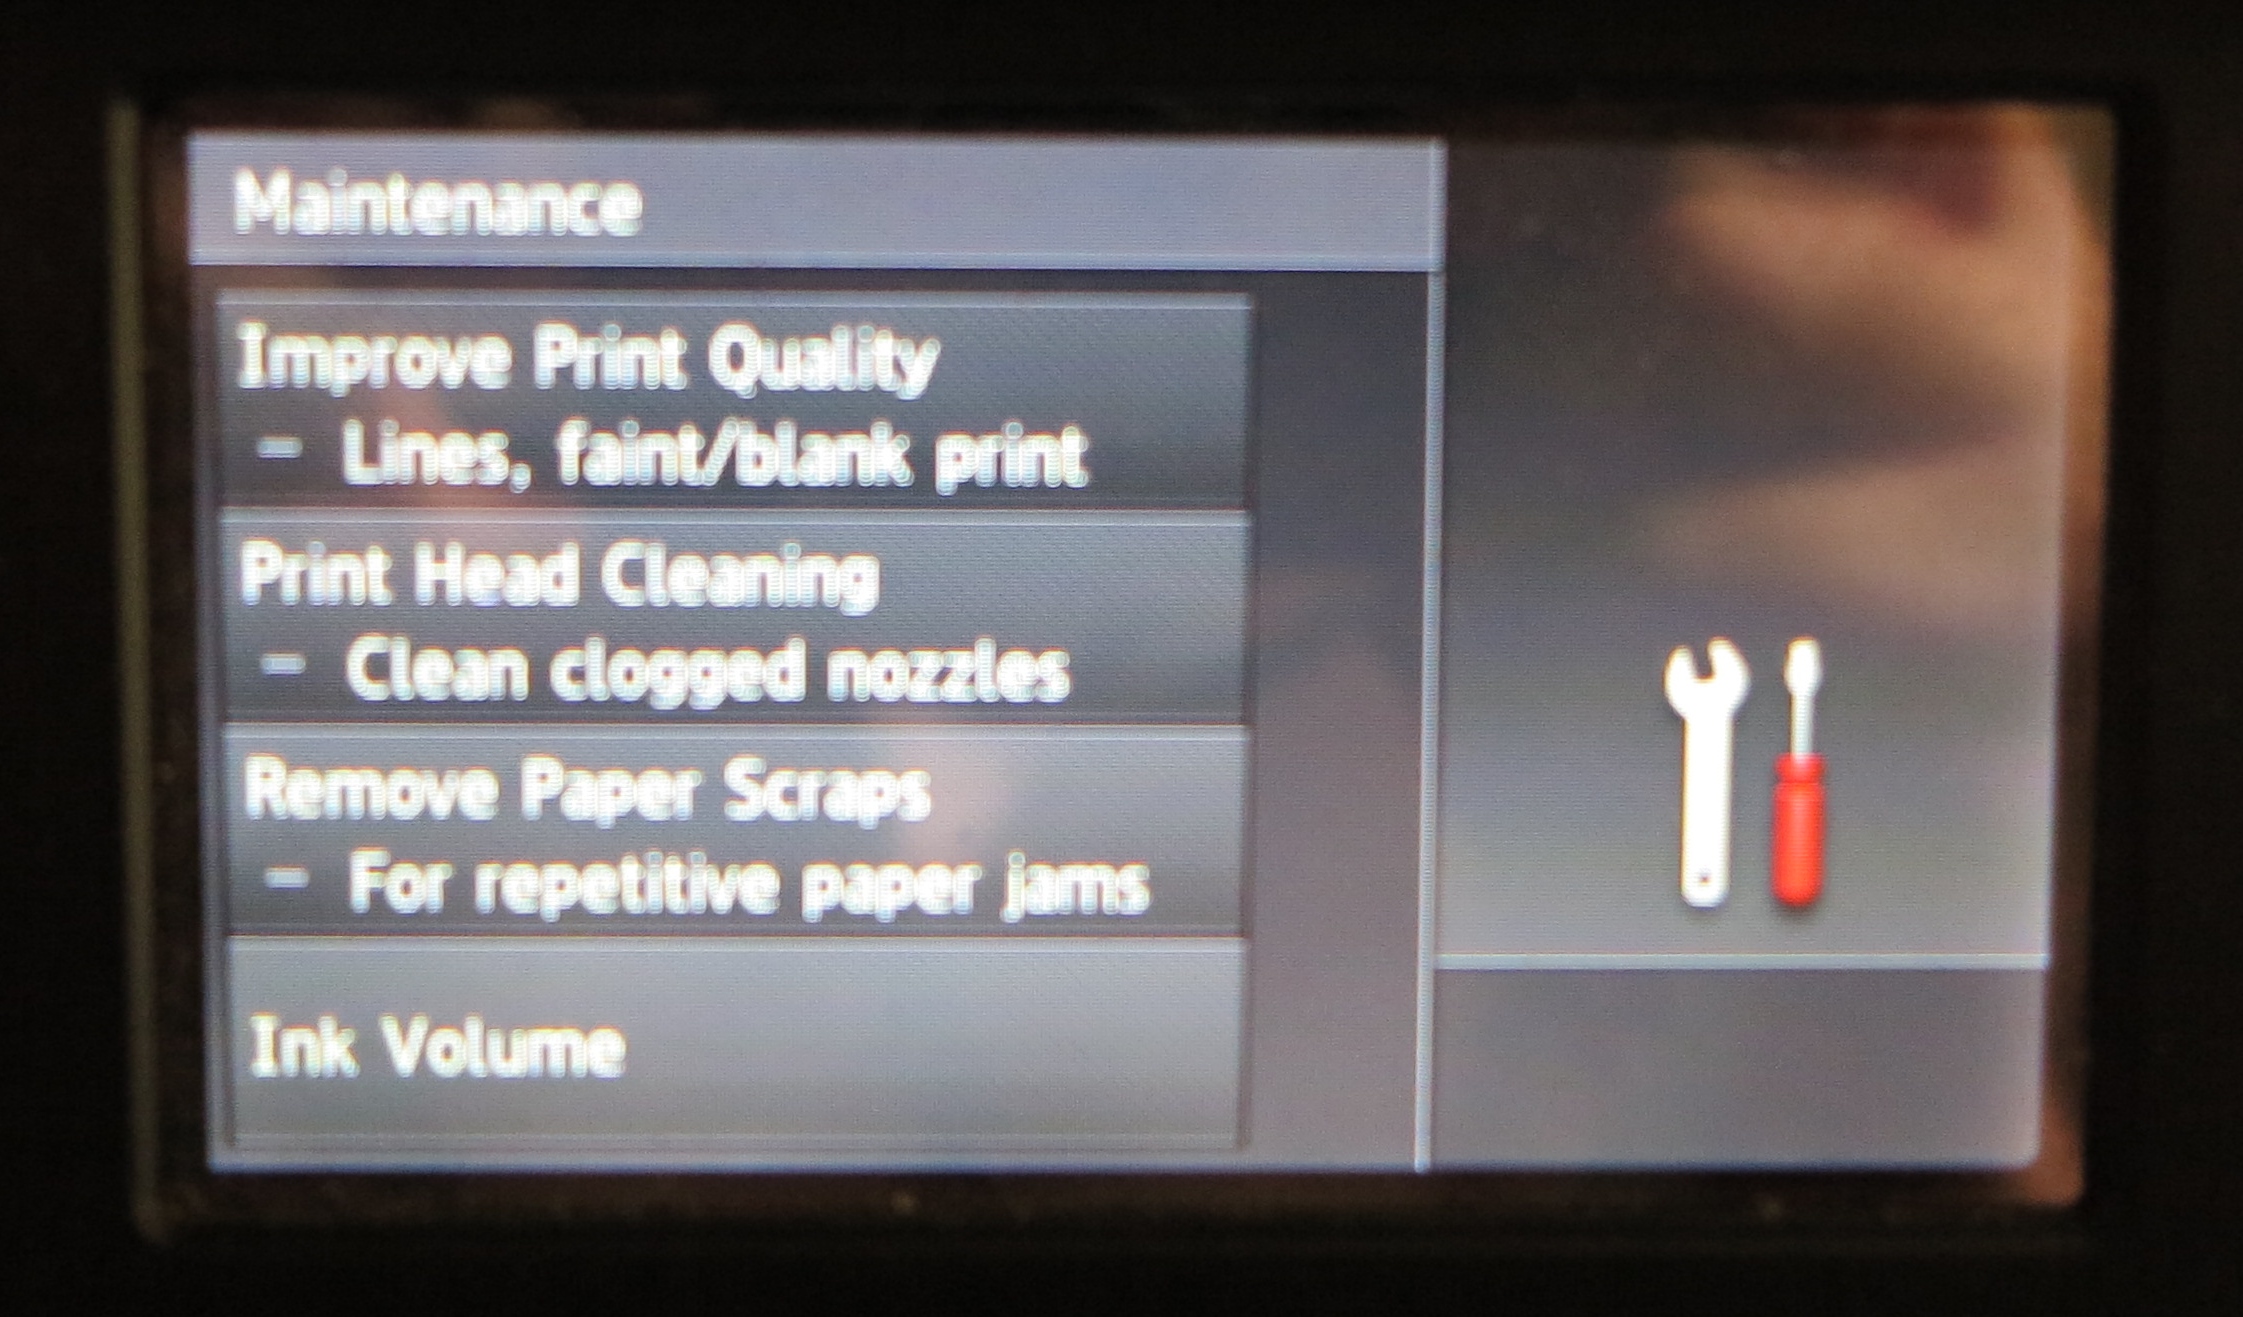
Head cleaning menu under Maintenance menu

Older single-function printers and some Epson multifunction printers may have a dedicated “cleaning cycle” button or require you to hold down a button like the “Paper Eject” button to start this cycle. To be sure, check the instruction manual that has come with the printer or the manufacturer’s Web site concerning how to activate this cycle.

Creation and use of “printer cleaning sheets”

Another would be to prepare a “printer cleaning sheet” for each colour. This would be a drawing that has a rectangle of the specified colour (black, cyan, magenta or yellow) that covers at least 50% of an A4 or A3 sheet of paper. You could create this with your favourite graphics, presentation or desktop-publishing program. Even a “paint” program like Microsoft Paint could do the job. Then make sure you save this as a file. If you created a multi-page file such as the PDF file that I have created and made available for you, you have one page per colour and print this page out for the colour that needs attention. Otherwise, print out the file pertaining to the colour that needs attention. You may have to print this a few times to prime all of the pumps in the printhead.

The idea behind creating and printing these sheets of paper is that the printer has to keep running the pumps continuously so they are primed and the ink starts flowing through all the nozzles properly. As far as the paper is concerned, you just then use the blank side of these sheets you printed out as notepaper, such as to keep beside the telephone.

How do you prevent airlocks from getting in to your printer?

The only way to prevent airlocks from appearing in your Epson or Brother inkjet printer is to make sure you have a spare ink cartridge on hand and ready to install when the ink cartridge in the machine is running low. Here, your machine will notify you of this with a warning message on its display or a flashing light. As well, the print-monitor utility on your computer that comes with the machine’s drivers will flash up a “low-on-ink” warning.

Similarly, if you anticipate large print runs you may find it a good idea to stock up on ink cartridges and/or purchase the extra-capacity cartridges. This may be more so if you are doing campaign-driven print runs; frequently printing on A3 using your A3-capable inkjet printer; or using special media like glossy paper.

If you do use generic-brand or third-party cartridges, you may have to keep an eye on the ink level because these cartridges may not work as accurately as the manufacturer-original cartridges. In some cases, you may even have to run the cleaning cycle every time you change these cartridges.

Those of you who use an aftermarket continuous-inking system may need to keep an eye on the bottles associated with these systems so that you know when to replace the inks. As well, you need to make sure that the system is in good order with the pipes secured properly and full of ink. This also applies to those of you who use an Epson EcoTank printer that has user-refillable ink tanks mounted on the side of the printer. Here, you need to check the ink tanks on the machine’s side to make sure your machine isn’t getting too near the “empty” mark.

Conclusion

Once you know how to use the cleaning cycle and / or create a “printer cleaning sheet”, you can be able to avoid an unnecessary service call or product return concerning your Epson or Brother inkjet printer.

Note: This article was originally published on March 2011 but has undergone a major revision in 2015 to illustrate the different types of coffee machines and to encompass the newer Brother printers. It has been revised in August 2016 to encompass Epson’s EcoTank printers which use large user-refillable ink tanks.