Product Review–Brother MFC-J5845DW INKVestment multifunction inkjet printer
Introduction
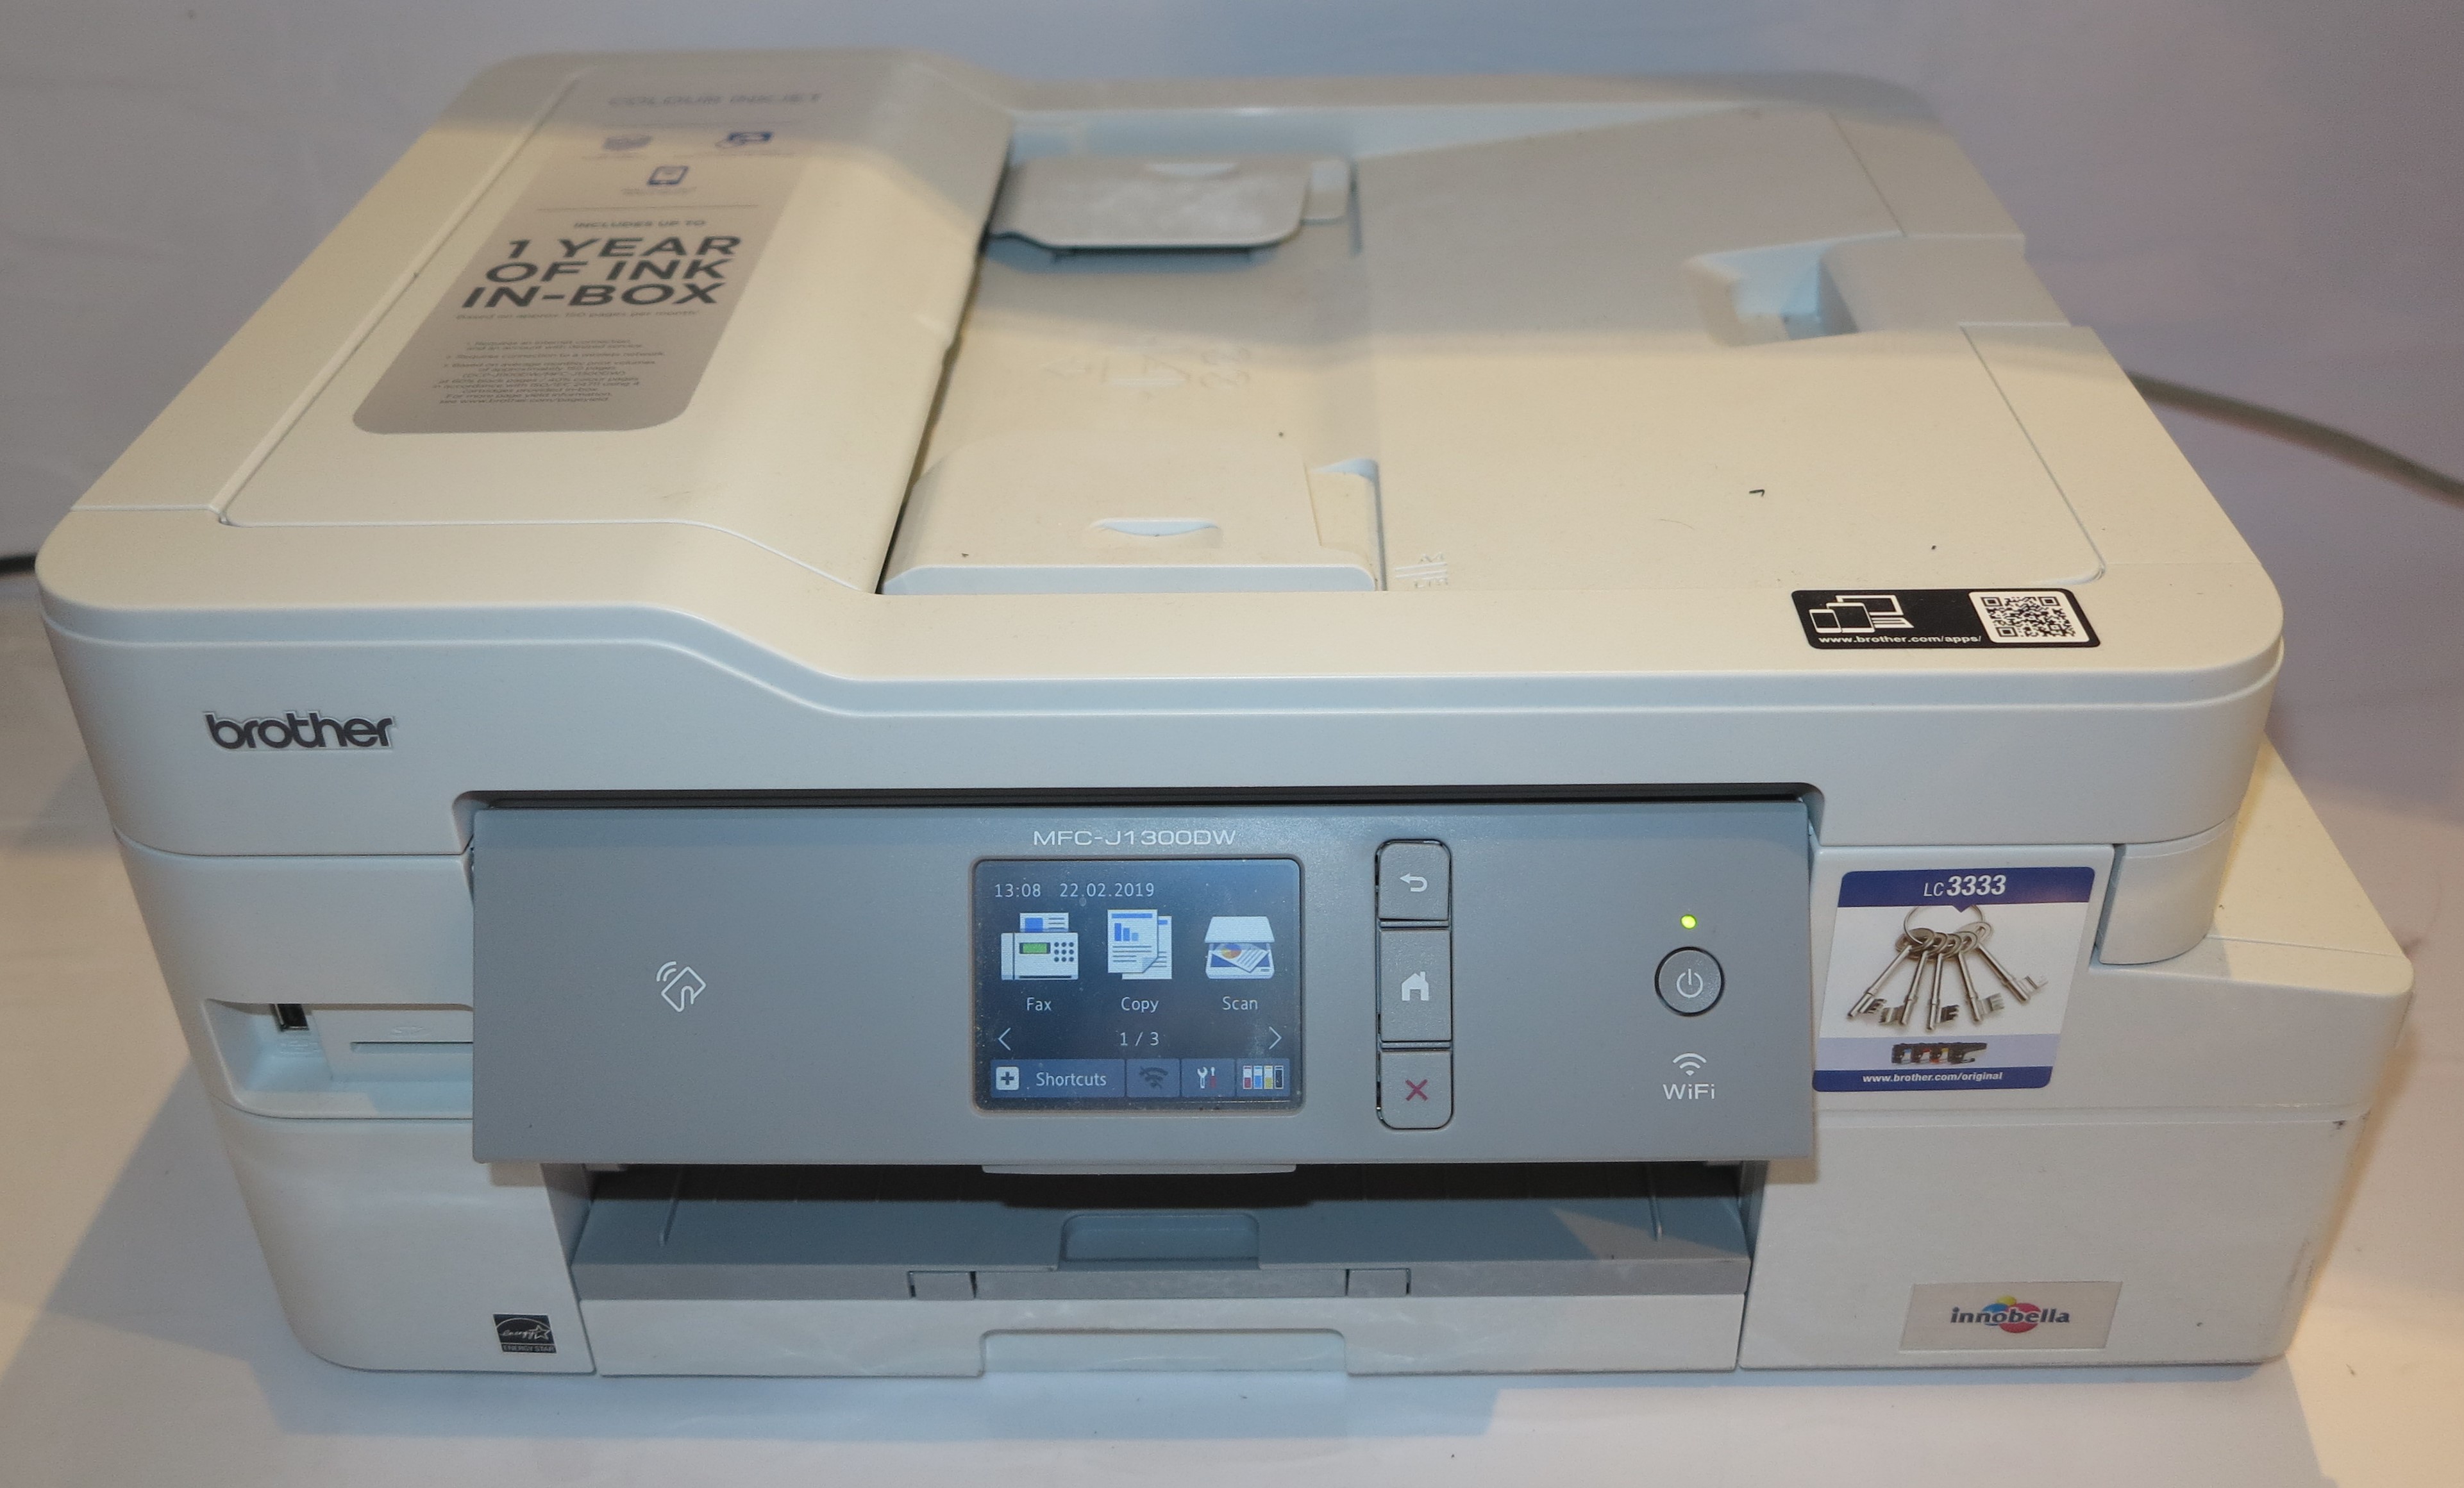
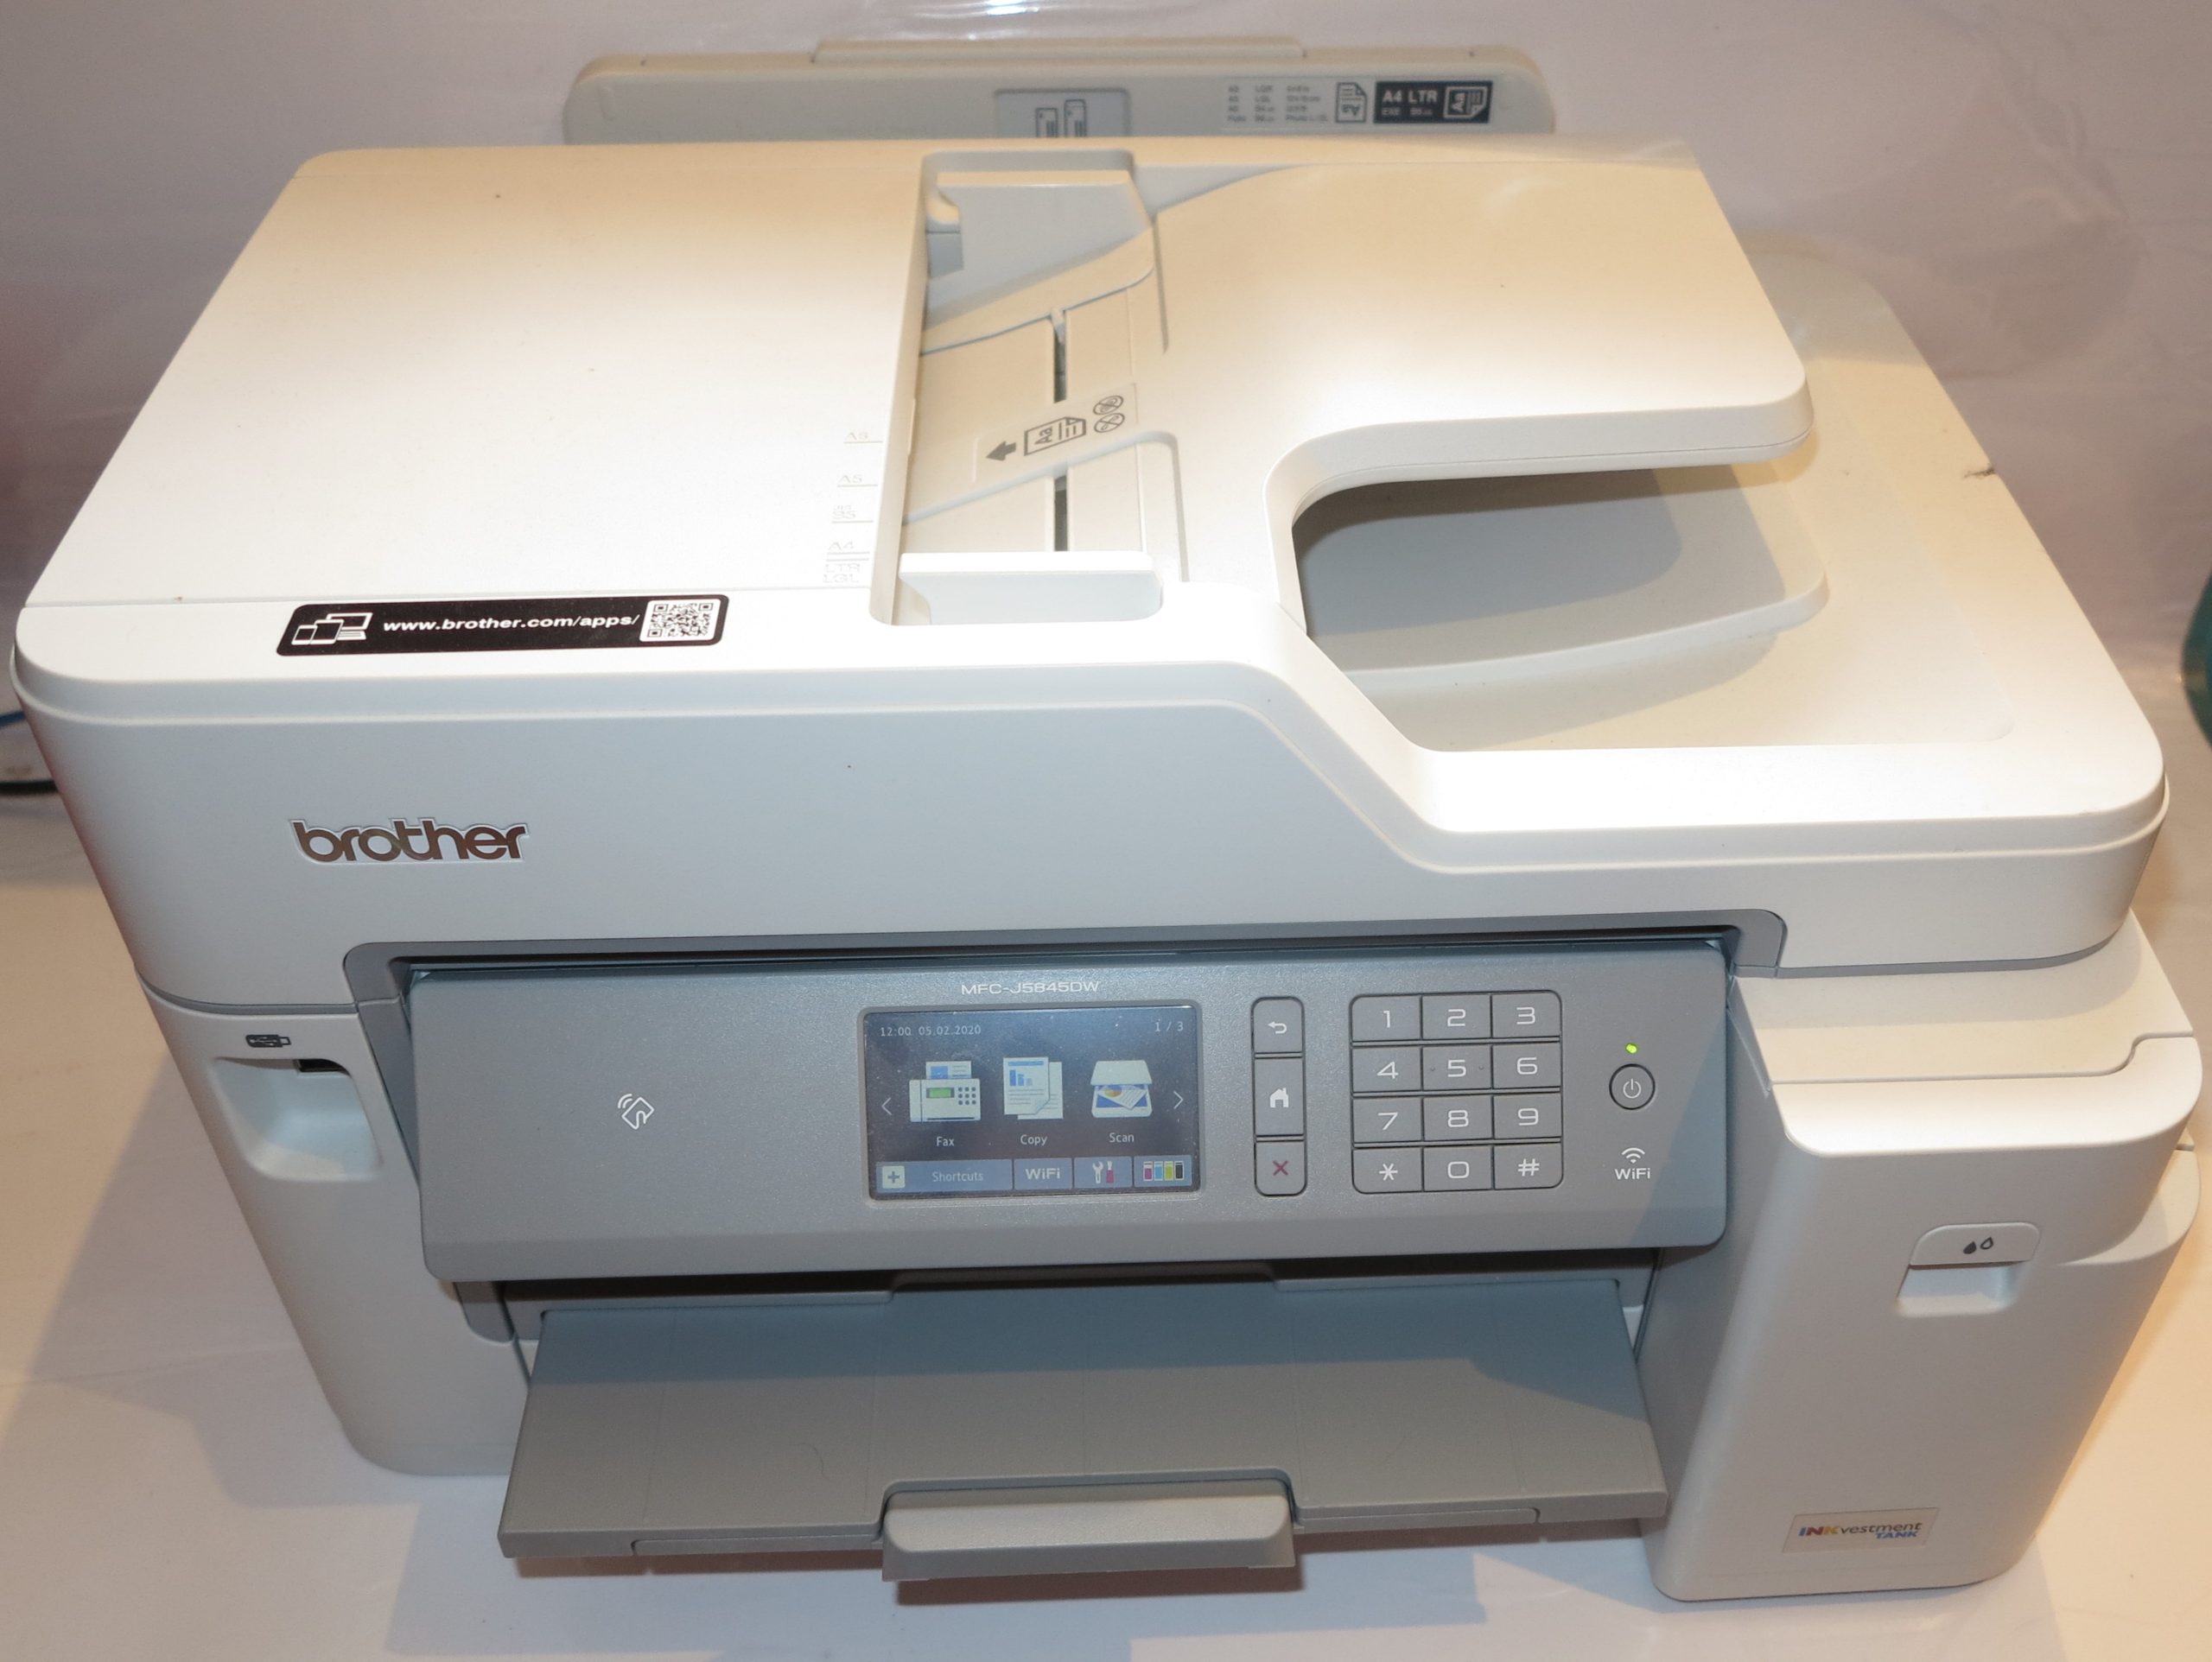
The Brother MFC-J5845DW is the first Brother printer that combines the INKVestment tank-based printing technology previously seen in the Brother MFC-J1300DW printer with the landscape (lengthways) printing method that Brother had pioneered. Here, like most of the Brother printers that use this printing method, it has an expandable paper tray so you can load it with A3 paper. It can scan A4 pages and can print both sides of an A4 or smaller page.
A step-up model known as the MFC-J5945DW has, as an extra function, two separate paper trays rather than one, which can allow you to have A3 paper or a different media type “on the ready”. There is a more expensive variant known as the MFC-J6545DW that is equipped with A3 scanning and the ability to print on both sides of an A3 page which could be seen as a way to make more utility of the booklet-printing function in the supplied print driver software in the context of printing A4 multipage documents on A3 paper.
These printers have a two-year manufacturer’s warranty and they come with a supply of ink that will last for two years under average usage conditions. This is in the form of a set of high-capacity ink cartridges and a set of extra-high-capacity ink cartridges in the box as well as the starter cartridges to get your machine going. But with these machines, I always list out the cost of the cartridges because you may end up replacing the cartridges sooner than estimated due to practices like using them as the “short run printing press” including printing many photos or presentation materials which this printer is very adept at as you will see later on.
| Scan | Copy | Paper Trays | Connections | |
| Colour | Colour | Colour | 1 x A3(standard) | USB 2.0 |
| Piezoelectric Ink-Jet | 1200dpi on glass platen
600dpi using ADF |
ID Copy Book Copy Thin-Paper Copy other special copy features |
50 Sheet A3 Multi-purpose tray | Ethernet Wi-Fi 4 (802.11g/n) Own-access-point Wi-Fi 4 (802.11g/n) |
| Auto-Duplex (A4 only) | ADF | IPv6 capability | ||
| Document Send/Receive | ||
| Real-Time | Super-G3 Colour Fax via phone | |
| Email-based | T.37 IP Fax Scan-to-email |
TIFF-FAX JPG |
| Walk-up Printing | USB | PDF JPG TIFF |
| Driver-Free Mobile Printing | Apple AirPrint MoPria support |
|
| Online Services | Print From | Scan To |
| Dropbox Box.com OneDrive Google Drive OneNote Evernote |
Dropbox Box.com OneDrive Google Drive OneNote Evernote |
|
| Multiple Users for Online Services | No | |
| “Own Account” Guest Access for Online Services | No |
Prices
Printer
Recommended Retail Price: AUD$699
Inks and Toners
| High Capacity | Extra High Capacity | |||
| Price | Pages | Price | Pages | |
| Black | AUD$41.00 | 3000 | AUD$74.00 | 6000 |
| Cyan | AUD$41.00 | 1500 | AUD$123.00 | 5000 |
| Magenta | AUD$41.00 | 1500 | AUD$123.00 | 5000 |
| Yellow | AUD$41.00 | 1500 | AUD$123.00 | 5000 |
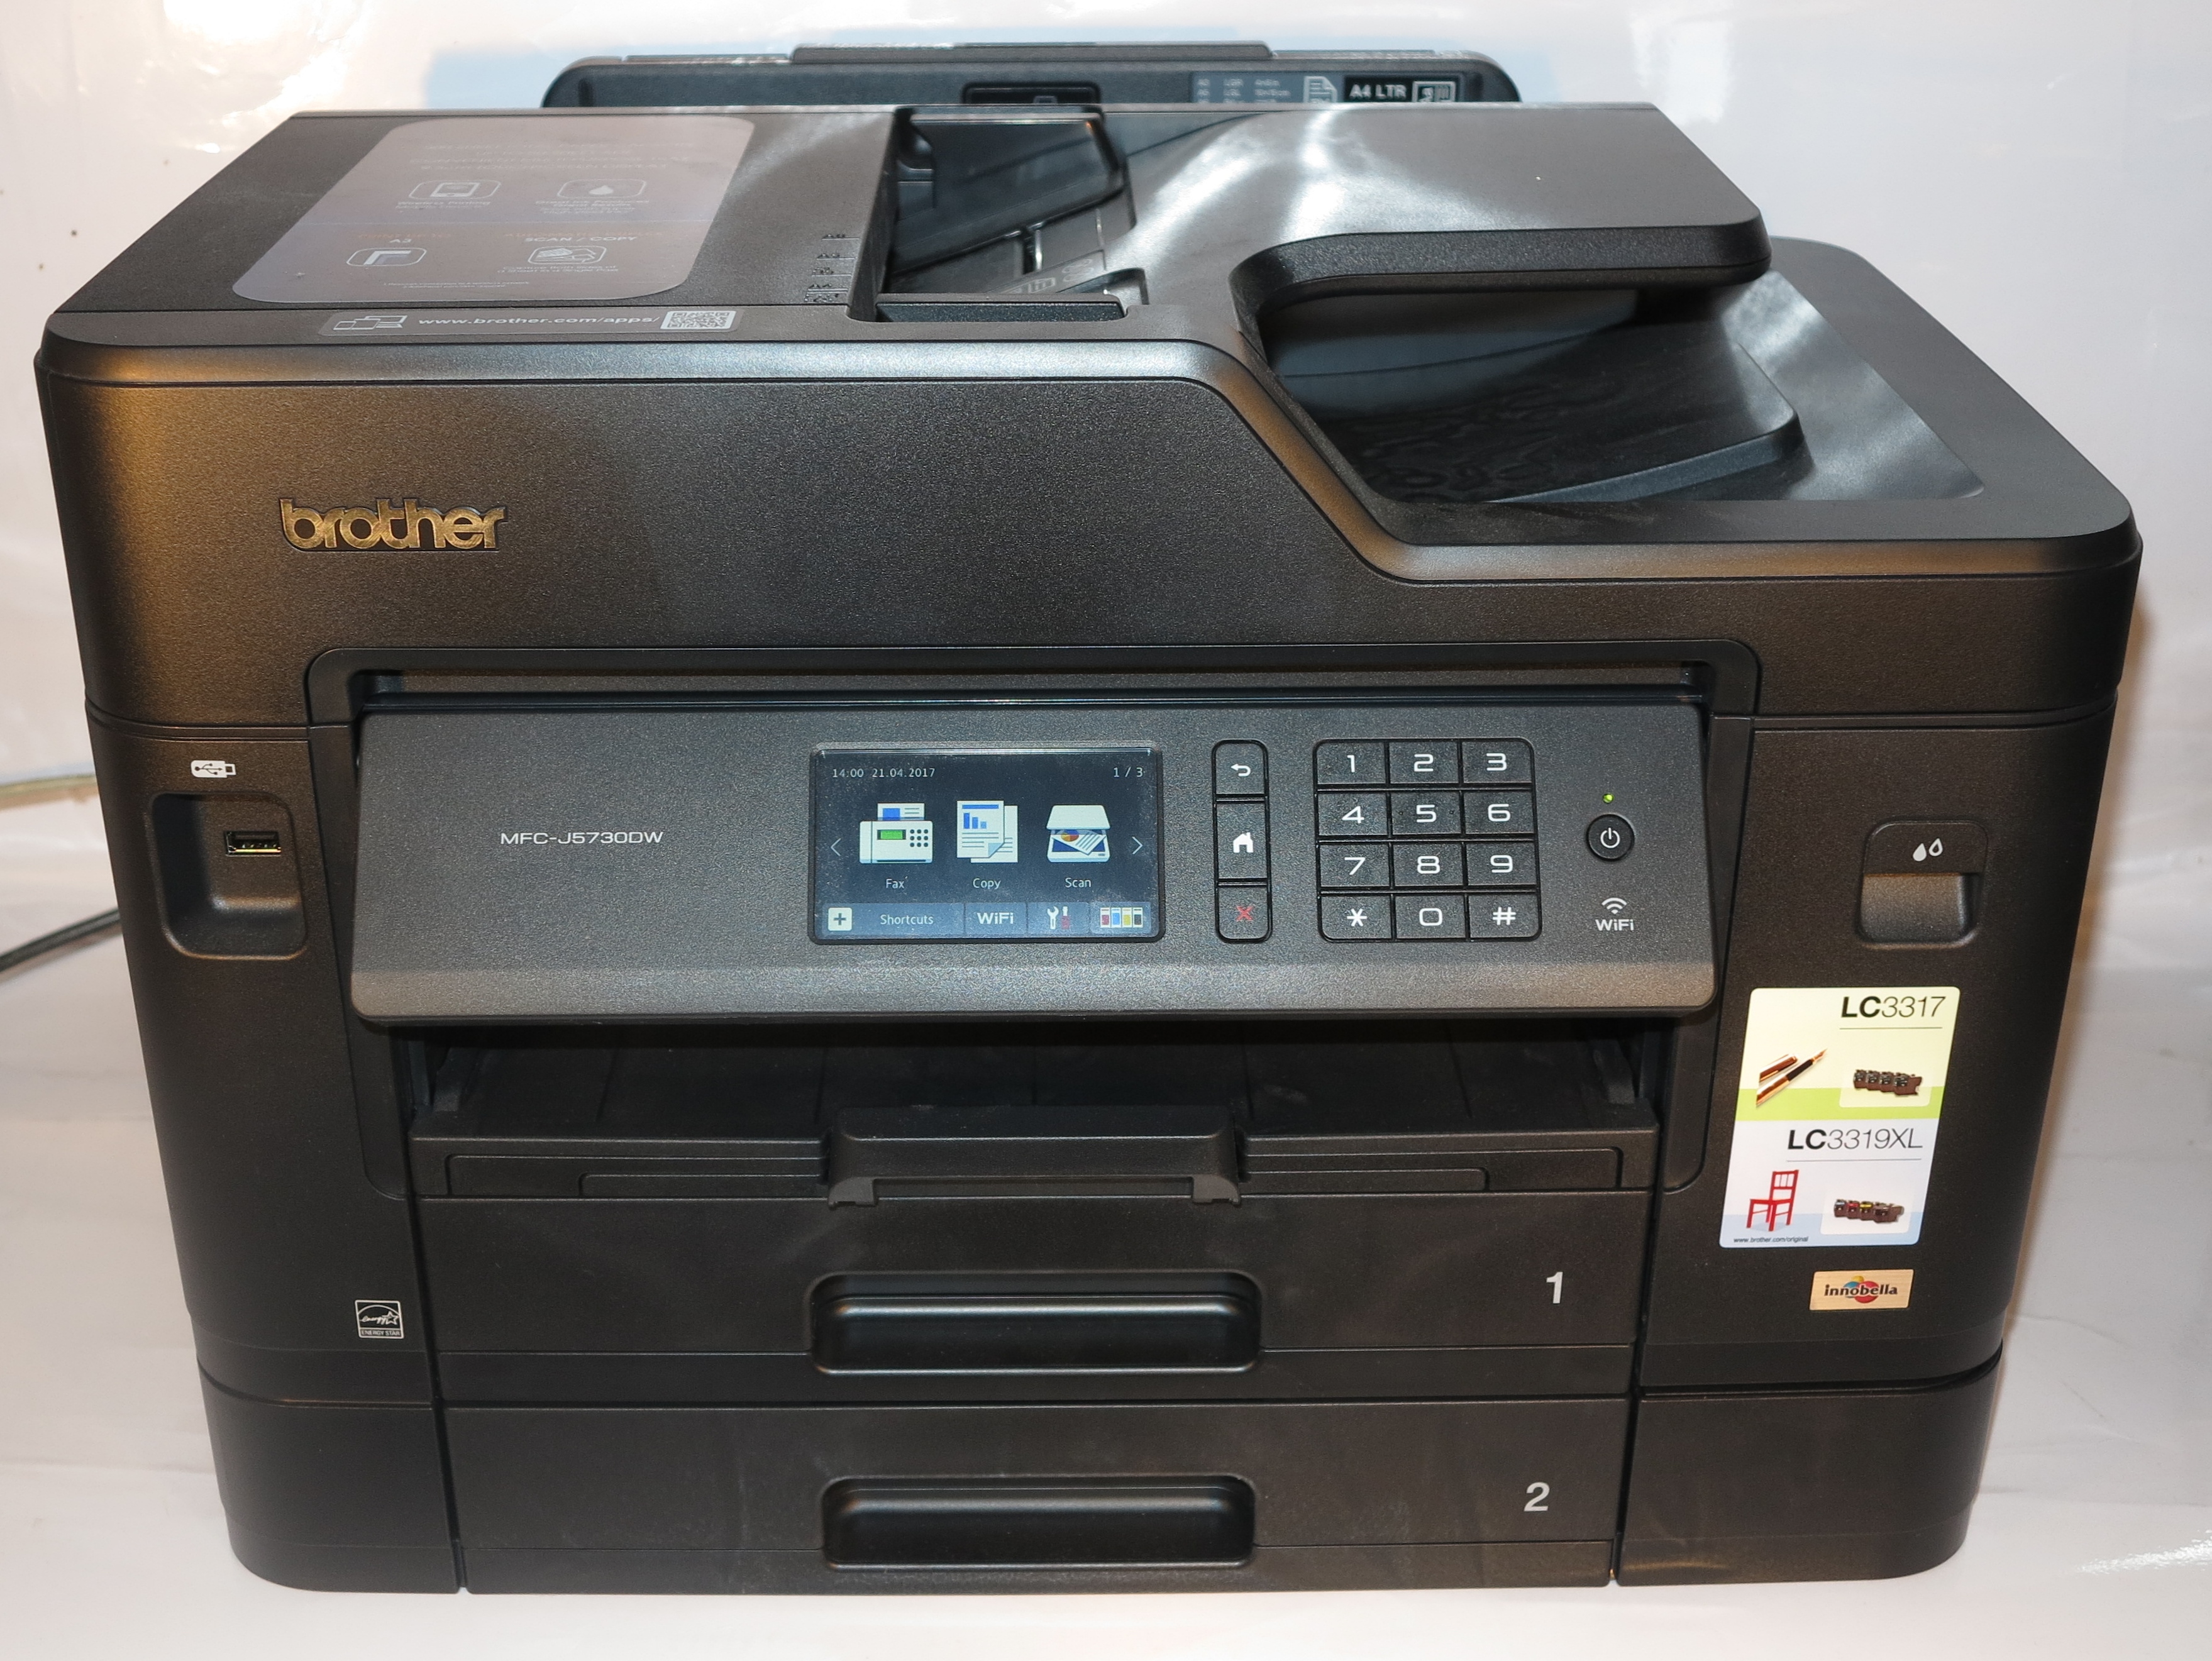
The printer itself
Connectivity and Setup
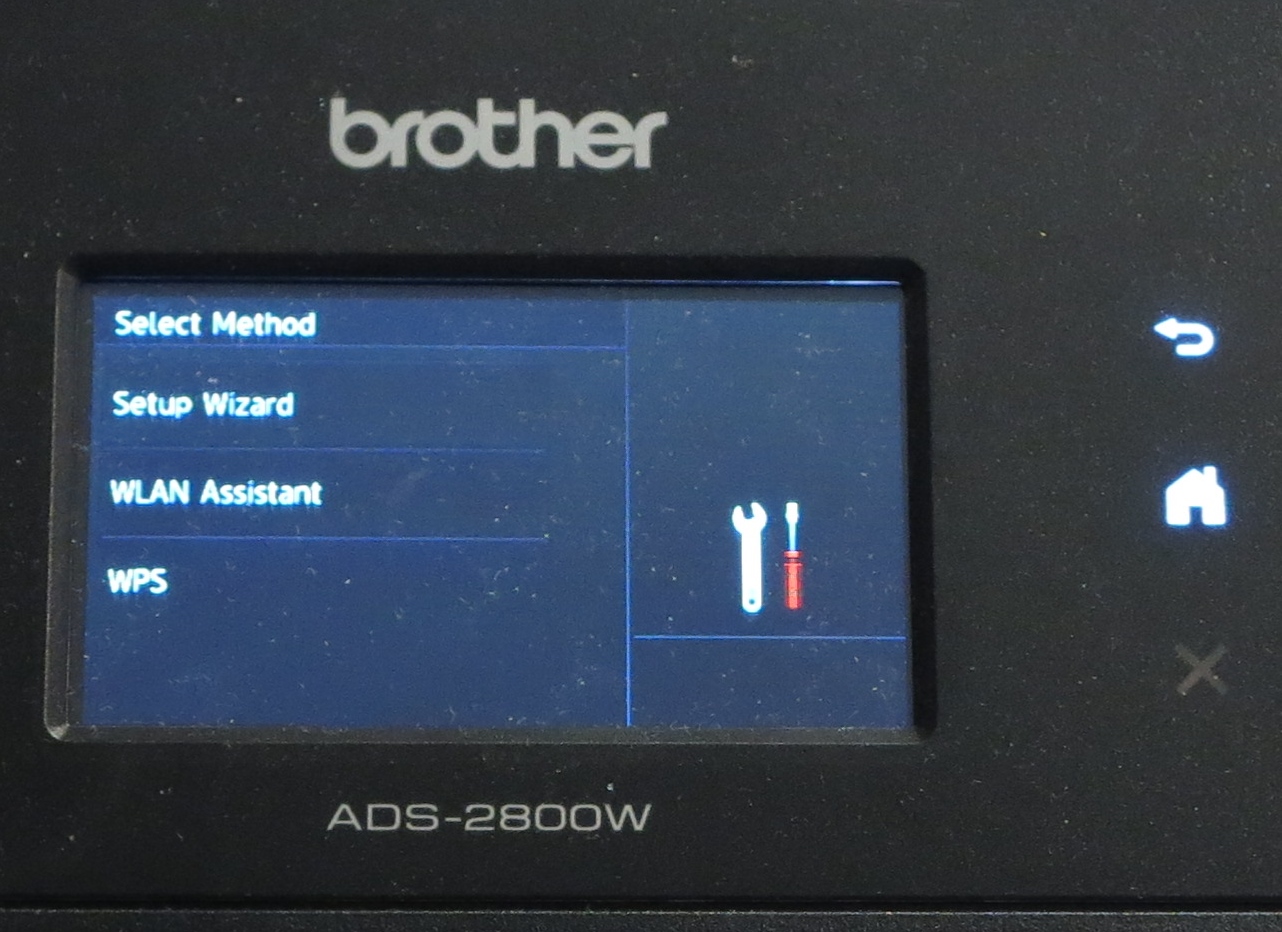
 The Brother MFC-J5845DW INKVestment multifunction printer connects directly to the host computer via USB 2.0. Or it can connect via a network using Ethernet or Wi-Fi with a best-case performance for a Wi-Fi segment being 802.11n (Wi-Fi 4).
It didn’t take long to get the Brother MFC-J5845DW INKVestment printer set up, thanks to the instructions that came with the machine. This even included the use of the machine’s display to show how to prepare the ink cartridges and load the paper.
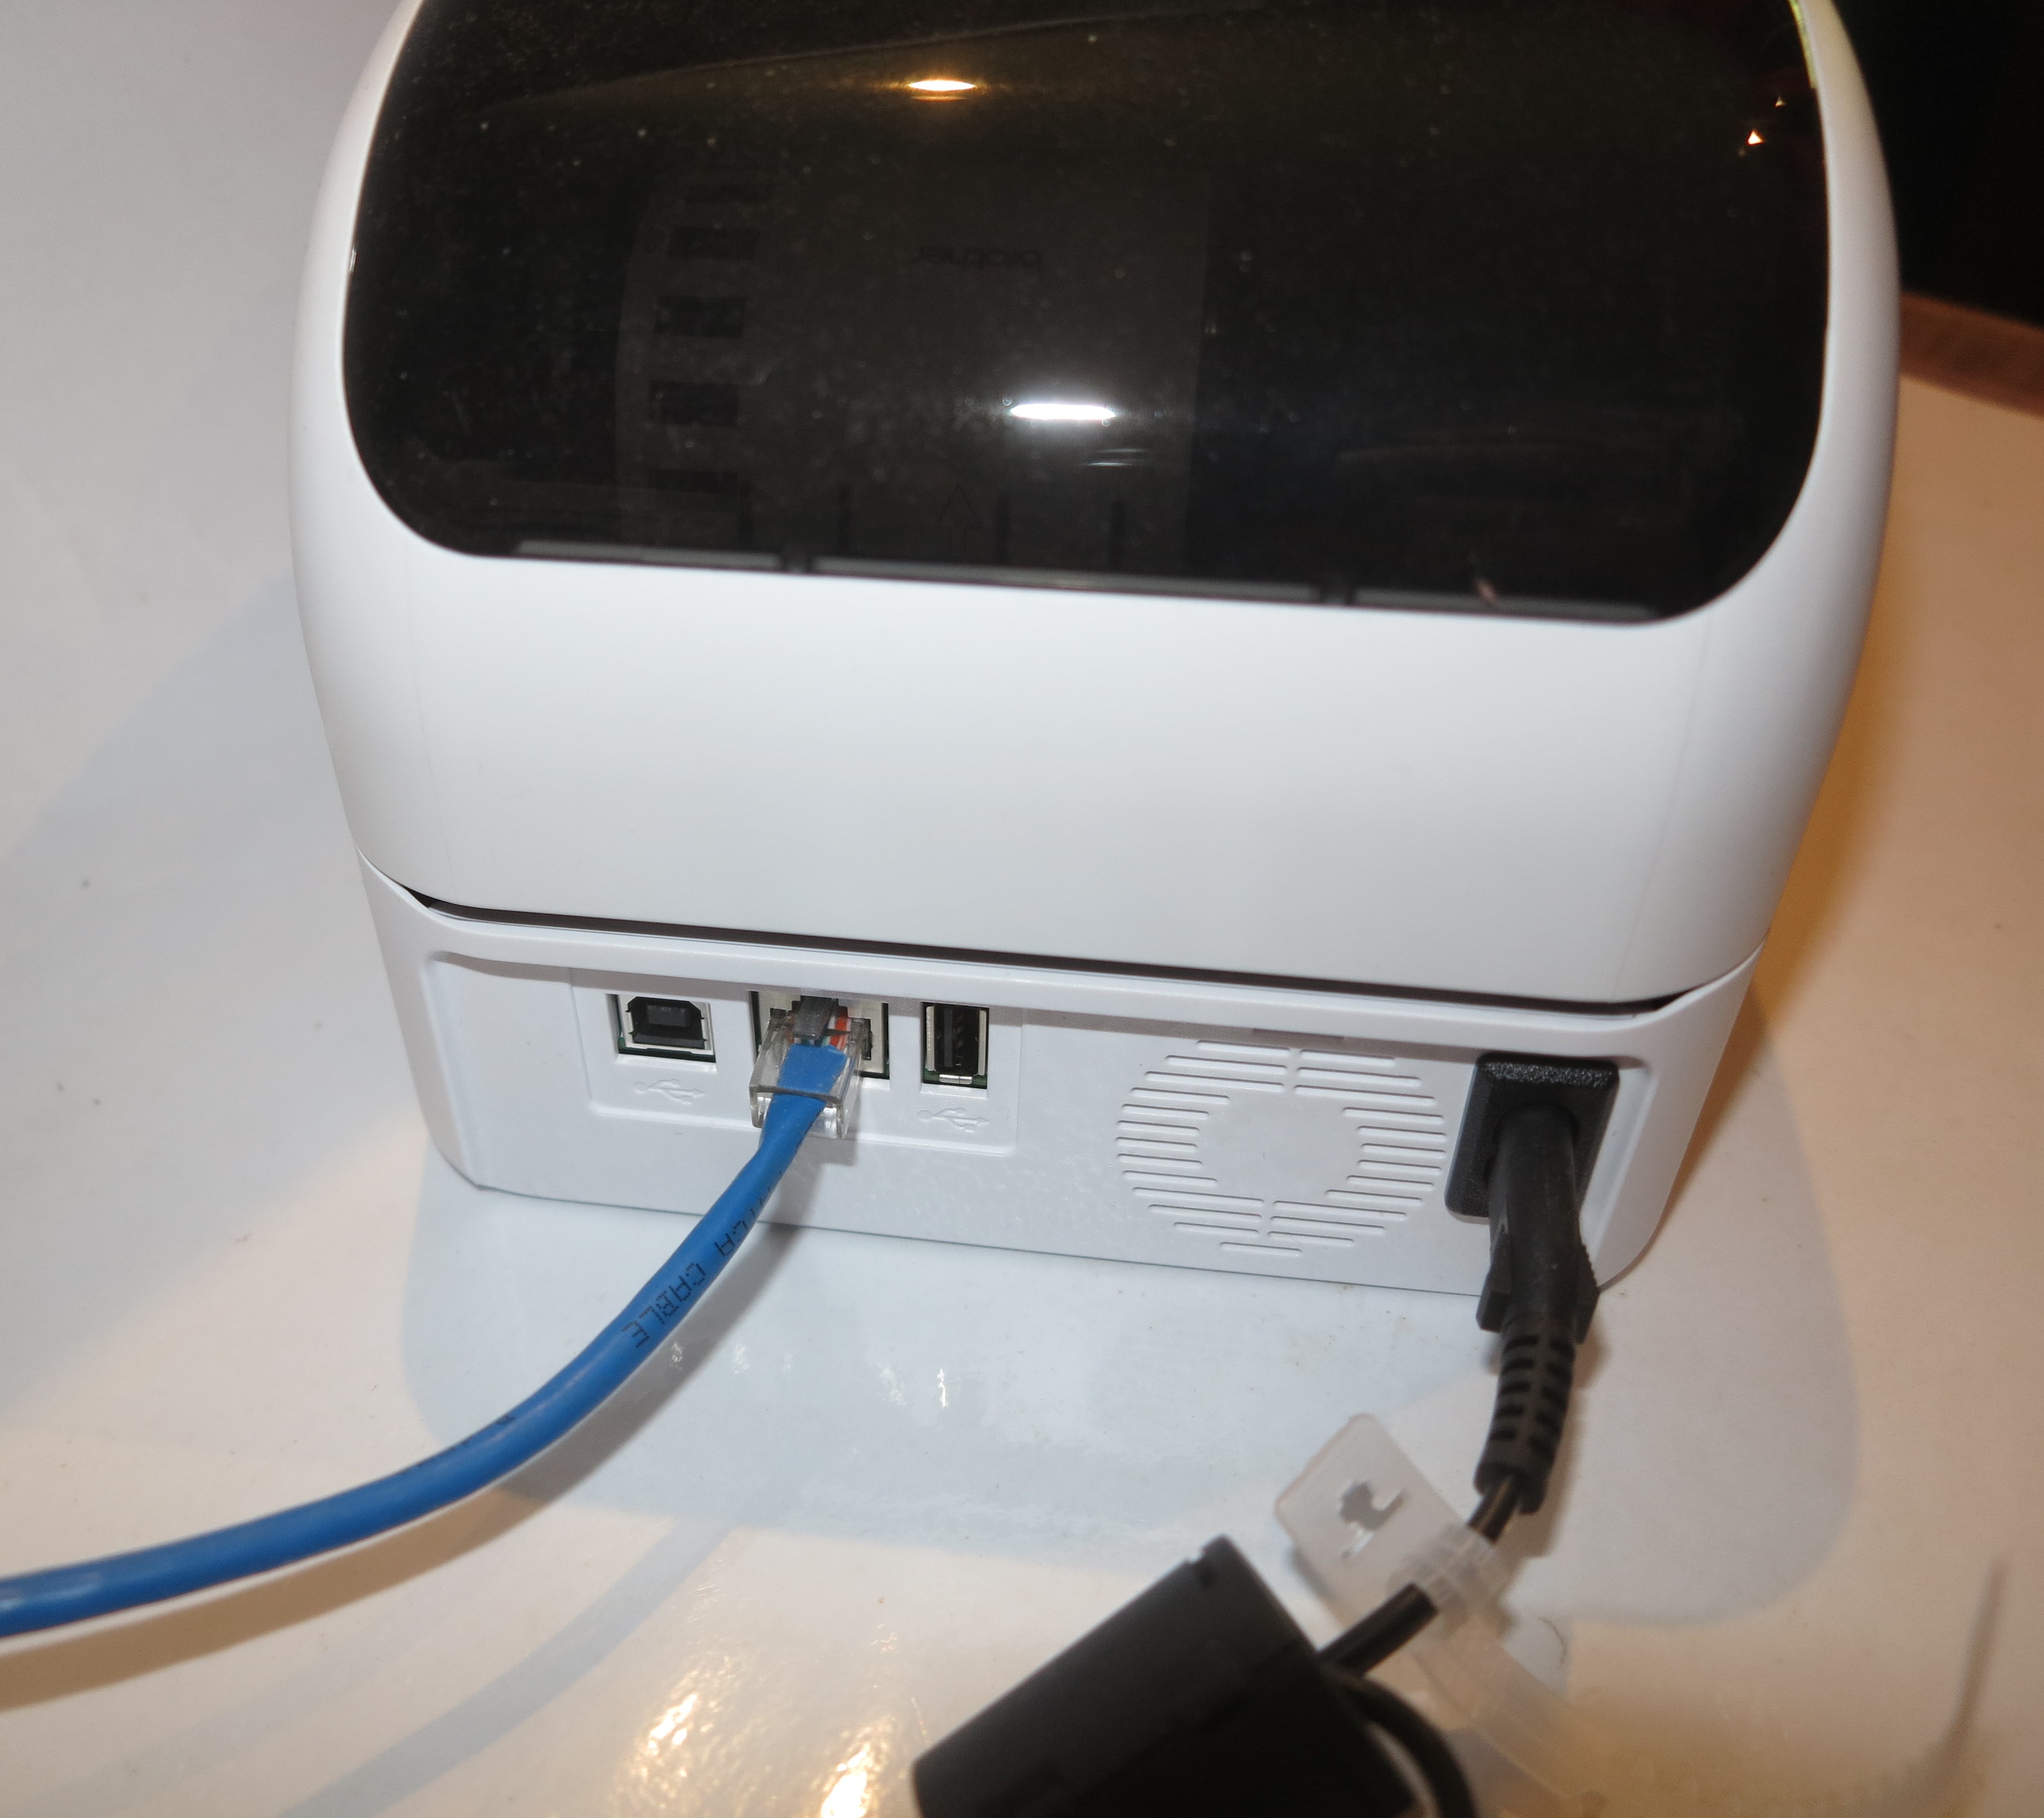
You still have to open the lid to connect the printer to any wired connection other than its power. This is something that has been common with all of the recent Brother multifunction inkjet printers, but it can confuse people who aren’t used to this kind of connection arrangement.
Paper Handling
The use of Brother’s landscape-printing approach for printing on common office paper sizes has allowed the printer to turn out documents very quickly. It also allows for a relatively-compact printer even though there is some overhang thanks to the INKVestment cartridges.
There is still a straight-through bypass feed on the back of the printer for using occasionally-used paper sizes and types.
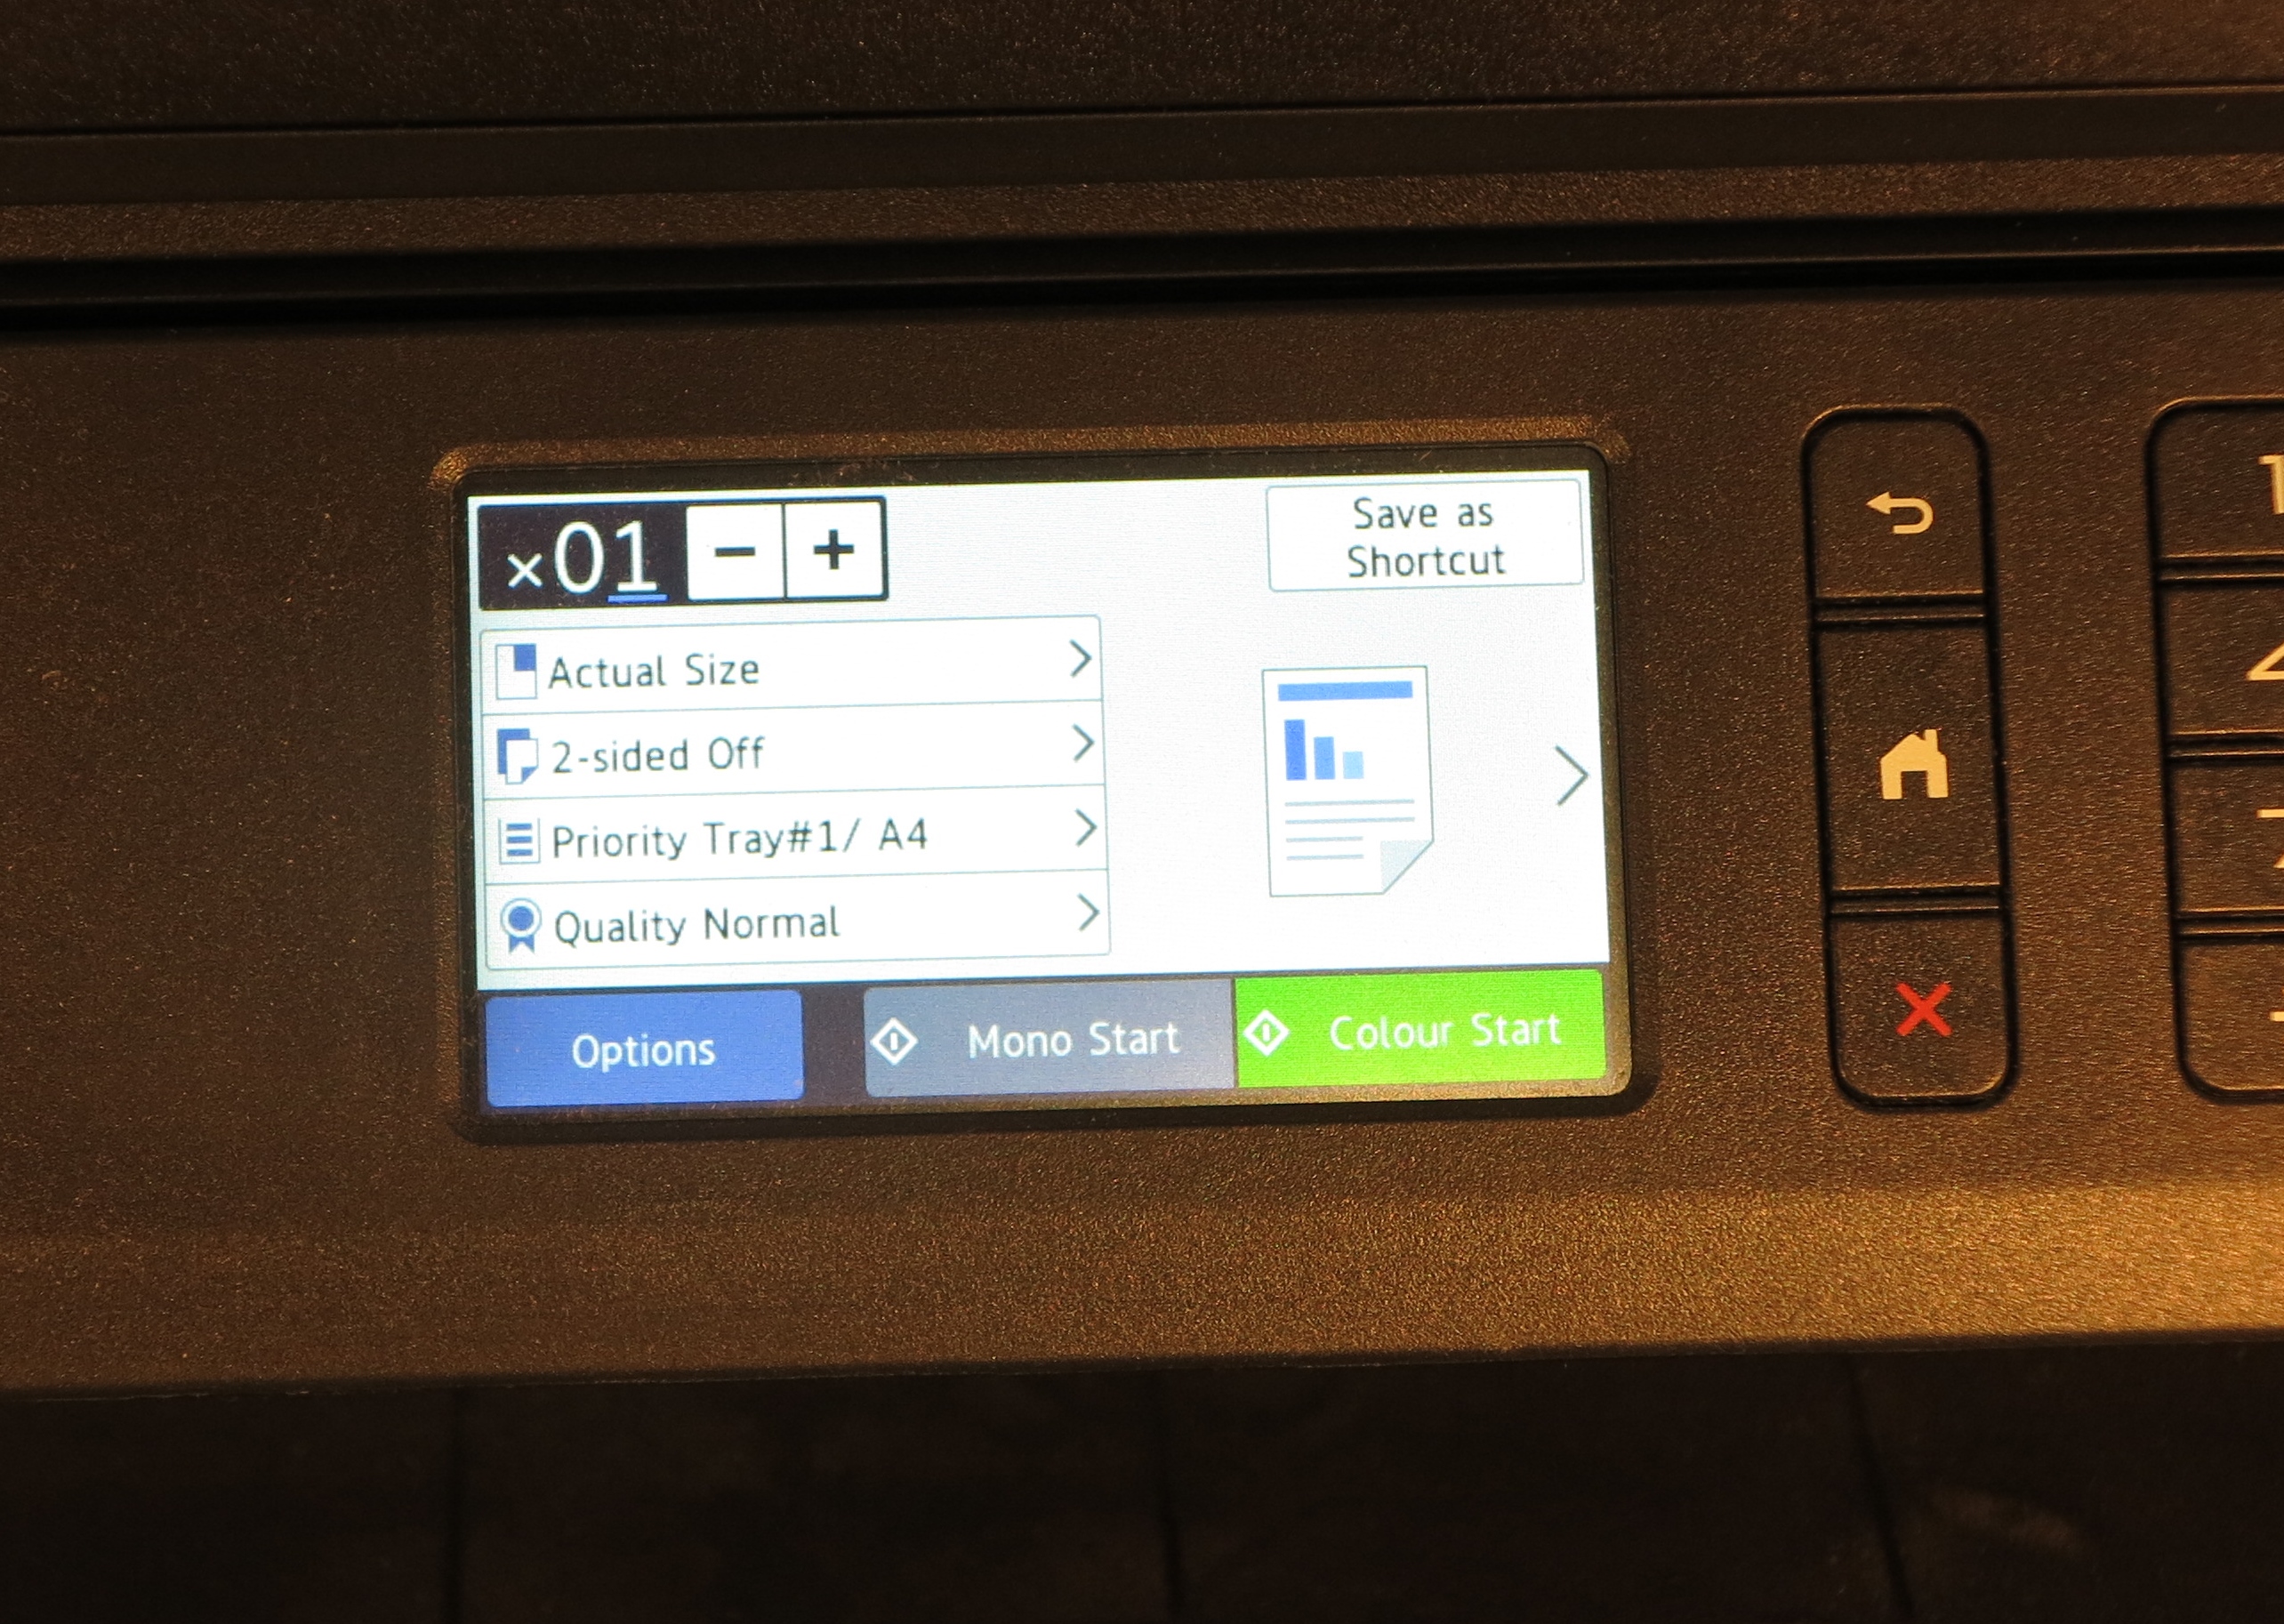
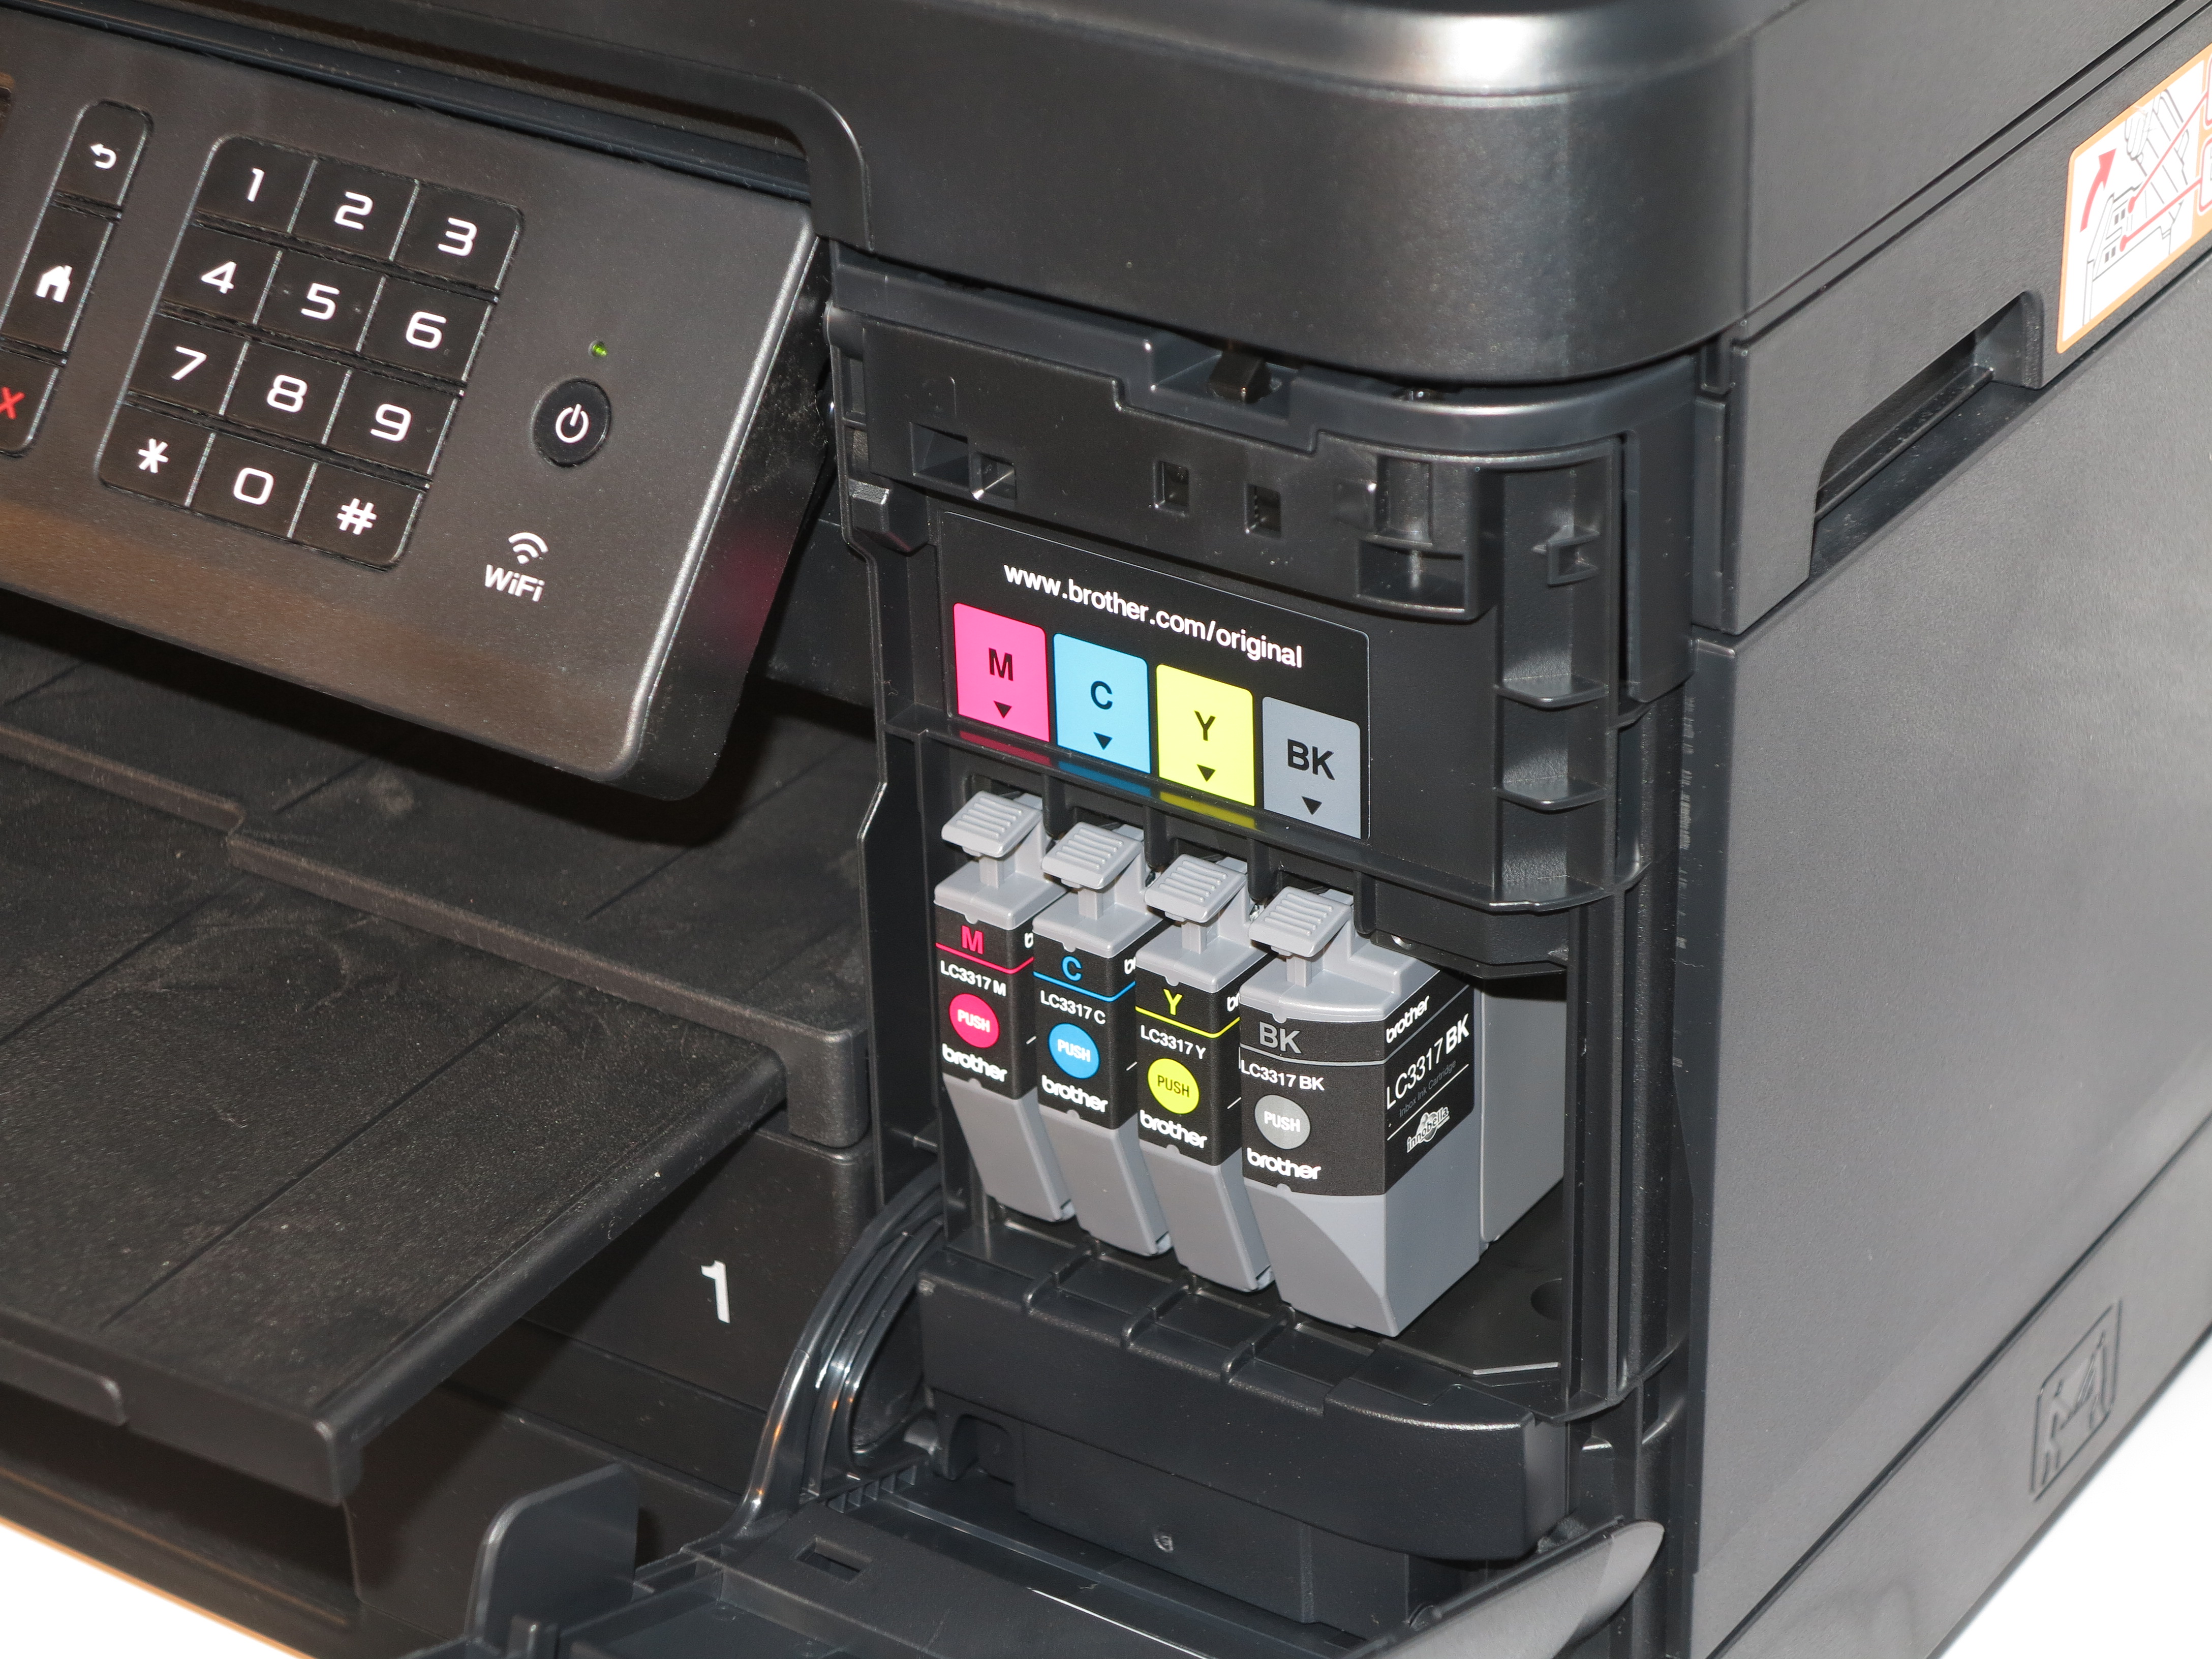
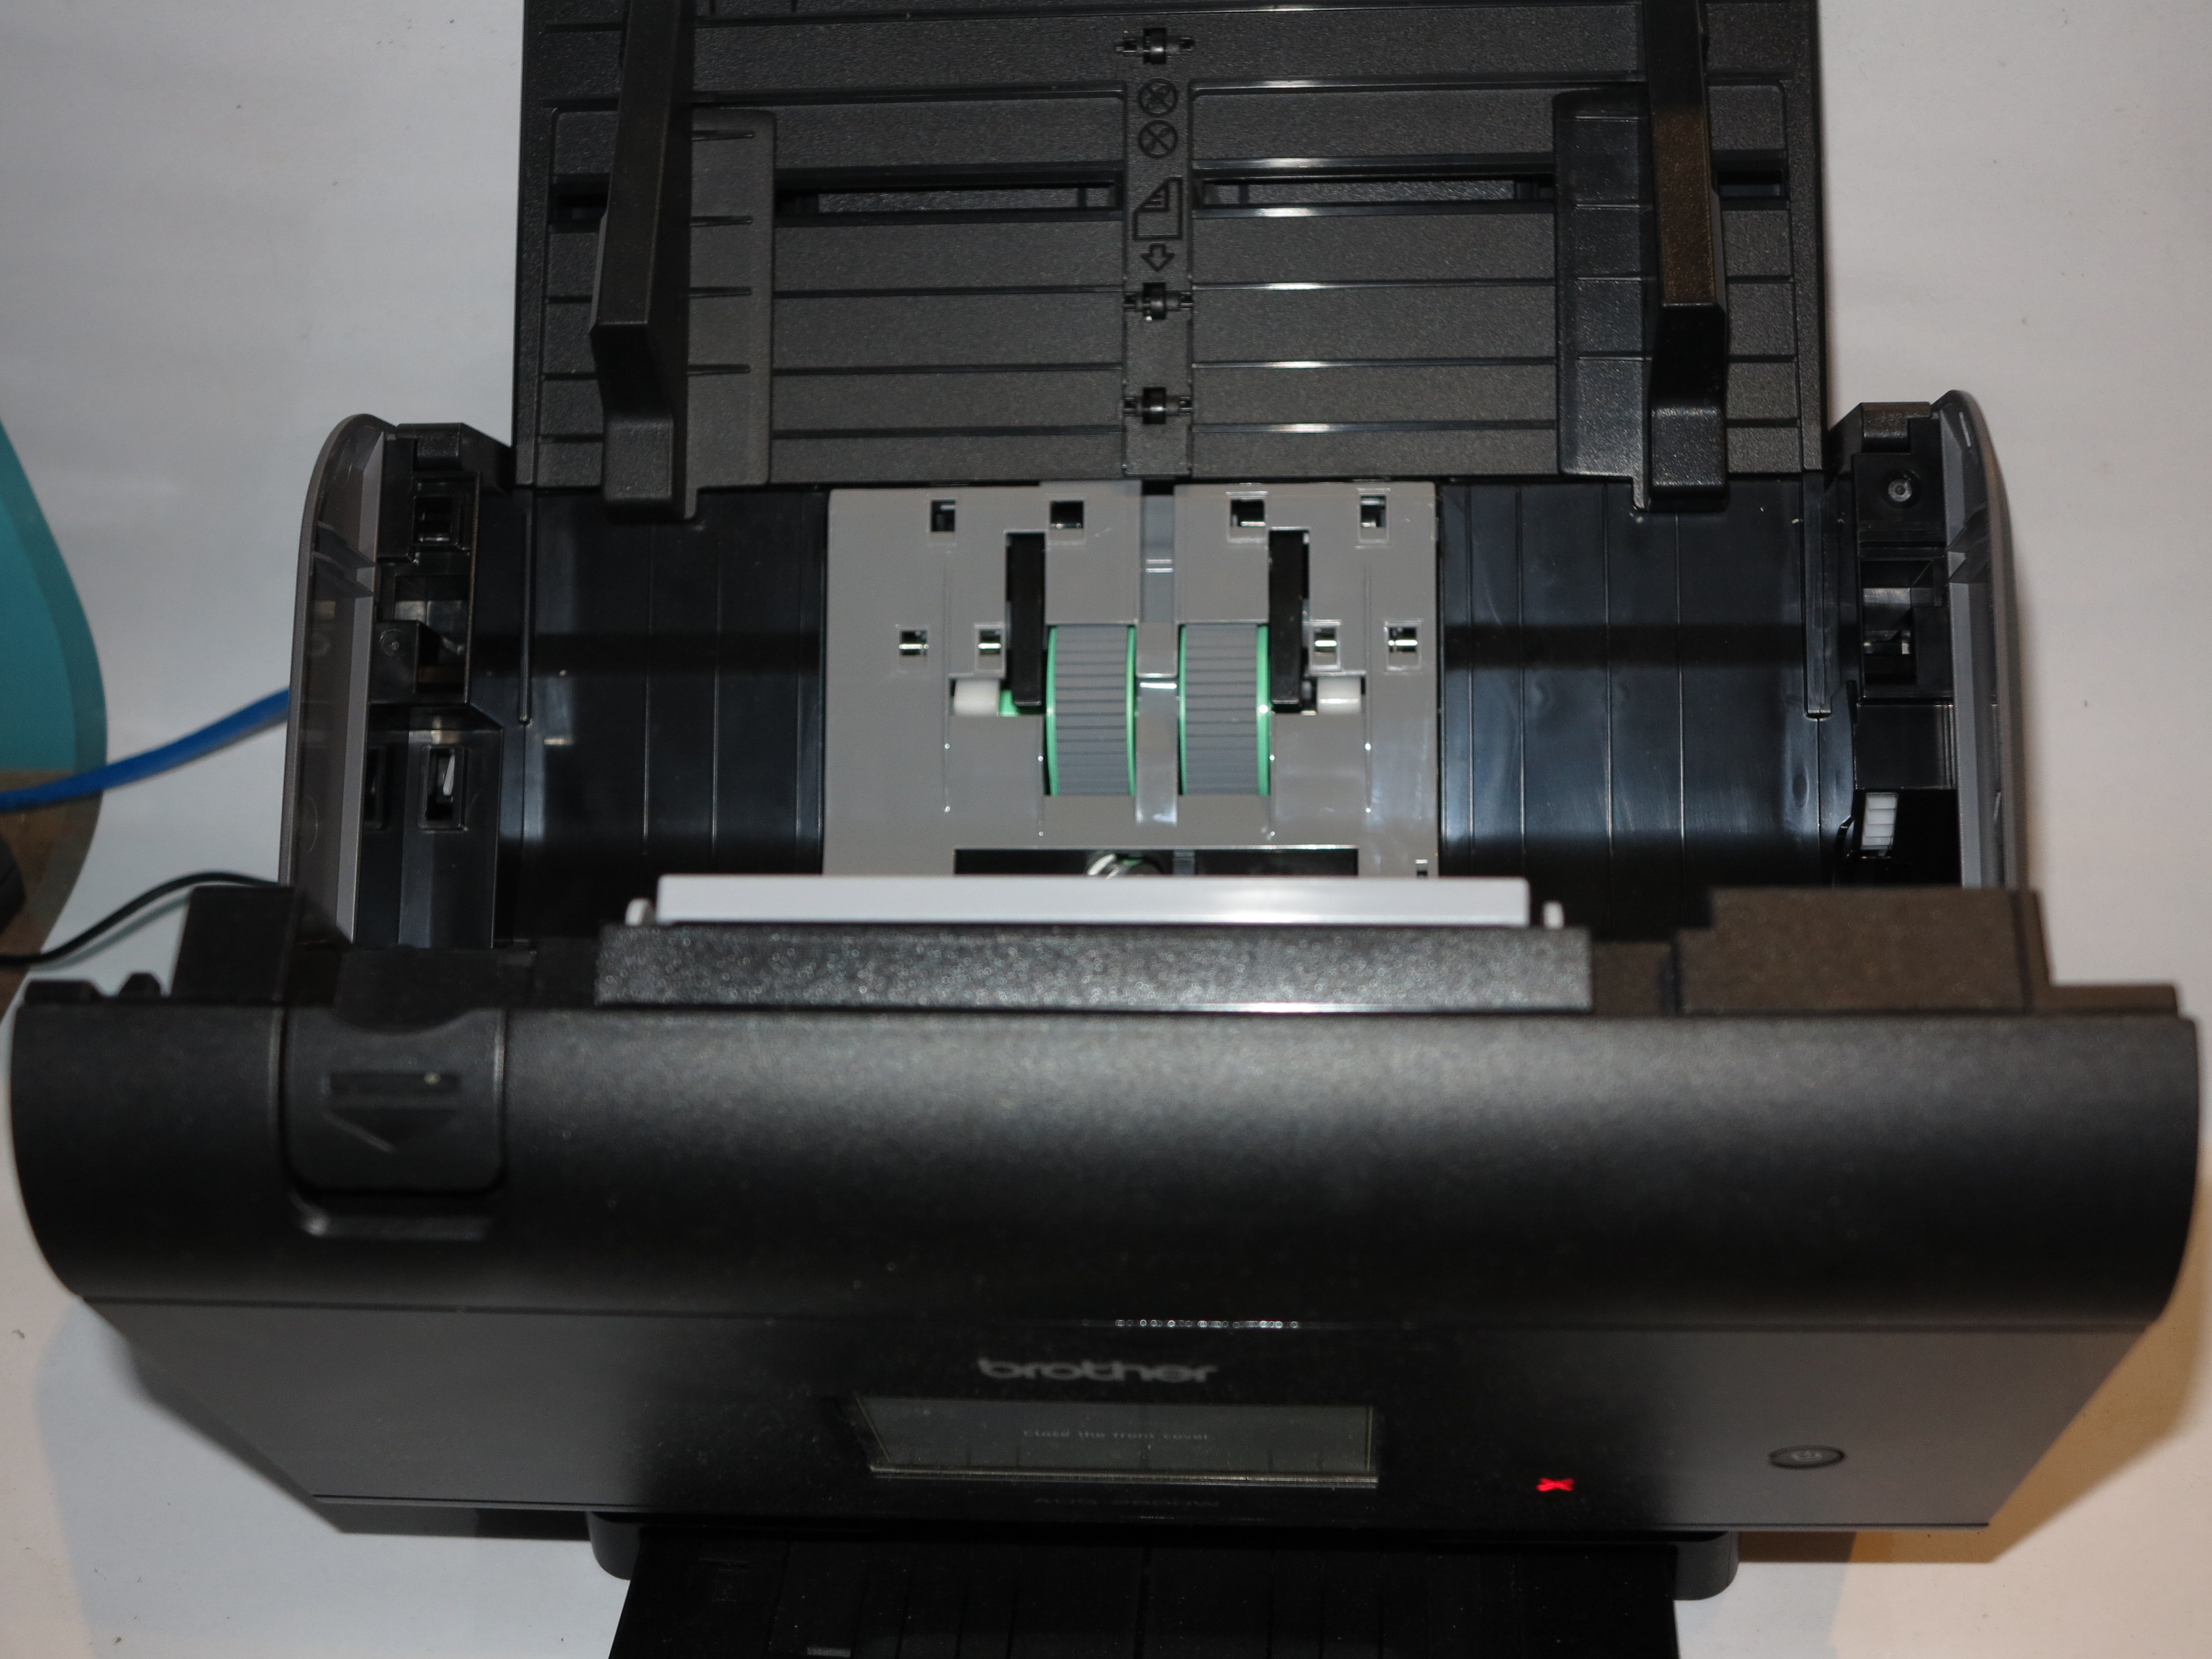
Walk-up functions
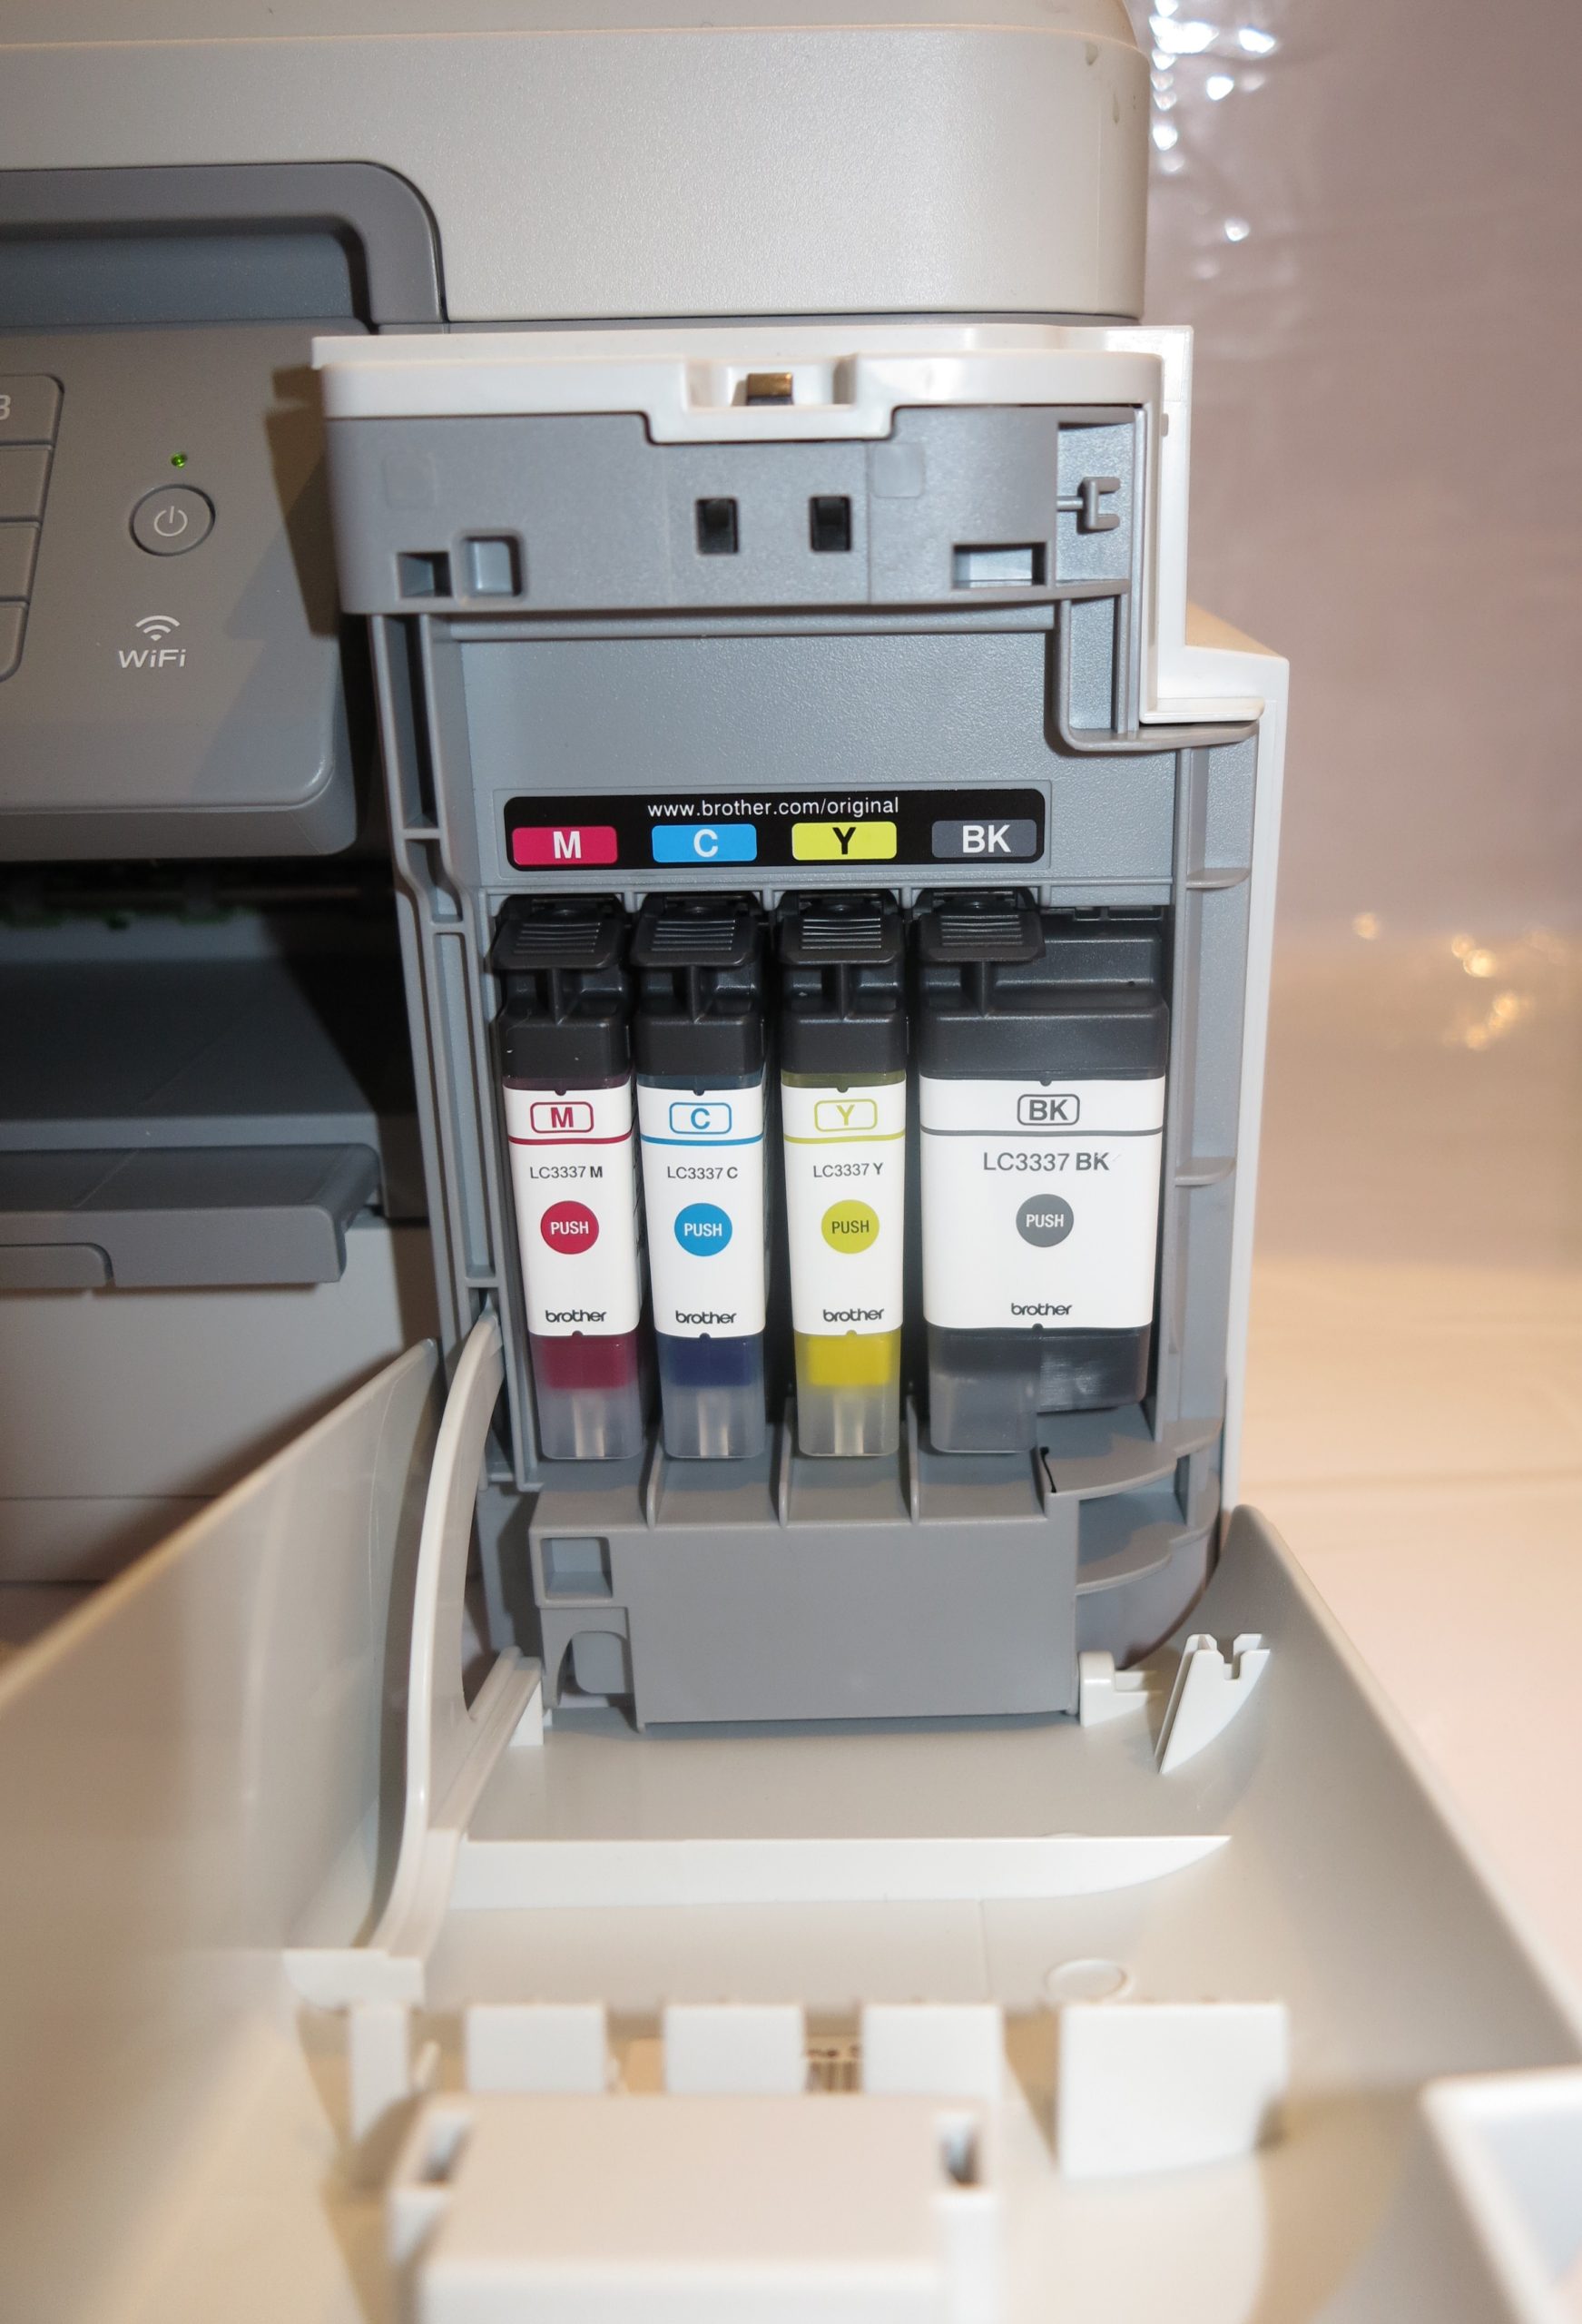
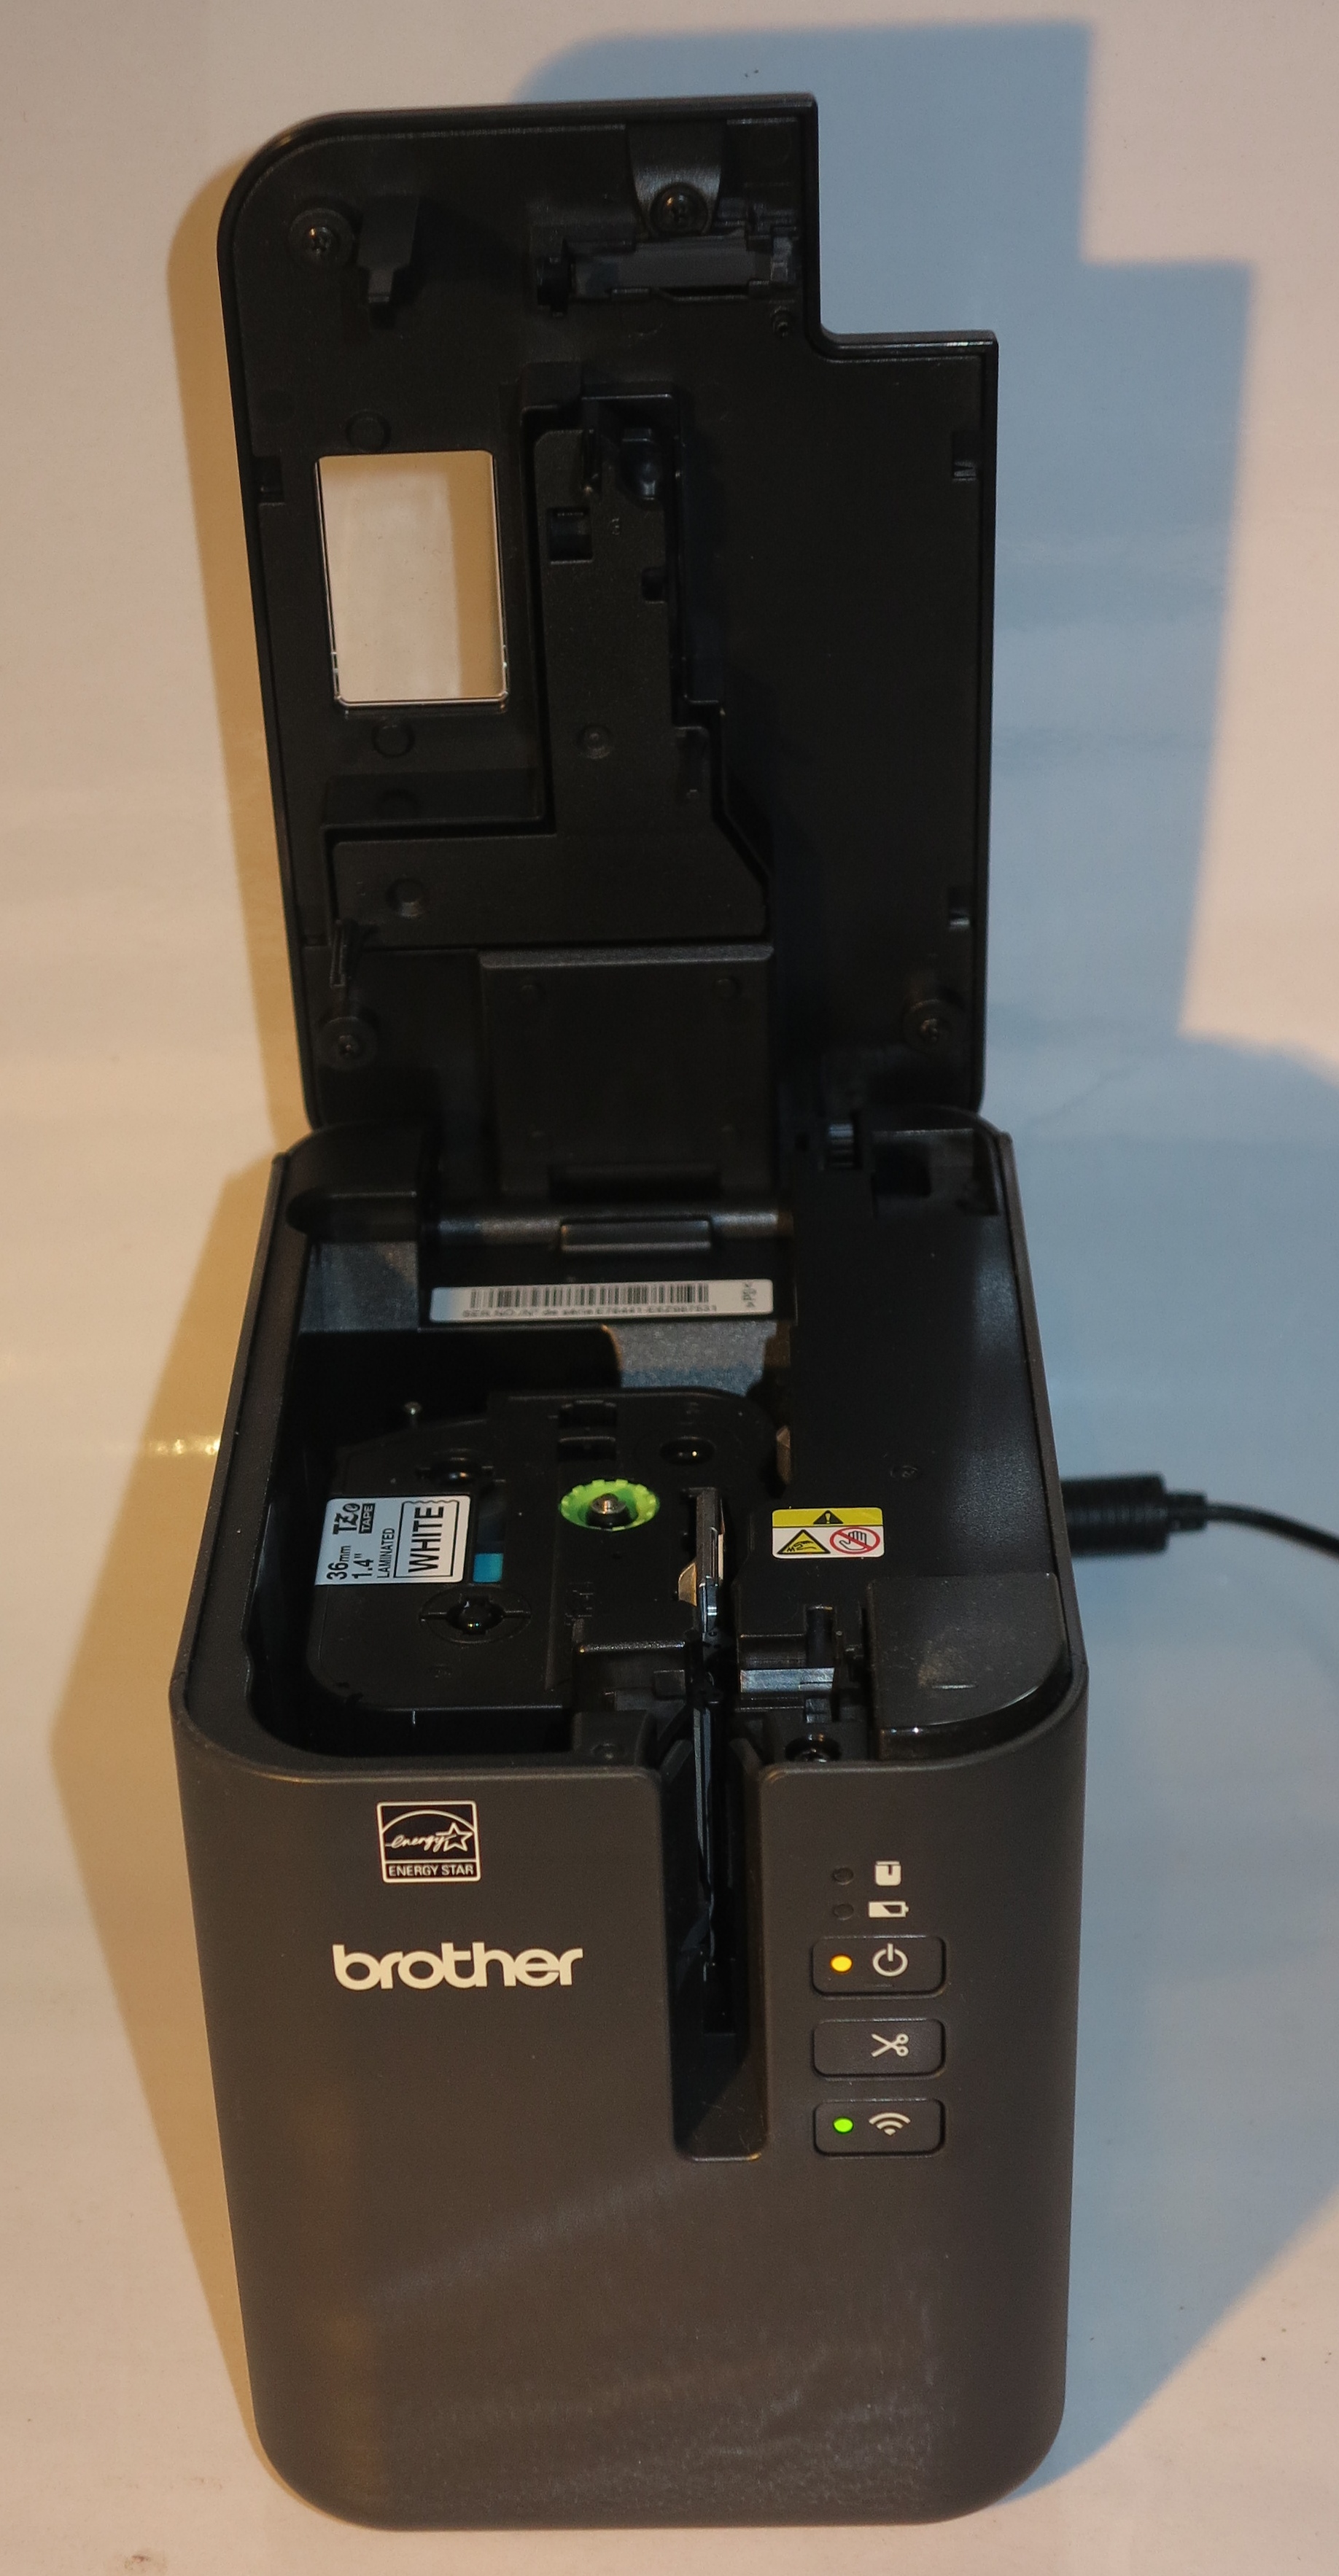
Brother high-capacity INKVestment cartridges in place
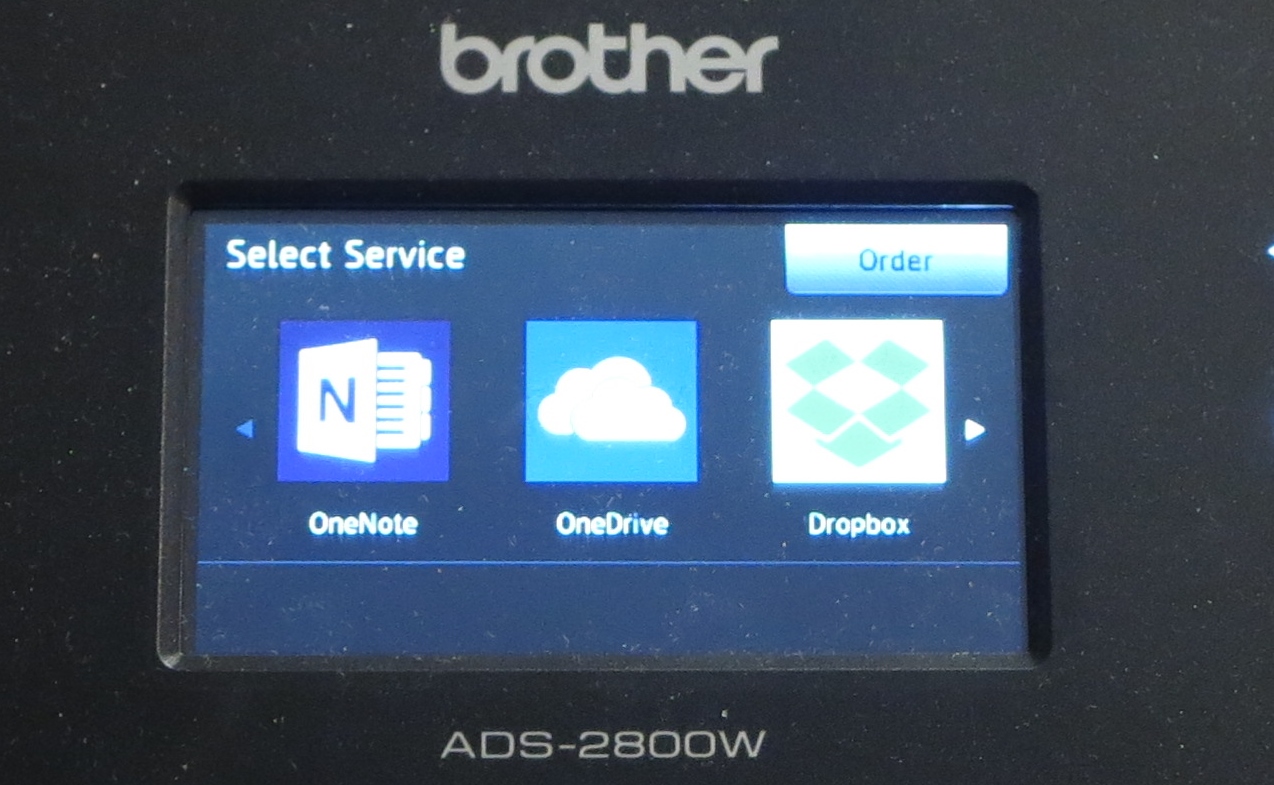
There is the ability to copy as well as scan to or print from USB memory keys. As well, this printer has the ability to work with online services, mainly the “big-name” file-storage services and the main cloud-driven online notebooks like Evernote and OneNote.
The digital copying functionality supports book copying and ID-card copying but it still has the same problem associated with the rest of the Brother multifunction stable. That is where the scanner doesn’t scan to the edge of the glass platen, which is a limitation for most of us who line the original up against the edge of the glass in order to stabilise it during scanning or copying.
The fax-machine functionality which works with the plain-old telephone service or the T.37 email-based setup is very similar to what is offered in recent Brother multifunction printers. This includes the ability to use Dropbox, OneDrive or similar services to store received faxes but it could support a more comprehensive “fax-vault” function with the ability not to print incoming faxes out as they are received or to store to local storage media that can be encrypted.
Computer functions
I downloaded the Brother MFC-J5845DW printer’s drivers from Brother’s support Website and installed them from the downloaded package, with it working out properly. This meant it didn’t take long to get the printer up and running.
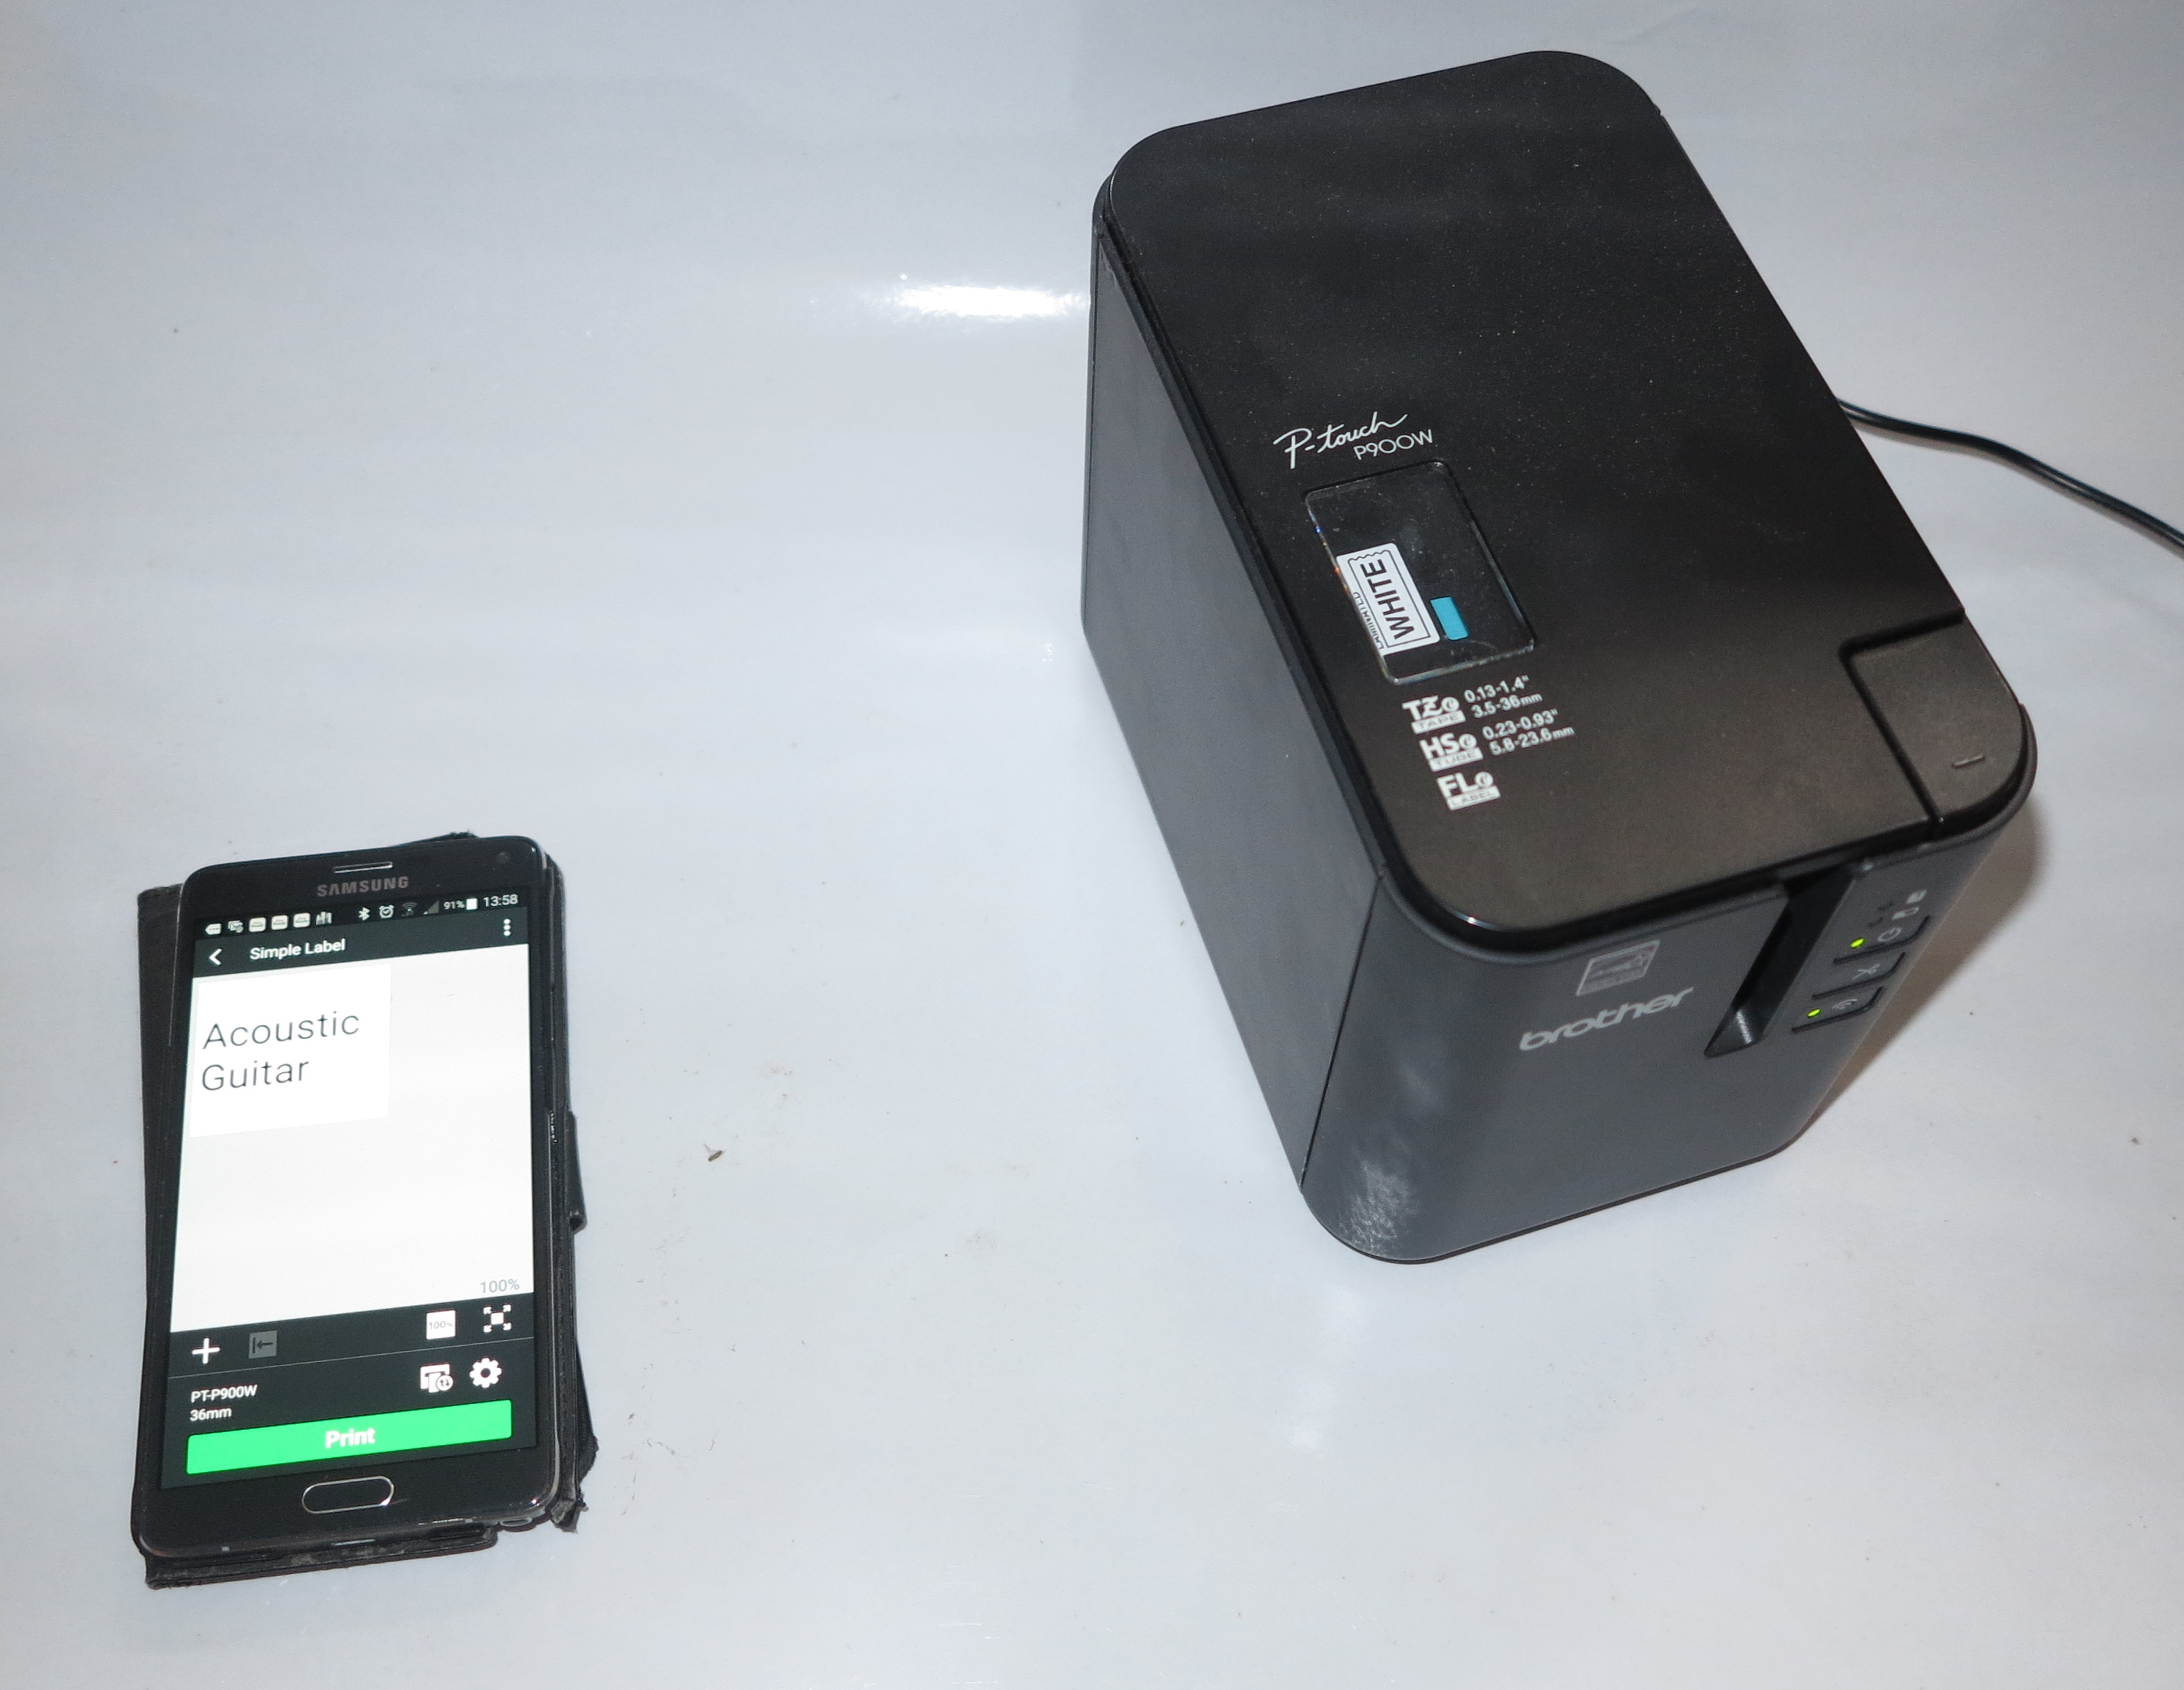
I have used the Brother MFC-J5845DW printer for Mopria-based driver-free printing from my Android phone and this worked very smoothly. Here, the printer was quickly discovered using the Mopria print software on the phone very quickly and I was able to immediately turn out a PDF file very quickly.
Print / scan speed and quality
I have used the Brother MFC-J5845DW to turn out a large print run and found that this printer is quick on the mark. I even noticed negligible dwell time between printing each side of a page when it turned out an auto-duplex print job with it printing on both sides of the paper. The documents came out very sharp for an inkjet but some people may not find them as sharp as a business-grade laser printer’s output.
I created a test page with lines at each margin on each side of the page and used that to identify if there is any page shift when the printer is printing on both sides of a page. This is important for those of us who take advantage of auto-duplexing for purposes beyond paper economy. This is where you use the printer for desktop-publishing jobs where you are creating things like luggage tags, door hangers and the like where you need to cut out a particular shape but you have the design on each side.
The Brother MFC-J5845DW exhibited a slight shift of a few millimetres between the front and the back along the long edge during this test. There wasn’t any of that shift on the short edge, illustrating that this kind of shift happens in the same direction as the paper is fed.
I have printed some test photos through the Brother MFC-J5845DW INKVestment multifunction printer and they have come up on a par with the same images printed on the Brother MFC-J5720DW multifunction printer.
There is still strong colour saturation, which will earn its keep with brochure and presentation printing. But on this printer, the skin tones come up without being too red and that is without taking away the vibrancy from primary colours that exist in the same image. As well, the Brother MFC-J5845DW shows increased sharpness and definition which can underscore a perceived improvement in how accurate it reproduces the photos, proving that the four-ink inkjet printers like what Brother offers can yield some very good photo-printing output.
This test was showing that Brother is improving on how their office inkjet printers can handle presentation-grade and photo-grade print jobs where visual appeal and quality do matter. The MFC-J5845DW and its current INKVestment peers are working towards that holy grail of being the desktop short-run printing press for small businesses and community organisations.
Limitations And Points Of Improvement
Brother could then have their inkjet printers use Wi-Fi 5 (802.11ac) or Wi-Fi 6 (802.11ax) technology in order to allow the printers to work with these networks without reducing the network segment’s throughput and performance. This may be something that will come about in a subsequent product generation once the necessary silicon arrives.
As well, Brother could have their multifunction printers work as T.38 IP-based real-time fax endpoints especially as most phone setups are moving away from the “plain-old telephone system” technology to VoIP. They can also support a full “fax-vault” function especially as faxing is still valued by the medical and legal professions as a preferred means for exchanging highly-confidential documents “over the wire”.
Conclusion and Placement Notes
What I have seen of the Brother MFC-J5845DW INKVestment multifunction inkjet printer and its peers is that it combines Brother’s inkjet printer technology improvements in one value-for-money unit. This is the high ink capacity approach offered by the INKVestment tank+cartridge ink-delivery platform alongside the landscape printing approach that improves printing speed for standard-size documents and provides the ability to print to A3 or similar-sized paper.
I would seriously consider the Brother MFC-J5845DW as a value-for-money high-ink-capacity inkjet multifunction printer that works well as a general-purpose A4-based printing workhorse but you want to occasionally turn out A3 print jobs.
The fact that it works on inkjet technology can be a bonus if you are placing emphasis on media flexibility especially when it comes to making hard copies of digital photos or printing presentation-grade work. This is where it performed exceptionally by yielding high-definition hard copies of the test photos.
I would also consider the Brother MFC-J6545DW full-A3 model as an ancillary “A3 specialist” printer for workplaces where an A4 colour laser printer or multifunction is being used as a regular document printer while you use that printer for the large paper sizes.