Product Review–Brother MFC-J6910DW A3 multifunction printer
Introduction
Previously, I reviewed Brother’s first A3 multifunction printer, the MFC-6490CW, which was one of the first multifunction-class printer that can turn out documents on this large paper size. Estate agents, architects and the like have been licking their lips at these machines because of the availability of a compact desktop multifunction printer that can print out those building plans on the sizes of paper they are accustomed to for these documents.
Since then, HP had introduced a single-tray A3-printing multifunction in the form of the OfficeJet 7500a but Brother have worked further on the idea of A3 printing in the small office which I had talked about in my industry interview with them. This has manifested in the latest run of A3 multifunction printers which the MFC-J6910DW that I am reviewing represents as the fully-equipped model.
There are cheaper versions of this model that neither support duplex scanning nor have a touchscreen LCD display. As well the cheapest model in the range, the MFC-J5910DW can only scan A4 pages where as the other single-tray unit, the MFC-J6510DW can scan A3 pages. The model just below this unit, the MFC-J6710DW has the two paper trays and can scan A3 pages. But they all can do things like print on both sides of A3 pages.
This machine is infact the printer that was used in Brother’s latest TV-commercial series about using A3 paper as a tool to “expand your business horizons”. This is to use the paper size to realise more impact with customers or business partners by benefiting from larger text or room for detail. It may be also worth looking at this article that I wrote on making more use of A3 and similar sizes in the office when you read this review.
North-American readers should think of Ledger paper when I mention A3 paper in this review because of the fact that the paper sizes are just about the same and this printer can scan and print on this paper size. It will also scan double-sided on Letter or Legal paper, which is similar in size to A4 paper.

| Scan | Copy | Fax / |
Paper Trays | Connections | |
| Colour | Colour | Colour | Colour | 2 x A3 | USB 2.0 |
| Piezo-action Ink-jet | 2400dpi resolution | ID copy Optimised book copy, |
Super G3 | Multi-purpose tray | Ethernet, 802.11g/n WPS Wi-Fi |
| Auto-duplex | Single-pass duplex ADF – duplex for A4 onlyA3 scanning | T.37 email-based faxing (requires free download from Brother) |
IPv6 ready |
Prices
Printer
Recommended Retail Price: AUD$379
Inks
| Standard | High-Capacity | |||
| Price | Pages | Price | Pages | |
| Black | $39.95 | 600 | $53.95 | 2400 |
| Cyan | $27.00 | 600 | $33.95 | 1200 |
| Magenta | $27.00 | 600 | $33.95 | 1200 |
| Yellow | $27.00 | 600 | $33.95 | 1200 |
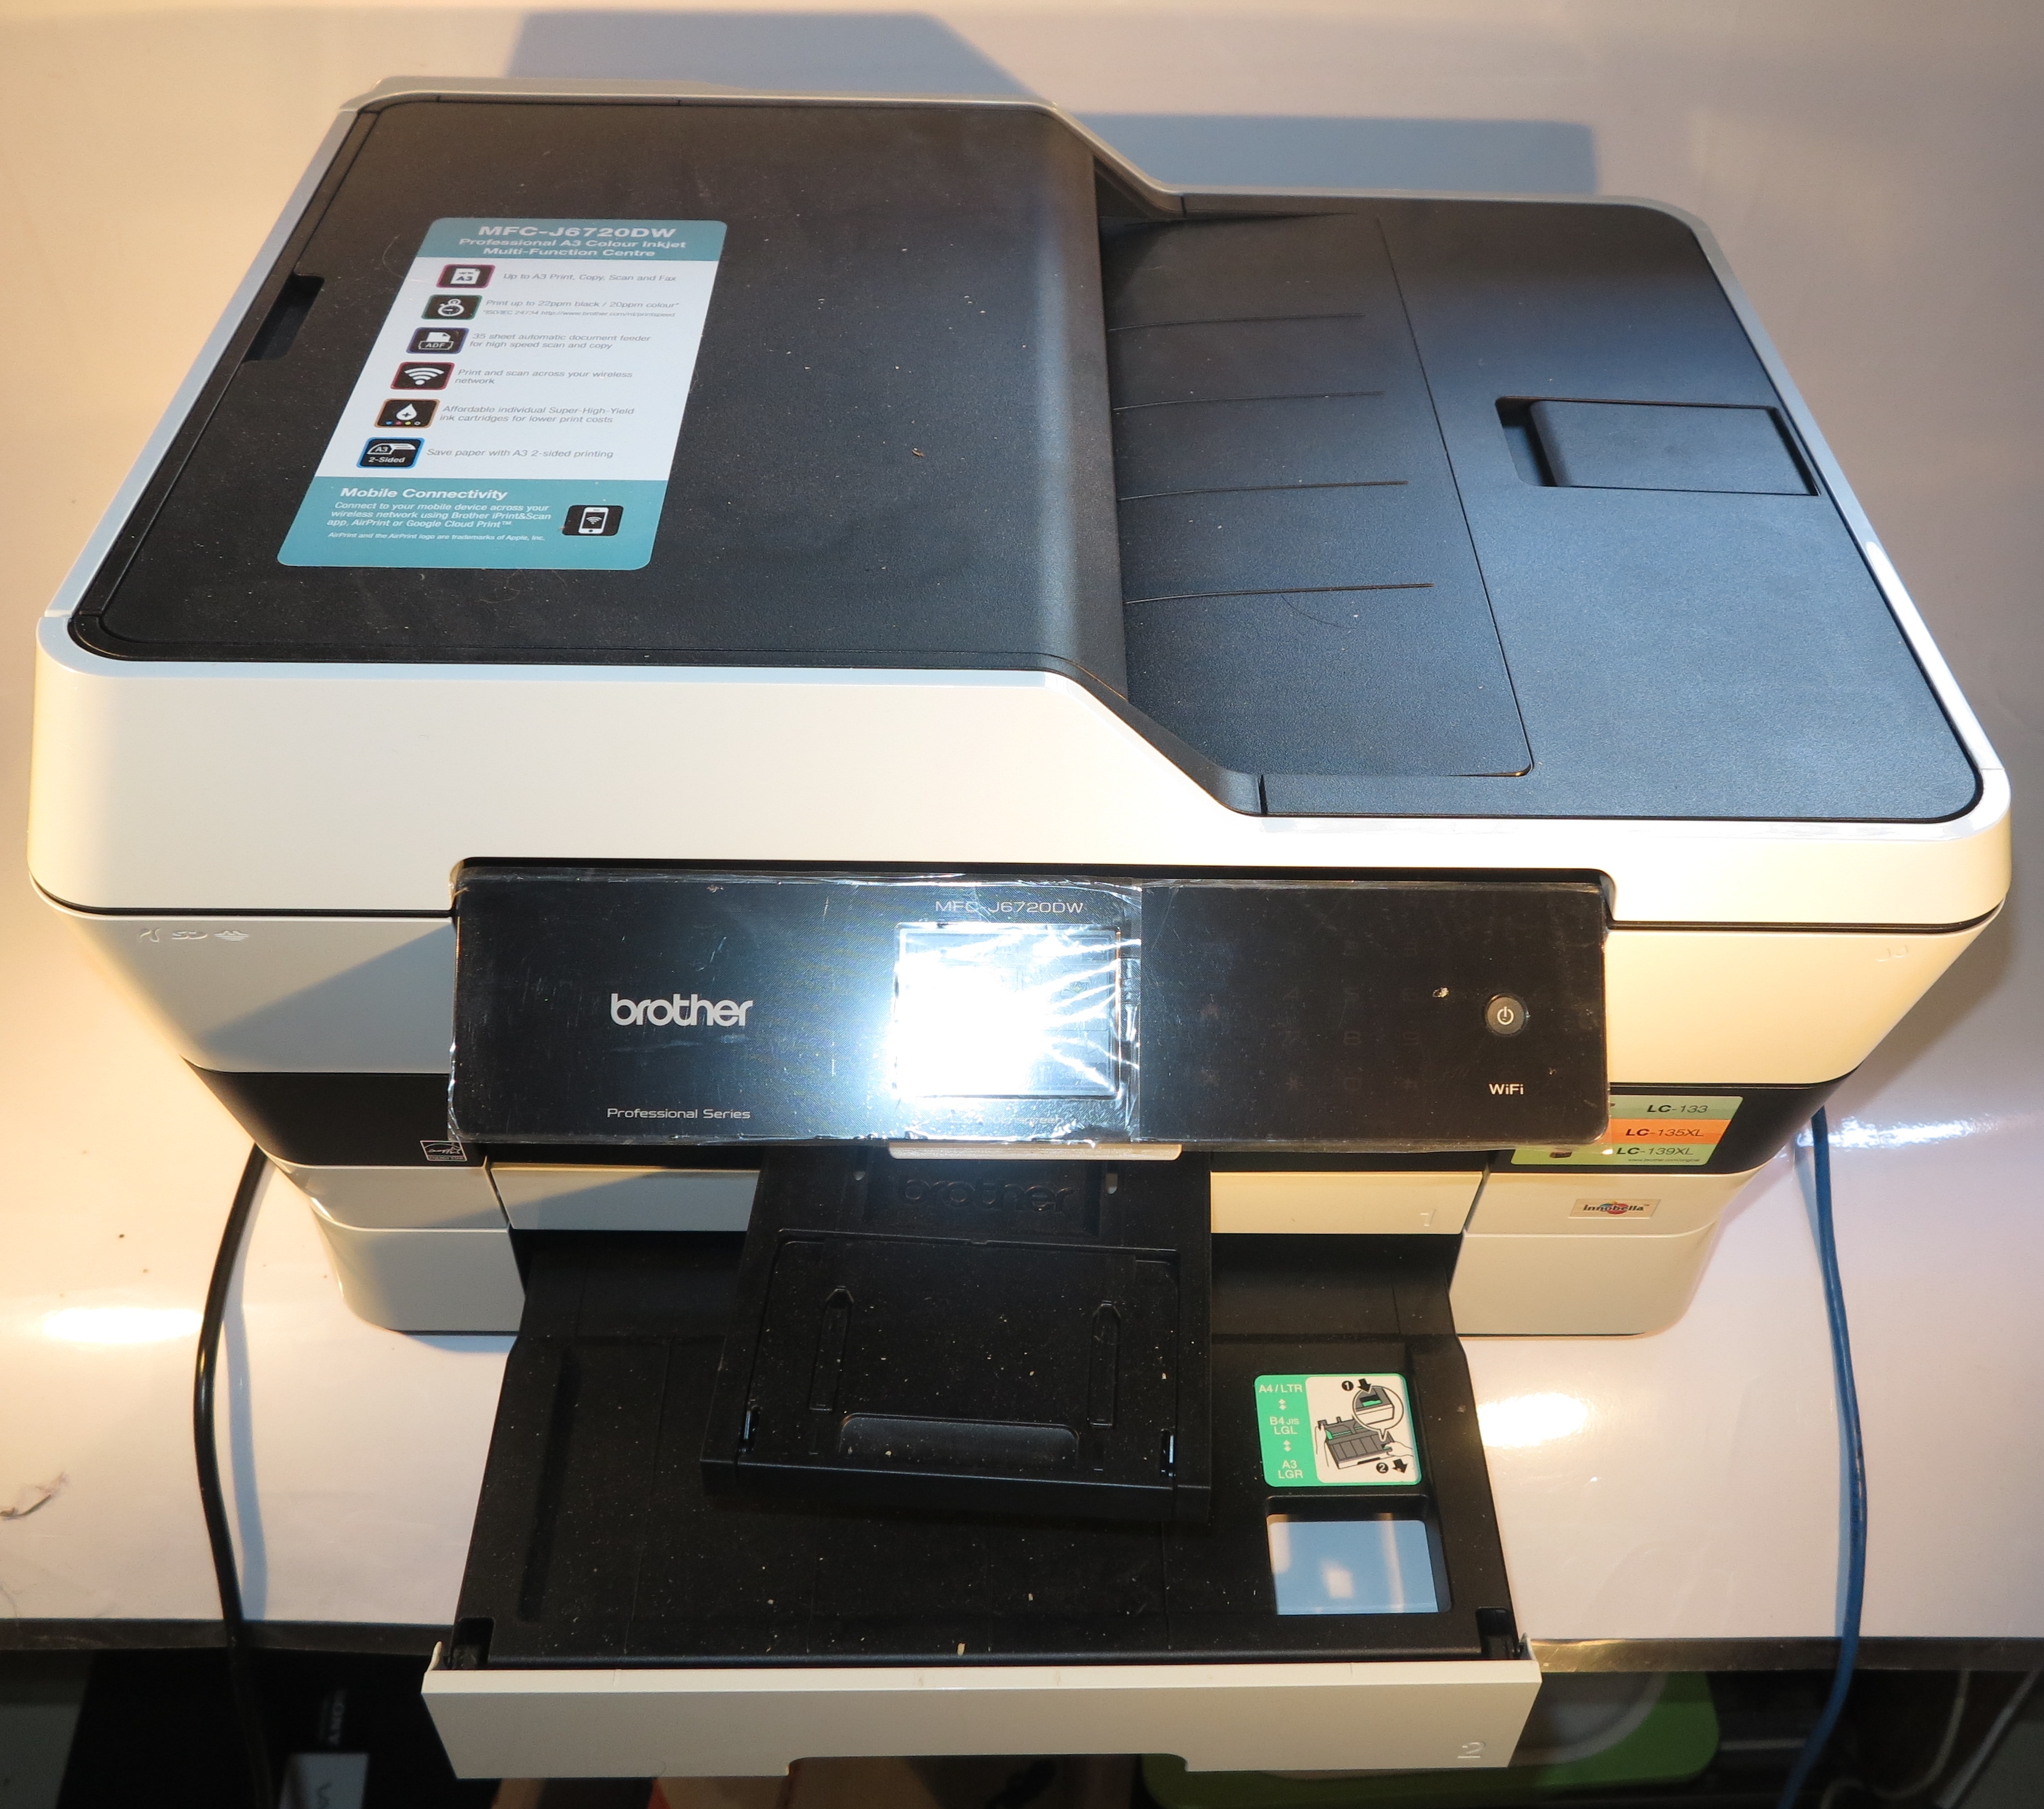
The printer itself
Setup and Network Connectivity

Where to plug in the USB or Ethernet cable for wired connections
If you are connecting the Brother MFC-J6910DW printer to your computer or network using Ethernet or USB, you have to open the access lid and snake the cable through to sockets installed within the printer chassis. But the phone connections for the fax functionality; as well as the power connection are exposed connections on the left side of the printer. This can be very daunting for people used to a group of sockets on the back of the printer.
The printer works with wired and Wi-Fi networks and is future-proof with IPv6, as expected for a business printer. It does support expected Wi-Fi setup functions like WPS “one-touch” setup.
Walk-up functions
The ability to print directly from the memory card or a digital camera works properly but the paper reserve you can use is whatever is loaded in the upper tray or manual feed slot. I would like to see this improved by allowing one to select whichever paper tray to use or if they print using PictBridge, the printer checks both paper trays for the specified paper size and type.
It has the expected copy functions, with the ability to enlarge an A4 document to A3 which is commonly expected of A3 copying devices. This is done by setting the Enlarge function to 141% and setting the paper size to A3. The ID copy function is very tricky to operate for new users because you have to use the “N-in-1” option to set the ID copy for the job. As well users wouldn’t know where to place the identification document to be copied for each side of that document.
As far as copy fidelity goes, the copies come out slightly paler than the original. It also doesn’t use the memory to quickly scan subsequent pages using the automatic document feeder while the copies are being turned out.
The fax functionality supports Super G3 faxing with colour over regular phone lines as well as T.37-compliant fax over email. This IP-based “fax-over-email” functionality is limited to handling A4-sized monochrome documents. At the moment, this function is enabled through a free download program from Brother’s support Webpage for this unit.

Control panel with touchscreen
This printer is equipped with a full-duplex automatic document feeder that scans both sides of the page at the same time, rather than reversing the paper over a roller to expose the other side for scanning. The main benefits that I have seen from this is that the documents are scanned very quickly and the ADF is more reliable because there isn’t any extra paper handling involved. This feature is only avaliable for A4 or smaller documents.
Computer functions
I would prefer that you download the latest driver software for your computer’s operating system from Brother’s Website for this printer rather than install the software that comes on the supplied CDs; as I have preferred when new computer hardware is installed. This is more so with this unit because when I installed the driver software from the CDs on to my Windows 7 PC, there was a weird error message towards the end of the install routine and the driver wasn’t in place.
During printing, the software runs very lean and isn’t demanding on your computer’s resources. Even if you start a scan job from the MFC-J6910DW’s control panel, there isn’t much demand on the computer for the necessary scan monitor software. For that matter, a duplex scan job had both pages on the hard disk simultaneously. As well, you can set the printer up to scan to network (or Internet) storage resources as long using standard file-transfer protocols.
The Brother print driver’s user interface still has that excellent “at-a-glance” view of the settings that you have specified for that print job. This is something that I have seen consistently with all of Brother’s printers since I reviewed the HL-4150CDN colour laser printer.
Use with Brother iPrint&Scan (Android)
If you use the Brother MFC-J6910DN with the Brother iPrint&Scan mobile-printing app, you can print PDFs and photos from your device. It can accept A3 print jobs if the document is a PDF.
But, as I have seen from my Android copy of this program, the program’s current version doesn’t support printing of photos on A3 paper, nor does it support duplex and booklet printing for PDF documents. On the other hand, this app can scan both sides of a document that passes through the duplex automatic document feeder.
Paper and ink handling

Ink cartridges loaded up front on this printer
This Brother MFC-J6910DW multifunction printer, like the other Brother inkjet printers and the HP OfficeJet 8500a Plus allows you to change the ink cartridges by opening a door on the front rather than lifting a heavy scanner lid. But because the printer, like other Brother and Epson inkjet printers uses piezoelectric inkjet technology, you have to make sure you have a spare cartridge on hand when it lets you know it is low on ink for that cartridge and be ready to replace the cartridge when the ink volume looks very low. This is to avoid a loss of print quality due to airlocks in the ink system.
It can handle heavy print runs, including auto-duplex print runs, without failing. The auto-duplex function works to the edge for A4 and lower paper sizes but requires a margin at the top and bottom of an A3 document. This can be of concern when you use this function to print out A4-size booklets on A3, which it still can do well.
I would like to see Brother add some improvements concerning the ability to use the lower tray for photo-paper or poster-print jobs. Similarly there could be the ability to load the manual feed tray at the back with up to ten sheets of paper and have that considered as a separate paper source. This can improve the workflow for multi-page photo prints or poster-print jobs.
Print quality
The Brother MFC-J6910DW yields very sharp text from regular document print jobs, but some spot colours don’t come out strong on plain paper. I even printed the PDF file of the London Tube and Rail Map on A3 as a test to assess its prowess with complicated maps, plans and diagrams and it did yield a crisp image with legible station-name text. This is because a lot of users who buy this printer will be making it turn out those floor plans, maps and similar diagrams on to big sheets of A3 or Ledger paper as part of their livelihood.

This unti does scan and print A3 pages
When you print photos on this Brother printer, the pictures yield a darker contrast and don’t exhibit strong colour saturation. If the picture is of a person, the flesh tones don’t come out very pale.
Limitations and Points Of Improvement
The Brother MFC-J6910DN has could benefit from improved advanced-copy functions like an easy-to-use ID-copy function with marked out “master areas” for this function on the edge of the scanning glass. It could also benefit from a user interface that can support “one-touch-copy” functions for particular common tasks like A4-A3 enlargement, A3-A4 reduction or ID copy.
As I have said before, this printer can benefit from flexible paper handling options like the use of both trays for special-printing jobs or the ability to feed multiple sheets of paper in the manual feed slot on the back of the unit.
People who have used HP and Canon printers may find that the Brother MFC-J6910DW, like other Brother printers, misses out on “stationery-cupboard-in-a-box” printing functionality like “Quick Forms”. This is where the printer can print out paper like checklists, calendars, ruled notepaper or graph paper by you operating functions on the control panel. Some of us may consider it an unnecessary frill but it can come in handy if you need ruled paper at a moment’s notice.
This Brother A3 printer, like nearly all home, SOHO and small-business printers, could benefit from being able to use commonly-available SD cards as upgradable high-capacity system memory. Here this could allow for quick fail-safe printing, faxing and copying from these devices, with the ability to upgrade the memory for those devices that have higher workloads. It is also more relevant with this printer as it handles A3-size documents which will typically be graphics-rich.
Conclusion and Placement Notes
This current series of Brother A3 multifunction printers has what it takes to bridge the A3 paper size to the multifunction printer. I would recommend the Brother MFC-J5910DW as a general office printer for work environments that are cutting their teeth on the large paper sizes. An example of this is the cafe owner who is wanting to get started with double-sided A3 “specials lists” that they attach to those plate-glass windows.
The MFC-J6510DW would work well as a complementary A3 scan-copy-print “specialist” printer alongside that colour-laser multifunction printer which is serving as your A4 document workhorse.
But I would specify the Brother MFC-J6910DW as an “all-round” document workhorse for people who have fully cottoned on to A3. I would even team this with the Brother HL-4150CDN colour laser printer if you want a “two-box” full print solution for quickly turning out short-order flyers and other high-volume short-order A4 work. The less-expensive MFC-J6710DW could also answer the “all-round” document workhorse if you are willing to forego A4 duplex scanning or a nice touchscreen.