Product Review–Brother P-Touch PT-P710BT Bluetooth Label Printer
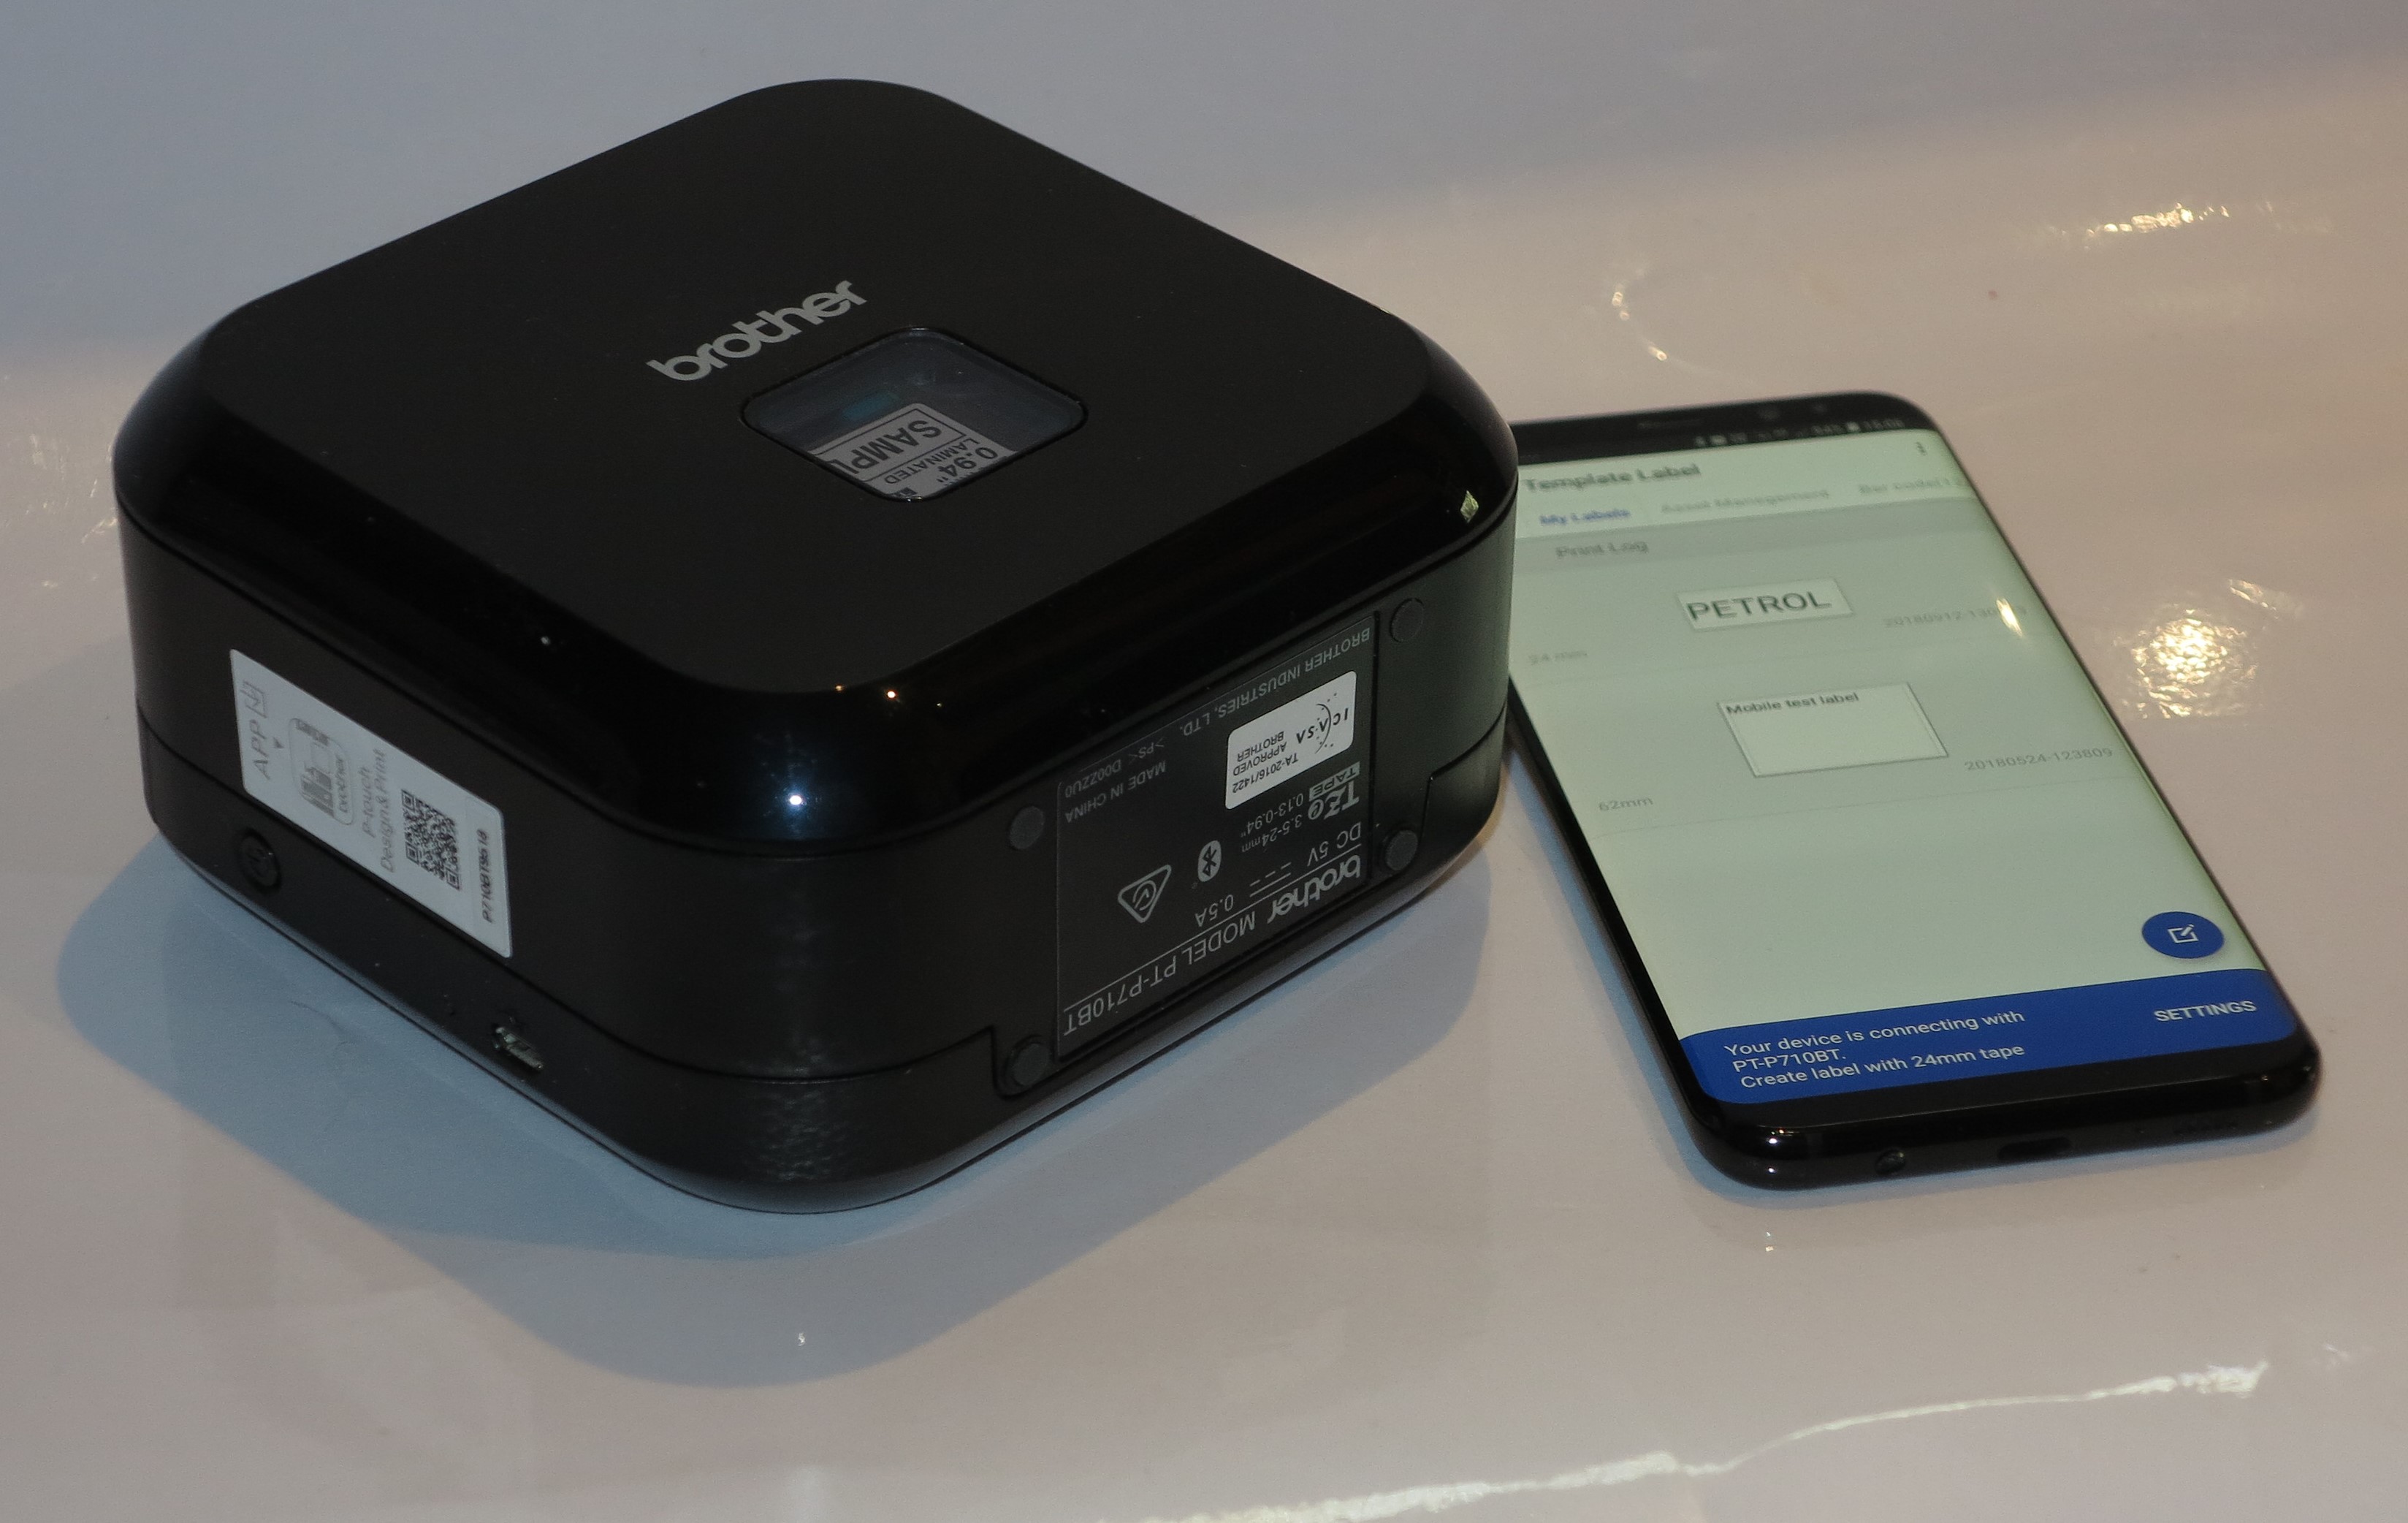
I am reviewing the Brother P-Touch PT-P710BT portable Bluetooth label printer which is designed to work alongside your smartphone or tablet as a label-printing solution. This is simply through the device talking with your smartphone or tablet via a Bluetooth link.
It can work with your regular computer like a laptop if you are using Brother’s labelling software and a Bluetooth connection, which would really come in handy for those of us who use a laptop computer.
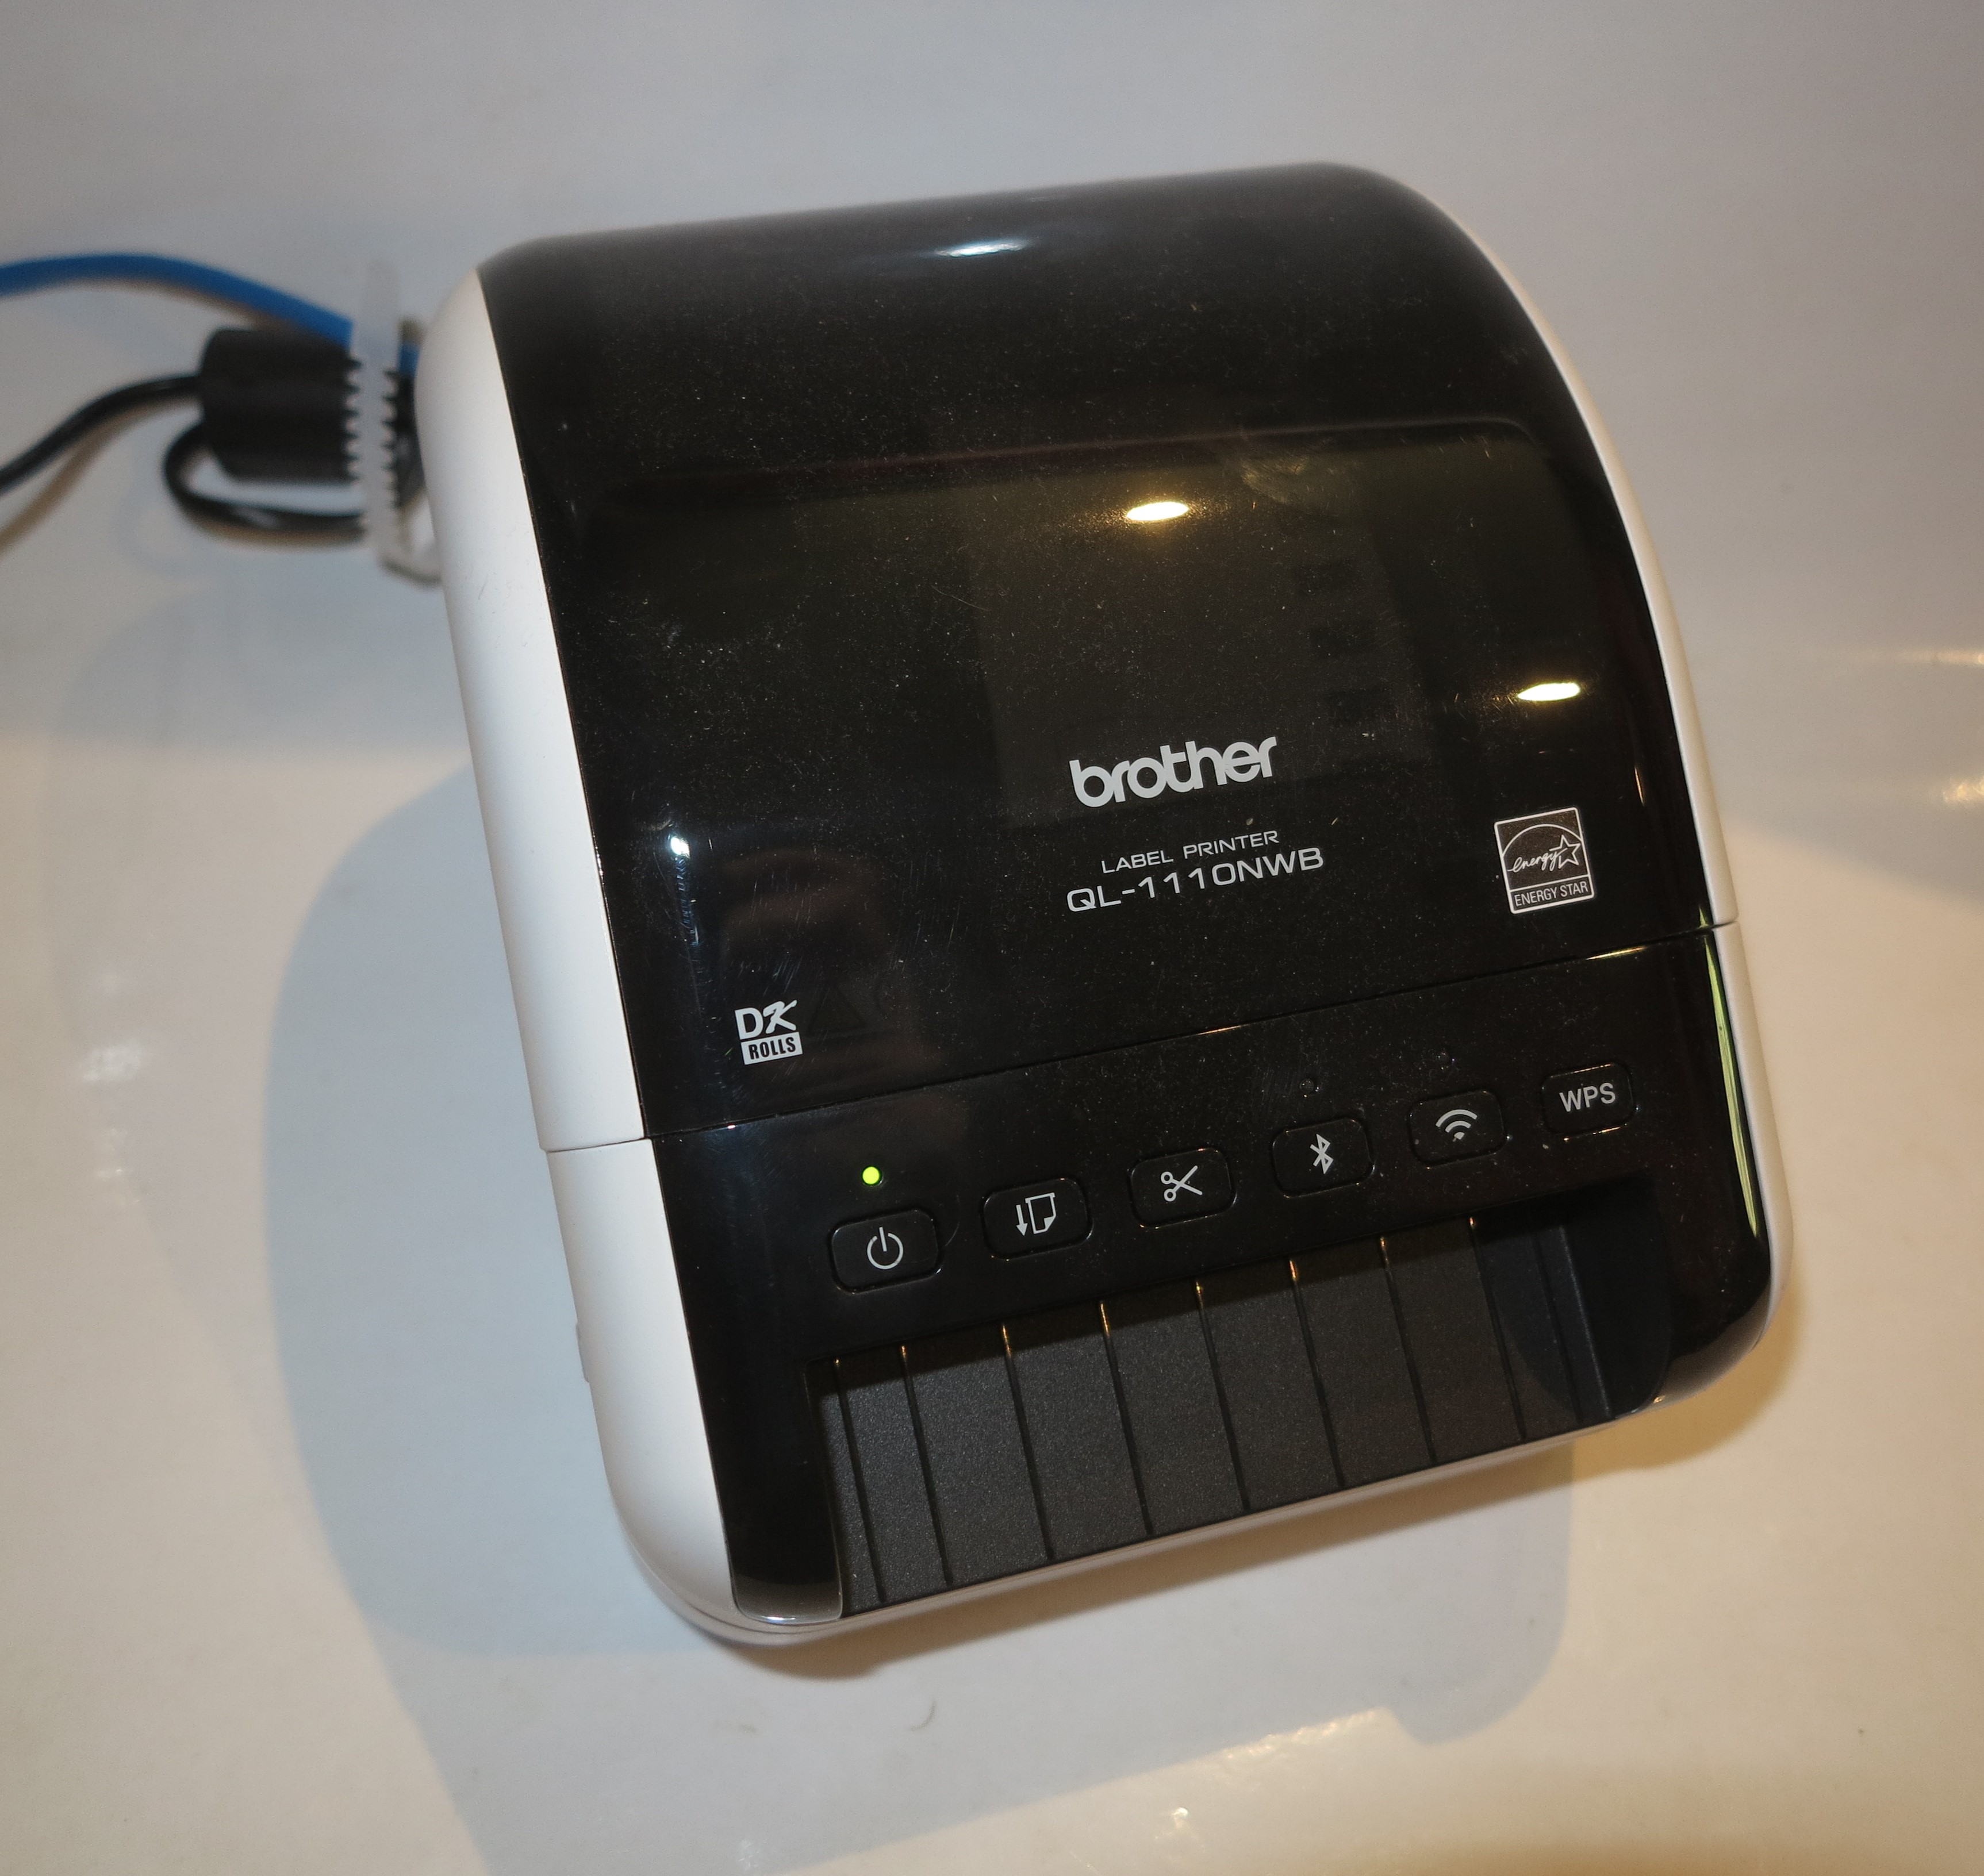
The label printer itself
I would describe the Brother PT-P701BT printer’s size as being compact – slightly larger than four cakes of soap stacked face-to-face. Here, it would be something that you could hold in the palm of your hand.
The label printer uses the TZ family of label tapes that are kept in special cassettes. This same family of label tapes is infact used across a large number of their label writers or Wi-Fi label printers in Brother’s stable. This can be of benefit when it comes to ordering supplies for these machines.
Setup

The labels come out of this side
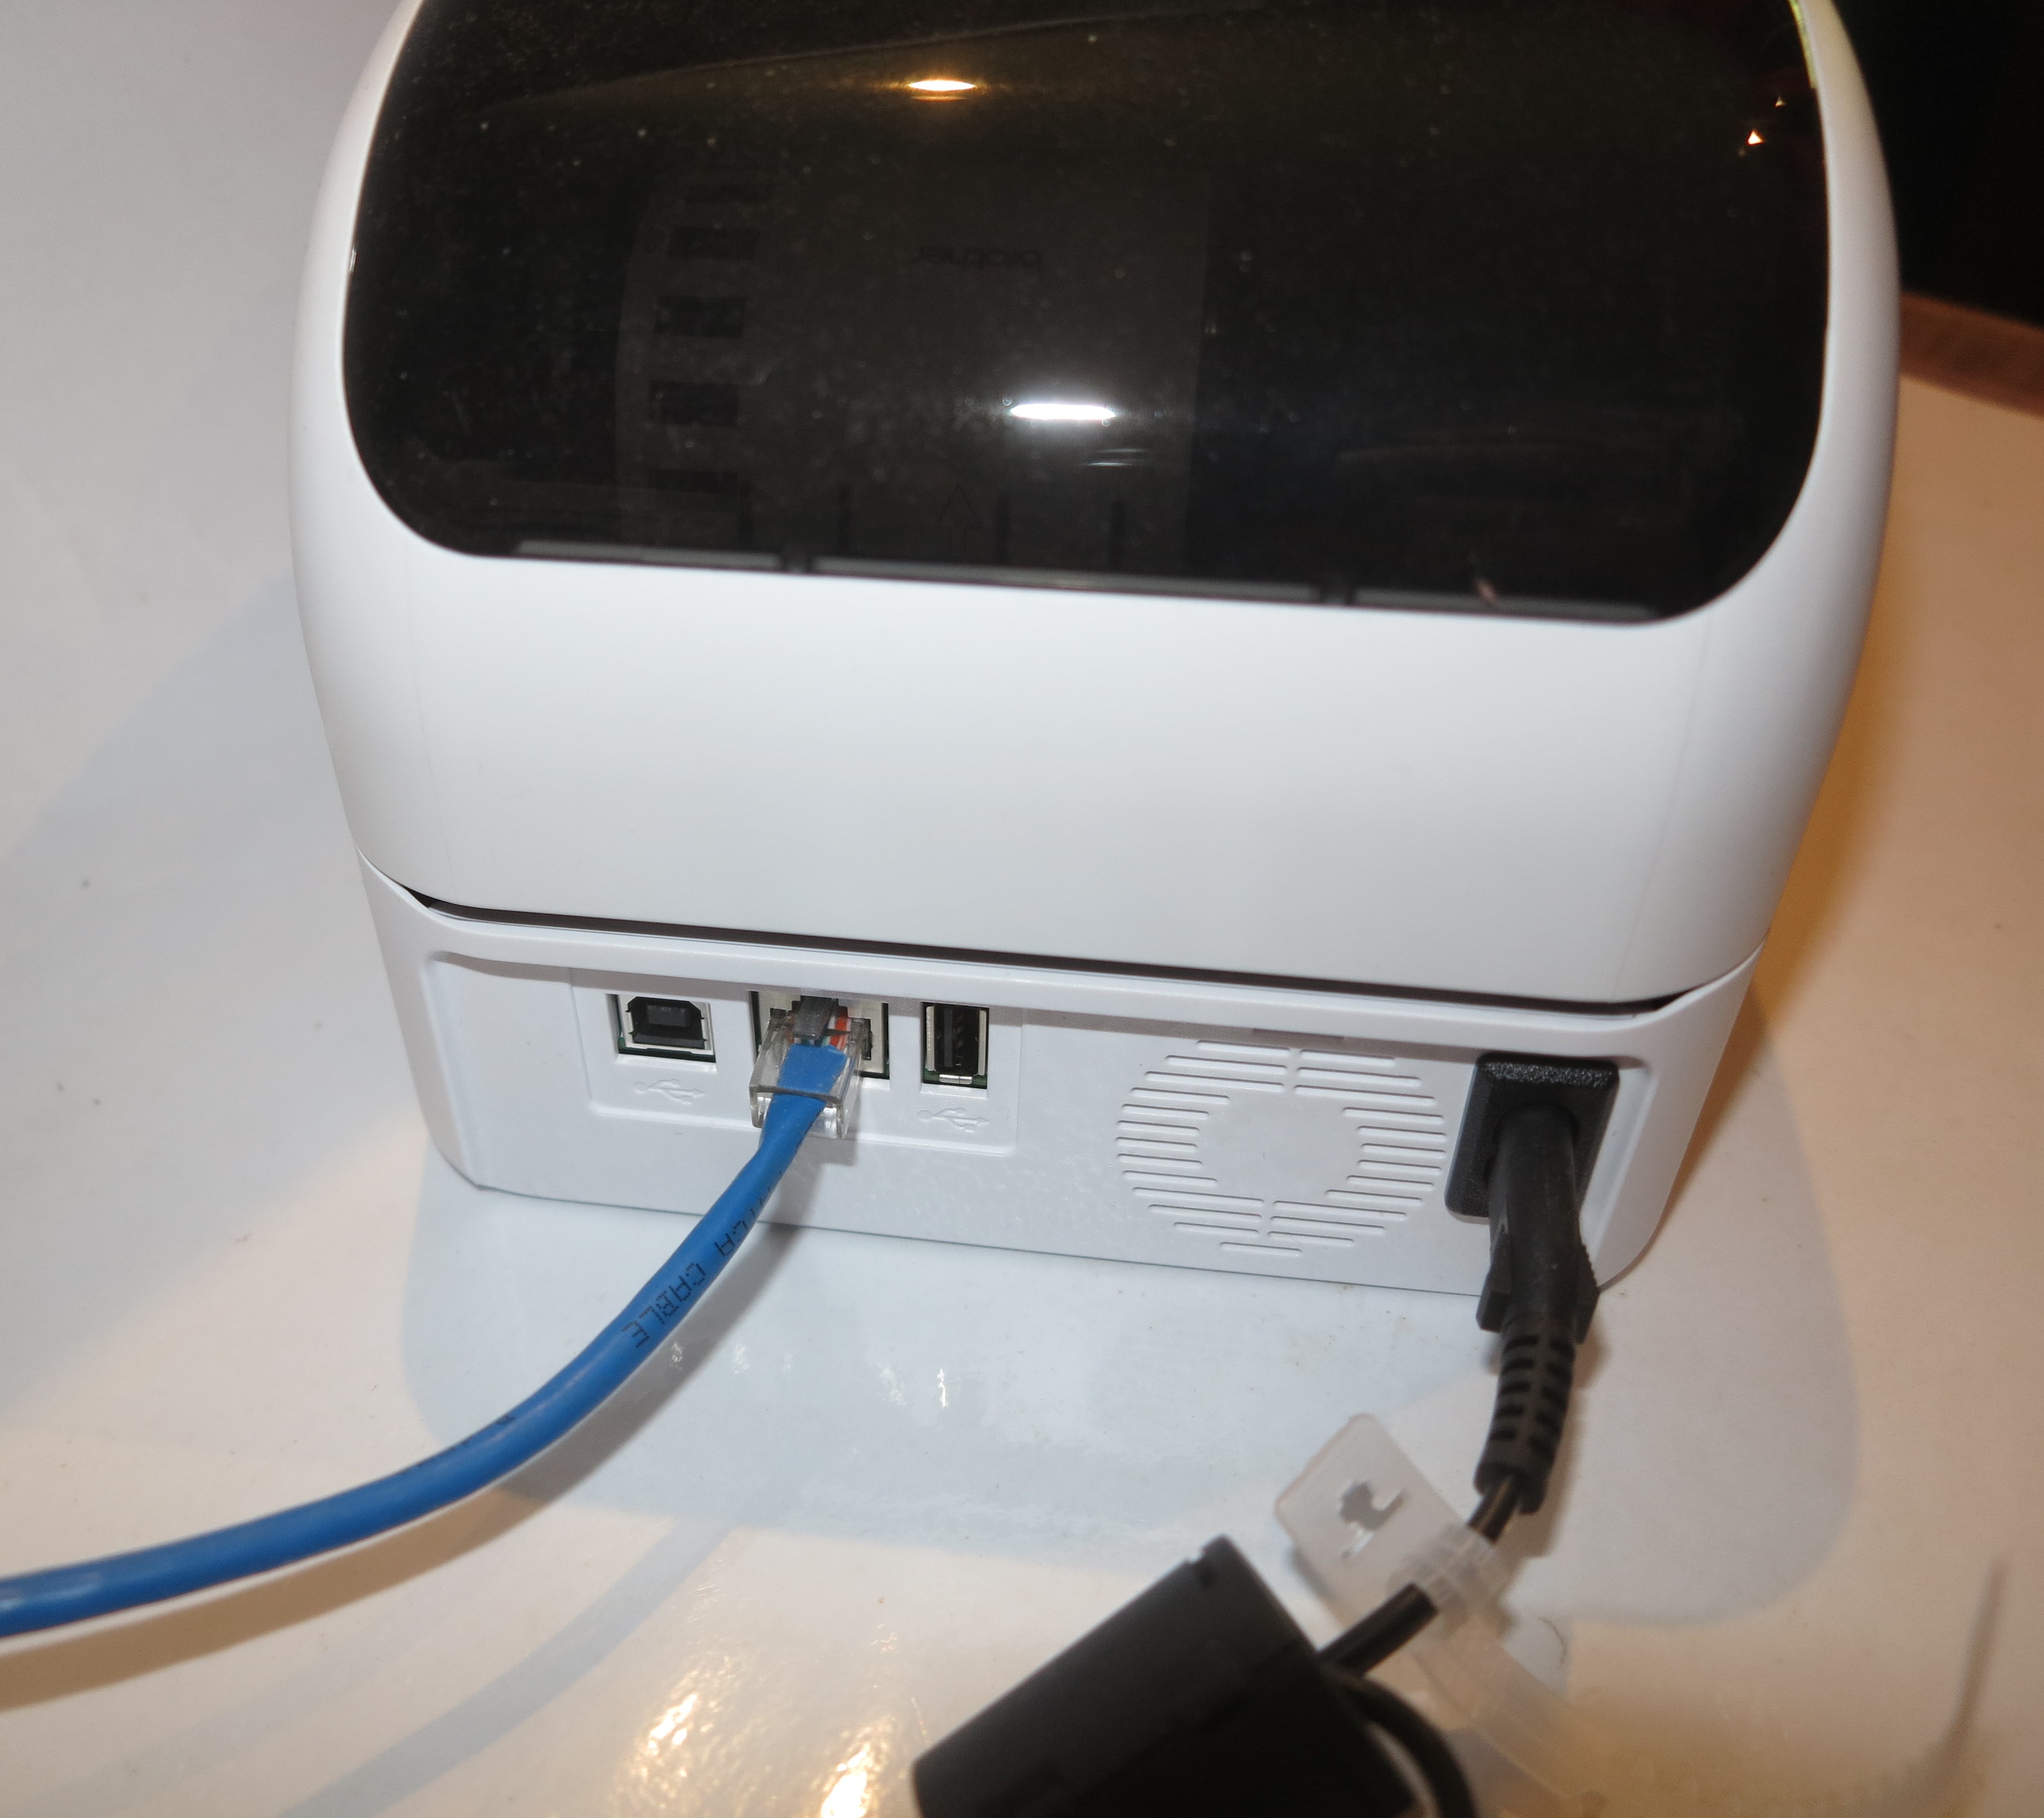
It runs on its own replaceable rechargeable battery. Here, this battery is charged by you connecting this printer to a USB charger using a Micro-USB cable like you would with most open-frame smartphones or Bluetooth accessories. Or you could use this same cable to connect the printer to a Windows or MacOS regular computer so you can use Brother’s P-Touch Editor software to create labels.
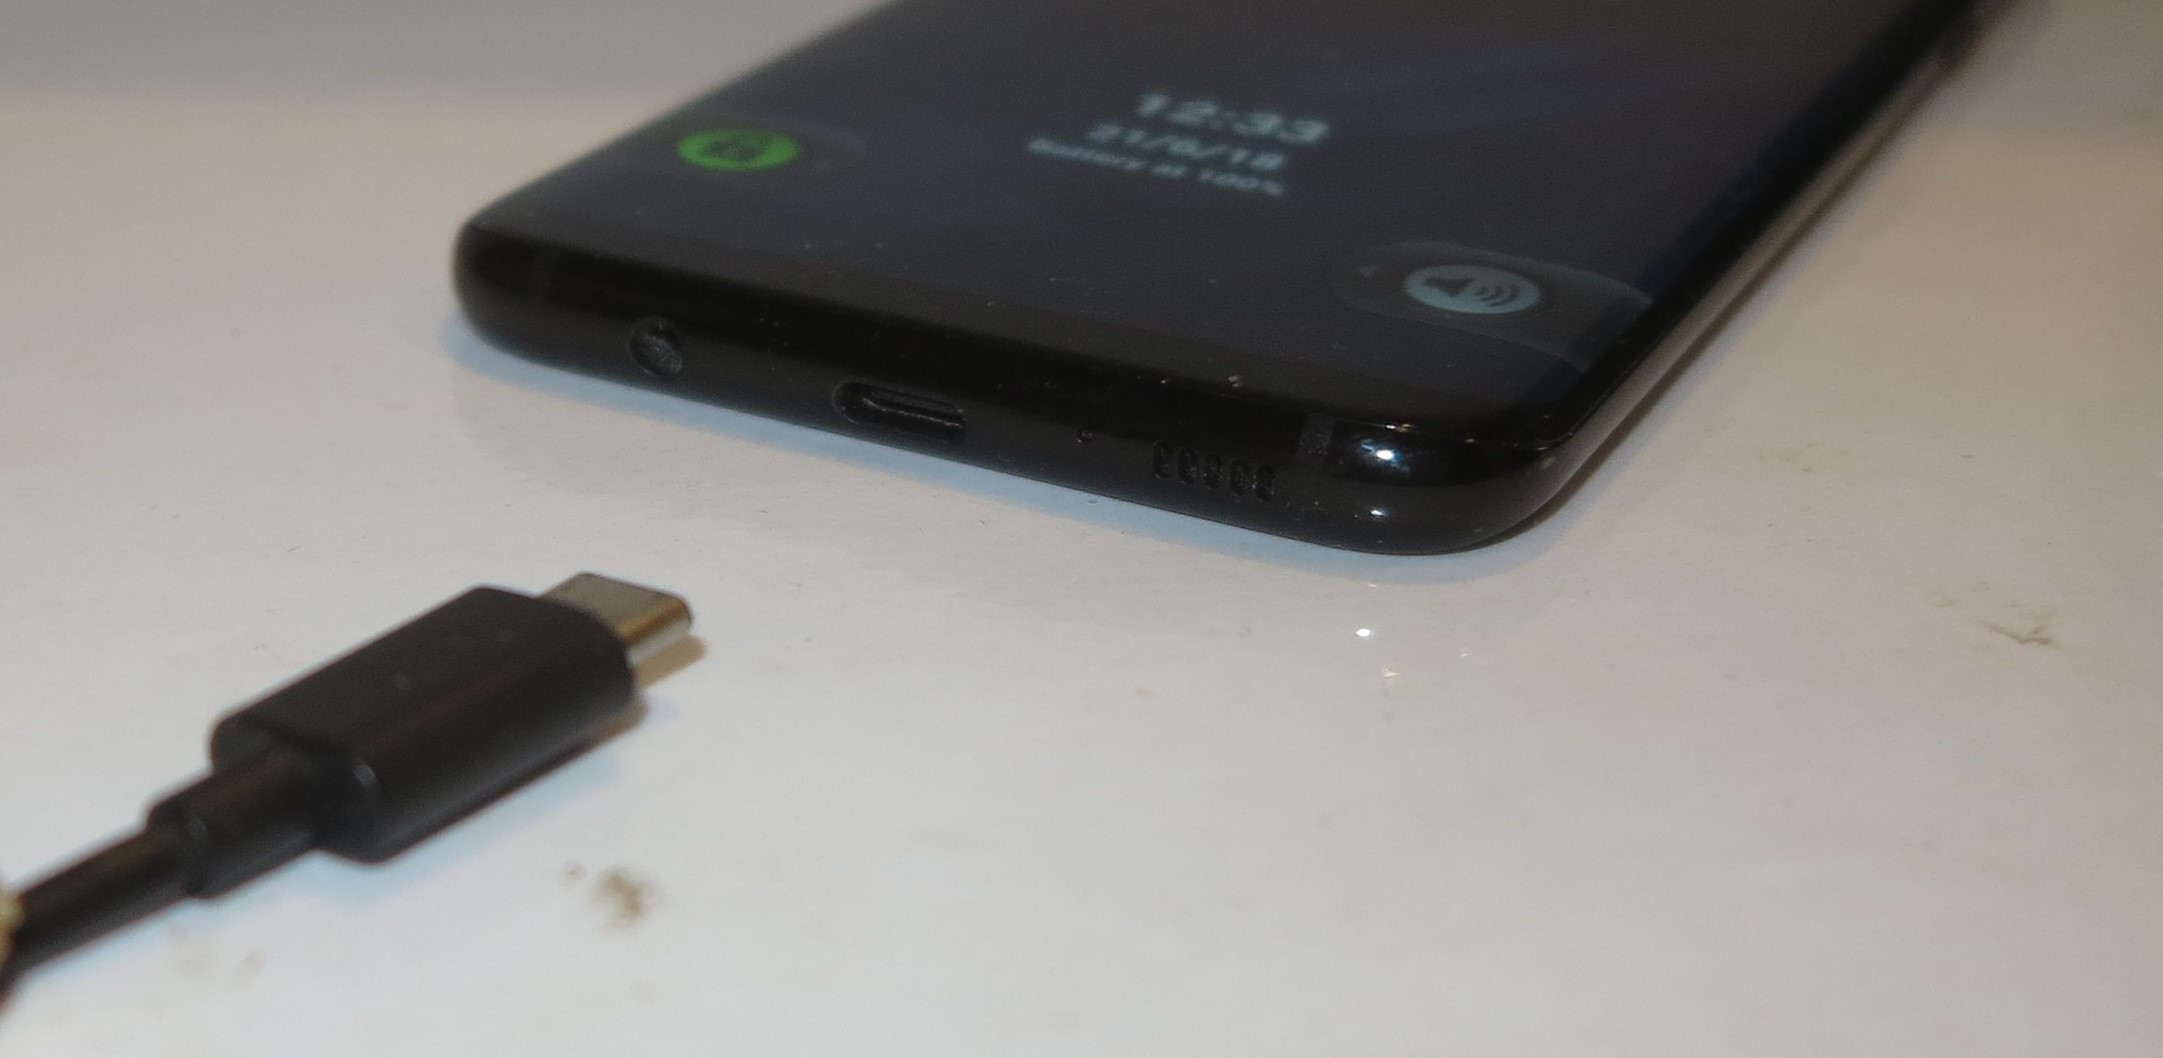
The setup process to make it work with your Bluetooth-equipped computer or mobile device is that you have to hold down the power button to make the printer discoverable. Then you use the host device’s operating system to find the printer as a new Bluetooth device, similar to what you would do with a Bluetooth headset. It didn’t take long for me to pair this device up with my Android smartphone.
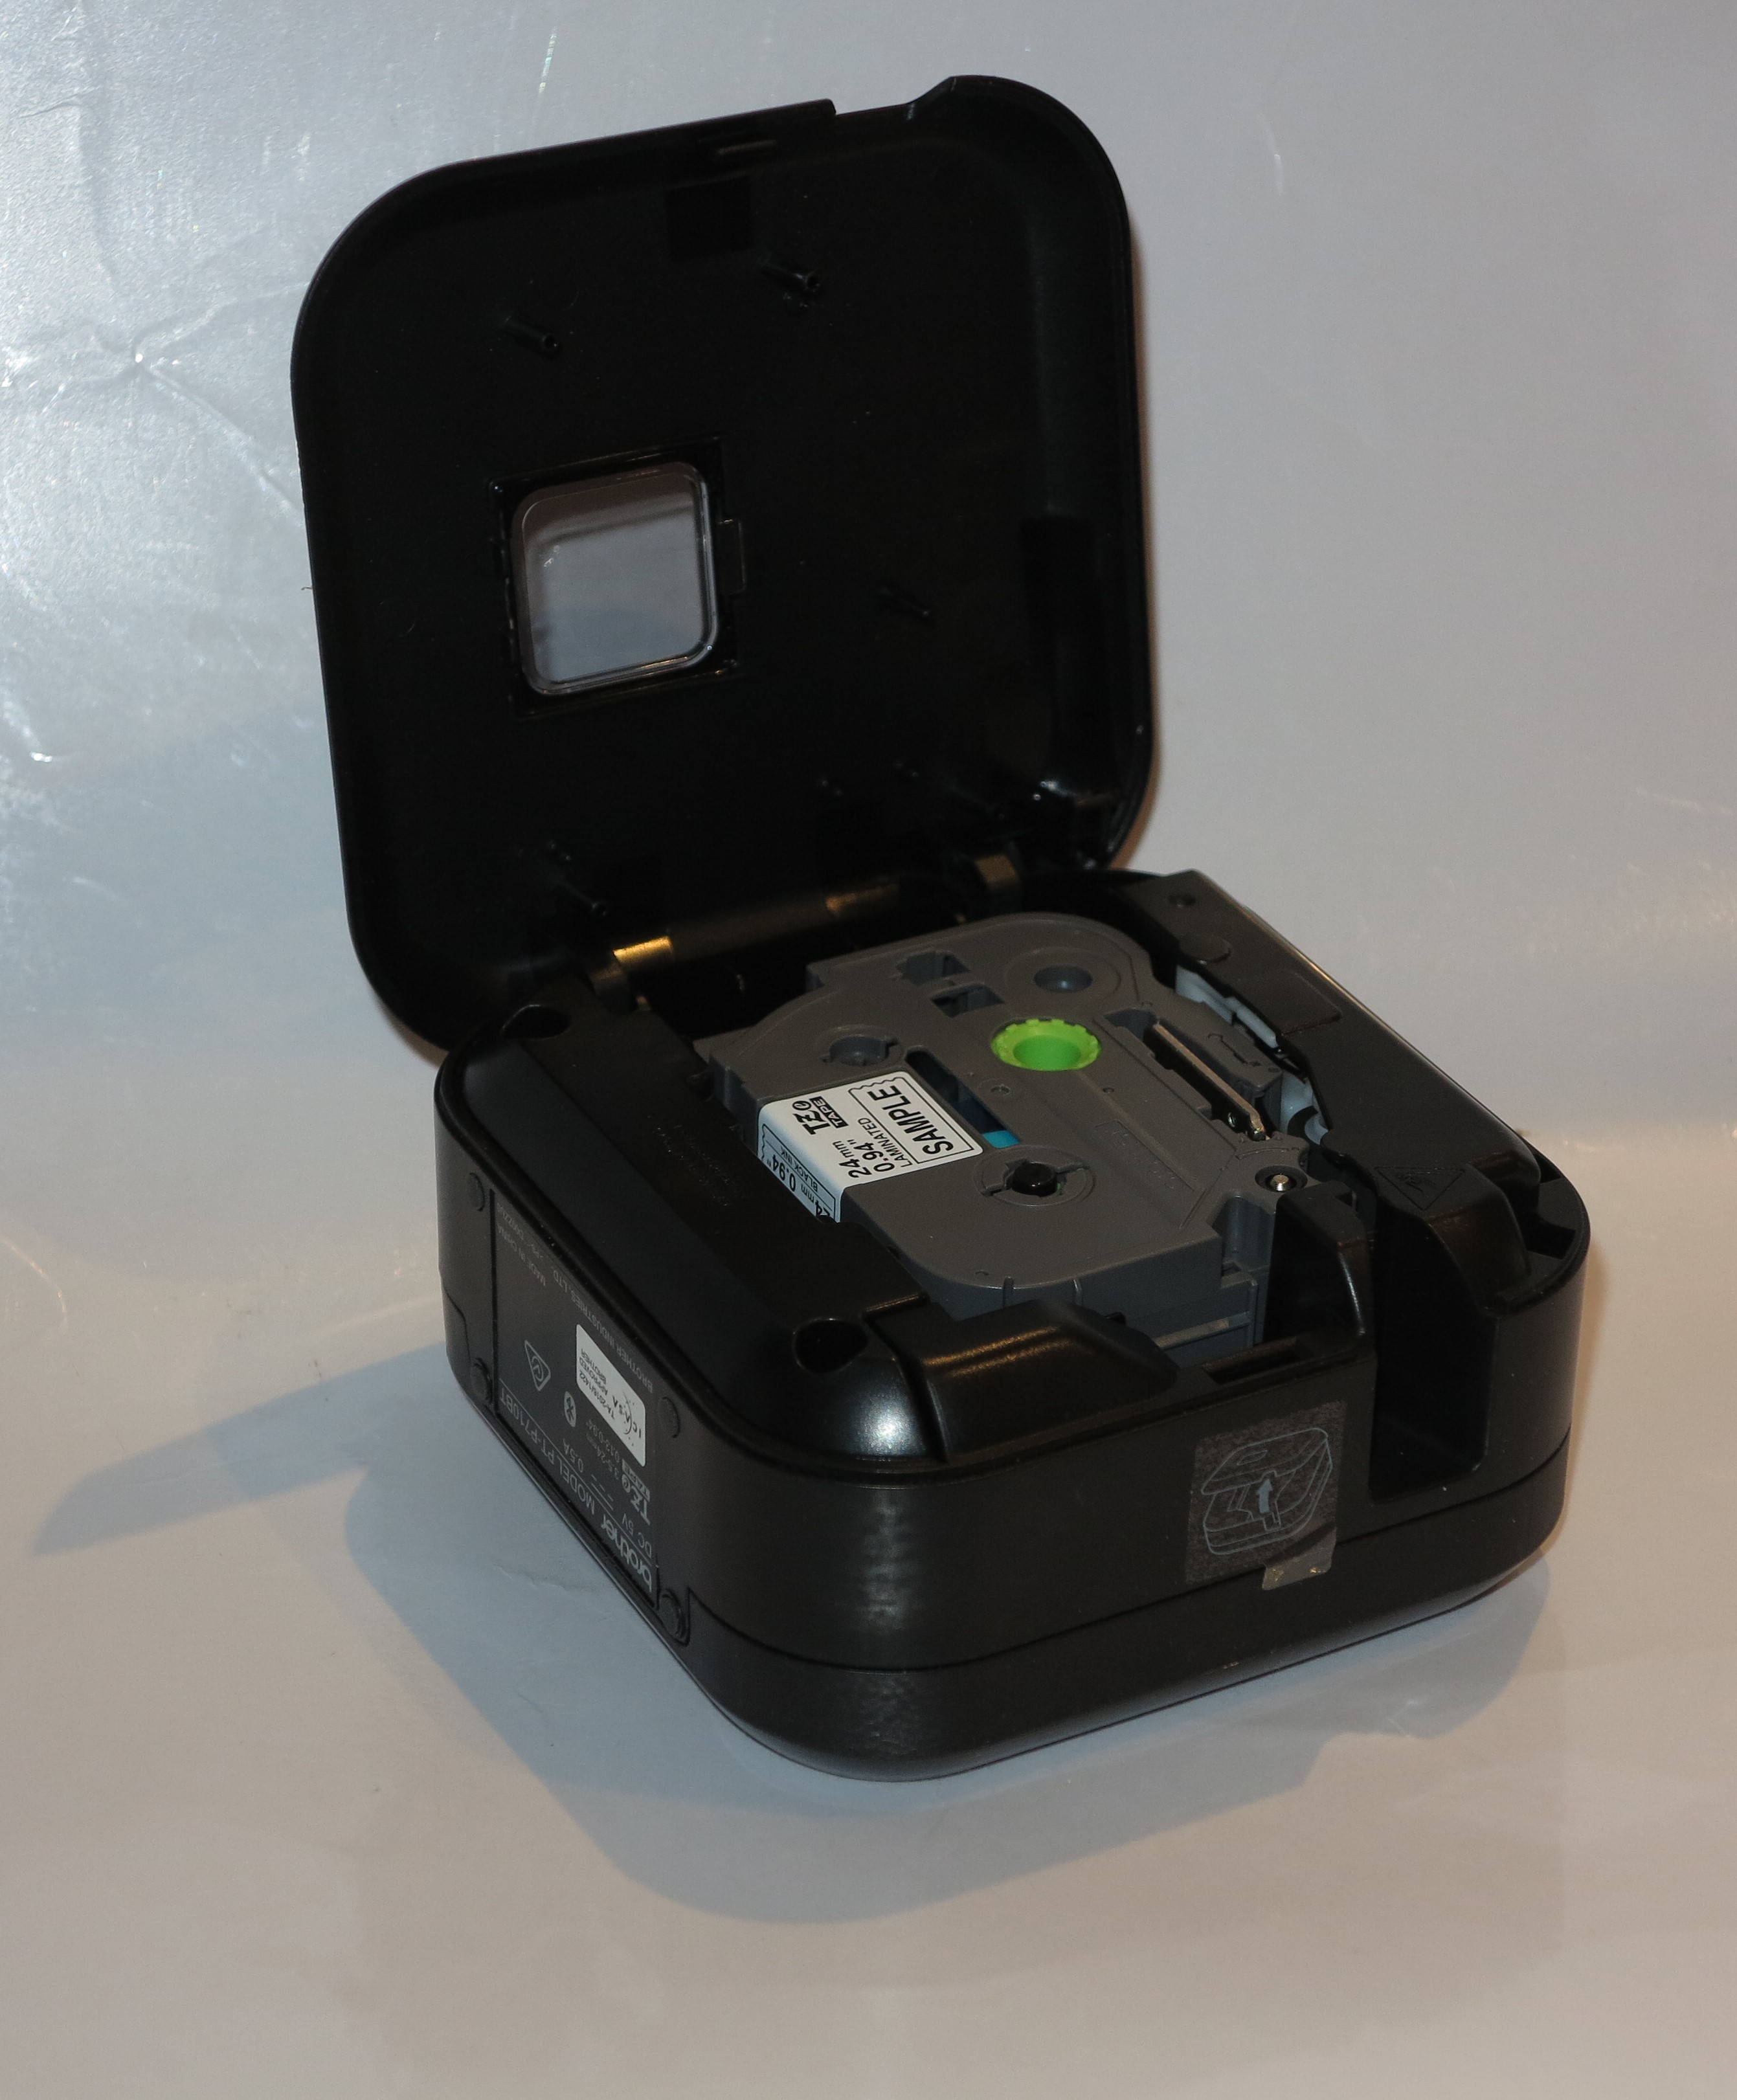
Brother PT-P710BT portable Bluetooth label printer with TZE label tape in place
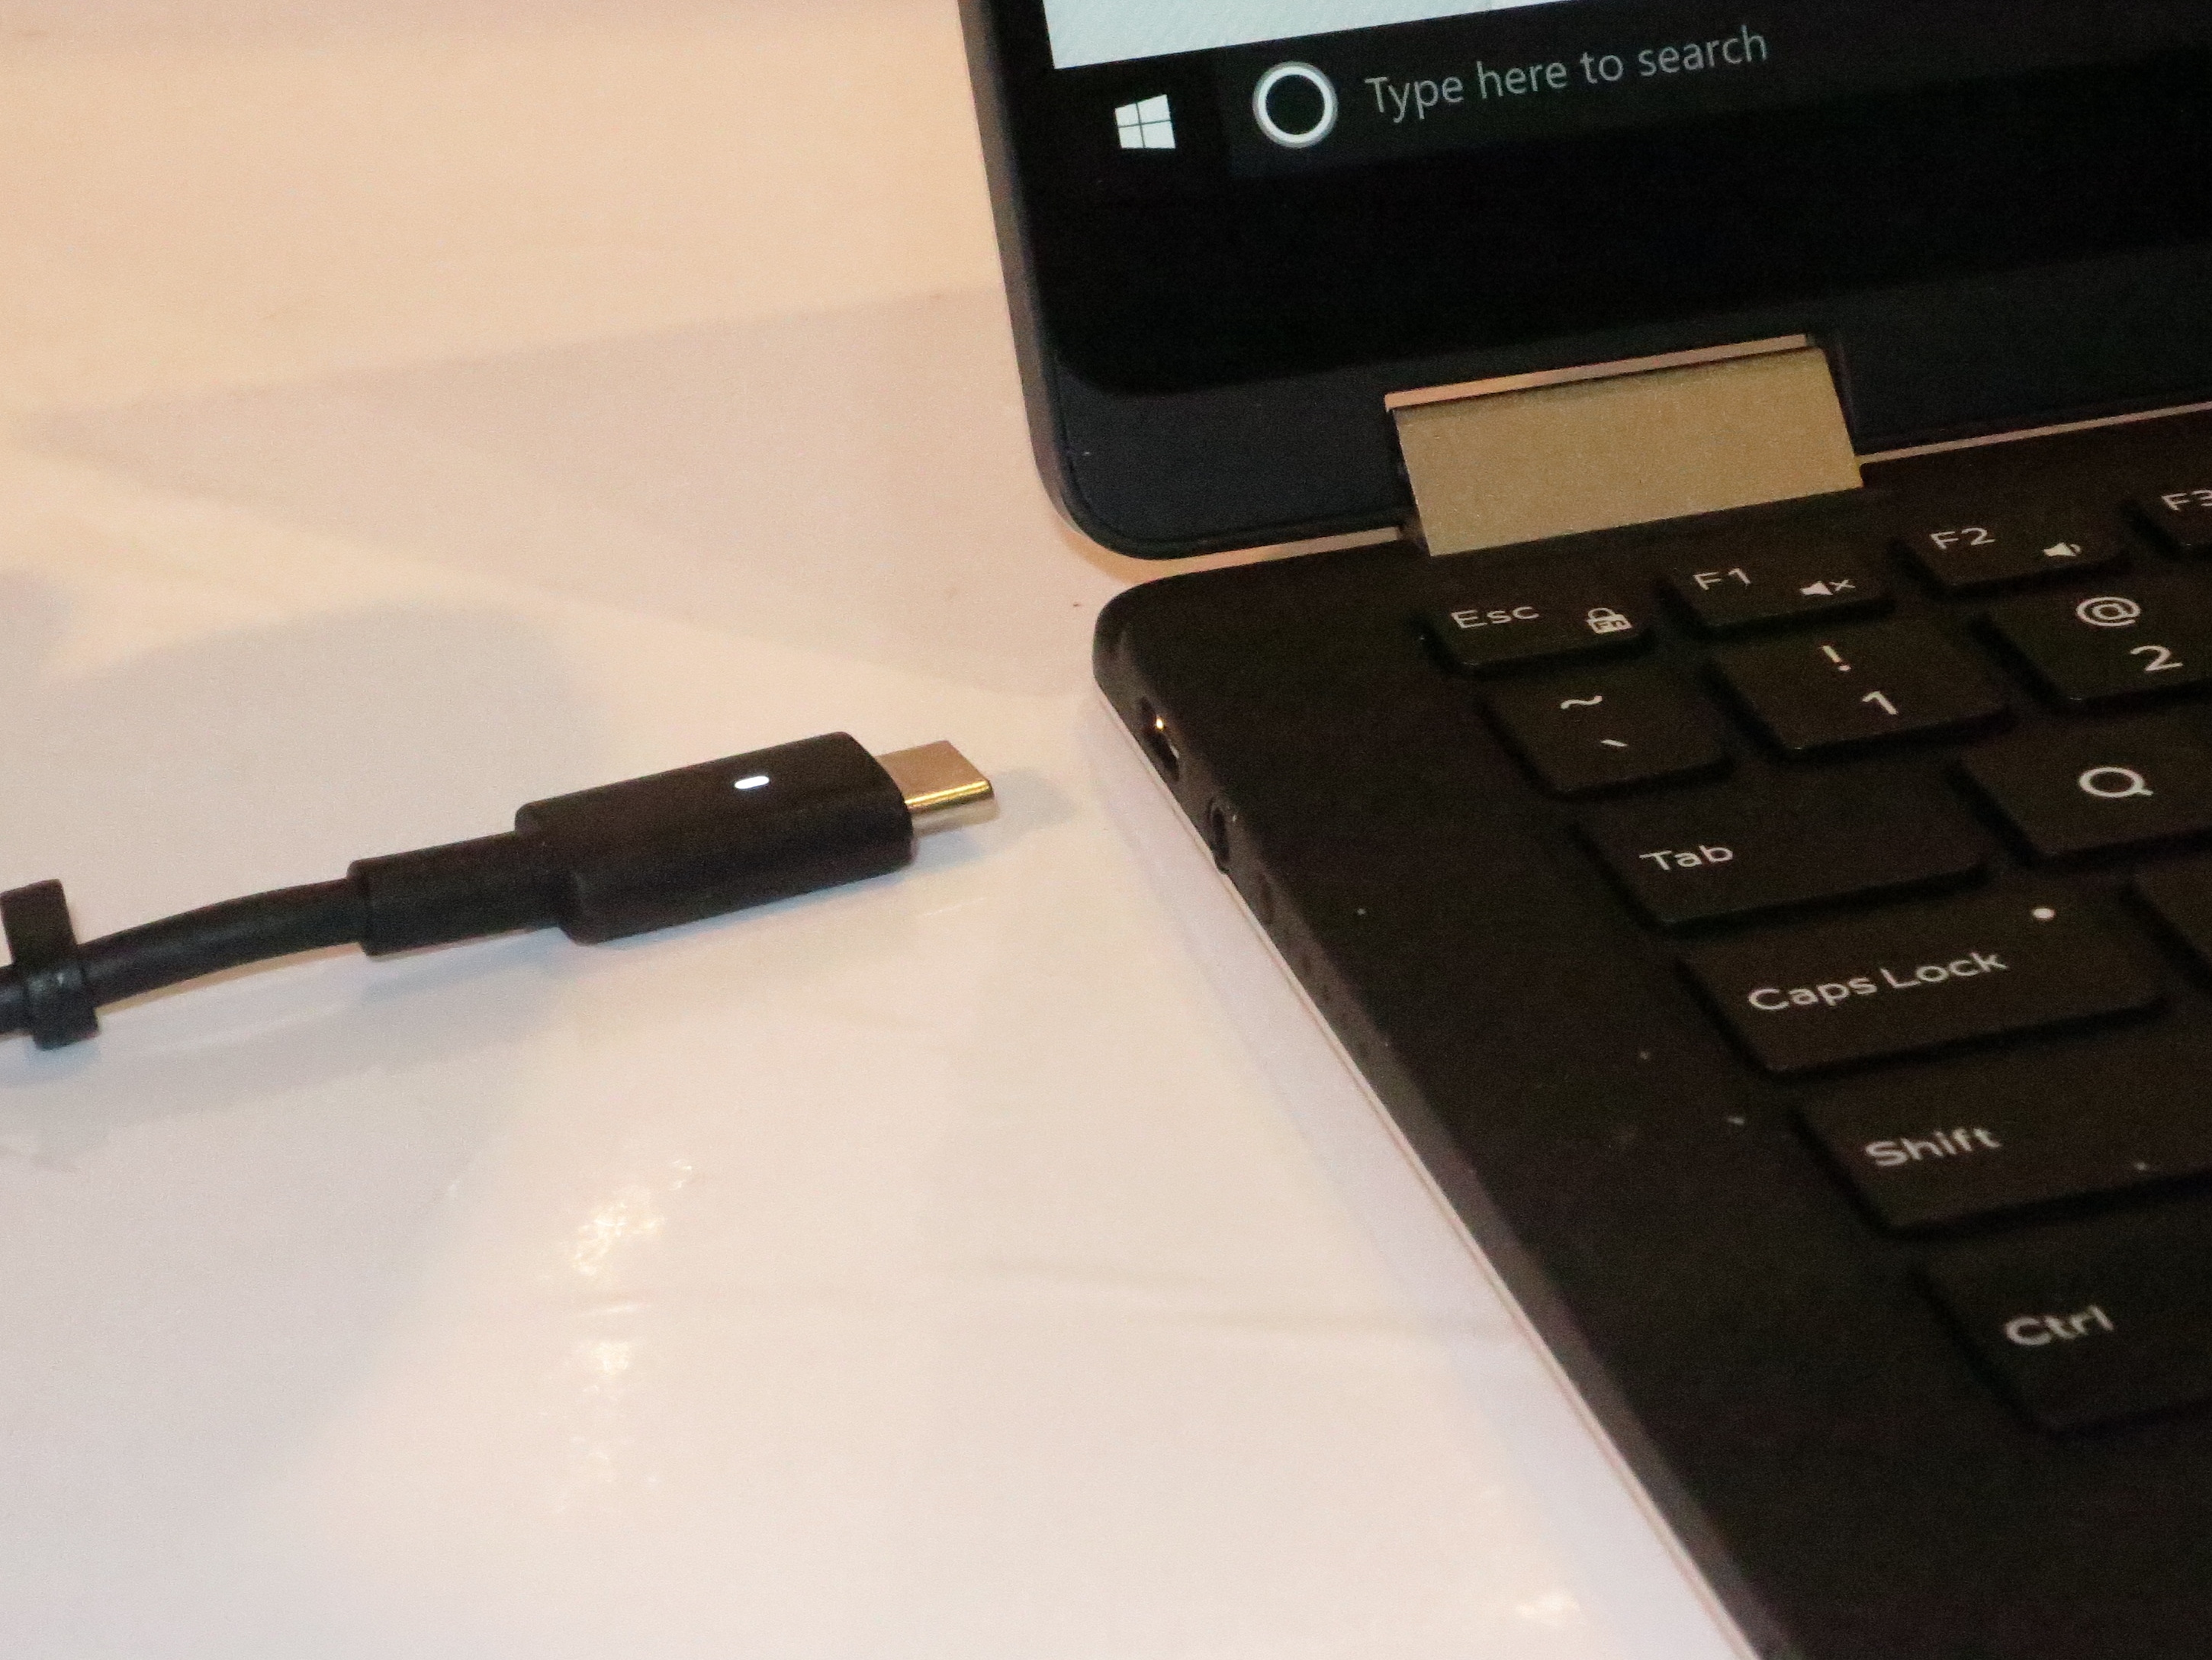
When I use this printer with my Windows 10 computer, I found it easier to set the Brother PT-P710BT printer to work as a USB label printer rather than with Bluetooth. It would be achieved by connecting the printer to the host computer using a USB Type-A to USB Type-microB cable or USB Type-C to USB Type-microB cable depending on the connection the host computer has. This is because there wasn’t the software support to allow a proper Bluetooth connection between the host computer and the printer.
Use
I used this label printer to label the fuel tank of a small engine to remind its user of whether to use petrol or 2-stroke mix with this engine. Here, I used the iPrint&Label app on my Samsung Android smartphone and it didn’t take long to turn out that label although I would like to see that app have a quick opportunity to “clear the canvas” on any new setup. The resulting label then came out sharp and clear.
Limitations
Brother could take advantage of various enhanced Bluetooth-peripheral setup experiences such as NFC-based “tap-and-go” pairing for Android phones for Bluetooth label printers and similar peripherals. They could also support the Bluetooth “fast pairing” setup experience being put forward by Apple, Google and Microsoft including, where applicable, the ability to lead users to install the extra software needed to get the most out of the device. This would also include the ability for this printer to work properly with a MacOS or Windows regular computer that is connected to it by Bluetooth, something that would be valued by those of us who use highly-portable computers like laptops.
As well, I would like to have the ability for the Brother P-Touch PT-P710BT label printer be able to operate while connected to the USB power source rather than use that source just for battery charging even if the battery is being charged or at full capacity. This could allow for battery energy conservation while you are at home or in a vehicle, or cater towards using a USB power bank with more battery capacity for longer field projects. Such a state could be indicated with the battery charging LED glowing green while the unit is switched on and connected to a USB source to indicate operation from external power and glowing yellow to indicate that the battery is charging.
To avoid confusion, I would personally like to see the Power LED glow steady while the printer is on and connected to a host device whether by Bluetooth or USB. Then have it glow yellow to indicate that it is discoverable by a Bluetooth host and flash during the pairing-up phase. Having a light that flashes regularly on a device can be seen to be an indication of a fault or warning condition rather than normal operation.
Conclusion – Is it a tool or a toy?
I would position the Brother PT-P710BT Bluetooth label printer as a basic label printer for those of us who use highly-portable computing equipment especially smartphones and always want to use it while “on the go”. Here, I value the ability to provide wireless connectivity without the need to worry about Wi-Fi network issues. It may not work well for team-based work where multiple-host-device connectivity is essential such as for work teams.
It is easy to see this labeller as a toy but for most of us who want to use our “many-function” smartphones to the hilt, it could be seen as a highly-portable tool. This is more so if we are wanting something that is highly compact and ready to go.