Action Stations in Provo Utah for Google Fiber

Article

Google Fiber Installs In Provo | Broadband News & DSL Reports

My Comments

The work at the coalface has begin for Google Fiber’s deployment in Provo, Utah. In early October, the signing up has begun but yesterday (Tuesday 12 November 2013 (Western Hemisphere)), the work has started on connecting the very customers to this fibre-to-the-premises service.

What I see of this is that the incumbent telephone company and the cable company servicing this town will be squirming because the duopoly that they enjoyed in this town is being lost as a fibre-optic residential Internet service is being rolled out/ This is with a tariff chart being a symmetrical 1 Gbps for US$70 / month, a TV service with this 1 Gbps service for US$50 / month extra and a free 5/1 Mbps service for the installation cost of US$30. It also means that Provo could become a startup and “work-from-home” town due to the 1Gbps upload speeds offered by Google Fiber.

There have to be steps taken to keep the lively competition on foot so that the cost and quality of Internet service doesn’t deteriorate in the towns where competing Internet service exists.

Product Review–Pure Jongo S3 wireless speaker

Introduction

I am reviewing the Pure Jongo S3 wireless speaker which, like the rest of the Pure Jongo system, works with a Wi-Fi network as a synchronous multi-speaker setup or one-to-one as a Bluetooth speaker. This speaker also is intended for portable use by the inclusion of a “ChargePAK” battery pack which allows you to take this speaker out and about.

Pure Jongo S3 wireless speaker

Price

The unit itself:

RRP including tax: AUD$369

Accessories and Options:

Replacement colour grilles: AUD$29

Form Factor

Single-piece wireless speaker

Functions

Internet audio Internet radio and online music via Pure Connect
Network Media DLNA network audio

 Connections

Input Count as for a device
Audio Line Input
(connect a tape deck, CD player, etc)
1 x 3.5mm stereo / RCA-socket pair / DIN socket
Digital Audio Input Bluetooth A2DP wireless connection
Network
Wi-Fi Wireless 802.11g/n WPS
Bluetooth A2DP

Speakers

Output Power 4 x 2.5 watt for treble,
10 watts for bass
Stereo
Speaker Layout 2.1 speaker layout in single cabinet 4 x 3/4” tweeters, 1 x 3.5” mid-bass driver

The unit itself

Pure Jongo S3 wireless speaker rear view of Pure Jongo S3 with LCD screen and Audio button

Rear view of Pure Jongo S3 with LCD screen and Audio button

The Pure Jongo S3 is set up in a similar manner to the rest of the Jongo range. This implements the “own access point plus Web page” method where you submit your network’s details to a Web page hosted by the device itself. As well, it can support one-touch setup with another Pure Jongo speaker or a WPS-capable Wi-Fi network.

There is the ability for these speakers to pair up with the Bluetooth devices. As well, the Pure Connect app works with the Internet radio function and the ability to set up synchronous multiple-speaker play. This requires you to use the “P” icon on the app to determine which speakers are to have the content.

Being a small speaker, the Jongo S3 performs well more so on the high frequencies but loses on the bass response. It is loud enough for personal or close listening and implements indoor / outdoor sound-optimisation settings. Two of these settings have an arrangement for all-round listening so you don’t have to worry about facing the listening area. Here, these settings could be available through the Web interface as well as the local “Audio” button on the back of the speaker.

The S3 did pick up from the Wi-Fi home network very well even at the fringes of that network and streamed content properly and smoothly from the Internet radio station. Here. I even ran this as part of a multi-speaker setup that I had set up with the T6 and it gave that synchronous sound experience as expected for a broadcast or speakers connected by wire to the same source even with an Internet radio station.

Limitations and Points Of Improvement

Like the rest of the Jongo ecosystem, Pure could integrate Spotify Connect and similar online services in to their app and could make the speakers work with the Apple Airplay system as a way to have all bases covered. The Connect app could also support discovery of DLNA audio content hosted on other DLNA servers on the same network so you don’t necessarily have to have the content sitting on your mobile device.

They could work on a wireless subwoofer or bass-rich speaker that works with the synchronous multi-speaker setup as a wireless 1.1 or 2.1 speaker setup for a bass-rich multiple-speaker arrangement in a similar vein to what Sonos has done.

Conclusion

I would recommend the Pure Jongo S3 speakers more as a small wireless portable speaker that can cover a personal listening area or as something you can use with a smartphone when you out with a group of friends.

Product Review–Pure Jongo T6 Wireless Speaker

Introduction

I am reviewing the Pure Jongo T6 wireless speaker which is a tabletop wireless speaker capable of operating in an open-frame DLNA-based Wi-Fi network or as a Bluetooth speaker. It can be used as part of a pair of stereo speakers with another T6 or as part of a Jongo multi-speaker setup with music from a DLNA media server, Internet radio stream or content on a smartphone.

There are two smaller varieties of this speaker known as the T2 and T4 which have smaller drivers but the same abilities in positioning and the kind of content available to them. These also are part of the Pure Jongo multi-speaker setup which delivers synchronous audio to multiple speakers using a Wi-Fi network.

Pure Jongo T6 wireless speaker

Price

The unit itself:

RRP including tax: AUD$599

Accessories

Coloured replacement grilles: AUD$35

Form Factor

Single-piece Wireless Speaker System

Functions

Internet audio Internet radio and online music via Pure Connect
Network Media DLNA network audio


Connections

Input Count as for a device
Audio Line Input
(connect a tape deck, CD player, etc)
1 x 3.5mm stereo jack
Digital Audio Input Bluetooth A2DP wireless connection
Network
Wi-Fi Wireless 802.11g/n WPS
Bluetooth A2DP

Speakers

Output Power 50 watts RMS per channel Stereo
Speaker Layout 2 speakers 2 x 5” full-range speakers

The unit itself

The Pure Jongo T6 is a large speaker system that is directly powered from the AC supply rather than using a wall-wart power adaptor. This unit uses an integrated stereo amplifier which drives two 5” full-range speakers. It can be positioned on its side to work as a mono speaker and can be part of a stereo pair with the sound streamed from the same network.

As for powering the speaker from AC power, the Jongo T6 uses an integrated AC power supply like most boom-boxes. Here, it came with the typical “portable-radio” AC cord rather than one of those “wall-warts” that can be annoying when using power boards or even double power outlets.

Like most of the wireless speakers that are currently on offer, the Pure Jongo T6 implements the “own access point plus Web page” for integrating with a Wi-Fi segment that doesn’t implement WPS one-touch setup. This page also allows you to determine vertical or horizontal placement which affects how the speaker will sound. Of course, you can subsequently manage the Jongo speaker from your smartphone using the Pure Connect app.

Pure Jongo T6 wireless speaker side view

Side view with main controls

If you are using the Pure Connect app, you have to look for the distinct P logo which shows that the app has detected the existence of Jongo speakers on the network so you can stream the Internet radio and on-device content through your speaker. Of course, this speaker works hand in glove with other third-party DLNA control-point software making it be part of the DLNA Home Media Network.

There is of course the Bluetooth ability where the speaker can be simply paired to your phone when it is turned on and this device didn’t take long to pair up to my Samsung Android phone as a Bluetooth endpoint. Then it was able to yield smooth streaming performance from the smartphone.

The Jongo T6 does yield a powerful sound that has a good tight bass but there isn’t at times much of the treble response. The Pure Connect app offers a treble and bass control but I assessed it based on the tone controls being kept flat.

As for performance on the home network, it works well in most locations when it comes to picking up the Wi-Fi signal and is reliable with streaming content sent to it using DLNA. It can recover quickly from jitter with Internet radio but, like a lot of these devices, “gives up the ghost” too easily if the connection is congested rather than retrying if it loses touch with the host server.

Pure Jongo T6 wireless speaker rear view with Wi-Fi button

Rear view with Wi-Fi button

I set up a Jongo multi-speaker arrangement with this speaker and the S3, running the Heart London Internet-radio stream through this setup using the Pure Connect app and both the speakers were working in sync with each other. The speakers responded to my settings on the Pure Connect app after just under a second.

I have run this speaker with my smartphone as a Bluetooth A2DP media device and it was responsive when it came to paring and connecting up with the phone. This echoed the same behaviour that the demonstrator Jongo T6 came through with at the Australian Audio & AV Show 2013.

Limitations and Points Of Improvement

I would like to see the Pure Jongo range of products equipped with a “Bluetooth / Wi-Fi” switch which forces them to work either as a Wi-Fi device that is part of the home network or as a Bluetooth speaker. This can work well with “walk-up” usage where someone may play content from their mobile device or laptop on an ad-hoc basis.

Similarly, this range of products could work with the Pure mobile-platform app to implement a Wi-Fi Direct or “own-AP” setup with a smartphone or tablet associated with a 3G service for Internet radio and other Internet services when they are used away from a small network or to set up a multi-speaker arrangement away from a small network. But this can be mitigated through the use of the Bluetooth connection between the mobile device and the speaker for 1-to-1 audio streaming.

Pure could also port their Connect app to the Windows 8 and Macintosh OS X platforms to make it relevant to the increasing number of small notebooks and tablets that run these regular-computing operating systems.

As for the T6, it could be improved through Pure offering a “higher-tier” model that has the tweeter speakers to bring out the best for higher frequencies. The app could also offer a loudness function to allow it to sound at its best at softer volumes.

Conclusion

I would recommend the Pure Jongo T6 by itself as a wireless speaker fit for filling a kitchen or other medium-size area with music or competing in a noisy environment in a similar vein to a larger portable radio.

Product Review–Pure Jongo A2 Network Audio Adaptor

Introduction

I am reviewing the Pure Jongo A2 Wi-Fi / Bluetooth audio adaptor which connects to one’s favourite stereo system or a pair of active speakers to play content from a computer, network or mobile device. This is achieved through Wi-Fi DLNA technology or through Bluetooth A2DP technology.

It is part of the Pure Jongo ecosystem which has integral support for synchronous playback of network-hosted sources over the same network and is managed via a Pure Connect mobile-platform app for iOS and Android.

Pure Jongo A2 network media adaptor

Price

The unit itself:

RRP including tax: AUD$199

Accessories

Decorative collars (lime green, mango, burnt orange, white): $29

Form Factor

Adaptor for existing audio and AV systems

Functions

Internet audio Internet radio via Pure Connect,
Network Media DLNA network audio client

 Connections

Input Count as for a device
Digital Audio Input Bluetooth A2DP wireless link
Output Count as for a device
Audio line output
(tape level – connect to a tape deck or from device to amplifier)
1 x RCA socket pair
Digital Audio Output SP/DIF via 1 x RCA coaxial socket  and Toslink optical socket
Network
Wi-Fi Wireless 802.11g/n WPS
Bluetooth A2DP

 The unit itself

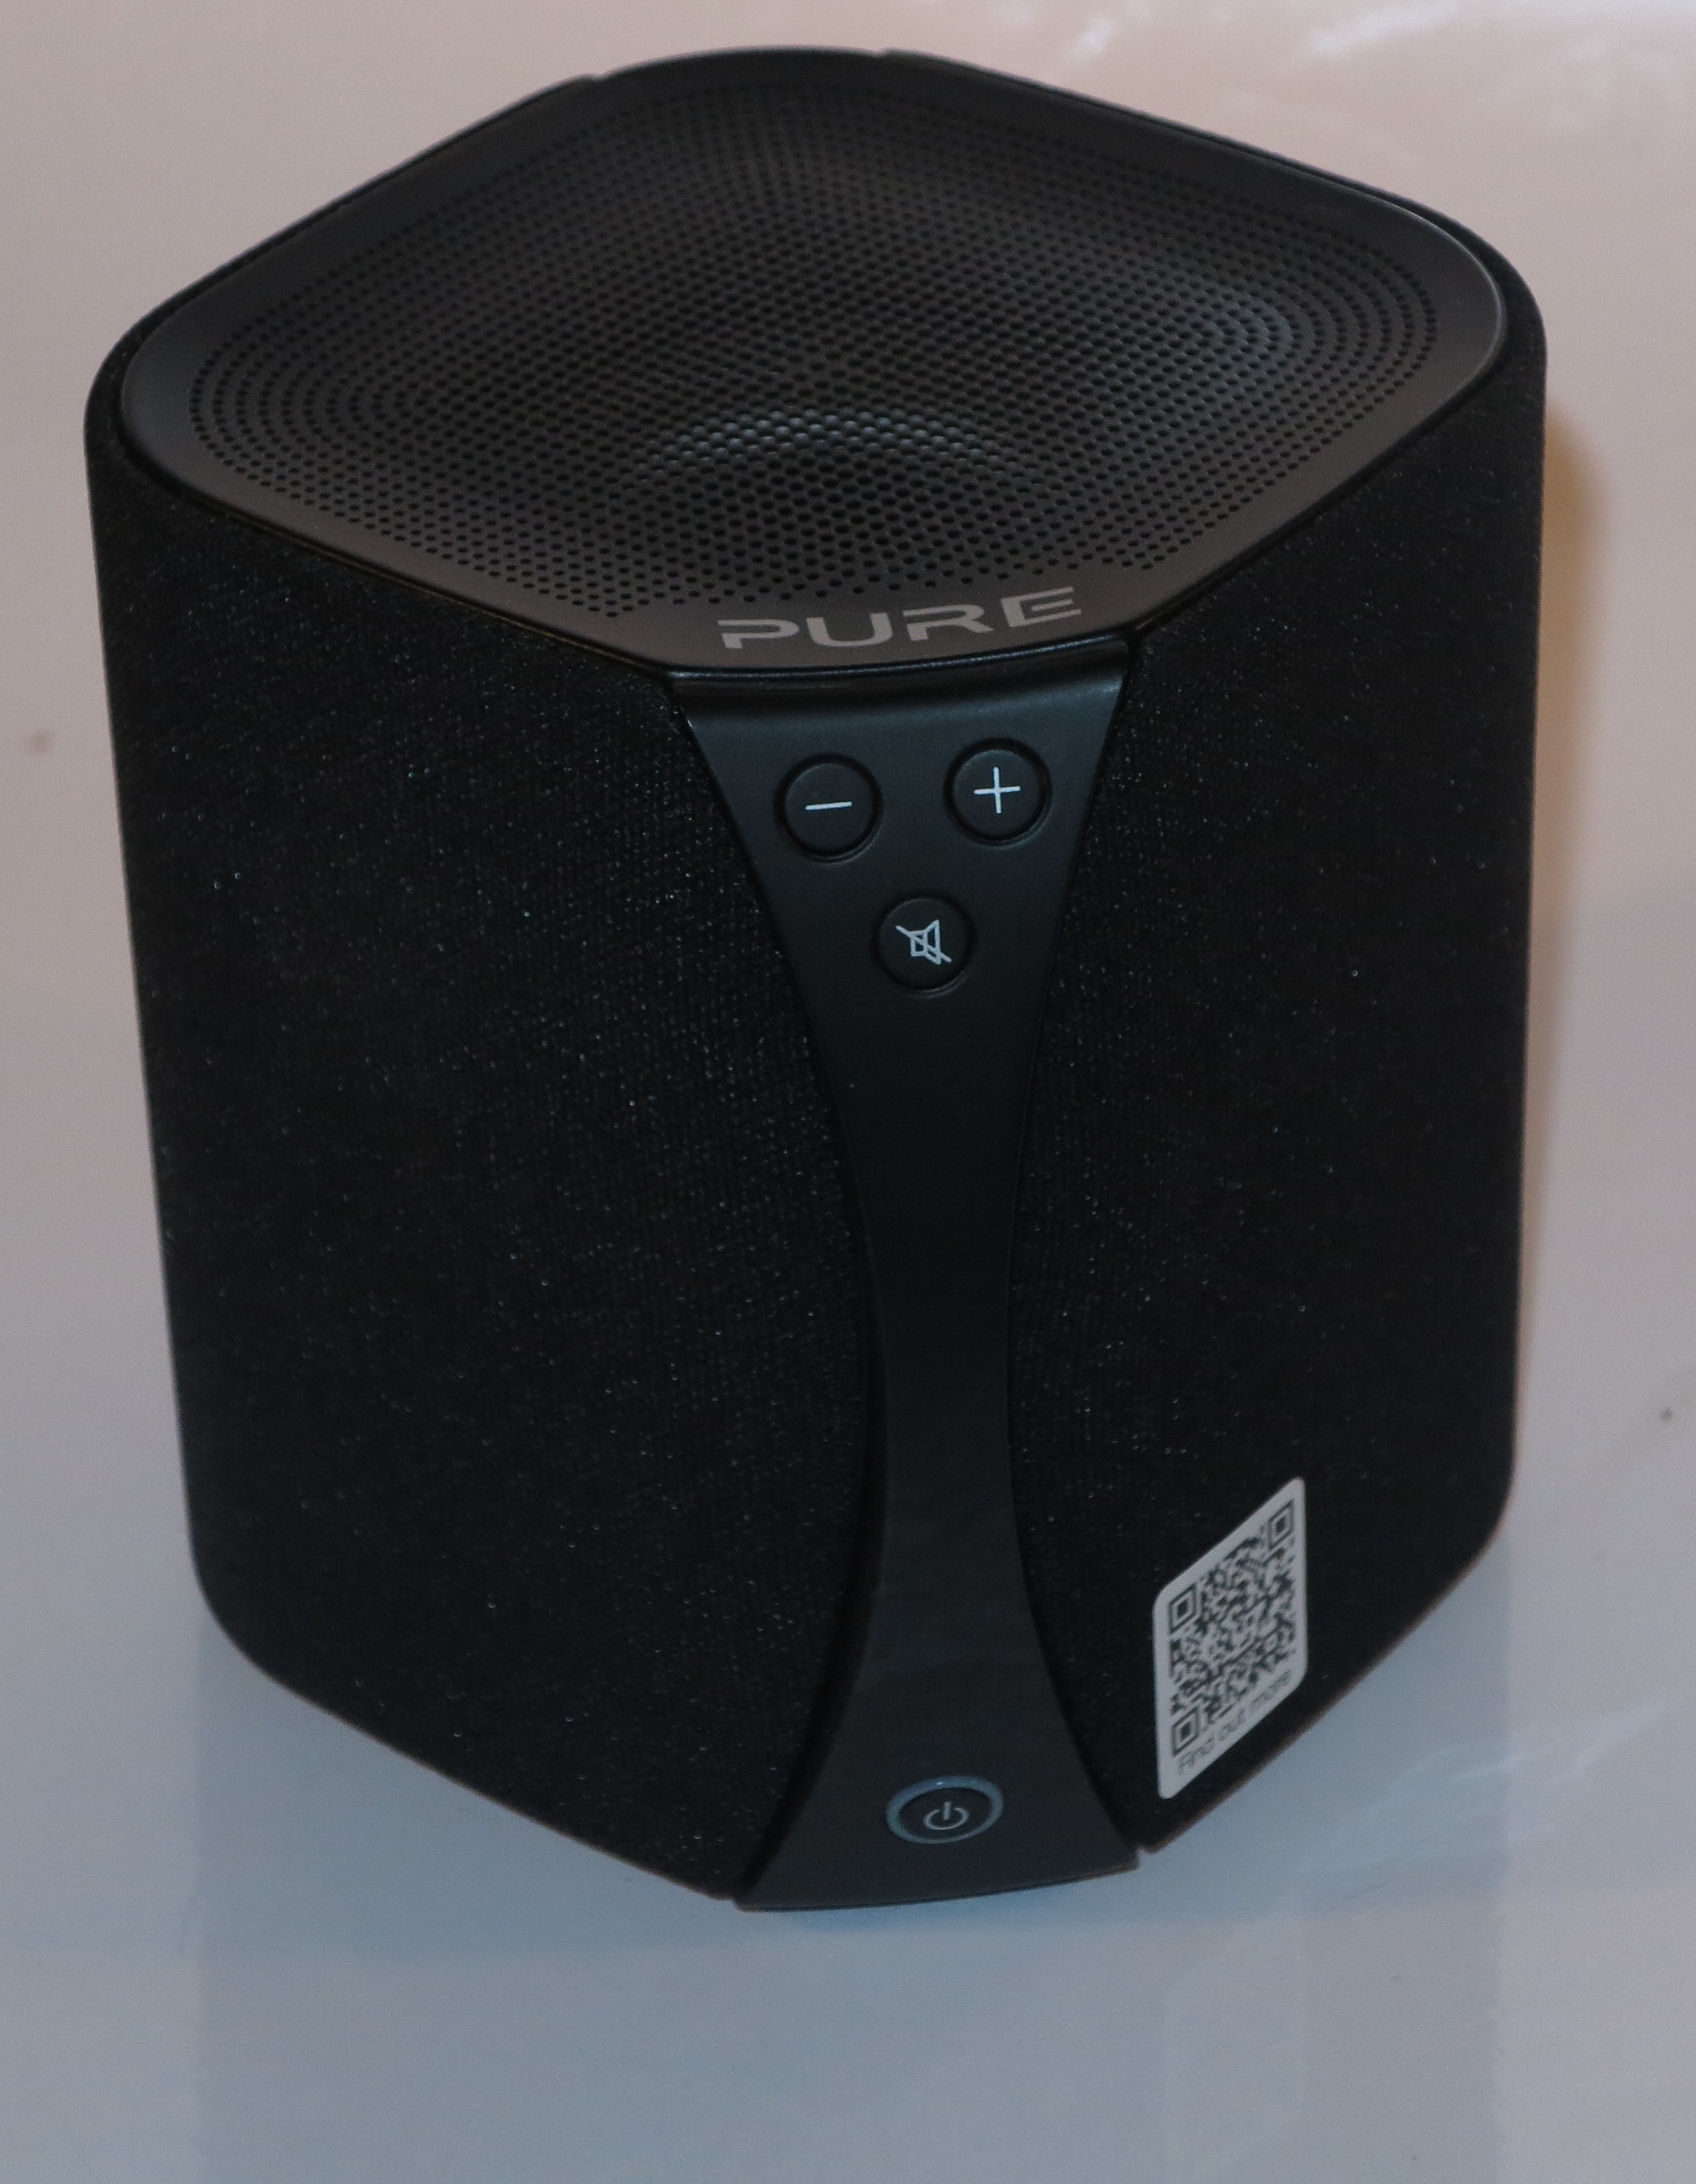
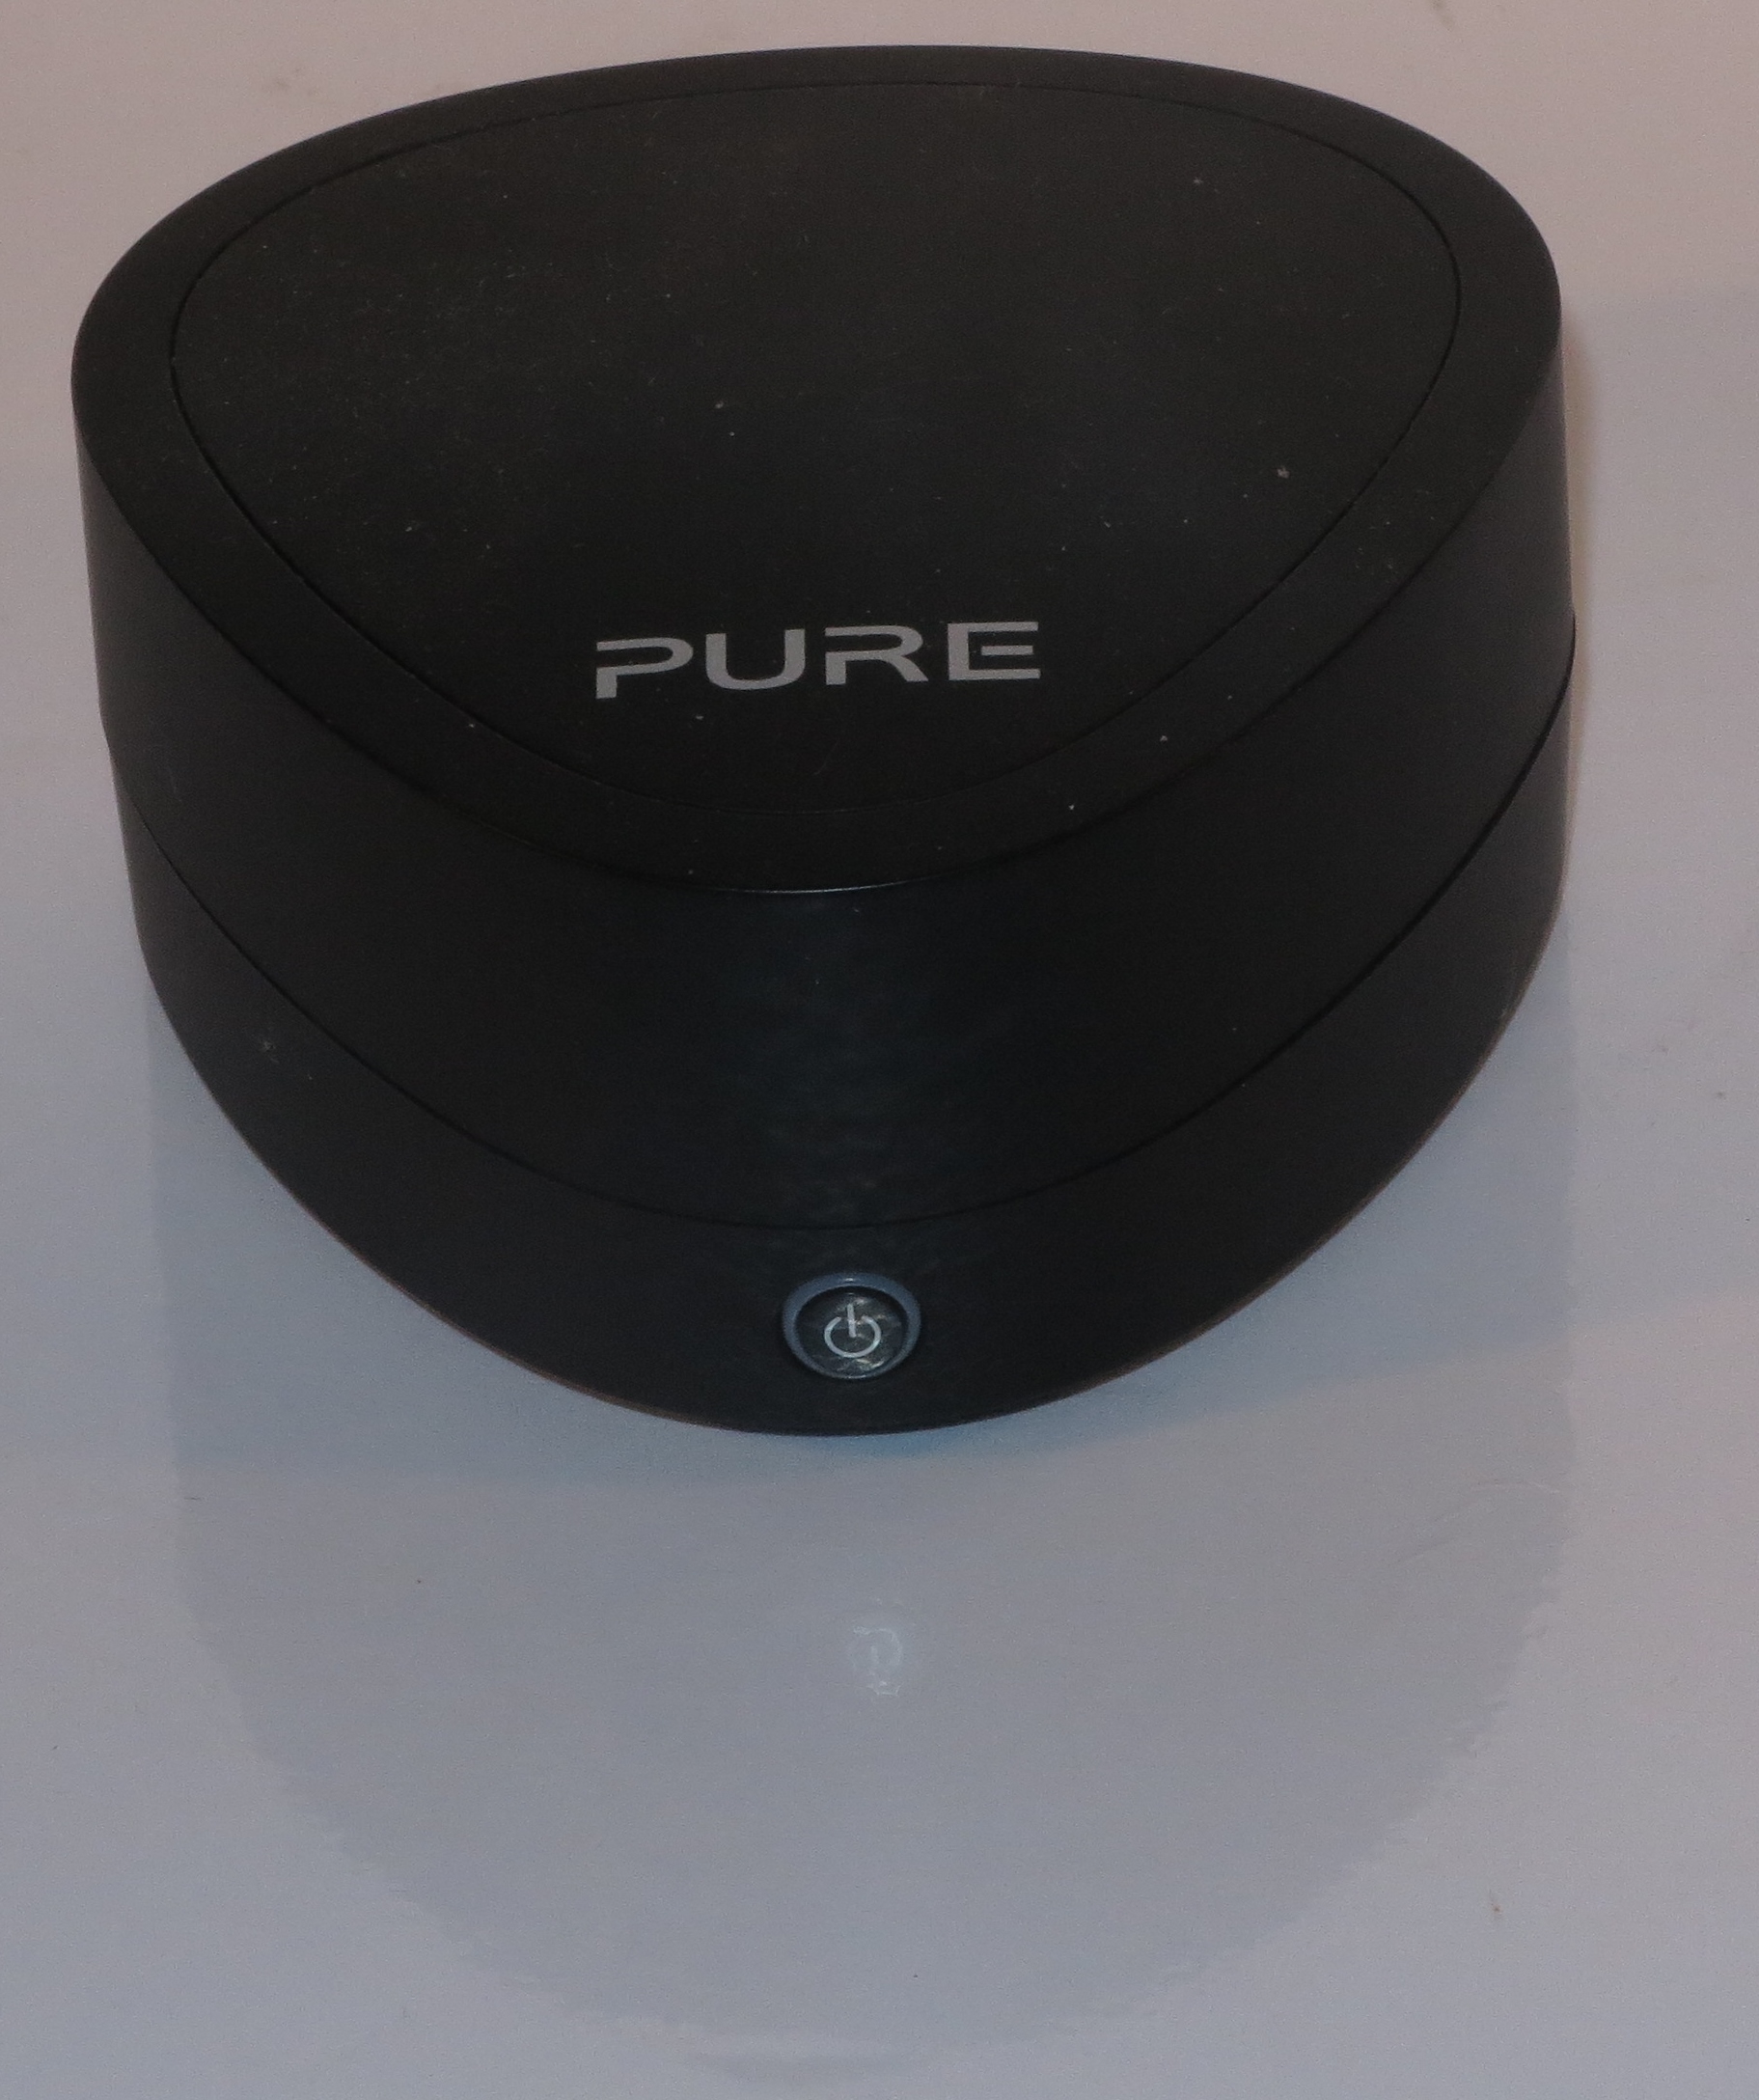
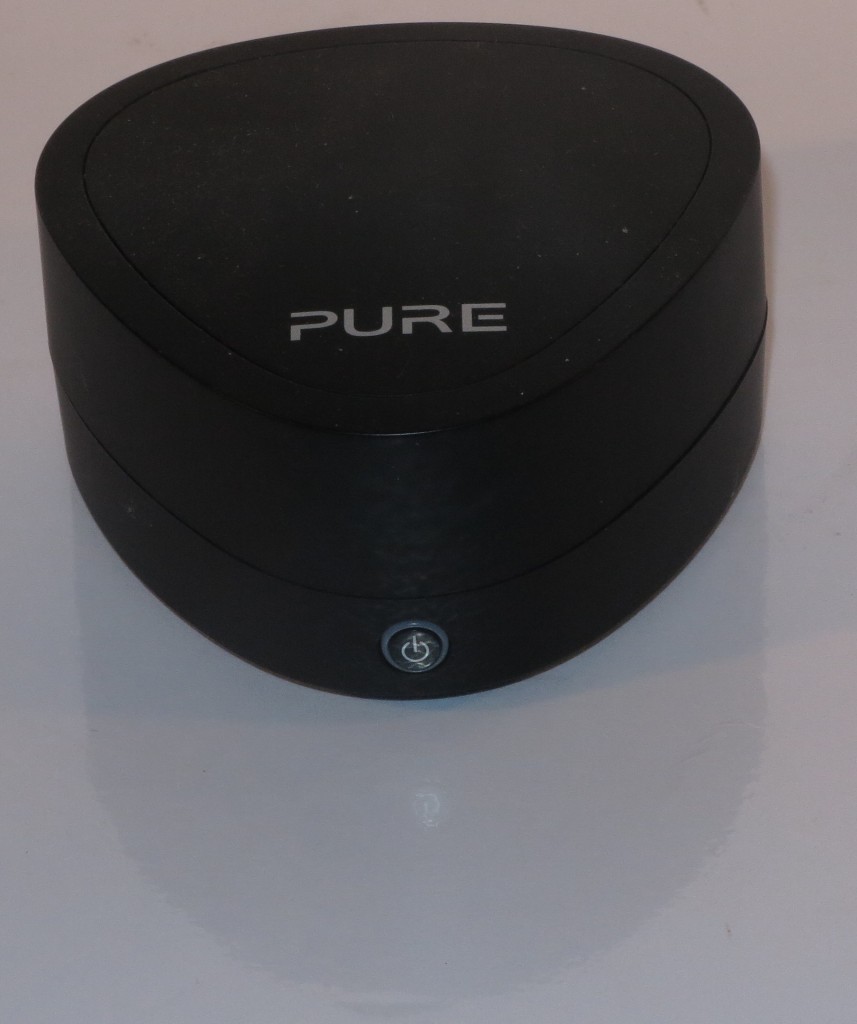
The unit is slightly bigger than a 500g (“pound”) block of butter and is shaped like a triangle with curved sides. There is the ability to style it your way using optional decorative collars available from Pure, but this size also makes you want to take it with you to hook up to any sound system at any location.

Pure Jongo A2 network audio adaptor connections

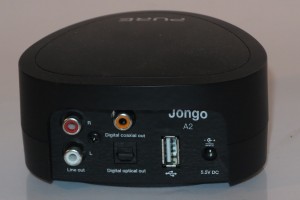
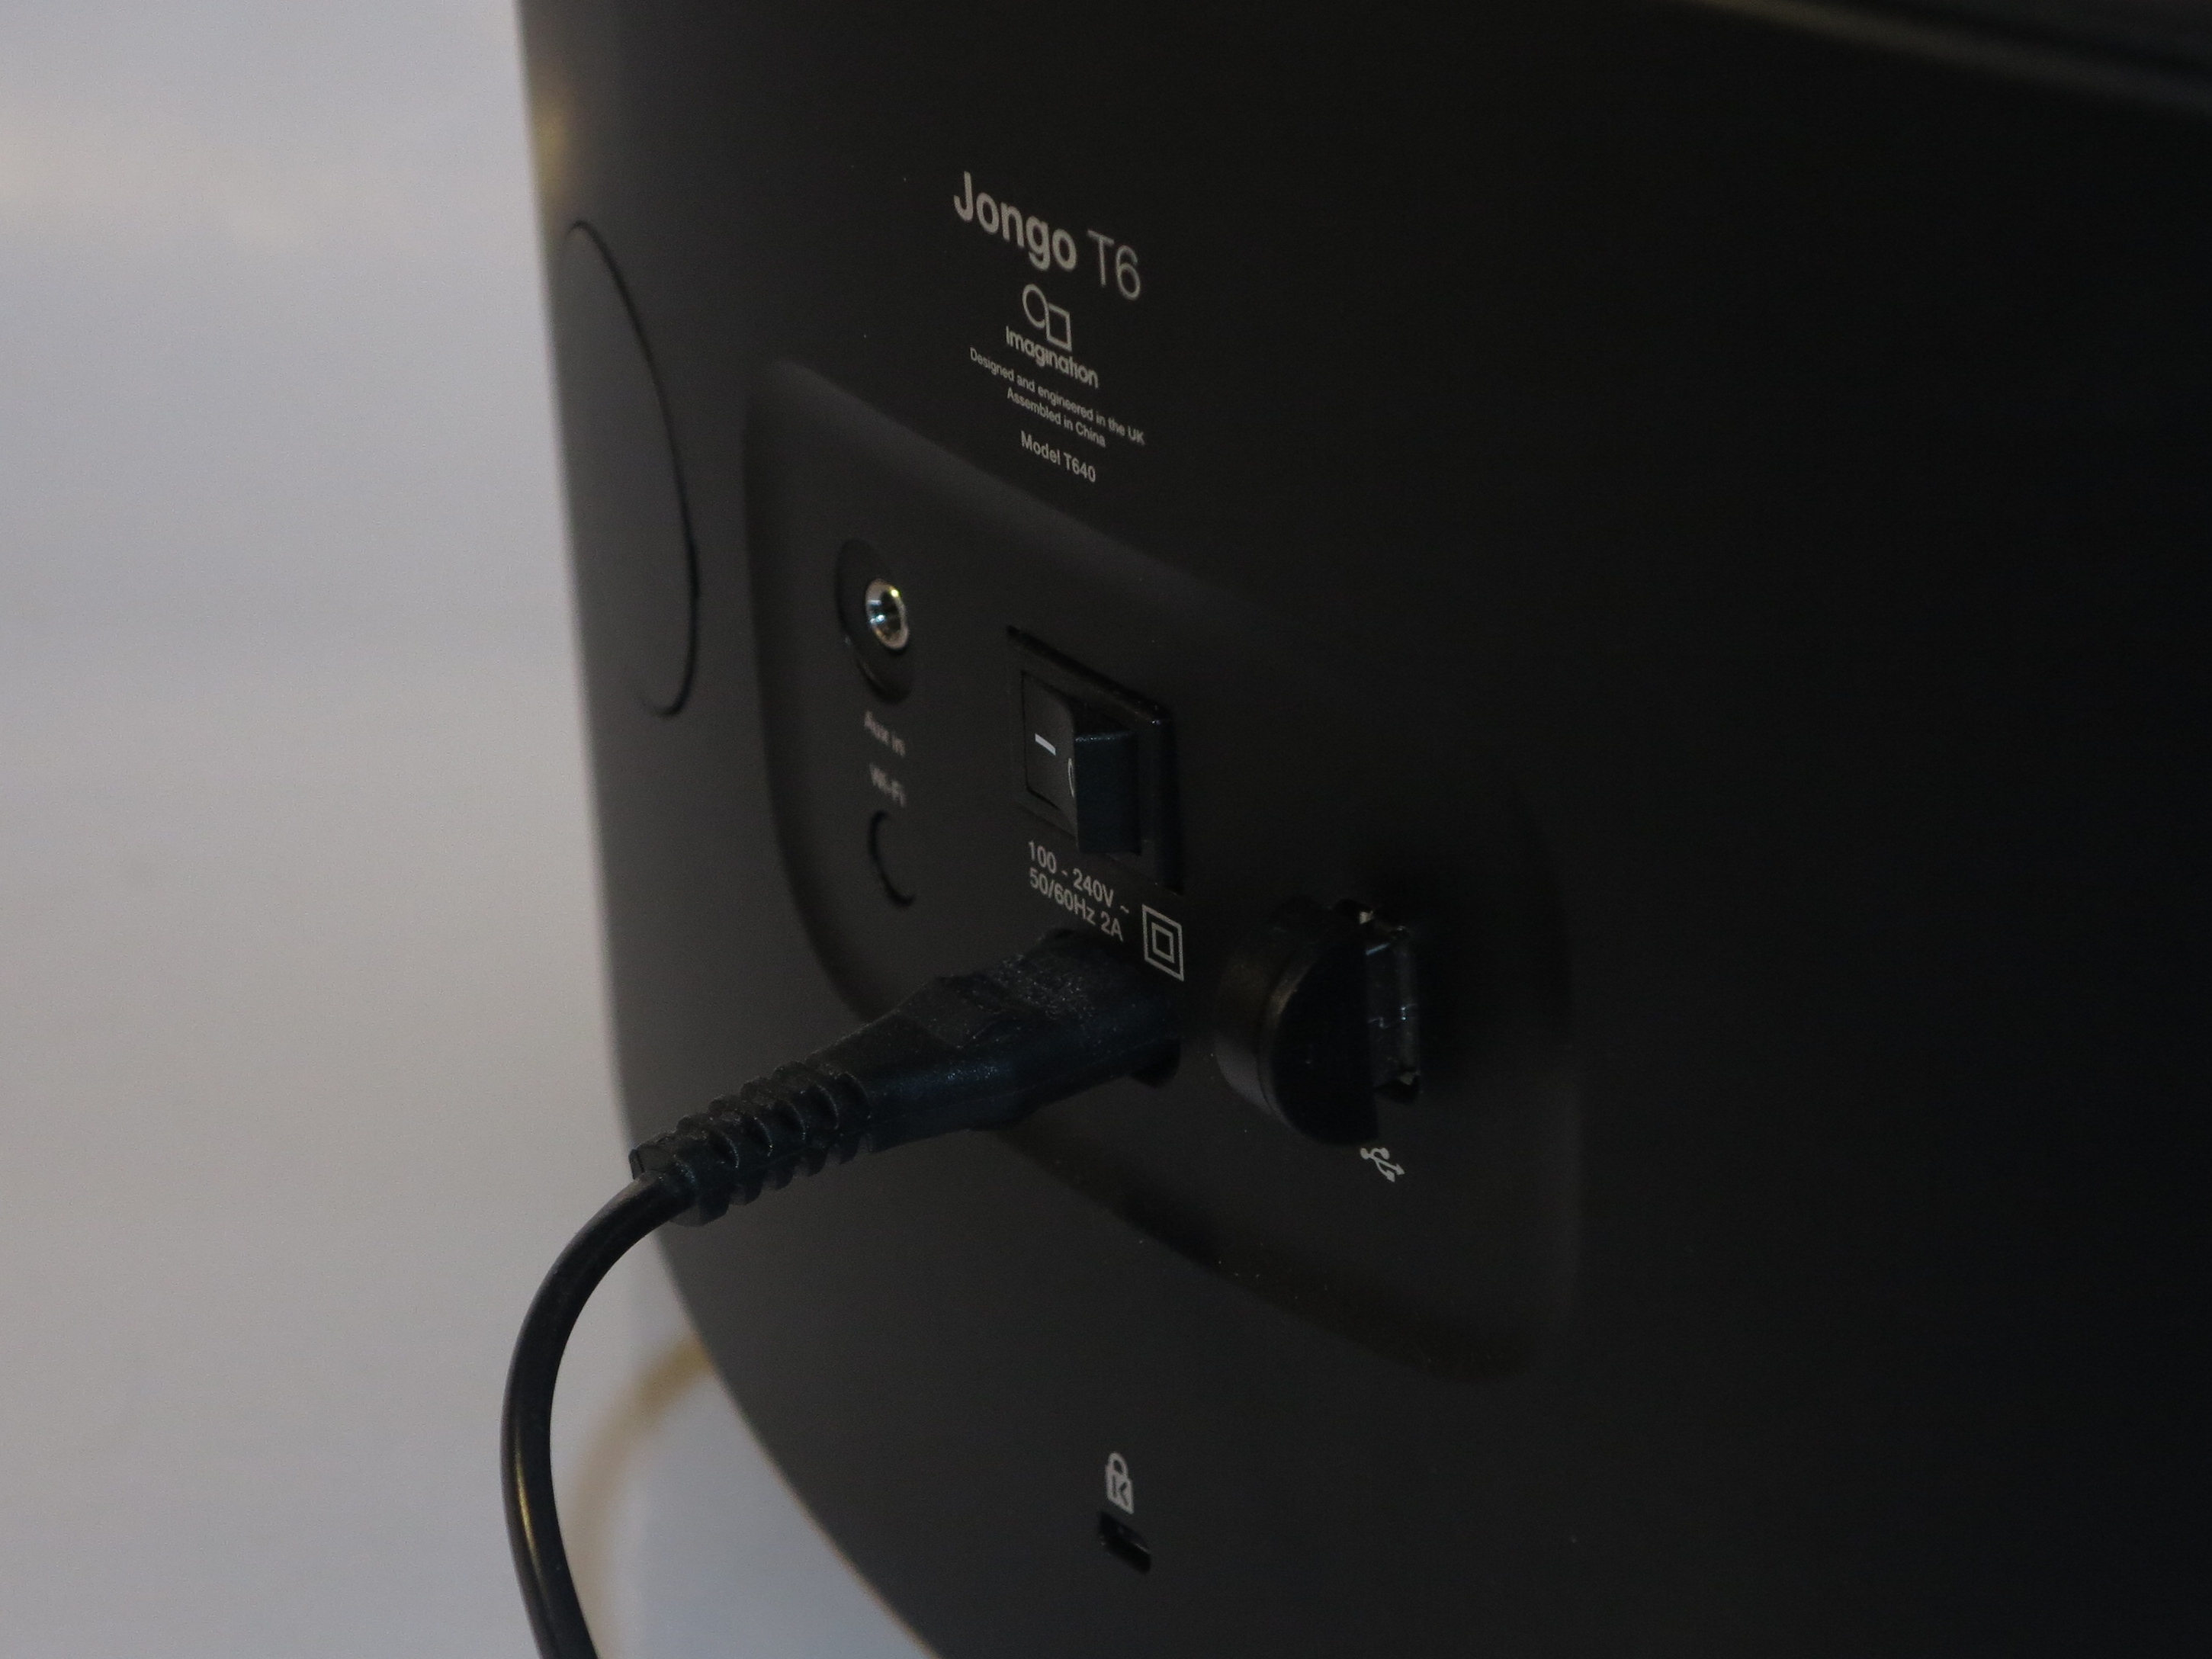
This adaptor has digital (coaxial and optical) and analogue audio outputs to suit all consumer audio equipment

For connectivity, the Pure Jongo A2 covers all bases as far as consumer audio and AV equipment is concerned.  Here, you have a pair of RCA connections to provide a line-level audio connection to any vacant auxiliary or tape input on your sound system. If you are using a digital-analogue converter, a home-theatre receiver or a digital amplifier, you can connect this network audio adaptor to this digital inputs on that component using the coaxial (RCA) or optical (Toslink) connections. This lets you use the better digital-analogue signal path offered by these devices as well as obviating the risk of electrical noise in the signal that can come about with longer RCA-cord analogue connections.

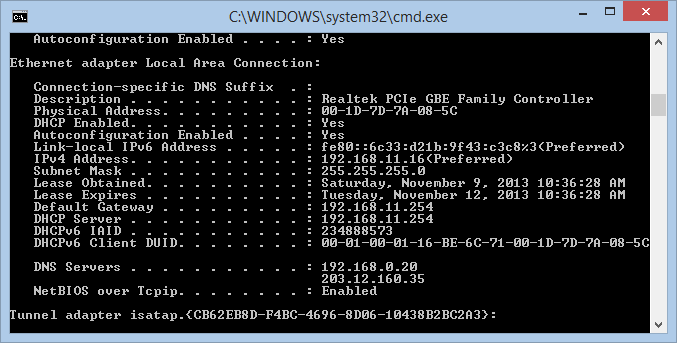
When it comes to the home network, you have the ability to connect to an 802.11b/g/n Wi-Fi wireless segment. This supports WPS push-button setup or you use the “own access point and Web interface” for integrating this device in to your existing small network.

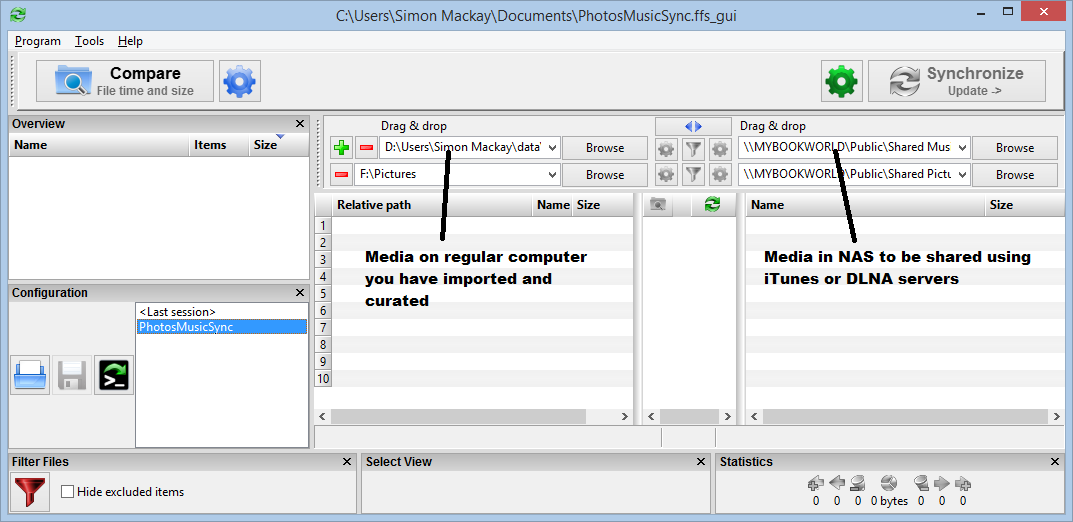
The Jongo plays properly as a DLNA MediaRenderer device where it can reliably accept a run of audio content that it is directed to play via the home network. I had this playing a run of albums through the household stereo system by “finding” the files on my WD My Book World Edition NAS using Twonky Mobile on my Samsung Android phone and using that app to have it play the tracks.

The Pure Connect app provides the multiple-speaker functionality for content held on your device as well as Internet-radio content hosted through the Pure Internet-radio directory service.

As a Bluetooth A2DP endpoint, the Jongo A2 had played its part very well with my Samsung Note 2 smartphone by running the content streamed to it very smoothly even though the phone was two metres from it.

Other comments

If you do want to make sure that this device works at its best, yielding a clean sound from your existing stereo system, make sure that the Bluetooth output volume for your Bluetooth-capable phone is at 75%. Similarly, bypassing any tone controls on your media player software and adjusting the tone on your stereo equipment’s control surface keeps the setup sounding at its best without the risk of sound that is too much like that pub jukebox.

If you are using a UPnP AV / DLNA media controller or Pure’s Connect app to manage this device, make sure that the output volume is no more than 75%-80%. Personally, I use the volume control on the stereo system to adjust the volume to how I want it to sound at a particular moment.

A teenager who lives with us was very impressed by the fact that the Pure Jongo A2 had “all bases covered” and was not being tied to an Apple-only ideal when it came to audio-equipment connectivity.

Limitations and Points Of Improvement

As we see the arrival of other services like Pandora and Spotify, the Pure Jongo system could offer app-level connectivity to these services. This can also be augmented by the use of software for Windows 8.1 and Macintosh OS X so that small notebooks, tablets and similar computers based on these regular-computer operating systems can play along with the Jongo ecosystem.

The Pure Jongo A2 could offer integral Apple AirPlay support for those of us who want all wireless-connectivity bases covered in one box. Similarly, Pure could offer a variant of this device that has the ability to stream audio content from another sound system into the Jongo speakers that are on the network, which could please those of you who work with vinyl or other legacy formats or who want to stream the output of a PA system used by a band, MC, DJ or similar user to other Jongo speakers.

As for network abilities, it could benefit from dual-band Wi-Fi connectivity and / or Ethernet connectivity to avoid the problems that are becoming associated with a crowded 2.4GHz band. The Ethernet functionality could come in to its own due to the fact that it would be used with equipment that is normally kept in one place.

Conclusion

I would see the Pure Jongo A2 as a tool to provide an “open-frame” bridge between your smartphone, tablet or laptop with Bluetooth or your DLNA Home Media Network using Wi-Fi. You also can add Internet radio to this mix using the Pure Connect app’s access to Pure’s Internet-radio directory. Even if you do have an Apple AirPort Express in place for AirPlay connectivity, you are able to effectively have “all bases covered” with this device.

The digital connectivity effectively lets you use the better digital conversion circuitry in your home theatre receiver or digital amplifier in a way that the Apple AirPort Express and a lot of other similarly-priced devices don’t..

Want to check on what is being printed using Windows 8.1

Modern User Interface - Device Charm menu when print job is in progress

Modern User Interface – Device Charm menu when print job is in progress

Those of you who have moved to Windows 8 and 8.1 may have found it difficult to know what’s printing when you send out a print job to your printer. Here, you may be used to the “Devices And Printers” window since Windows Vista where you could click on the printer icon to check what print jobs are being printed at a given time.

Here this routine has been simplified in Windows 8 and is available in both the Desktop and the Modern UI views as a consolidated list. This is easier for those of you who have two or more printers like a laser printer that you run as a “printing press” alongside a baseline inkjet printer for ordinary document printing.

Modern User Interface (Metro User Interface)

  1. Bring forward Charms (hidden task-specific option buttons) on right side.
    Touchscreen users simply swipe from the top right-hand corner while mouse users move the pointer in to the top right-hand corner.
  2. Click or touch Devices.
    The “Check Printing Status” text lights up when a print job is pending or in progress
  3. Click “Check Printing Status” to view the jobs list
Right click on Printer icon in Desktop notification area to bring up these options when a print job is in progress

Right click on Printer icon in Desktop notification area to bring up these options when a print job is in progress

Traditional Desktop User Interface

  1. Right click Printer icon in Notifications area in Taskbar
  2. Click on Printer icon
  3. Click on Open All Active Printers for all jobs sent to all printers
  4. Click “name of printer” to show this printer
  5. Desktop UI users can also follow the Modern UI steps as another way to bring up the pending print jobs.

Microsoft could improve on this by having the Devices Charm change colour when a print job is in progress or change to a different colour when something needs attention.

Using FreeFileSync to sync media files out to your NAS

You use a regular Windows or Macintosh computer to curate your pictures, music and video files and store these files on your computer’s hard disk. Then you buy a high-capacity network-attached storage device to make these files available on your home network at all times and also as a backup or “offload” measure.

Normally this will require you to use Windows Explorer or Macintosh Finder to copy the files out to the NAS every time you synchronise them out to your NAS. This can be annoying especially if you have made changes to a few of the files or added a handful of files to the collection such as the latest downloaded images or a CD “rip”. Here, you have to answer a file-owerwrite prompt that the operating system puts up every time you write over an existing file as part of a copy process and this can be awkward if you did something like modify your files’ metadata or edited a photo, You could select the “Yes to all” prompts but this runs a slow copy process which transfers redundant data or work through each folder and file manually and find that you hadn’t reflected all the changes you had to reflect..

There is a free open-source application called “FreeFileSync” which automates the process of keeping your files that exist on two locations in sync.  This is available for Windows, Macintosh OS X and Linux and can work with locally-mounted drives or SMB network-shared folders.

Here, you can set up a “there-and-then” sync job or create a sync job affecting certain files and folders on both the source and destination in a particular way. A sync job that you save can affect multiple pairs of files and folders thus avoiding the need to create one job for each folder pair.

Prerequisites

FreeFileSync must be downloaded and installed on your computer

You download FreeFileSync from FOSSHub or Download.CNET.COM and install it as you would for downloaded software for your operating system.

Identify on your computer where your media manager software is storing your music, photos and videos.

Media libraries in Windows 8.1

Media libraries in Windows 8.1

In iTunes, this is found under the “Advanced” tab in the Preferences menu. Windows Media Player and Windows Live Photo Gallery use the Pictures and Music or “My Pictures” and “My Music” libraries created by Windows. Other media-management tools may use a particular folder that you set in their options or preferences window as the place for their media library.

CD rip location in Windows Media Player

CD rip location in Windows Media Player

Most audio-based media management tools like iTunes and Windows Media Player typically use the library as their import folder for when you “rip” a CD or purchase music through their online store whereas a lot of photo and video tools may have you create a separate import folder away from your library for images and video you import from your camera or scanner. This then allows you toe edit the images and video before adding it to your library.

Identify and make available the “media” folders that you are using to store your media on your NAS.

A NAS that uses a DLNA media server and an iTunes media server typically references a folder tree like “Media”, “Shared Media”, “Shared Music” or something similar. These are typically at the “Public” SMB mount point and are accessible using SMB/CIFS as well as these media servers.

If your NAS uses one shared media folder, create a sub-folder for the music files, another for the images and home video and another for other video like “download-to-own” content.

Create a media sync job

Setting up FreeFileSync for media syncing

Setting up FreeFileSync for media syncing

These actions are for a Windows computer and most NAS units

  1. Open FreeFileSync
  2. Click ProgramNew
  3. For each root folder representing your media collection kinds,
    a) Drag the root folder representing the media type on your computer to the left file list pane
    b) Drag the destination media folder for the media type on your NAS to the right file-list pane
    c) Click the + symbol to add extra media type pairs to your sync list.
  4. Click the gear icon next to the Synchronize button to determine the kind of synchronisation to take place
    In this case, you will have to select the “Update” option for this job. This effectively contributes new and modified files and folders that exist on the computer to the NAS without deleting any files that have been removed from the computer’s media folder. This is important if you just keep your files on your regular computer just to curate them before adding them to your media collection, or you “shift” older files to your high-capacity NAS to create space for newer files.
  5. Click on the “Update” button to select this option.
  6. Click on the “Save As” option to save this sync job as a file. Give it a name like “MediaSync” or “MediaNAS” to reflect the goal of it syncing your media to the NAS.

Manually running this sync job

Here, you open FreeFileSync, select the name of the “media sync” job and click “Synchronize” to start the sync process.

When to run this

Run the :FreeFileSync” job whenever you have done significant work on your media library like importing new media or editing existing media including the metadata. This can also be done as part of a backup routine before you start off the main data backup on your PC.

What are the DNS servers about and how to keep a safe Internet experience

Article

http://nakedsecurity.sophos.com/2011/11/10/fbis-operation-ghost-click-takes-out-operators-of-dnschanger-malware-network/

FBI guidance document on checking your computer’s DNS settings (PDF) – mainly applies to most regular-computer operating systems

My Comments and explanation

What are DNS servers?

The DNS is the Internet’s phone book

White Pages phone book

Domain Name Servers – the Internet’s phone book

The Domain Name Servers are effectively the Internet’s “telephone directories”. In this analogy, you may be thinking of calling a particular person or business in a particular area, but you don’t know their phone number. So you would have looked up the White Pages telephone book and searched this book by name and location till you found their number which you would dial to make that call. If you couldn’t find it in that directory, you would proceed to call a published “Directory Assistance” number like 411 in the USA, 192 in the UK or 1223 in Australia to ask for that number.

With the Internet, each computer is addressed by a particular IP address which effectively is the computer’s or network’s “phone number”. But it would be hard to remember these addresses for the Web sites we visit or the email servers we send the emails to. The Domain Name Servers take up the role of the telephone directories of the Internet by mapping the human-understandable Web addresses and domain names like homenetworking01.info to the IP addresses that are these sites and resources’ actual locations on the Internet.

How are these determined in your computer or network?

In most cases, the details about what DNS servers to use are passed on to your computer or other device through your home network by the router every time each piece of equipment on that network uses the DHCP protocol to get information from that device about where it stands in your network like its IP address. The router typically gets these details from your Internet provider’s servers every time it sets up the Internet connection with your Internet provider as part of asking the servers where it stands in the wider world of the Internet.

It is feasible to configure a DNS server list for a particular computer, device  or network using the operating system’s network-settings interface or the Web-based management interface in the case of your router. This is a practice that is commonly done by corporations with their private networks to create human-readable identities to particular servers or networks that host particular resources.

Why does the DNS appeal to computing’s “bad actors”?

The DNS appeals to computing’s “bad actors” because it allows one to redirect a particular domain name to a different IP address that what it is supposed to go to. This can be to a Web server that is loaded with malware, existing as one of many different traps for users to supply information that is confidential to them or their organisation; or to keep them away from sites that provide proper information like security updates for your computer in order to make it easier for the network to be used by the Internet’s “bad actors”.

For email, it can also be about creating “honeypot” addresses that take advantage of domain-name typos in order to catch confidential email that is mistakenly addressed.

It can also be used as part of a concerted attempt against Websites by setting up “click-fraud” or “malvertisement” activities against advertising networks or their stakeholders i.e. the advertisers and publishers by sending users to or through dodgy Websites instead of to the advertiser’s campaign landing page.

This modification can be caused by malware that modifies the computer’s DNS settings or gets at these settings on a home-network router that hasn’t been properly set up with a password to affect the settings that everyone on the network knows.

Keeping the DNS settings safe

DNS settings in Windows ipconfig / all screen

DNS settings in Windows ipconfig / all screen

The first step is to know what the DNS settings are to be for your computer and network. Here, this should be found out from your Internet service provider or the IT support staff at your workplace.

Check the DNS settings on your equipment to make sure they reflect what these settings are meant to be. Most platforms will show these details in a “Network Connections” option like the “Control Panel Network And InternetNetwork And Sharing Center” in Windows 8 and 8.1, or “[Apple]System Preferences Networking” on the Macintosh OS X. Windows users can use the Command Prompt to obtain these details by typing “ipconfig /all” to obtain the full details about their network connection. Most other network-enabled devices like Smart TVs and network printers have these details as part of the “Network” or similar settings, typically as part of a “troubleshooting” or “settings” menu.

DNS settings on Brother network printer

DNS settings on network setup screen on Brother network printer

Infact, if you suspect that malware has got at your computer because it appears to go to different Websites than what you asked for, make a “spot check” on your network’s DNS settings using your games console’s, smart TV’s or network printer’s user interface to see if your router has been “got at” by the malware.

As for your router, check the DNS settings in your WAN, Internet, Network or DHCP settings menu in its Web-based management page. The router’s management password should also be set to a password other than the default password so that any DNS-changing malware can’t change these settings for the home network and is something you need to do as part of commissioning a new router. Most of these routers also allow you to export the settiings to your computer’s secondary storage and import them back to the router. This is a practice that is worth doing once you have all the settings in place so that if you reset the router to “ground zero”, you can keep your configuration.

As well, practicing good computer housekeeping like “think before you click” on email and Website links and keeping your desktop security software and operating system up-to-date with the latest security patches is a prudent step towards keeping away from malware that can change your network’s DNS addresses. For mobile and other “platform” computing environments like iOS, Android or your smart-TV environment, researching on apps provided by that app store is also a prudent way to go about keeping the DNS information safe.

Telstra brings a colour-screen Mi-Fi to its 4G network

Articles

Telstra’s new Wi-Fi 4G modem first to work with LTE-Advanced | PC World Australia

Telstra introduces its next-generation LTE-Advanced 4G hotspot | CNet

My Comments

Telstra have released the latest iteration of their premium “Mi-Fi” device for the 4G mobile-broadband network. This device seems to have “all the fruit” when it comes to the design of these devices such as a colour touchscreen as its on-device interface as well as the use of the dual-band Wi-Fi technology for its LAN side.

But it is also the first to exploit the newer “LTE-Advanced” technology which Telstra are trialling up in the Sunshine Coast in Queensland. This implements the use of both the 900MHz and 1800MHz wavebands and bonds the output of two “cells” together to create a “fatter” WAN pipe this increasing the bandwidth available, much in a similar way to how the MIMO functionality on the 802.11n Wi-Fi networks and HomePlug AV powerline networks work.

This device has been built by Netgear since it took over Sierra Wireless who made most of the previous USB wireless-broadband modems and “Mi-Fi” hotspots that are in circulation like the currently-issued device that Telstra is running as their premium “Mi-Fi” option.

As for battery runtime, the supplied 2500mAh battery can run for 10 hours. But I am not sure if this device will offer more than the typical “Mi-Fi” functionality like mobile NAS functionality. Telstra are intending to run it at a similar cost to the existing premium Mi-Fi device i.e. for AUD$6 per month on a AUD$50 per month 24-month contract with 8Gb data allowance. I am not sure if they will offer this as a shared plan where many mobile-broadband devices like a smartphone and a “Mi-Fi” can share the same allowance pool.

Heads up: The HDHomeRun Prime DLNA-capable broadcast-LAN adaptor is running for US$100

Article

Get an HDHomeRun Prime CableCard tuner for $99.99 | CNet

From the horse’s mouth

Woot

Offer Page

Previous Coverage

HDHomeRun Prime is the first CableCARD tuner to deliver live TV to DLNA Devices

My Comments

Those of you who follow HomeNetworking01.info from the USA may have seen me make mention about the HDHomeRun Prime broadcast-LAN adaptor which streams cable-TV content from its tuners over a small network.

The reason I have drawn attention to this unit on HomeNetworking01.info and am highlighting this deal is that it works as a DLNA-capable network media server. Here, it could stream the cable-TV (or antenna-supplied) content to your XBox 360, PS3, smart TV or other DLNA / UPnP-AV compliant video device so you can use this device to watch the cable-TV shows on.

It has support for the cableCARD authorisation module which you rent from your cable-TV provider i.e. Comcast, Time Warner Cable, etc for less than the cost of the set-top box that they provide, but you have access to HBO, Showtime and the other premium channels as your subscription allows through the DLNA-capable devices as well as your smartphones, tablets and laptop computers.

The variant of this device being offered at the US$100 price is the 3-tuner variant which would serve content to up to three devices and could either work as a “get-you-going” device or augment an existing broadcast-LAN device.

Bouygues Télécom offers a double-play “n-box” service for €16 per month in France

Articles – French language

B&You : une box Internet à 15,99€/mois, mais pas pour tout le monde | DegroupNews

B&You lance la Box Internet à 15,99 €/mois | Ere Numérique.fr

From the horse’s mouth

B&You (Bouygues Télécom)

Product Page

My Comments

Flag of FranceA EUR€16 per month double-play Internet service is now offered by Bouygues Télécom’s “B&You” low-cost brand for the French market.

This service, which is capable of being operated “by the month” without a a minimum contract, offers 20Mb/s Internet bandwidth via an ADSL setup along with inclusive fixed and mobile calls to France (including the Départements Outres Mer as well as Mayotte) and most of the popular international destinations. Being the “double-play” service, there isn’t the IPTV service with the many pay-TV channels but this would work well with people who use”over-the-air TV or Internet-hosted “over-the-top” services like YouTube or Apple TV.

Here, you purchase the “box” that is part of the service for EUR€35 and have to have your premises with a regular telephone line in place. This has to be connected to an exchange that is dégroupé (unconditional local loop access) for Bouygues Télécom. The equipment available for this service is an older generation unit which works as a basic Wi-Fi-equipped home-network edge.

But where would this plan drop in to place? It is one of a few “by-the-month” plans that I would see as courting the “holiday-home” / “occasionally-occupied” market. Think of that chic Parisian apartment that simply serves as a “bolt-hole” or that holiday house used in the Aquitaine on the summer weekends.

This is yet another sign of a highly-competitive Internet-service market in France that is also encompassing mobile telephony and Internet service.