The typical media-sharing situations with cloud-based file sharing

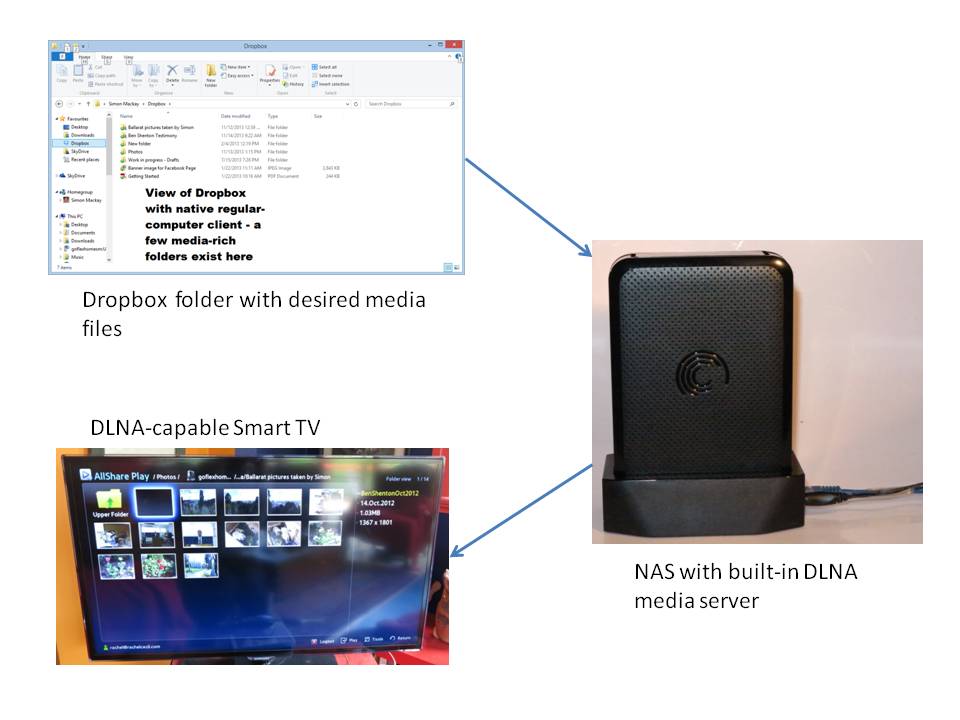
Dropbox folder to DLNA-capable TV availability concept
You attended your friend’s wedding and took a lot of choice pictures during the celebrations on that day. Now you import your pictures to your computer, use a media-management program to curate them all and manage them in to a folder tree representing that wedding and sync them to your DLNA-capable NAS for backup and availability on your fantastic smart TV.
But you want to share the images with the lucky couple without supplying a disc, or USB stick or dealing with unwieldy email attachments. You may want to post them on your Facebook or other Social Web presence or photo-share service. Here, you could use a cloud-based file-share service like Box.com or Dropbox to share these pictures so they have access to “original resolution” images to view, print out or take further.
Why “original resolution” images? Some of us want to be able to print out the pictures to put on the mantelpiece. As well, one of these pictures such as the one of the couple having the “obligatory kiss” as part of the wedding may be worth printing as a larger feature picture that is to be on the wall. Today’s cameras can yield image resolutions that are to a standard fit for printing but you need the high resolution available at the print shop.
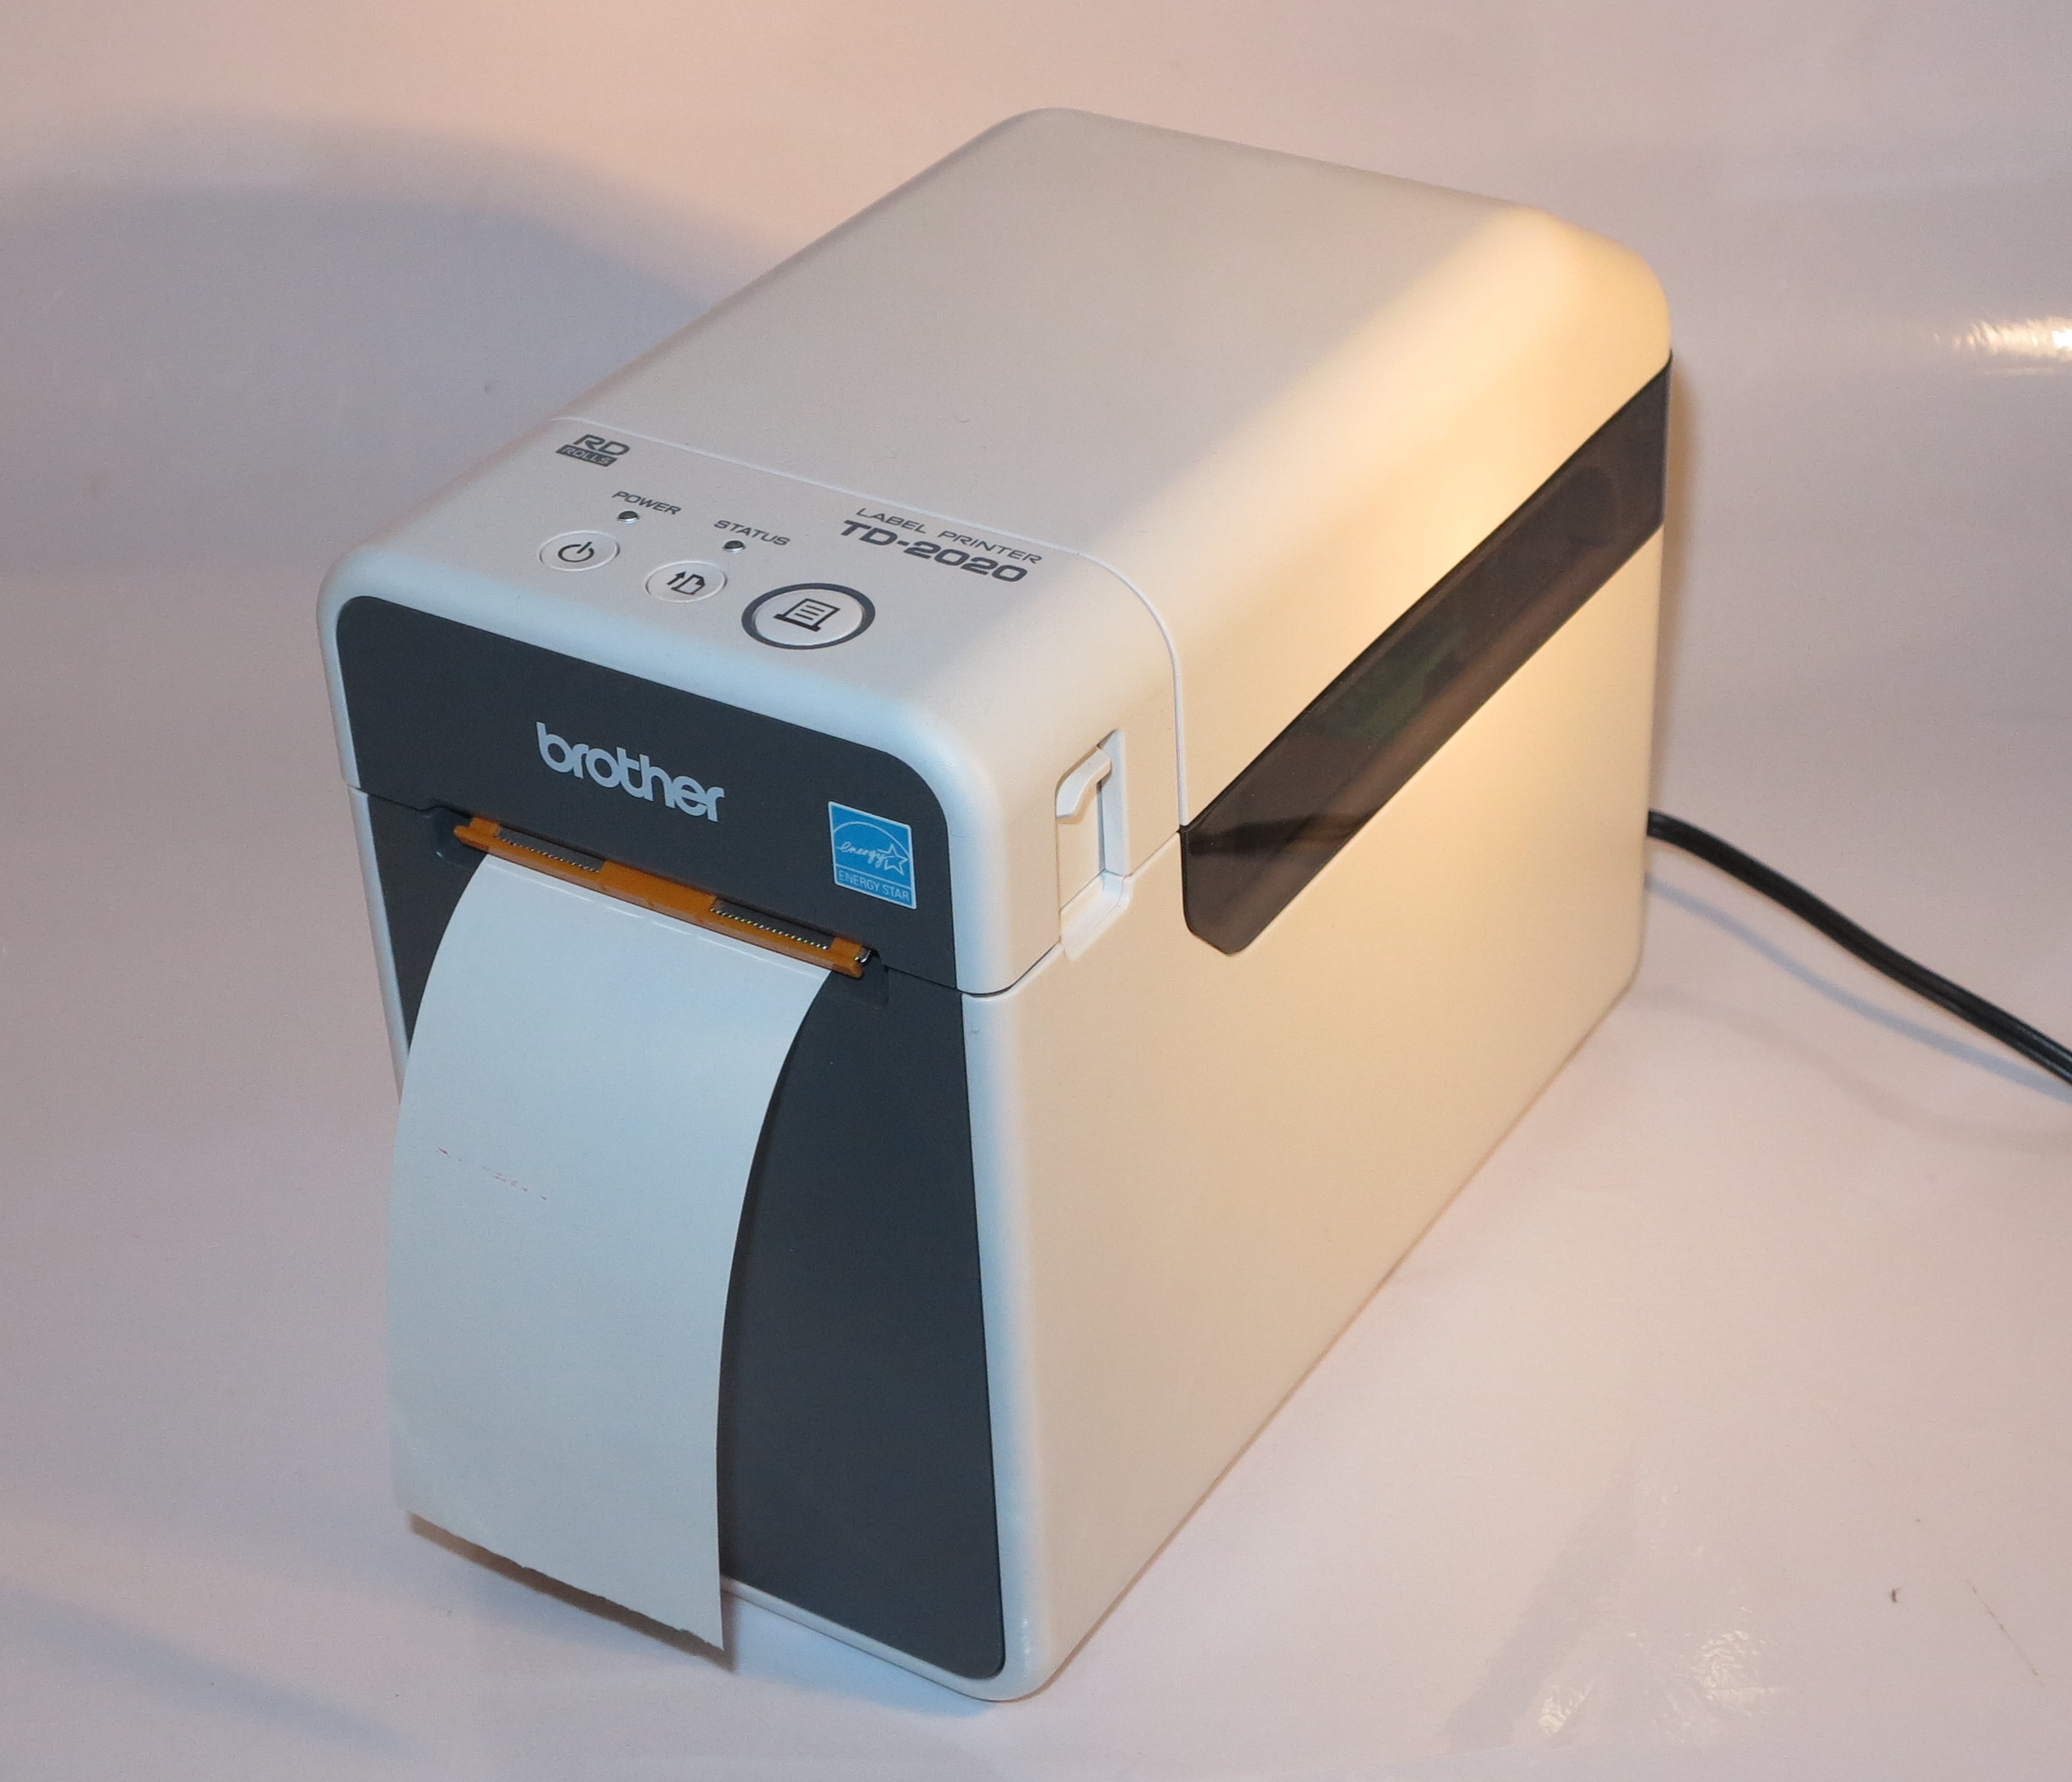
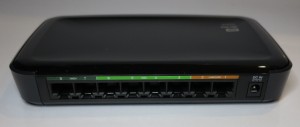
Similarly, you may be pushing out visual-merchandising content to your two shops that you own and you want to use Dropbox as a reference point for this material. Then you want this material appearing on the TV screen attached to the DLNA-capable Sony BDP-S390 set up at each of these locations.
Using a cloud-based storage service like Dropbox as a file exchange
Typical this involves you having an account on one of these services, such as Dropbox. The reason I exemplify Dropbox in this article and others on cloud-based file-storage services is because of it being available across all regular-computer and mobile platforms as a native application along with it being available through a Web user interface thus making it suitable as a file exchange.

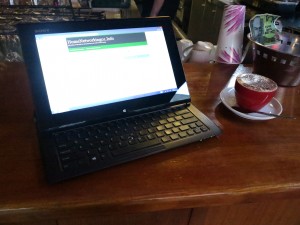
Dropbox native client view for Windows 8 Desktop
But if you use another cloud-based storage service, make sure that there is an application for your regular-computer platform that integrates this cloud-based storage service with the operating system’s file system as a folder tree. It also must be able to mirror the contents of your storage service’s account on your computer’s main secondary storage such as the hard disk as a way to gain quick access to the contents. As well, the storage service must have a native front-end program for at least the popular desktop and mobile computing platforms.
Then you upload a folder-tree full of the choicest images to your Dropbox and sharing that with the couple and others you want to share it with. Here, you have to know each recipient’s email address so you can send an invite to view the folder full of photos. Of course Dropbox identifies through the email those who already have Dropbox accounts and lets them know that the photos are available in their Dropbox view. But if a person doesn’t have a Dropbox account, they get an email invite to set up an account for free as part of the invitation to view the pictures.
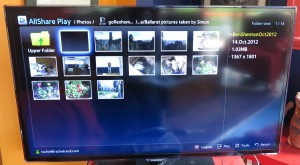
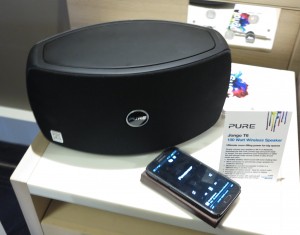
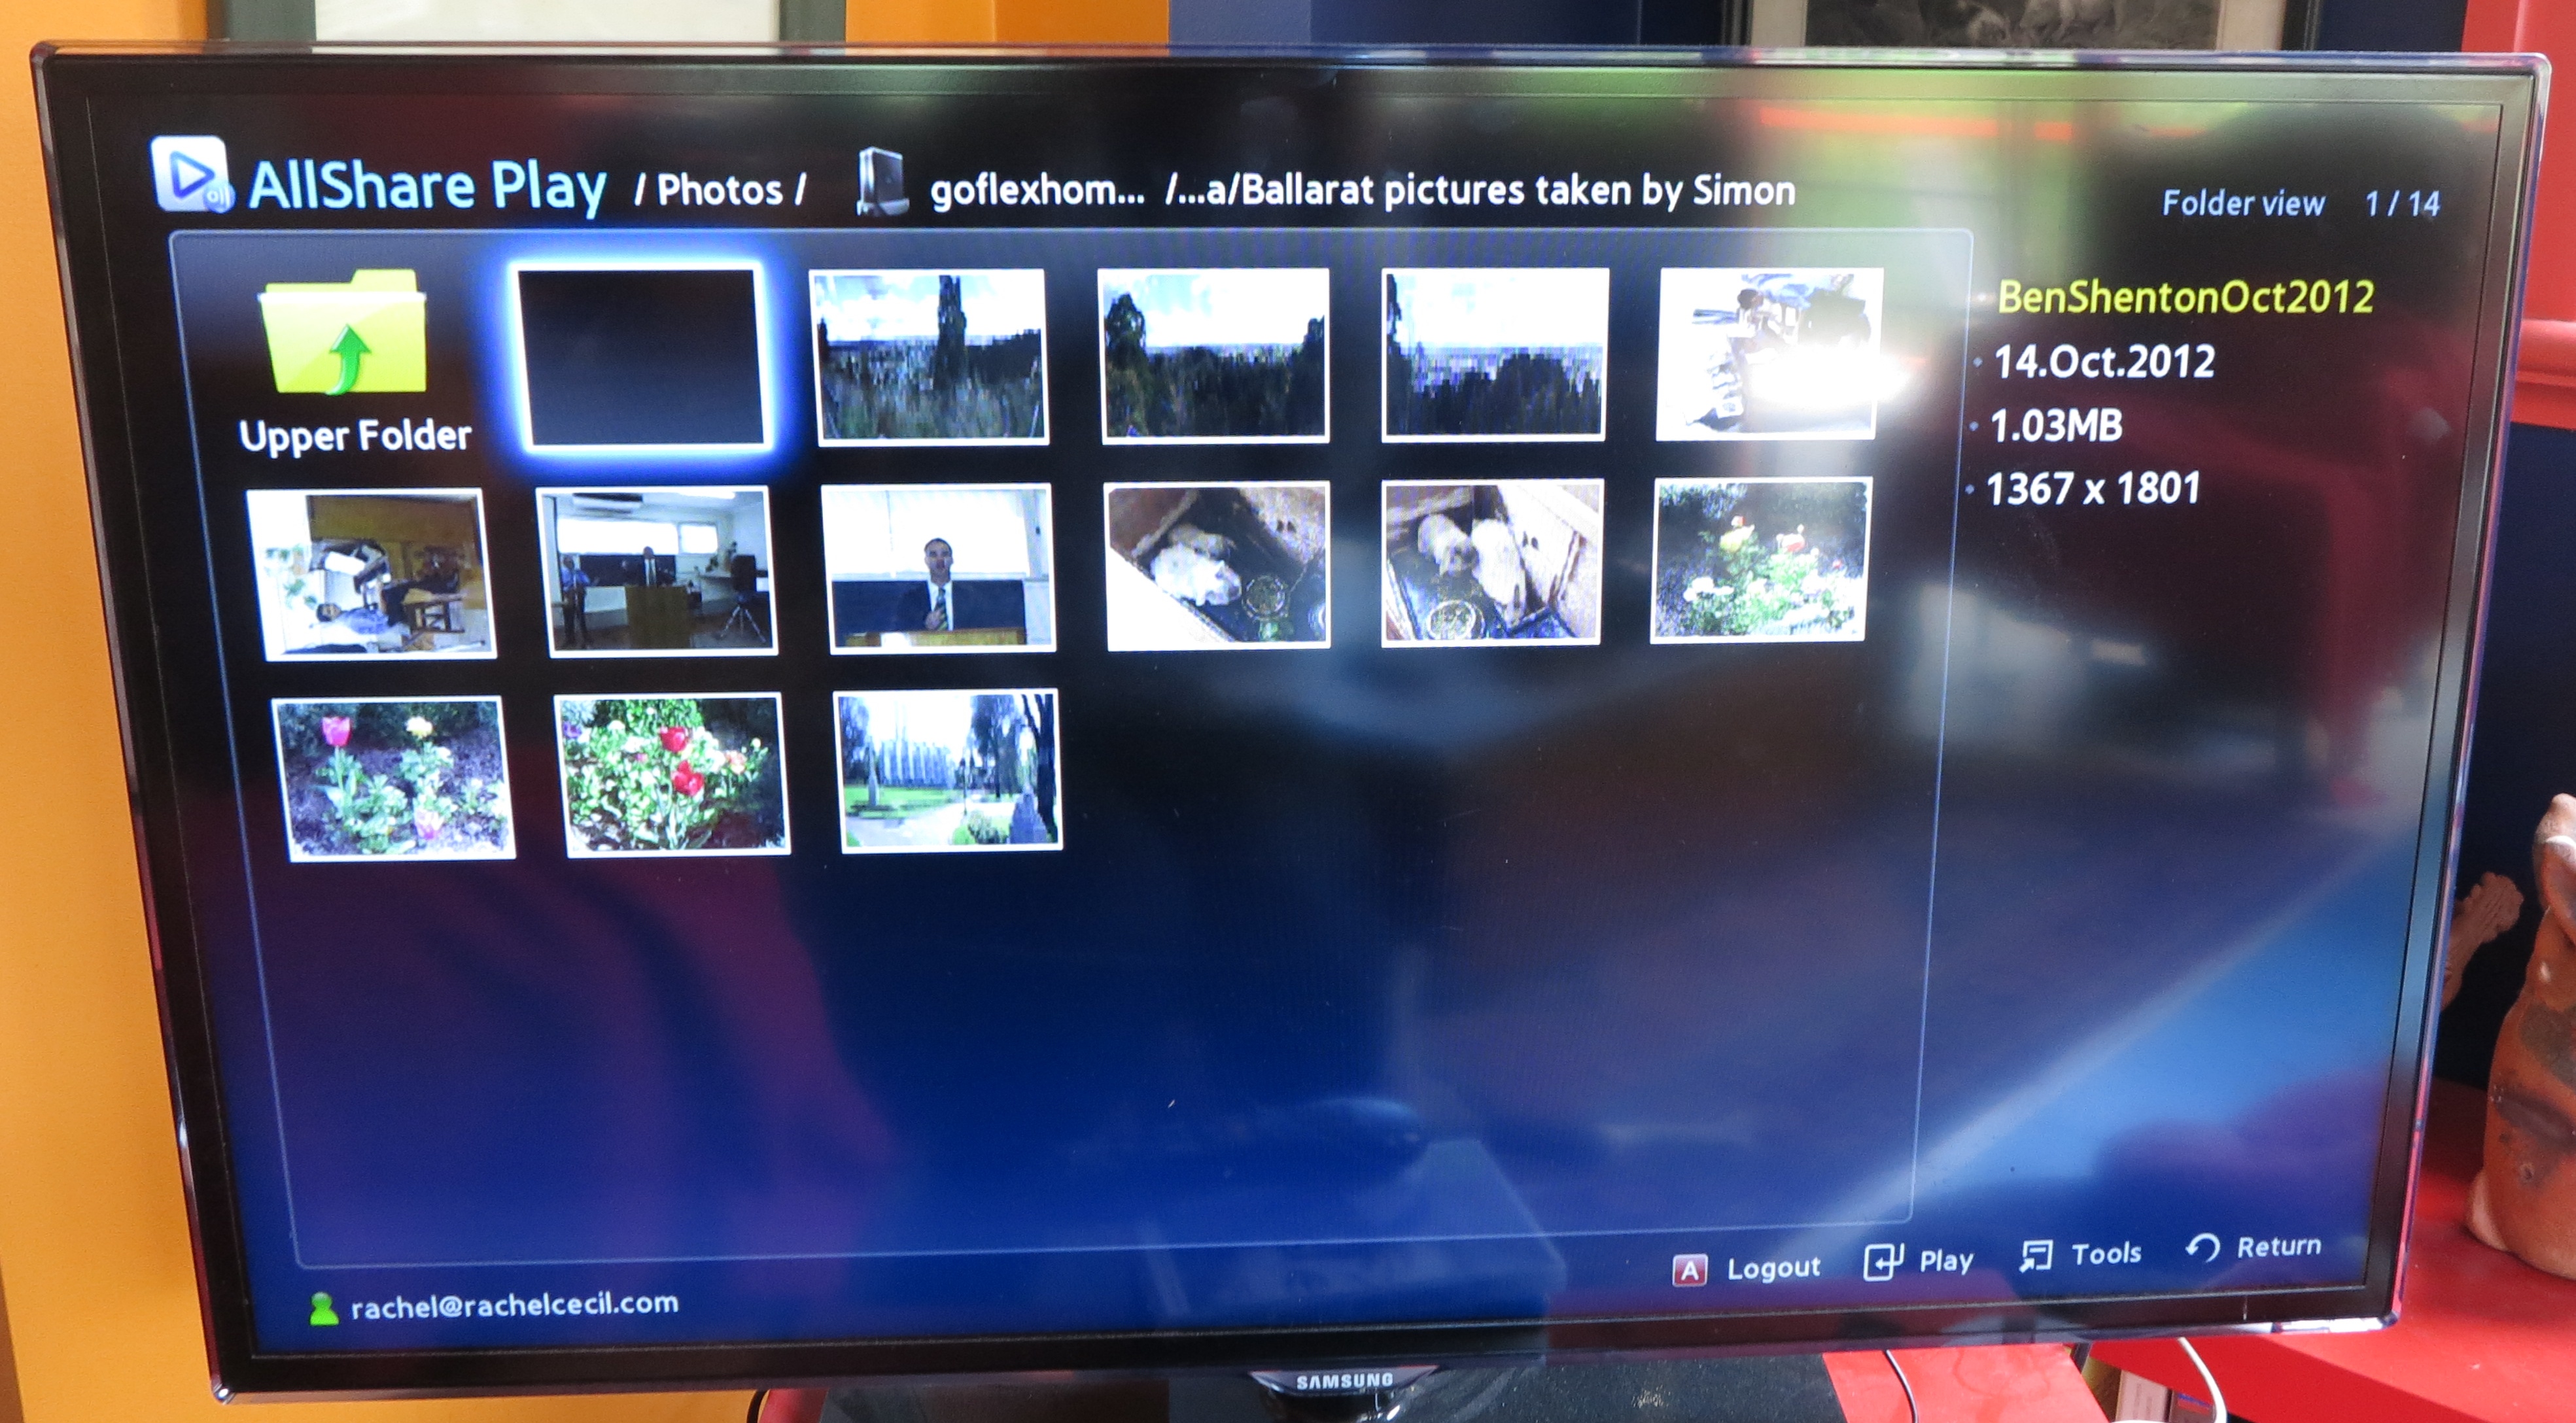
Media contents in Dropbox folder available on DLNA-capable Samsung smart TV
Here, they may want these pictures up on their Smart TV so they can show their family group the pictures that you took. Similarly, you have a Dropbox account and someone shared some of their choices pictures and videos with you. But you want them to be visible on your Smart TV for group viewing whenever you want.
The goal is not to share the entire contents of your Dropbox account to everyone because you may be simply using Dropbox as a data drop-off point for most of your personal and business data such as works-in-progress along with exchanging the media with your friends. Here, most Dropbox front-ends that are implemented by NAS untis typically operate on an “all-or-nothing” approach and don’t readily integrate the DLNA abilities that the typical NAS unit has nowadays.
Creating a DLNA-sharable folder for your Dropbox folder
Here, you could copy the Dropbox tree over to the NAS’s media folder. Some NAS units may allow you to add extra folders to the publicly-sharable mount point that you can share using DLNA. Here, you use the NAS’s Web control panel to add these extra root folders to the DLNA server’s folder list. In this case, you could create and share with your network a “Dropbox-Incoming” folder for this purpose.
In all cases, you need to have SMB/CIFS access to your NAS’s DLNA media directories. This would be achieved if you are already “dumping” media to your NAS and it is a good idea to create a shortcut to this on your operating system’s desktop.
You will need to perform these tasks using a competent file manager which is part of most regular-computer operating systems such as Windows, Apple Macintosh or Linux. Examples of this include Windows Explorer for the Windows environment or Finder for the Apple Macintosh environment. Things may become awkward if you are using a mobile operating environment like iOS or Android.
Manual sync methods
Using the Dropbox native front-end
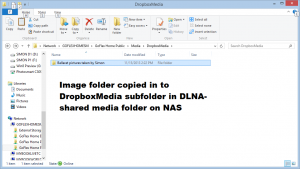
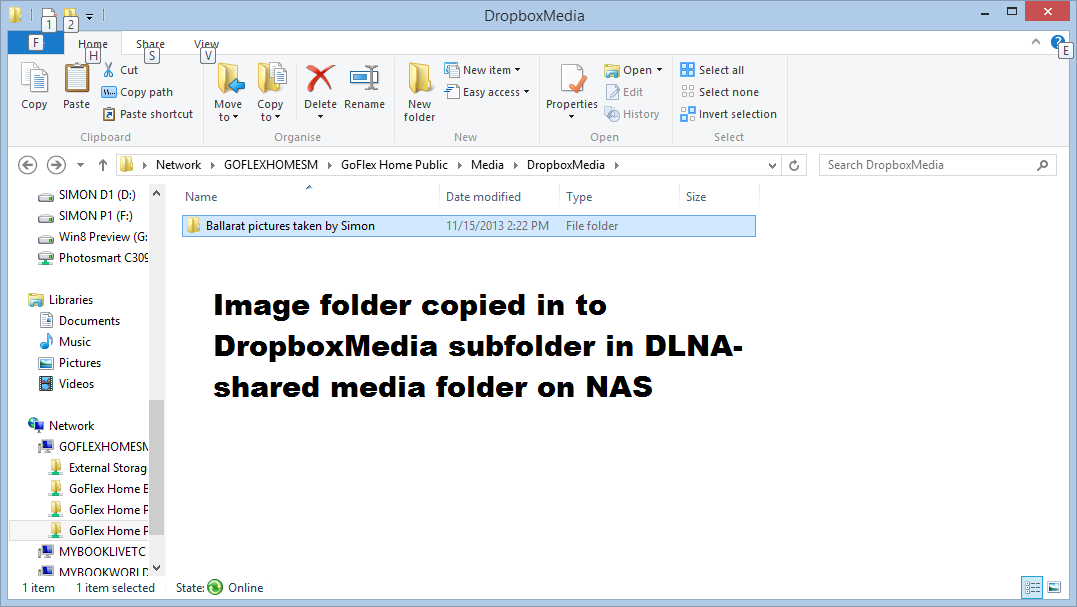
Dropbox folder copied to DLNA Media folder on NAS
Make sure that you have the shell-integrated Dropbox front-end that you download from Dropbox installed on your regular (desktop or laptop) computer. This effectively integrates your Dropbox folder tree with your operating system’s folder tree and presents itself as though it is a member of Windows Explorer or Macintosh Finder. This includes making a file-by-file “mirror” of you Dropbox account’s directory layout and contents as part of your operating system’s directory tree.
Here, you use Windows Explorer or Macintosh Finder to copy the folders containing the media from Dropbox to your NAS’s DLNA media directory. You are not altering the contents of this folder in the Dropbox account but are copying it out to your NAS.
Do not move the files from the Dropbox folder because if you move them, you effectively delete them from everyone else’s Dropbox view.
In some cases, you may want to selectively copy images and videos from the Dropbox folder to your NAS for viewing on your DLNA media device. This may be important with a large media pool or a directory that contains office documents along with media files.
Using the Dropbox Web page
If you use the Dropbox Webpage to work your files, you download the folder that you want on your NAS as a ZIP file. Here, you right-click the folder (Ctrl-click with an Apple Macintosh that has a single button mouse) and select “Download” to cause the folder to be downloaded to your local hard disk as a ZIP file.
Then you use a file-decompression utility to expand the contents of this ZIP file to your NAS’s DLNA folder and make sure this is under a subfolder of its own in the DLNA folder.
Both these methods may allow you to “boil down” the folders so that you only have on your NAS the media files in that folder. This may involve a bit of hard work by you manually deleting the non-media files like executable programs, documents, PowerPoint presentations and PDF files.
Automatic sync method
Using FreeFileSync, Dropbox’s native front-end and your NAS to take advantage of a media pool
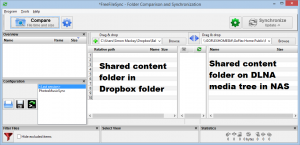
FreeFileSync sync job to automatically synchronise media from Dropbox folder to DLNA folder on NAS
Some of you may set up on Dropbox an improved “media pool” where each of you can contribute photos and videos of a special event, something the lucky couple could do after a wedding for example. Or the proud parents may create a media pool of their best images and videos of their children for the doting relatives and friends to see. This could be something where relatives and friends can have “contribute” rights to so they can pool what the baby had done while in their care.
This could be set up instead of or alongside Facebook’s new photo-pooling feature so as to provide “best-quality” images, to support videos as well as not disenfranchising people who aren’t Facebook Friends of yours.
To do this, you install FreeFileSync on your regular computer which should also have the Dropbox front-end installed. As well, you create a subfolder in your NAS’s media folder accessible by its DLNA media server that represents this media pool. Then you set up up a manual or timed sync job in FreeFileSync which links to the Dropbox folder and the aforementioned subfolder on your NAS’s DLNA media folder.
Ideas to make Dropbox work this way
Your children’s life
As you have children, you will be taking photos of them and want to share some of these photos with your relatives and friends. As well, your relatives and friends take pictures of your children at events they attend or when they have your children in their care. Similarly, when you have their children in your care or attend their events, you end up taking pictures and videos of them.
Here, you could create a shared folder in Dropbox which has all the pictures that you and your relatives or friends copy pictures and videos to concerning your children during these times. Both you and these doting relatives and friends can then see the moments that are important.
That special celebration
One person that I know of used to create a “photo board” for their parties with their guests supplying pictures that they took to appear on this photo board. A Dropbox folder which you share with each of your guests can serve as the digital equivalent of this “photo board”.
For events like weddings where there is the likelihood of many celebrations along the way like the engagement party, bucks’ night and hens’ night, you could create a “master folder” with subfolders for each of the celebrations. This is so you can maintain a master theme for the group of celebrations while you have particular folders representing, for example, the wedding day.
They are in town
Your relatives or friends have come in to town to enjoy your town’s assets and catch up with you. Most likely you establish a Facebook album for the visit, knowing they are on Facebook. But you want them to have access to the higher-grade pictures, perhaps allow them to “pool” their pictures that they took and do more. Similarly, you want them to have these pictures end up on their NAS so they can view them on their DLNA-capable TV or print them out on their printer.
Here, you could create and share a Dropbox folder tree that represents this visit alongside the Facebook or Google+ albums that you set up with them. Then they take their pictures and videos and add them to this folder tree while you shoot your pictures and videos and contribute them to that tree. This could be done for each “phase” of the trip such as specific outings.
In memorium
You can use Dropbox and your DLNA-capable NAS to memorialise a relative or friend who has passed away. Here, you raid your physical photo albums and scan all of the best pictures or go through your digital photo collection and copy pictures of them in to a folder that is shared with contribute rights amongst the family and friends via Dropbox.
The pictures then are shared across Dropbox as a way of creating a group-based memorium of the deceased person
Business promotions
Having your DLNA-capable Smart TVs or Blu-Ray players play media off a DLNA-shared visual merchandising directory on your NAS can become a powerful business tool. Then you use a business-capable cloud service to keep your visual-merchandising material with it being synchronised to the DLNA-shared visual-merchandising directory can permit you to create the content from home or have others like PR teams and commercial artists contribute this content off-site with the goal of this material appearing on your displays.
Here, the sync routine could be set up on a daily or twice-daily basis for your on-site server or office computer so you always have fresh material available and on the screens regularly. This could be performed as a manual task or you could use FreeFileSync to synchronise the promotions folder on Dropbox to your NAS.
Conclusion
The new consumer and business cloud-based file sharing propagated by the likes of Dropbox, SkyDrive and Box.com can be easily integrated in to the DLNA Home Media Network once you use a NAS as your media server and can use a regular computer as part of the equation.